Make sure to join my list for Weekly Tips and Recipes to Your Inbox
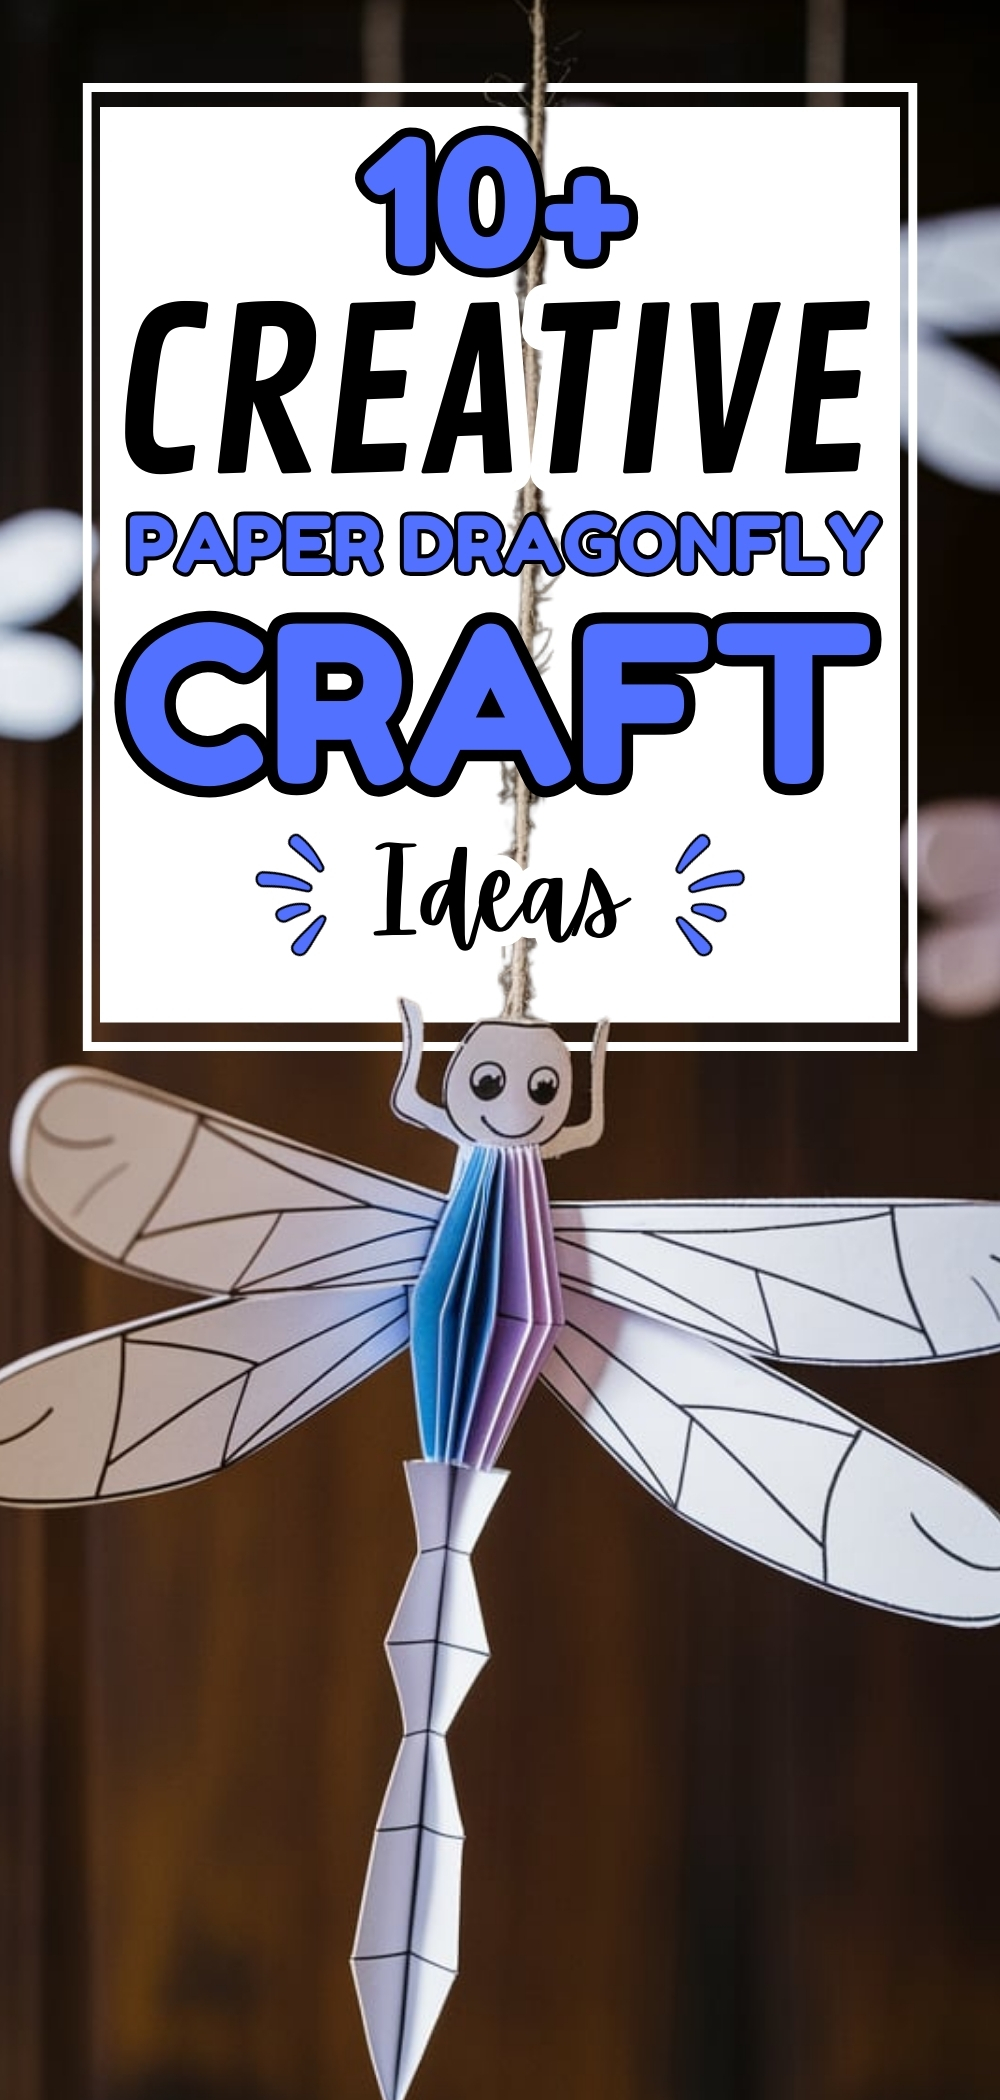
10+ Creative Paper Dragonfly Craft Ideas
Folding a paper dragonfly craft seems like such a simple idea until you start the things change. The delicate wings, the segmented body, the fine legs, each detail presents a challenge that tests patience and precision. Many crafters, drawn by the beauty of these intricate designs, struggle with choosing the right paper, shaping the folds just right, or keeping the structure from tearing at critical points.
Some, in their frustration, abandon the project altogether, crumpling their attempts into a ball and tossing them aside. Others press on, searching for the perfect technique, the right tools, and just a little bit of advice from those who have mastered the art of paper dragonfly craft.
Paper artists have learned a few tricks to creating a beautiful dragonfly craft through trial and error. A popular technique to create contrast in the wings and give the design a realistic depth is to use two-toned tissue. Others use specialist equipment such as methylcellulose or diluted glue to reinforce the folds, jewelry pliers for exact adjustments, and even clothespins for keeping the paper’s perfect wing angle as it sets.
The paper itself has the power to make or damage the creation; more sheets may be challenging to shape, whereas single tissue paper may be fragile. Baking paper, which maintains folds nicely without tearing, has been successful for some people. Other people suggest sturdy yet lightweight alternatives like Karape or Papyrus B1.
Accepting the steps is, after all, the most important lesson in folding paper dragonflies or any other complex origami. Even skilled crafters discover faults in their own creations, and nobody’s first try is perfect. Continually folding, failing, learning, and repeating is the key. Each mistake is a stepping stone to mastery, each finished piece a testament to patience and creativity.
In addition to improving your skills, you will get immense pleasure from making a blank piece of paper come to life with each dragonfly that comes out under your fingers. I have rounded up 10+ artistic paper dragonfly craft ideas below, each with full step-by-step directions and professional advice to make the process easy and pleasurable.
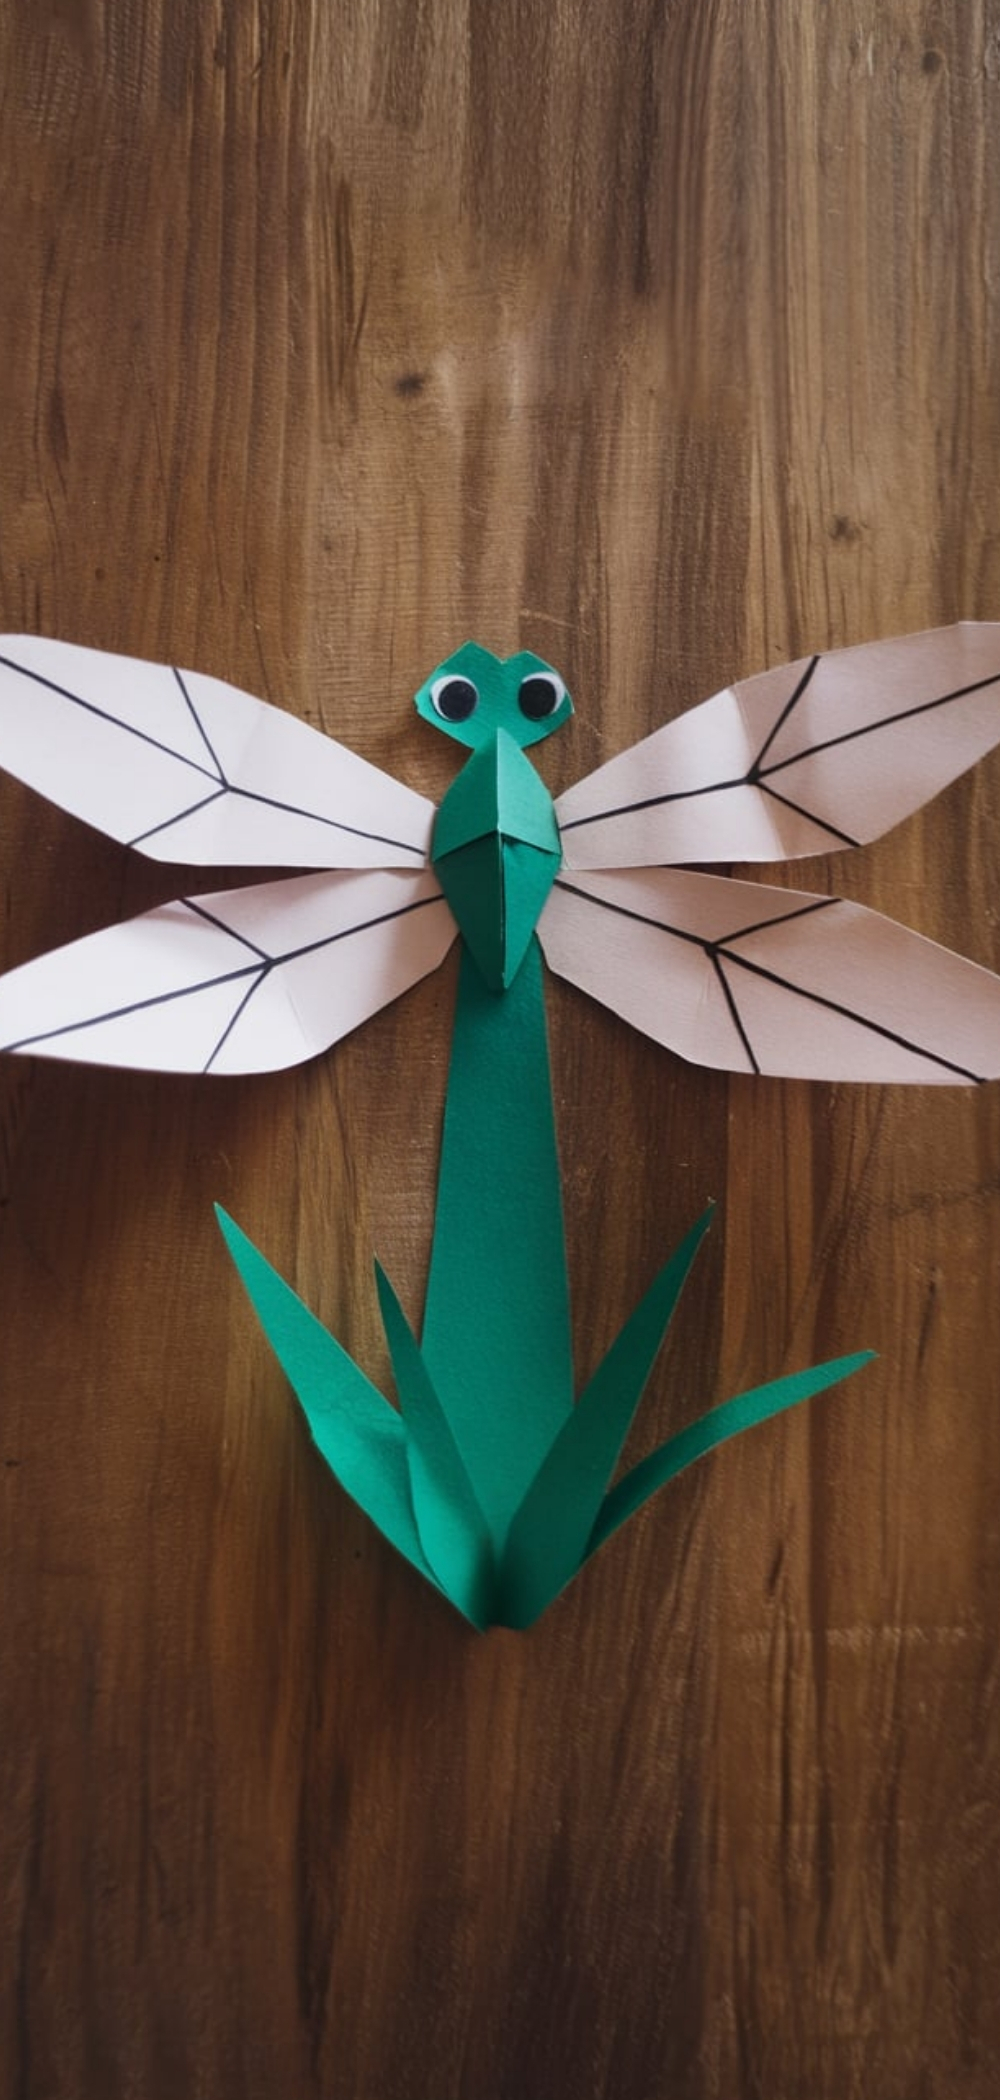
12. Basic Paper Dragonfly Craft
Materials Needed:
- Colored paper
- Scissors
- Glue
- Black marker or googly eyes
Instructions:
- Cut out two pairs of elongated oval shapes for the wings.
- Cut a long, thin strip of paper for the dragonfly’s body.
- Arrange the wings in a crisscross manner and glue them onto the body.
- Draw eyes with a marker or attach googly eyes for a playful effect.
Pro Tip: Use double-sided colored paper to create a more vibrant dragonfly craft.
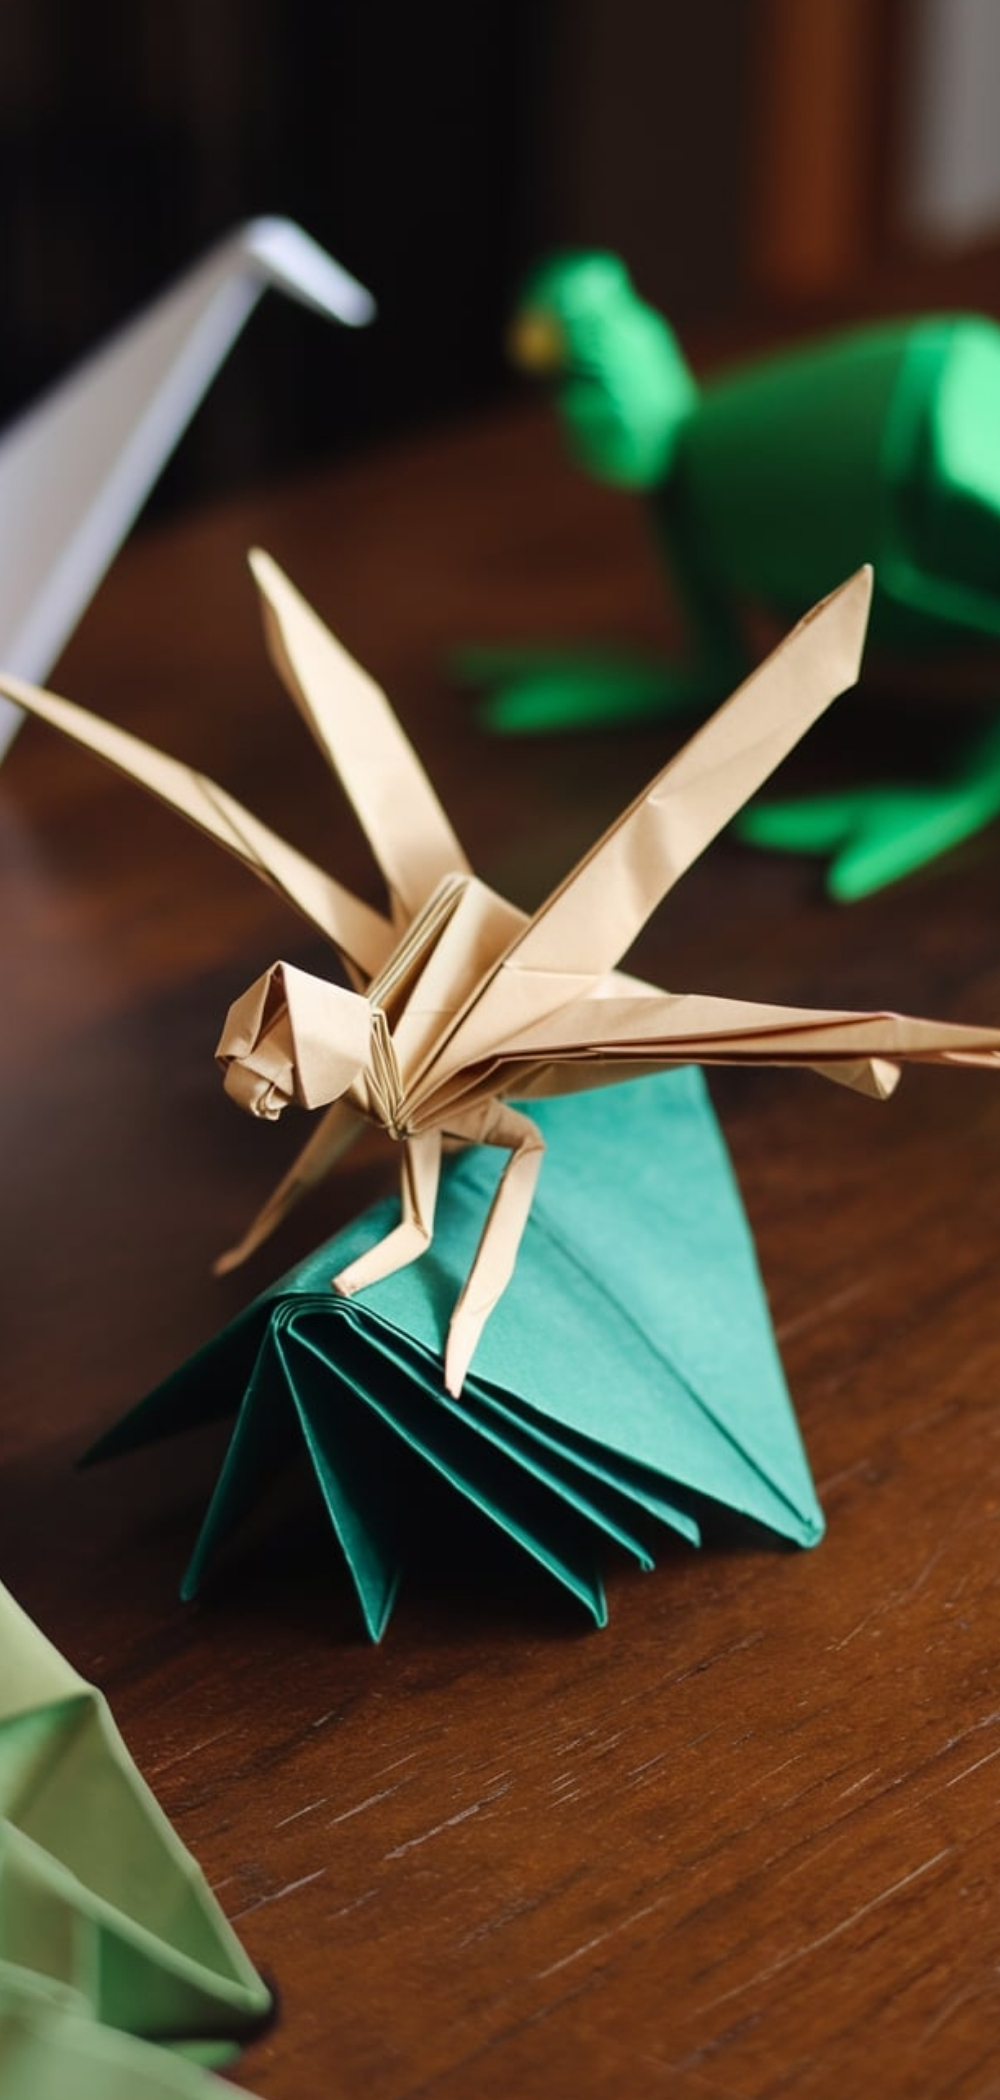
11. Origami Paper Dragonfly Craft
Materials Needed:
- Origami paper (15×15 cm)
- Bone folder (optional, for sharp folds)
Instructions:
- Start with a square piece of origami paper.
- Fold it diagonally to form a triangle.
- Follow a traditional origami dragonfly pattern, making precise folds.
- Shape the wings and tail carefully.
Pro Tip: Using thin origami paper ensures easier folding and crisper creases.
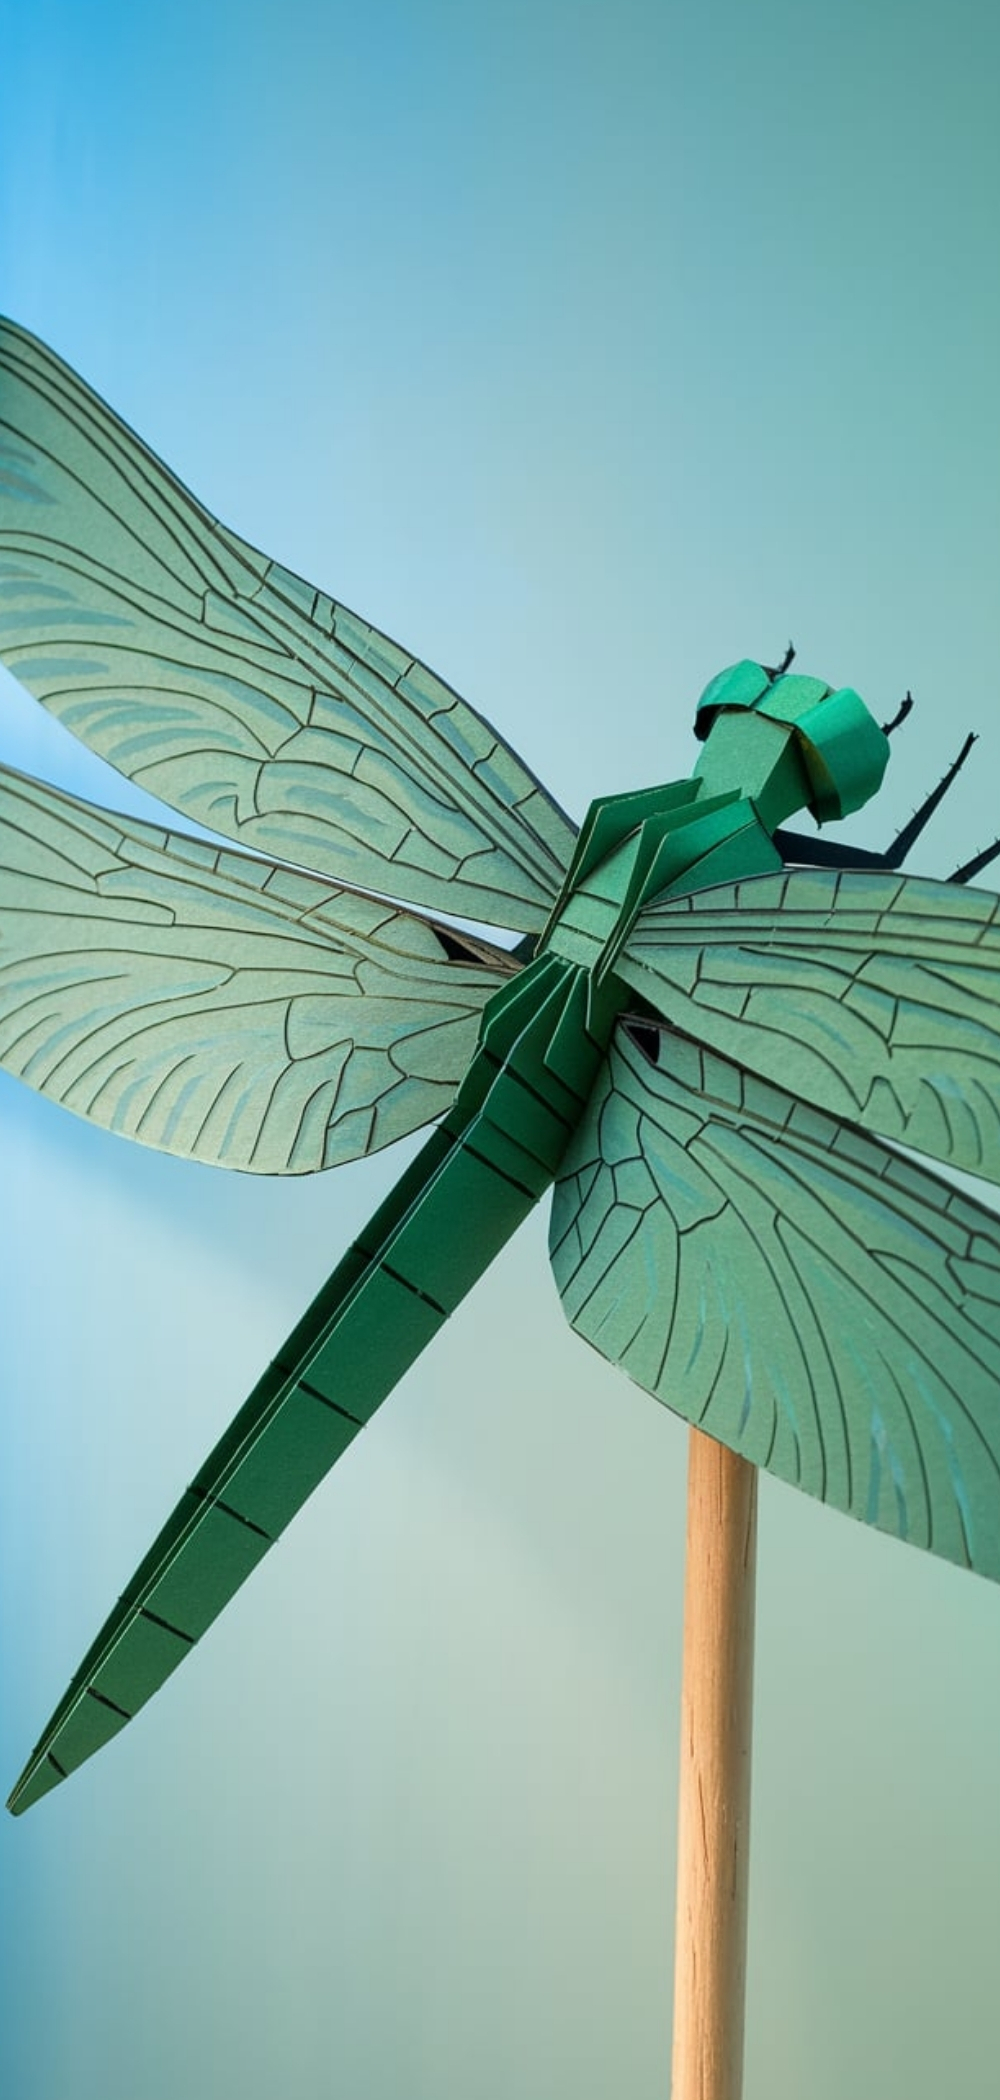
10. 3D Paper Dragonfly Craft Model
Materials Needed:
- Cardstock paper
- Glue
- Thin wire for legs
- Markers for detailing
Instructions:
- Cut out separate wing and body pieces.
- Layer the wings to create depth and glue them together.
- Attach wire legs to the body for a realistic touch.
- Draw fine details on the wings to enhance realism.
Pro Tip: Slightly curve the wings by rolling them around a pencil to give them a 3D effect.
9. Paper Dragonfly with Wire Antennae
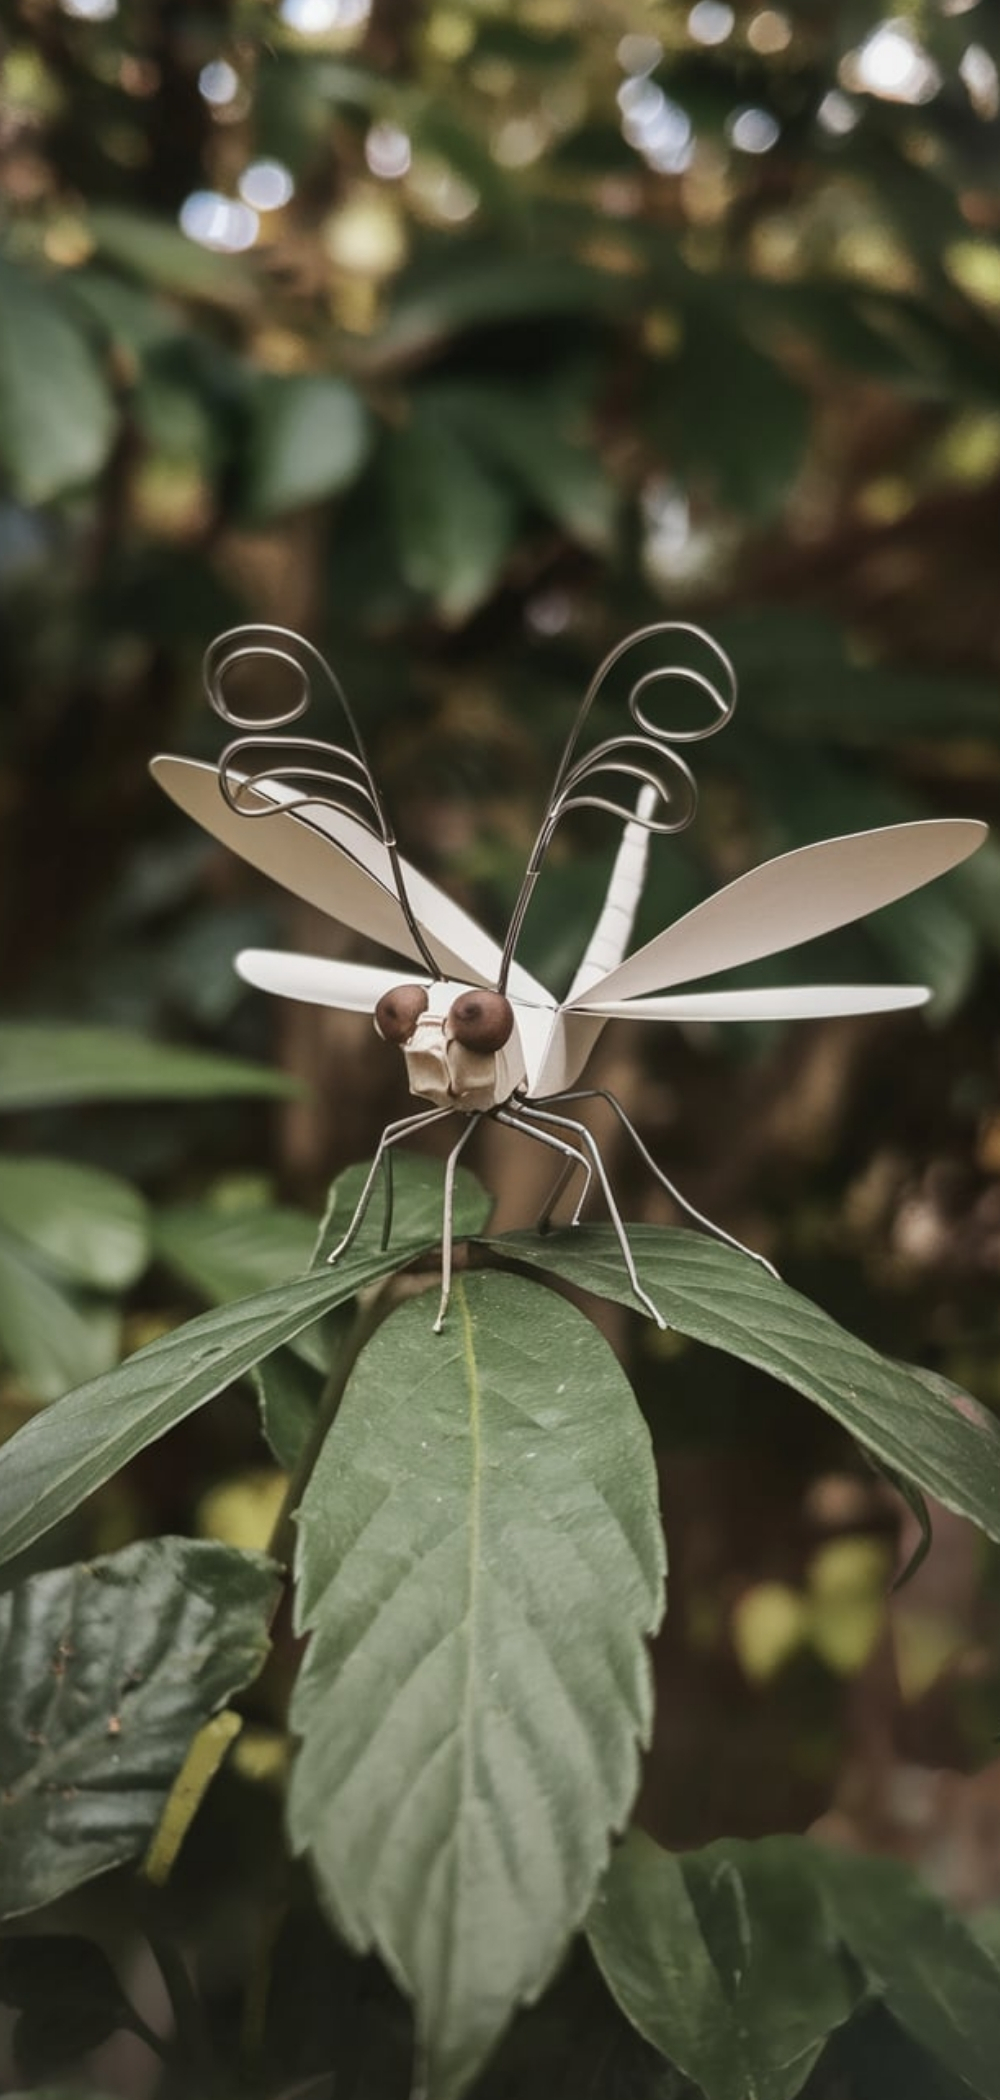
Materials Needed:
- Paper
- Thin wire
- Pliers
- Glue
Instructions:
- Cut and assemble a paper dragonfly craft body and wings.
- Shape two small pieces of wire into curled antennae.
- Attach the antennae to the head using glue.
- Allow to dry before handling.
Pro Tip: Use black or metallic wire for a more stylish appearance.
8. Tissue Paper Dragonfly
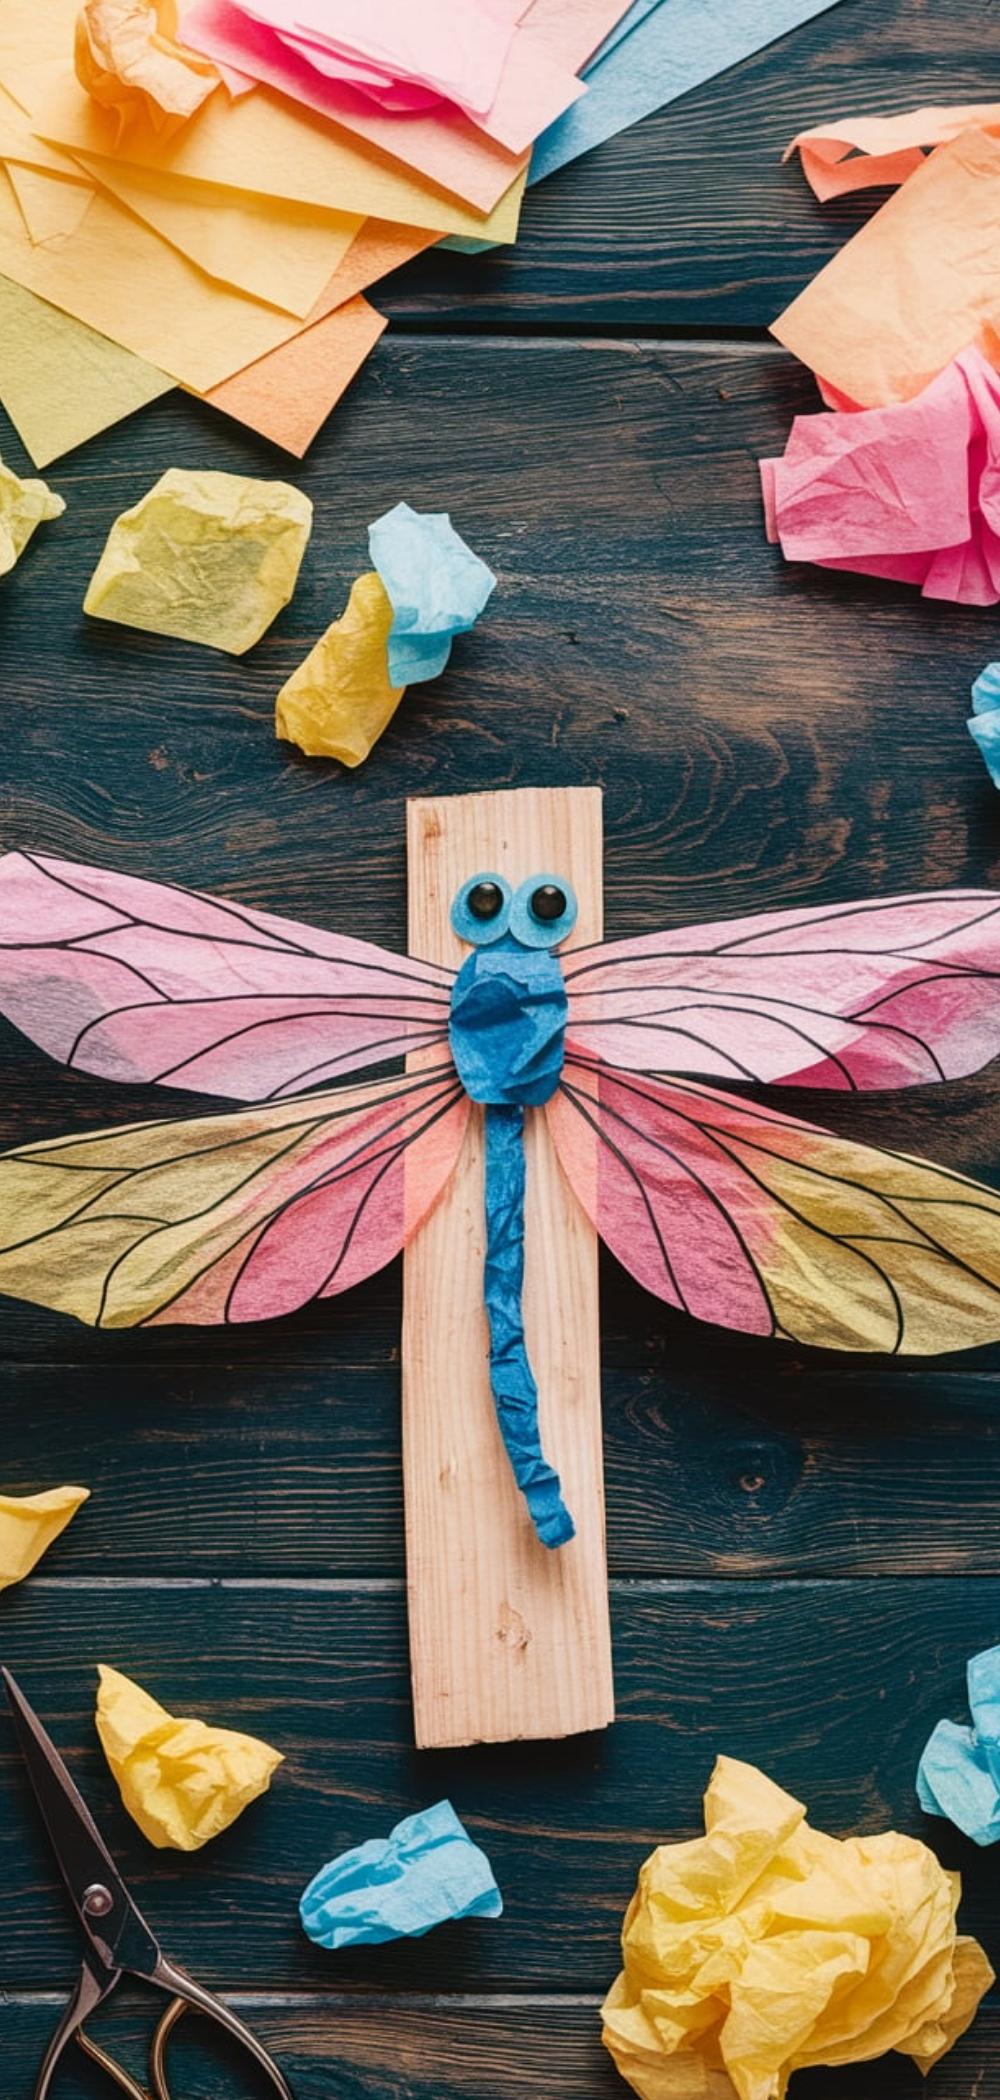
Materials Needed:
- Tissue paper
- Pipe cleaners
- Glue
Instructions:
- Cut tissue paper into delicate wing shapes.
- Use a pipe cleaner to form the dragonfly’s body.
- Attach tissue wings to the body with glue.
- Let dry and adjust wing positioning.
Pro Tip: Layer different colored tissue paper for a gradient wing effect.
7. Paper Quilling Dragonfly
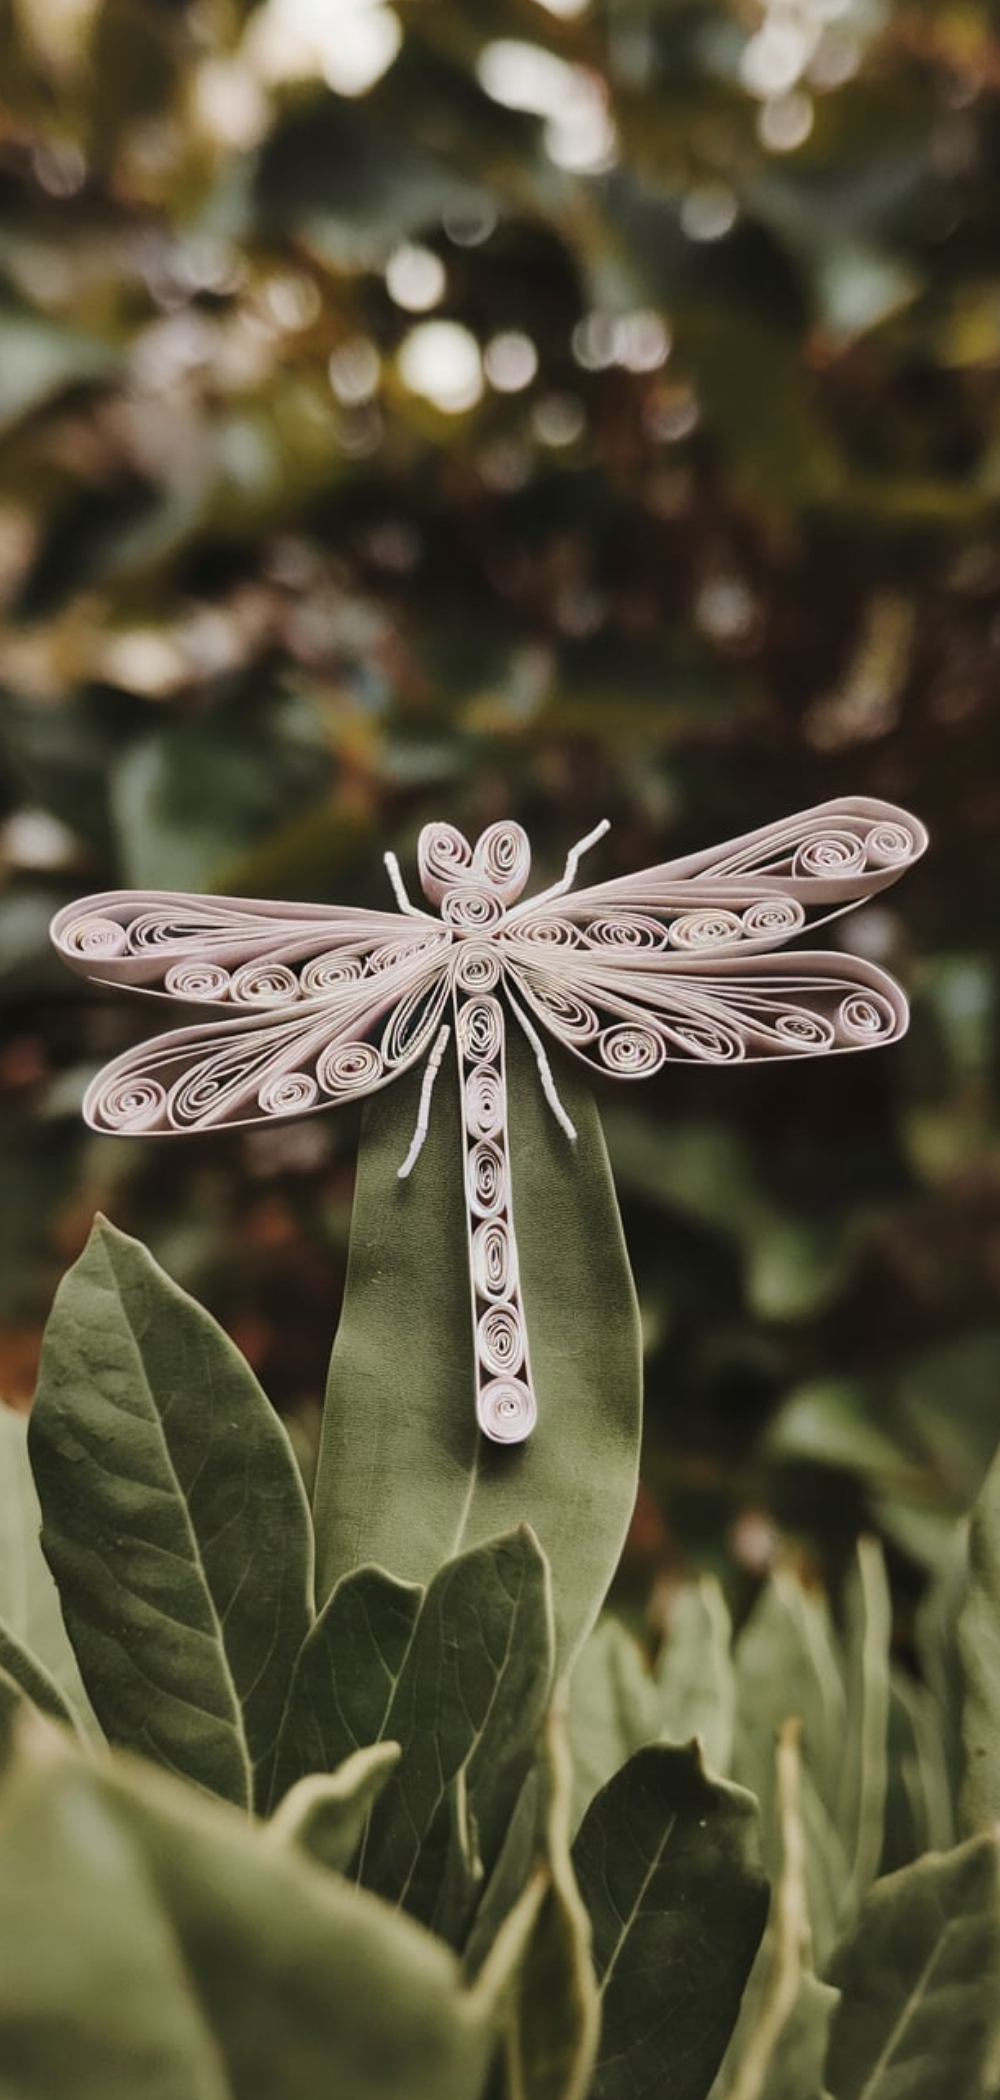
Materials Needed:
- Quilling paper strips
- Quilling tool
- Glue
Instructions:
- Roll paper strips into tight coils.
- Shape them into wings and body parts.
- Assemble the dragonfly craft by gluing the pieces together.
- Add antennae using thin paper strips.
Pro Tip: Use tweezers for precise placements of quilled parts.
6. Painted Paper Dragonfly Craft
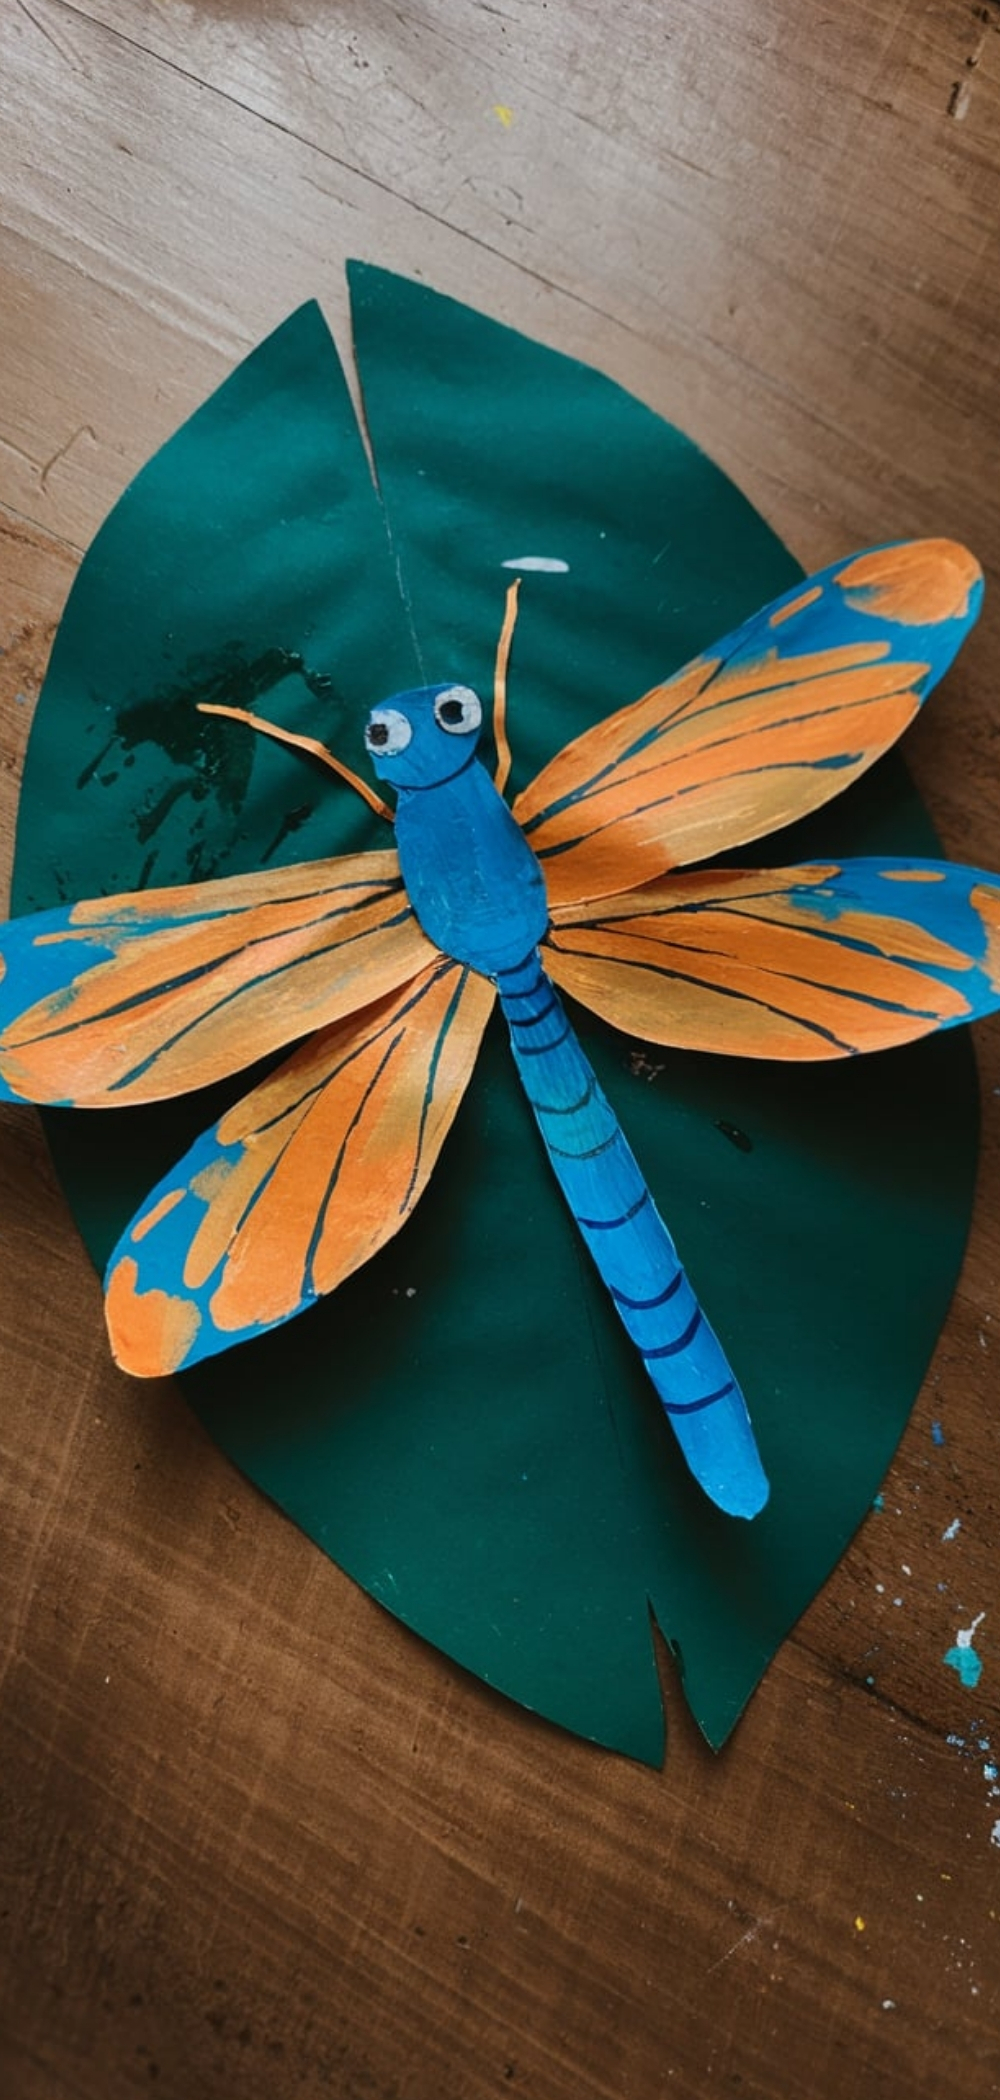
Materials Needed:
- White cardstock
- Watercolors or acrylic paint
- Paintbrushes
Instructions:
- Cut dragonfly craft shapes from white cardstock.
- Paint vibrant colors onto the wings.
- Let dry and add details with fine brushes.
- Assemble and glue the pieces together.
Pro Tip: Splatter paint over the wings for a speckled effect.
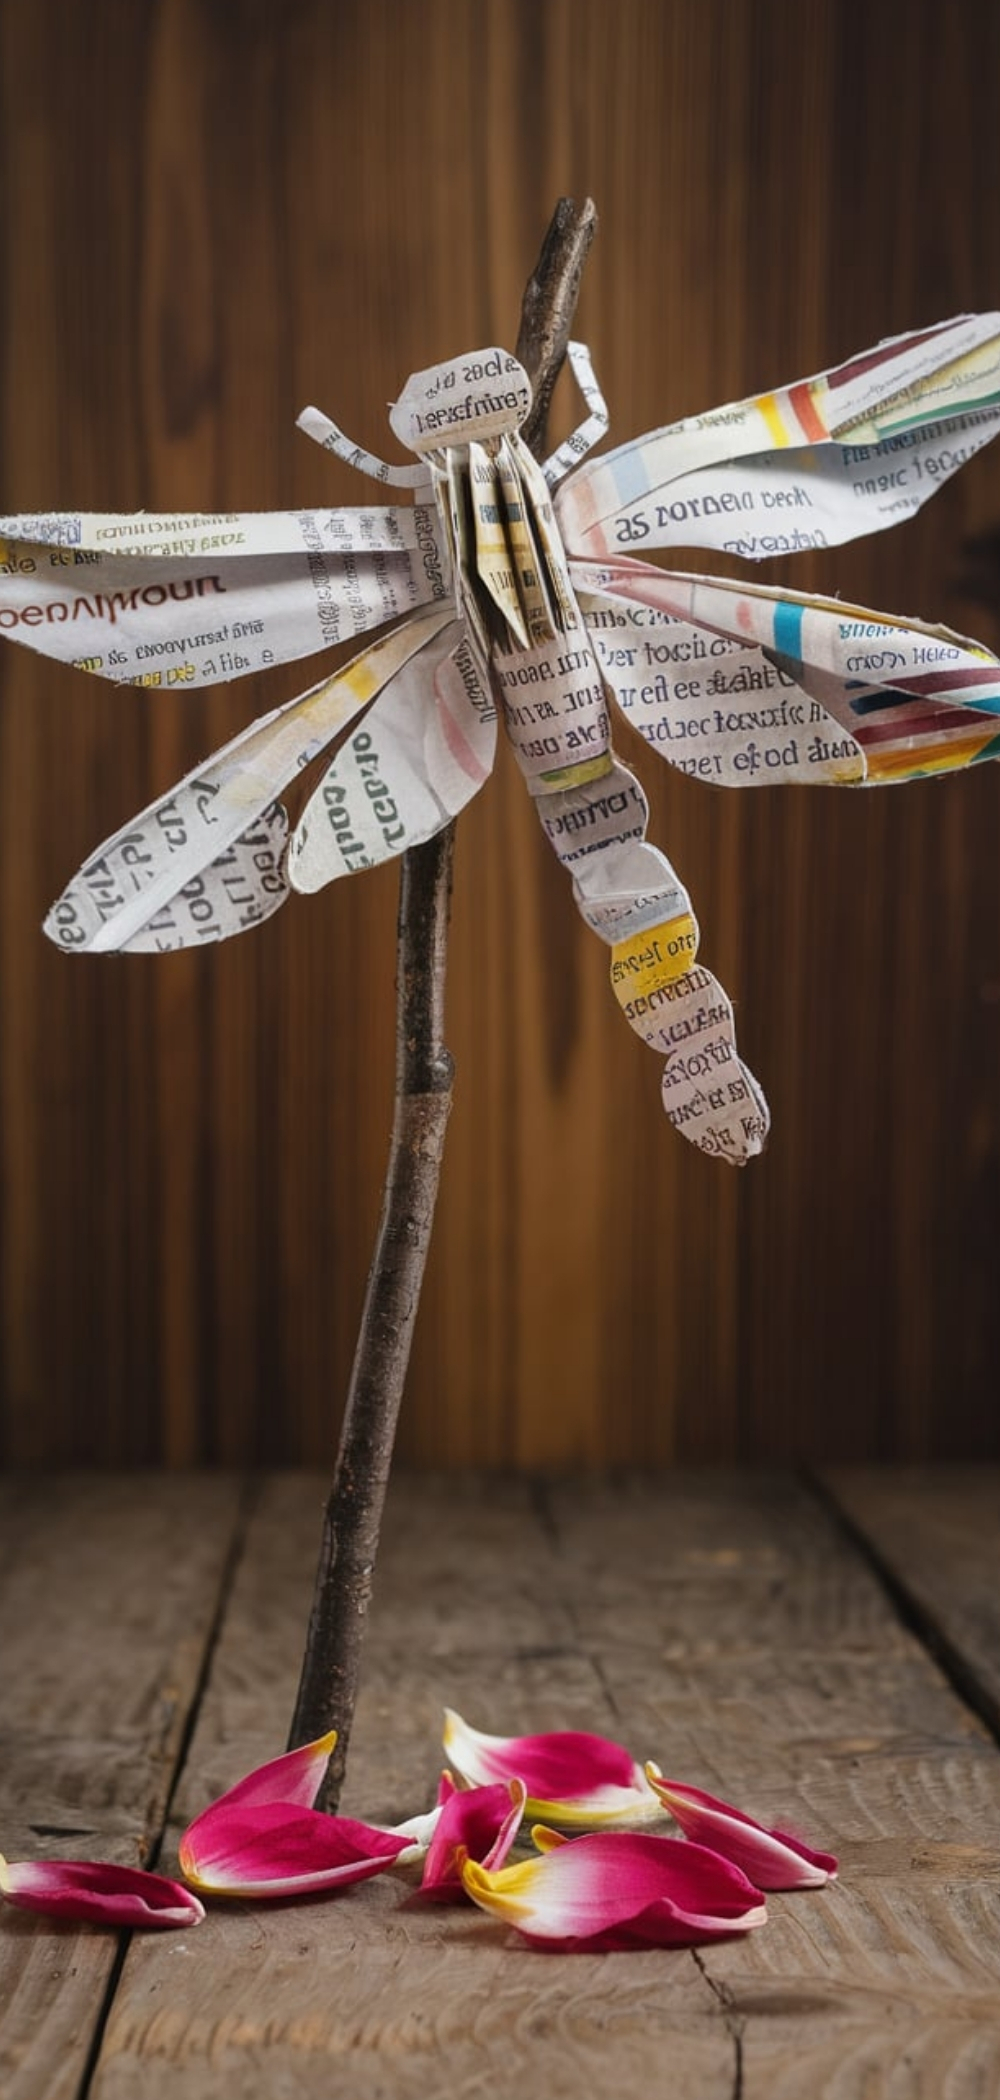
5. Recycled Newspaper Dragonfly
Materials Needed:
- Old newspaper
- Glue
- Scissors
Instructions:
- Cut out dragonfly shapes from newspaper pages.
- Assemble the body and wings.
- Coat with glue to stiffen and protect the paper.
Pro Tip: Use printed text for an artistic and vintage-style dragonfly.
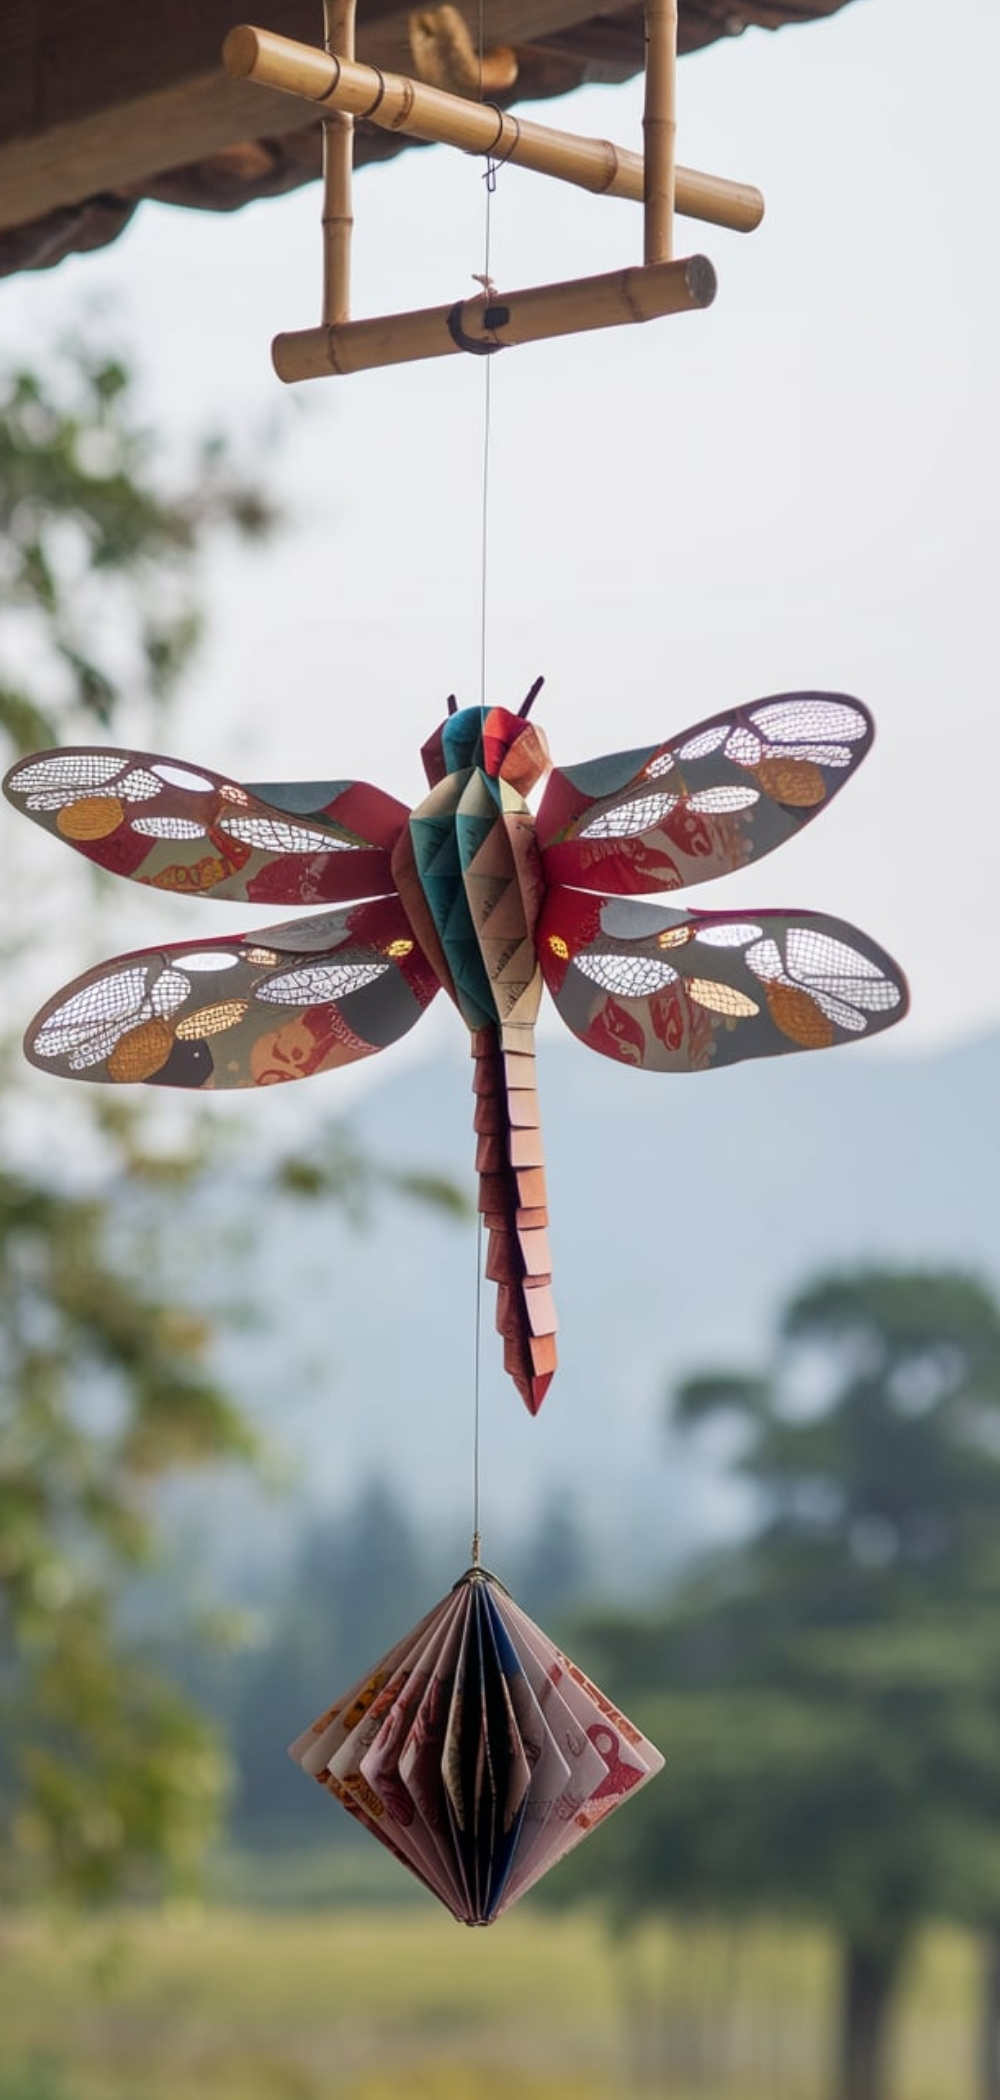
4. Paper Dragonfly Wind Chime
Materials Needed:
- Multiple paper dragonflies
- String
- Small bells
Instructions:
- Create several paper dragonflies.
- Attach them to strings with small bells at the ends.
- Hang from a frame to create a wind chime.
Pro Tip: Use waterproof sealant spray to make them weather-resistant.
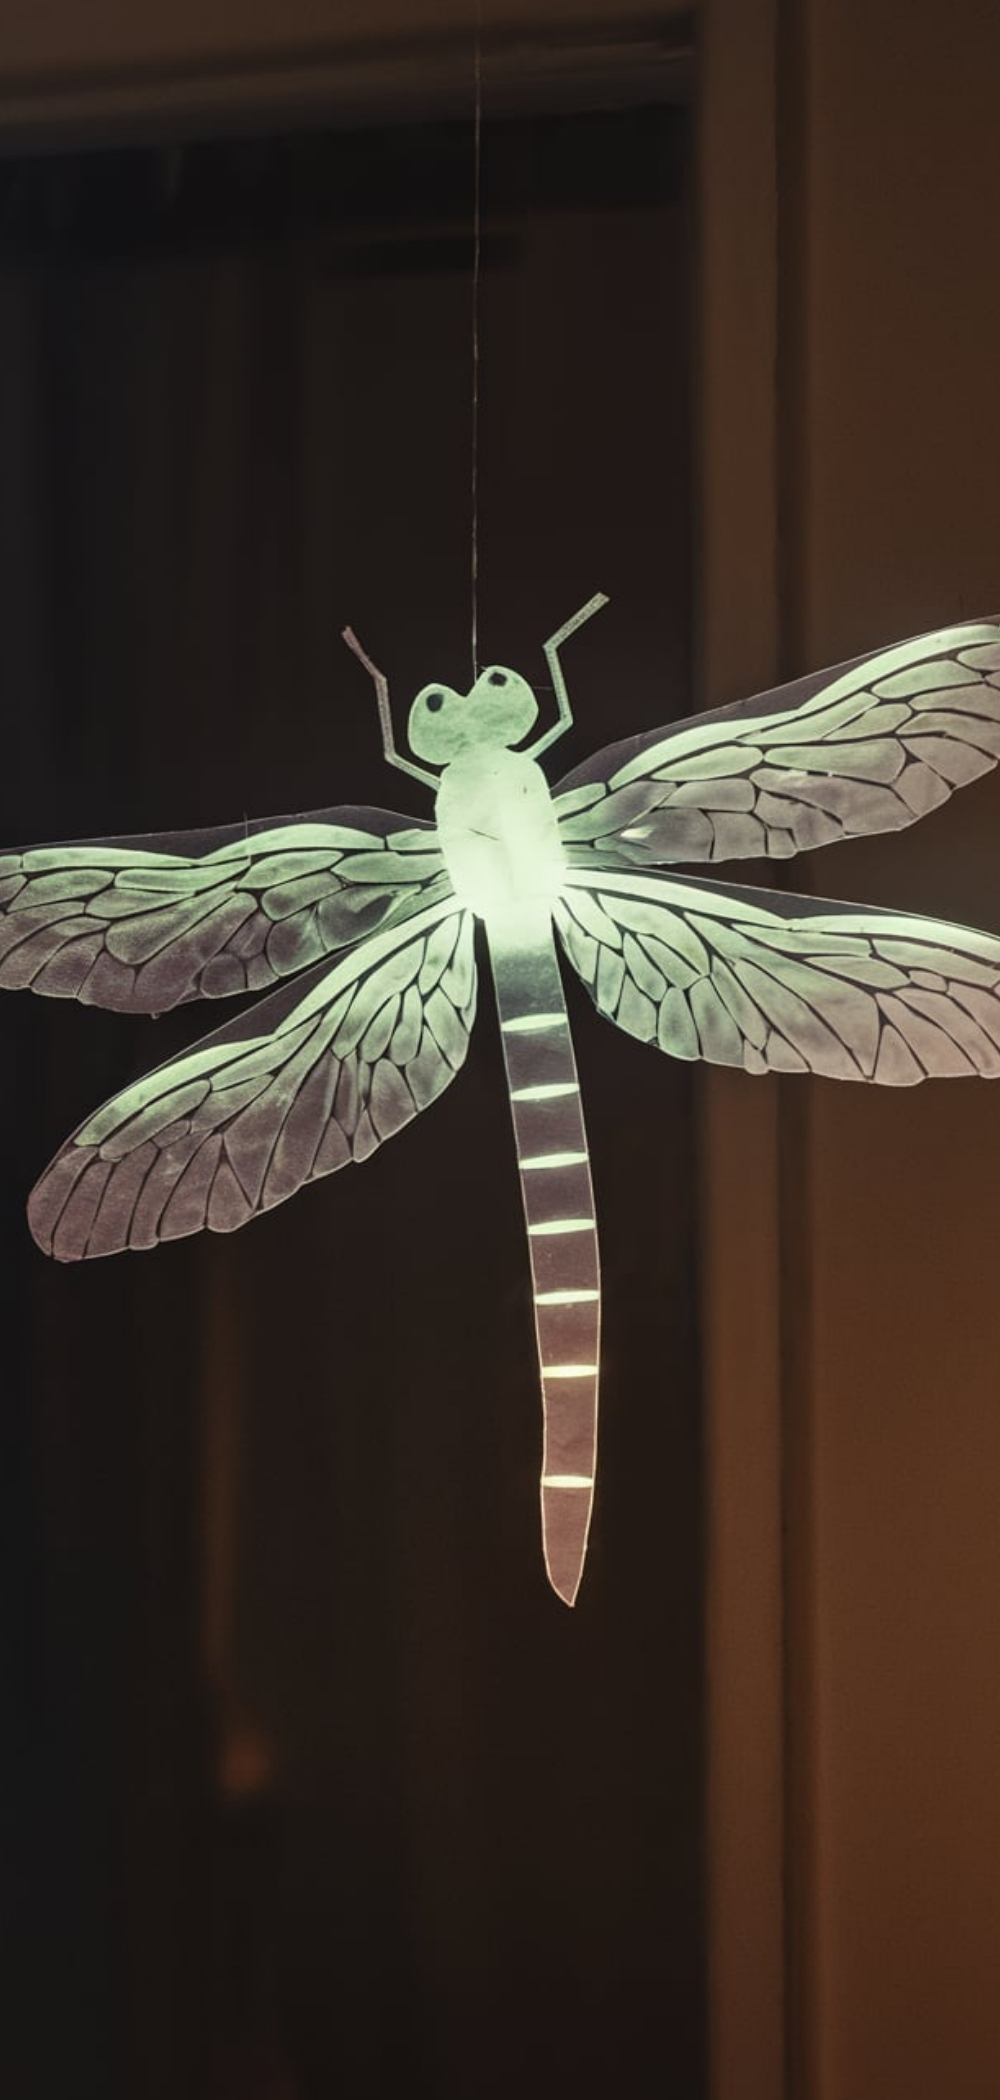
3. Glow-in-the-Dark Paper Dragonfly
Materials Needed:
- Glow-in-the-dark paint
- Cardstock paper
Instructions:
- Cut out dragonfly shapes from cardstock.
- Paint the wings and body with glow-in-the-dark paint.
- Let dry and expose to light before use.
Pro Tip: Charge the glow effect by placing under direct light for a few minutes.
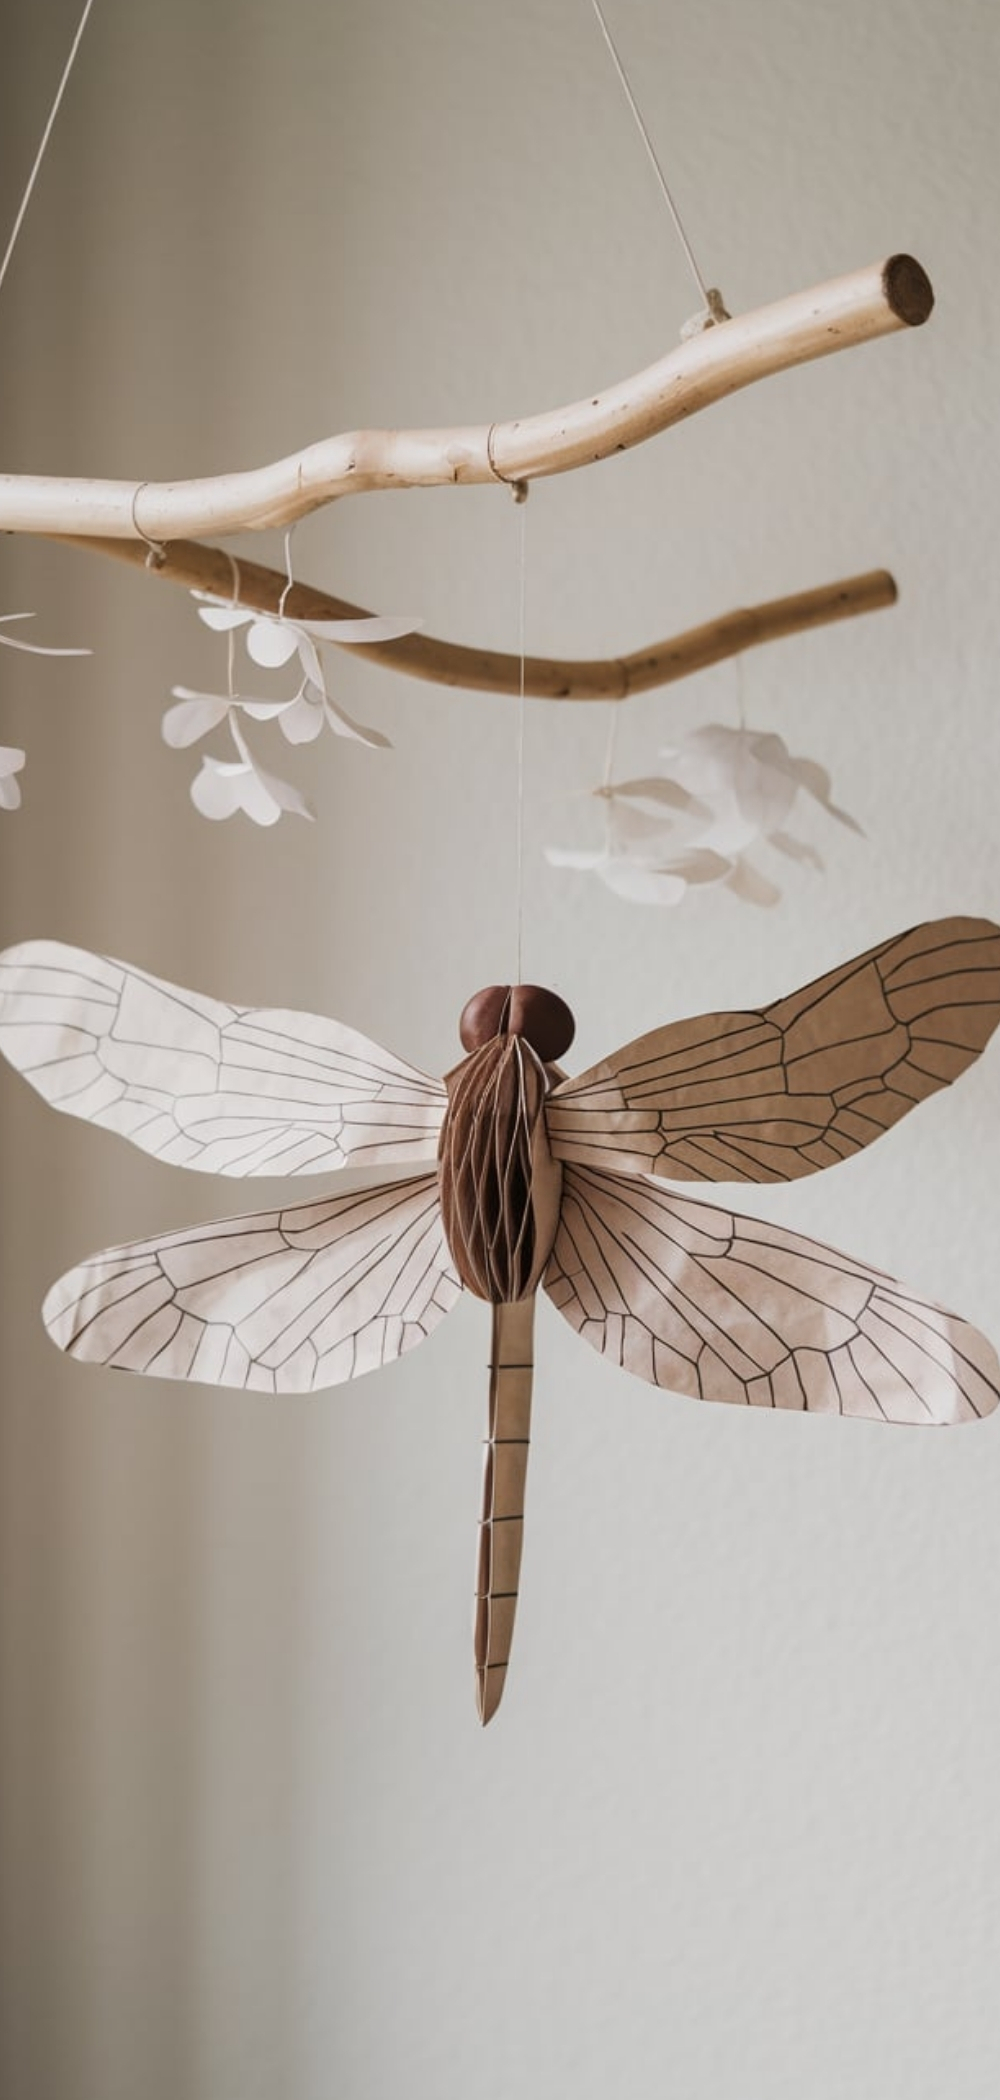
2. Paper Dragonfly Mobile
Materials Needed:
- Several paper dragonflies
- Wire hoop
- String
Instructions:
- Create multiple dragonflies.
- Attach them to strings at different lengths.
- Suspend from a wire hoop.
Pro Tip: Arrange the dragonflies at different angles to create a dynamic mobile.
1. Miniature Paper Dragonflies
Materials Needed:
- Small paper cutouts
- Glue
Instructions:
- Cut tiny dragonfly shapes.
- Assemble with glue and allow to dry.
Pro Tip: Use them for scrapbooks, cards, or jewelry embellishments.
Conclusion
Paper dragonflies are fun, artistic, and customizable for various skill levels. Whether you’re making a simple craft with kids or a detailed sculpture for home decor, these ideas provide endless possibilities for creativity. Try different techniques, materials, and colors to make each dragonfly unique!


[…] with creative ideas for her best friend’s birthday, I knew I had to step in. I have been making dragonfly crafts for a while now, and the feedback from my family has been amazing, so I figured it was time […]