Make sure to join my list for Weekly Tips and Recipes to Your Inbox
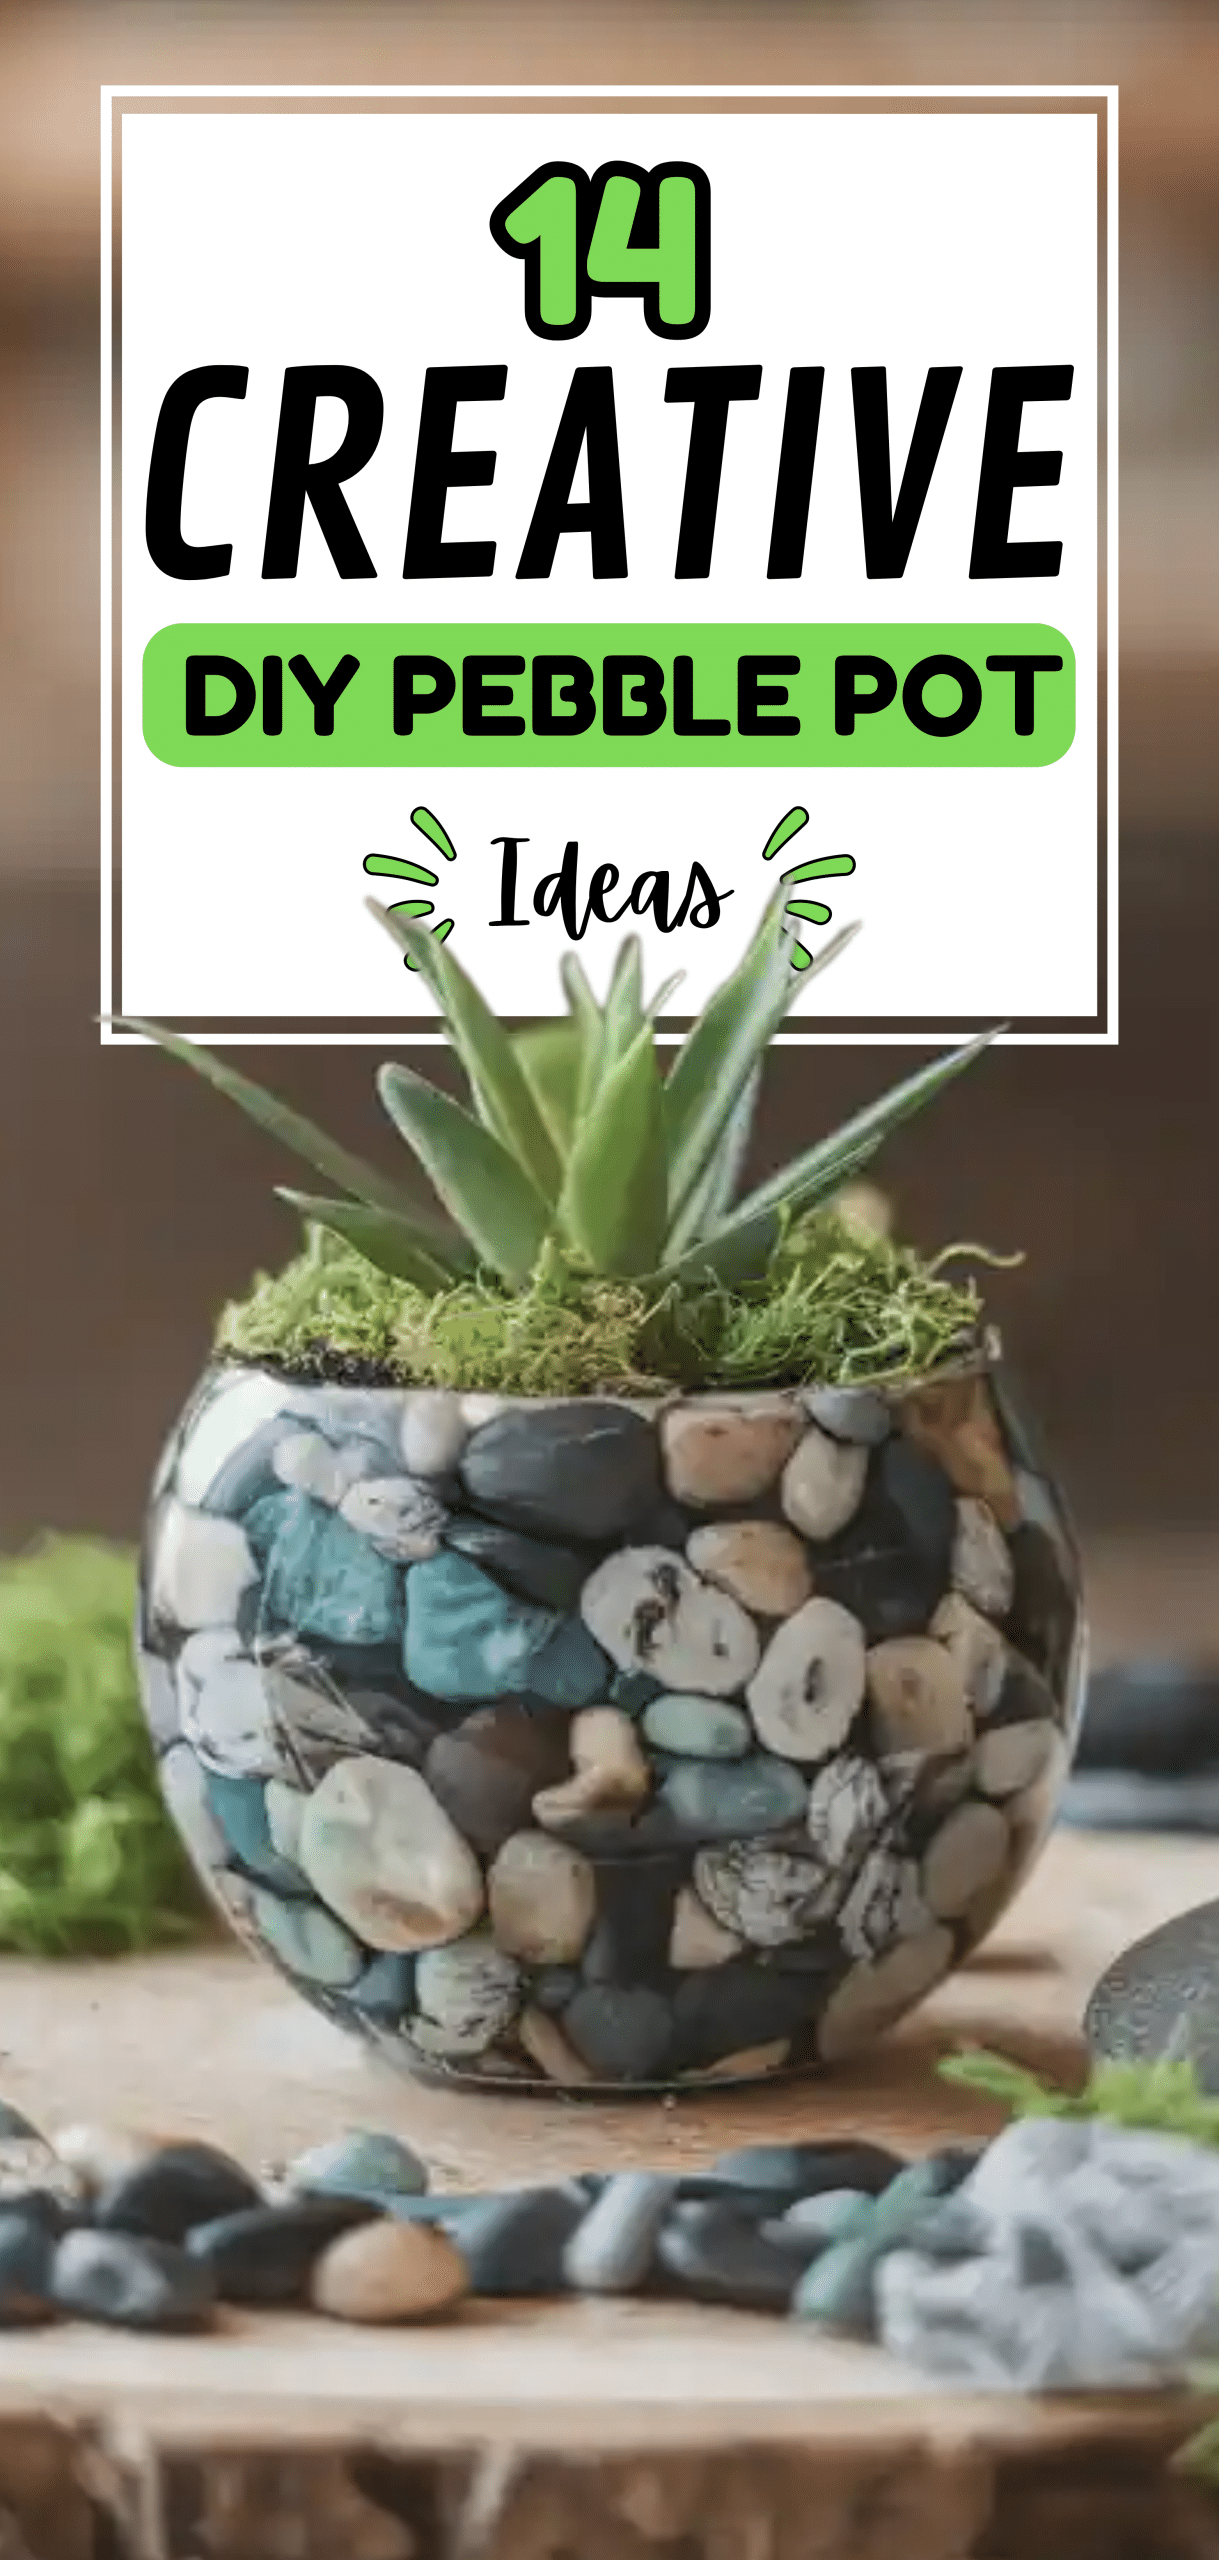
14 Creative DIY Pebble Pot Ideas
My goal was to train my climbing plants to create a stunning vertical garden, but something was missing. I had the trellis and even the corner of my patio picked out.
However, all I noticed at the base of each plant were simple nursery pots, which contrasted with the rustic atmosphere I had in mind. That’s it all came together when I came across the idea of creating a pebble pot.
In addition to hiding ugly planters, these beautiful pots would improve my vertical garden concept by adding texture and a natural element.
At first, I wasn’t sure if pebble pots were just aesthetic or if they actually served a function. Some people online argued about their humidity benefits, while others swore they were useless.
But here’s what I discovered through trial and error: while a pebble pot may not turn your living room into a rainforest, it does help maintain a slightly more stable microclimate, especially if you’re growing tropical or vining plants.
And, more importantly for me, it created a cohesive and beautiful way to elevate my plants, literally and figuratively. I used reclaimed pots, a layer of strong adhesive, and smooth river stones to get the look I was after.
Now, those same climbing plants aren’t just growing, they’re thriving and showing off. The pebble pot bases add an earthy elegance to my garden wall, and they’ve become a conversation starter whenever someone visits.
If you’re like me and want to make your indoor or vertical garden look stunning without breaking the bank, try this simple DIY. It’s an affordable way to improve your plants’ appearance.
14. Classic Pebble Terracotta Pot Makeover
Transform plain terracotta pots using small, uniformly colored river pebbles for a clean and natural look. Apply strong outdoor adhesive around the surface and press the pebbles tightly in rows.
Tip: Use a waterproof tile adhesive or E6000 glue for long-lasting outdoor durability. Seal with a clear acrylic topcoat for a glossy finish.
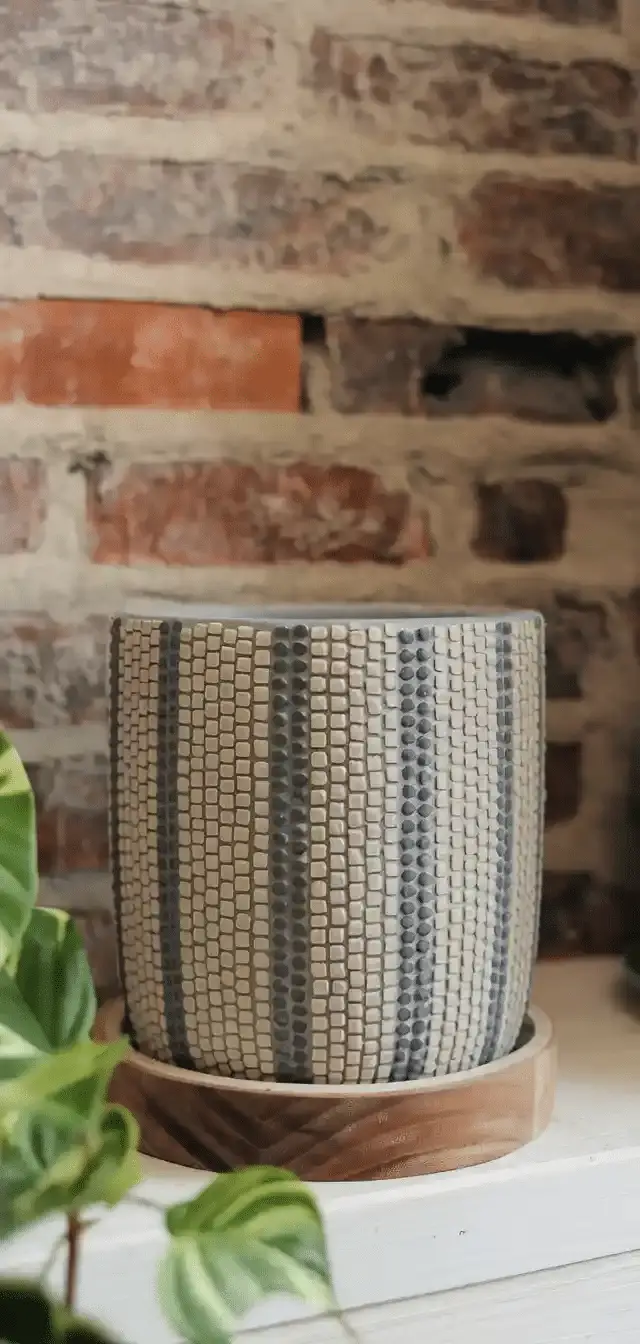
13. Mosaic Pebble Pot Pattern Planter
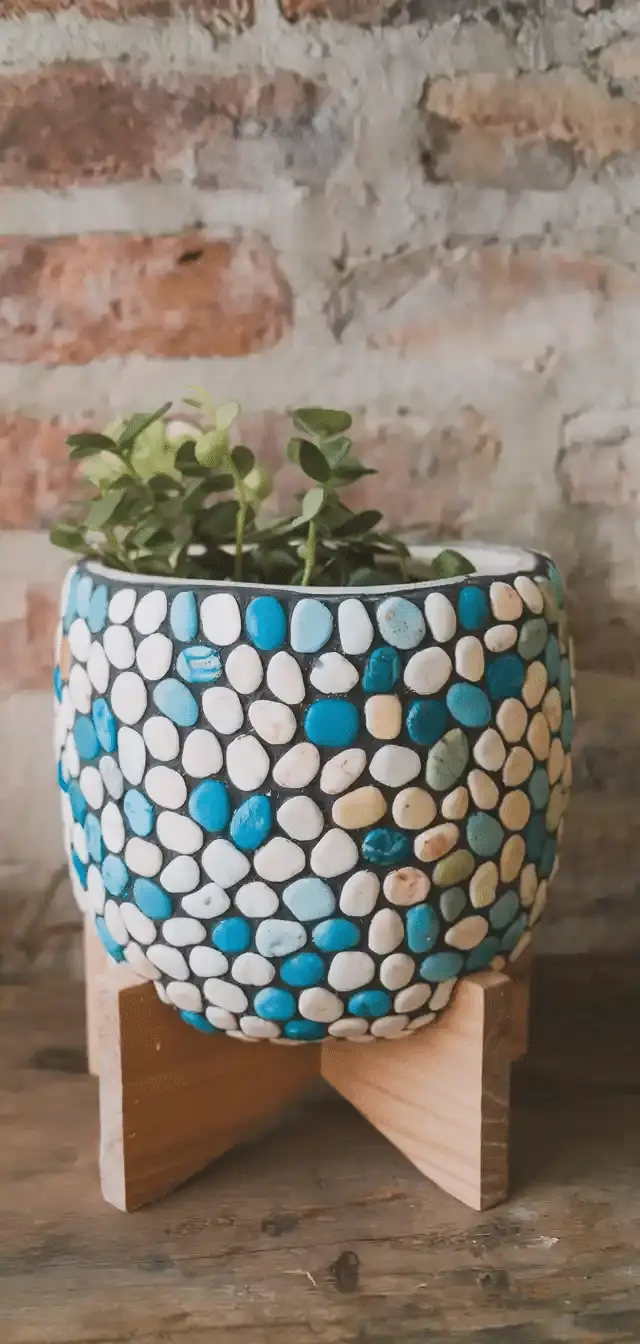
Create geometric or swirling designs using multi-colored pebbles. Sketch the pattern first with chalk or a pencil directly on the pot surface.
Tip: Sort pebbles by size and shade before applying to make the pattern cleaner and more precise.
12. Pebble & Rope Combo Planter
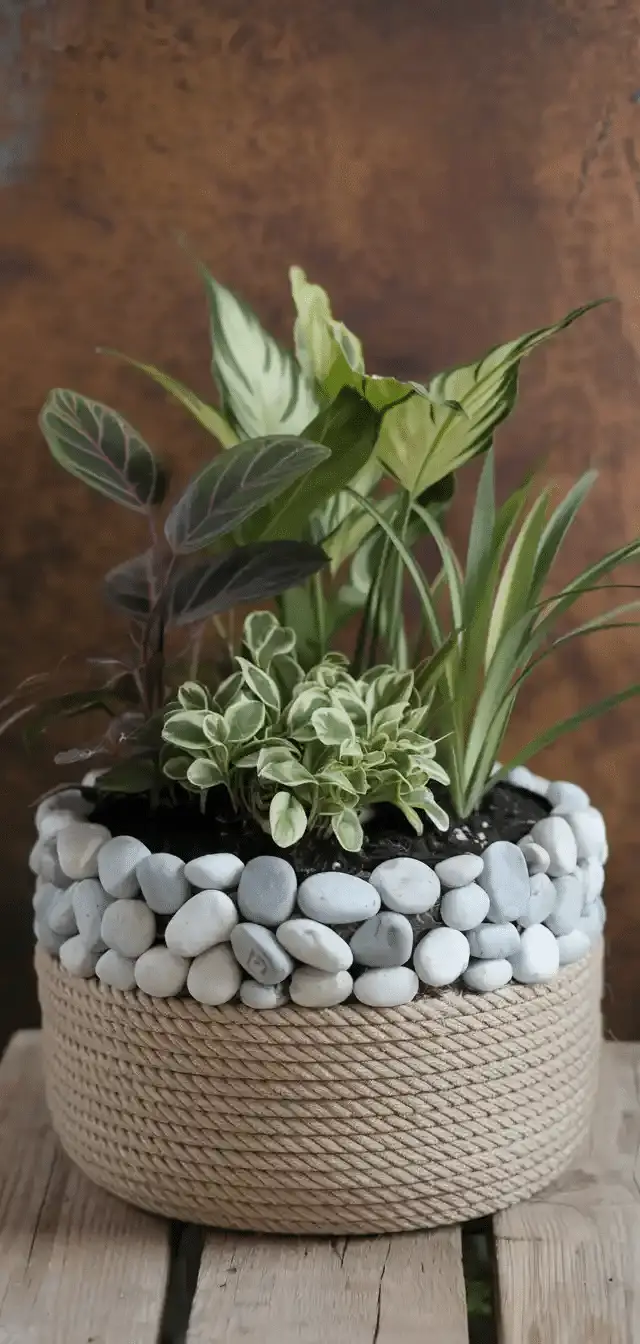
Glue rows of jute rope around the top and bottom of the pot, sandwiching a center band of polished pebbles for a rustic coastal aesthetic.
Tip: Use hot glue for the rope sections and strong adhesive for the stones to ensure each material adheres appropriately.
11. Vertical Pebble Pot Tower
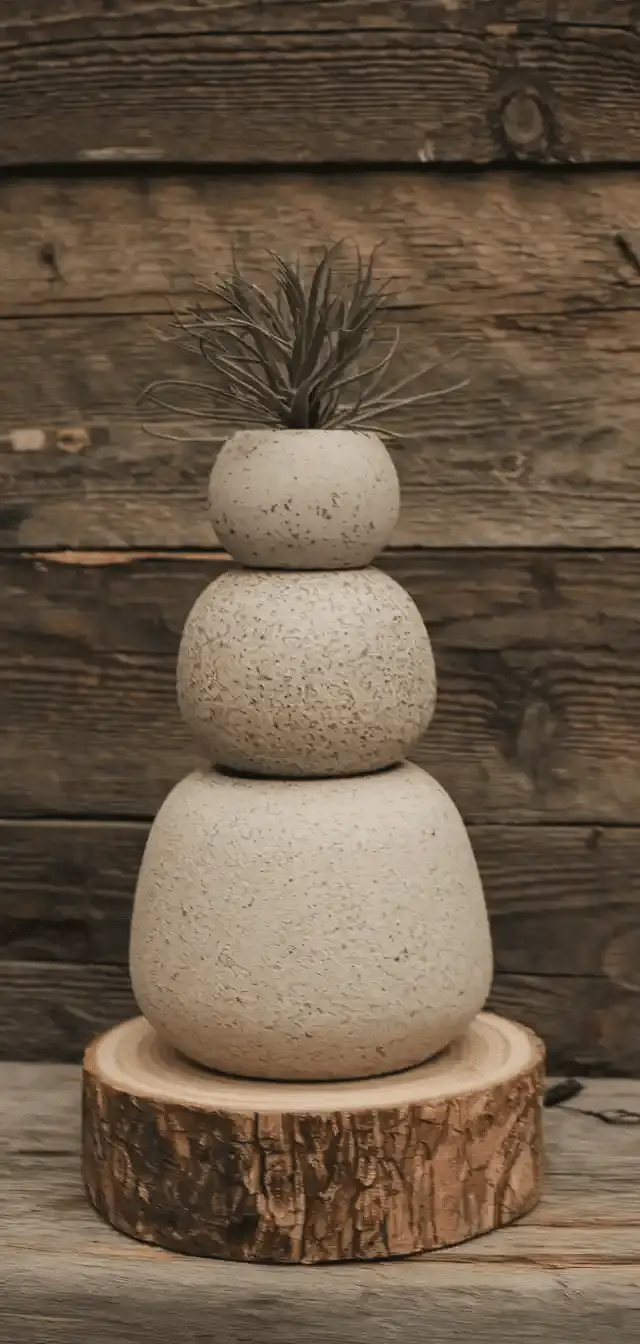
Stack 3–5 different-sized pebble-decorated pots vertically on a rebar or dowel pole secured in the ground to form a tiered garden display.
Tip: Angle each pot slightly in alternating directions to create visual movement. Plant trailing varieties like string-of-pearls for added dimension.
10. Black and White Pebble Contrast Pot
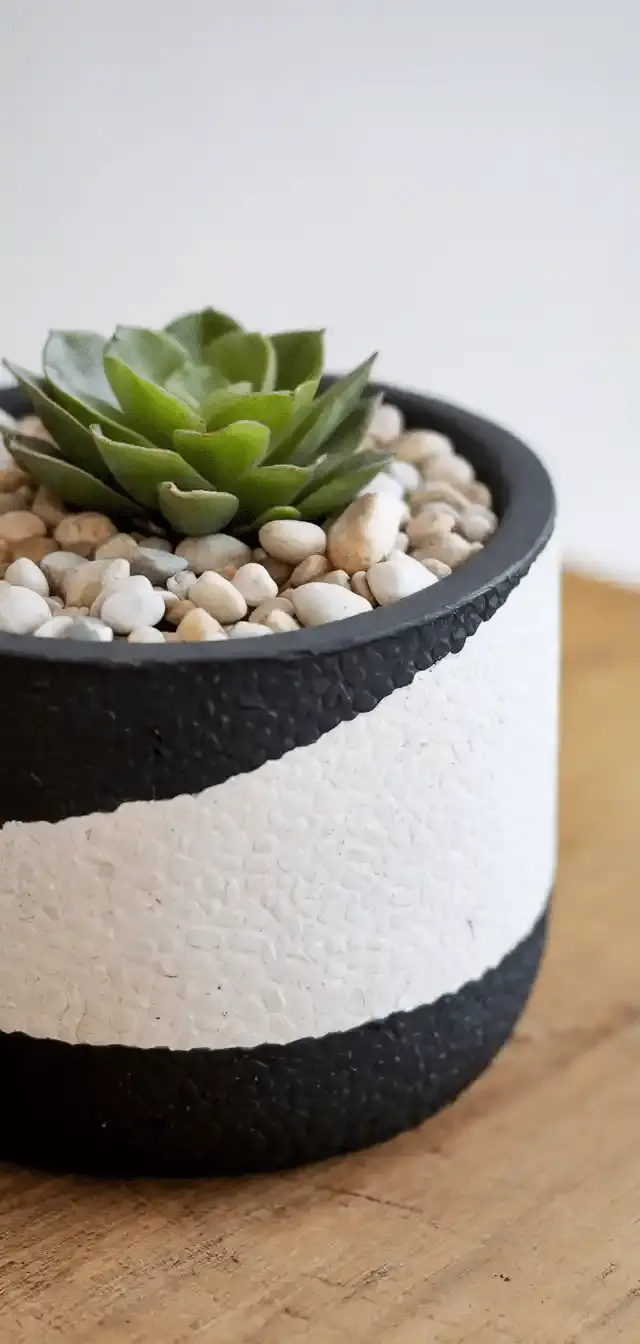
Use white pebbles on one side of the pot and black on the other for a bold, modern statement piece. Ideal for minimalist or monochrome garden themes.
Tip: Use painter’s tape to divide the pot before applying adhesive for clean separation of tones.
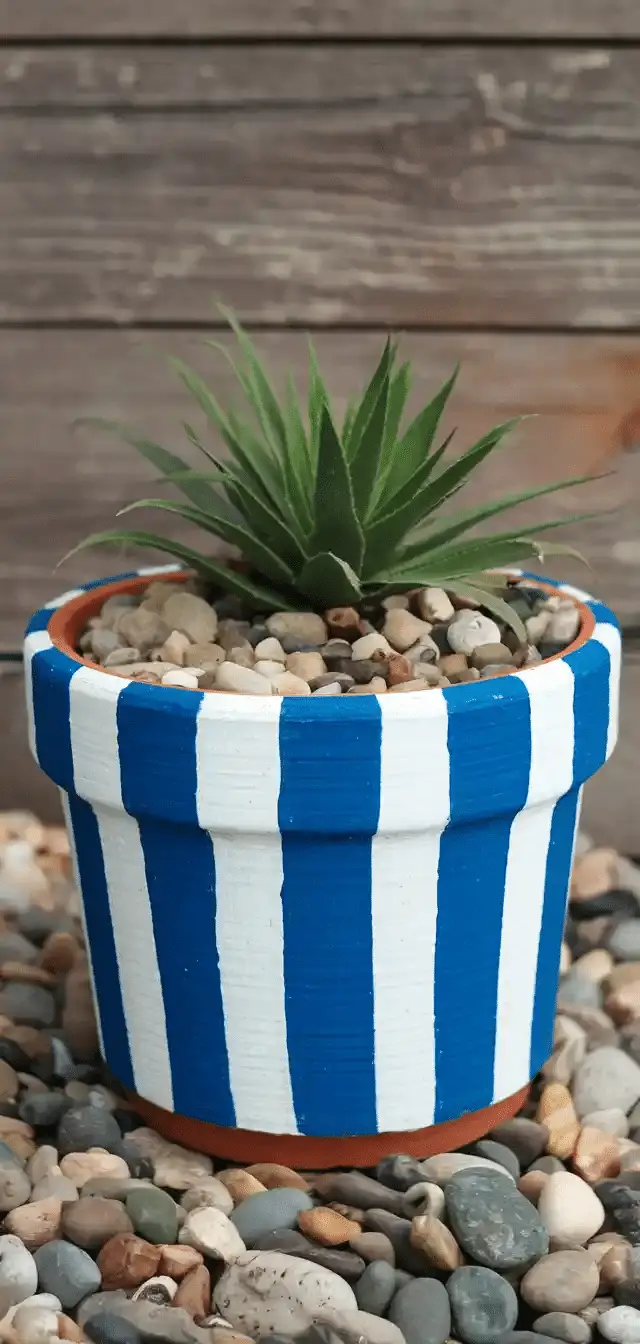
9. Pebble Striped Design Pot
Alternate rows of natural, white, and polished glass pebbles to create horizontal stripes or bands around the pot.
Tip: Use a measuring tape and level to mark guide lines for even spacing and alignment.
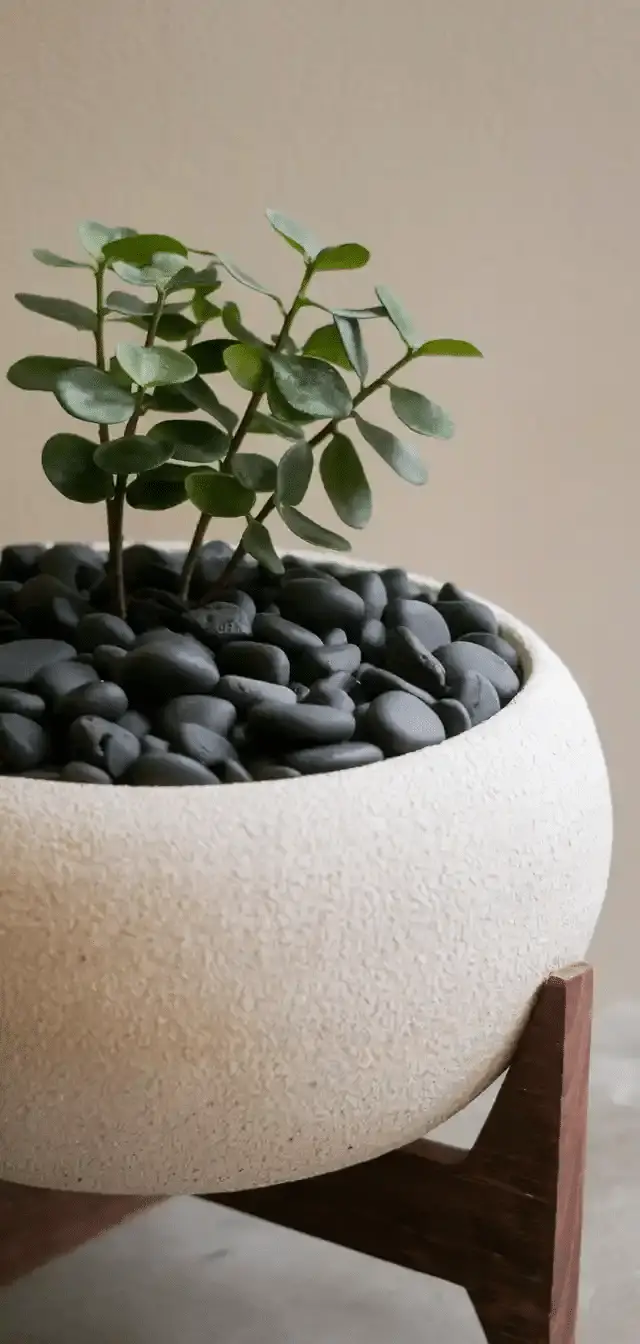
8. Succulent Dish Garden in a Pebble Bowl
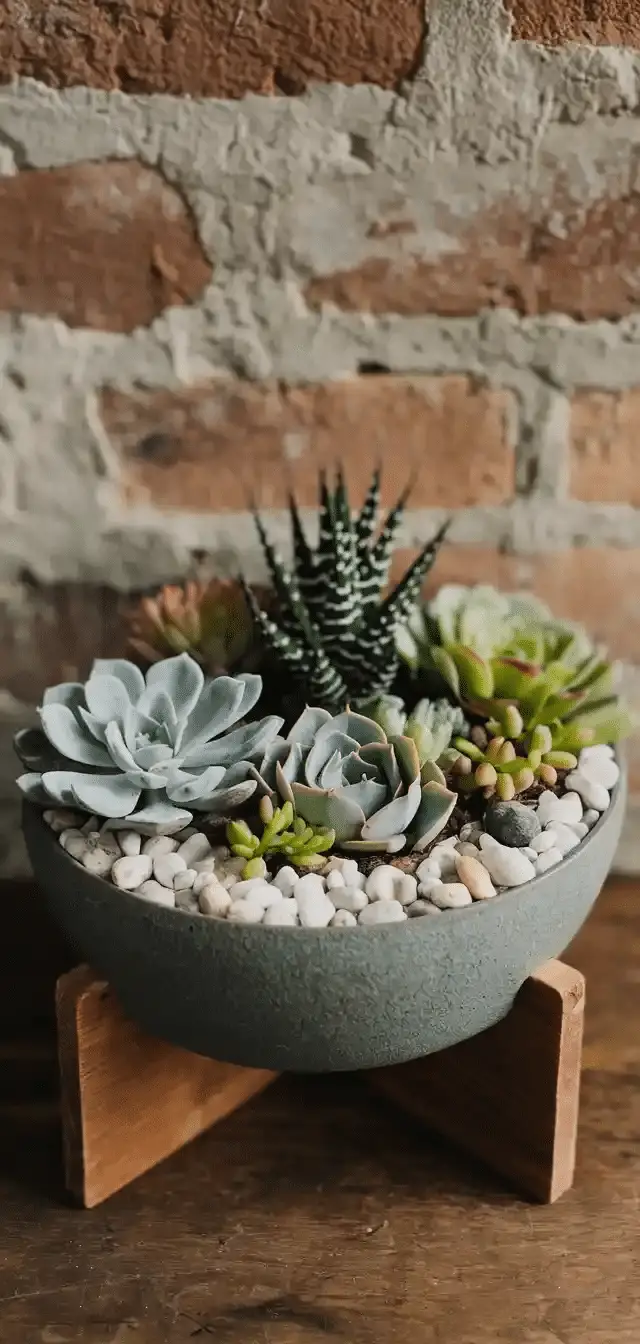
Line the outside of a wide, shallow dish with pebbles, then create a succulent garden inside with decorative top dressing of matching stones.
Tip: Drill a small drainage hole or place a layer of charcoal and sand beneath the soil to prevent root rot.
7. Textured Pebble & Cement Planter
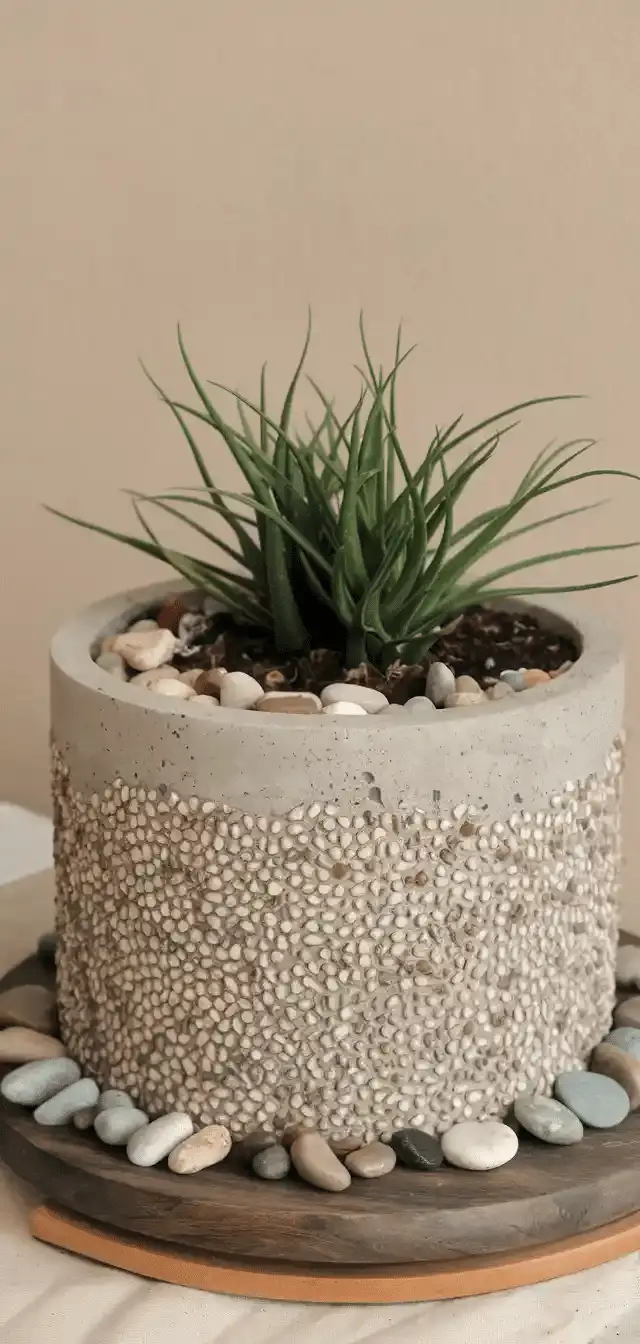
Use quick-set cement to mold your own pot, then press pebbles into the outer surface before it fully sets for a natural-embedded effect.
Tip: Use a greased plastic bowl as a mold and insert a smaller container inside for the planting cavity.
6. Hanging Pebble Planter
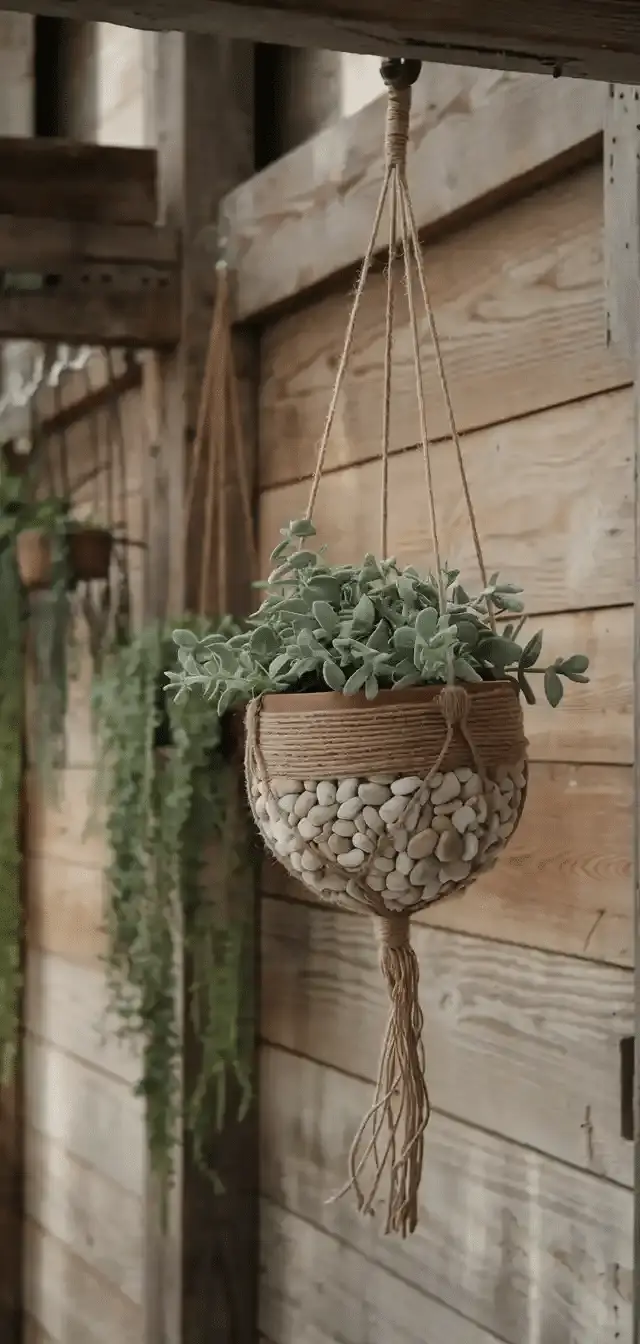
Decorate a small pot with pebbles and attach sturdy twine or macramé hangers. Ideal for balconies or patios.
Tip: Balance weight distribution when applying pebbles to prevent tipping. Reinforce hanger loops with extra adhesive or metal hooks.
5. Miniature Fairy Garden Pebble Pot
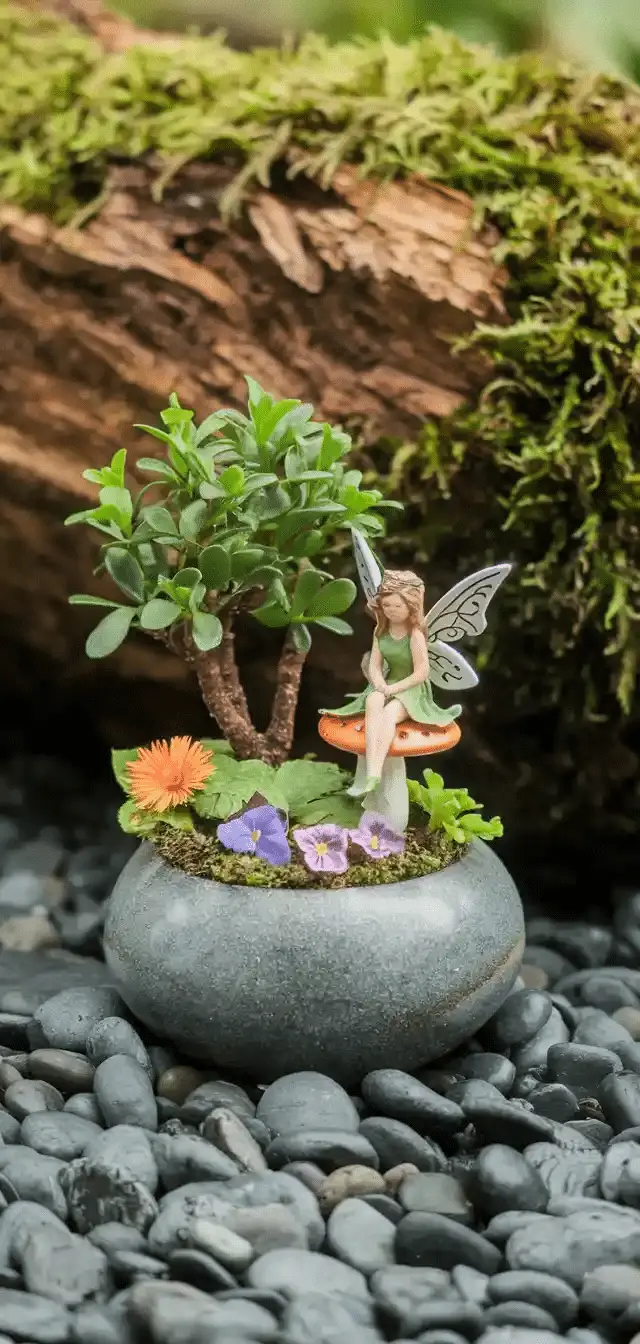
Decorate a medium-sized pot with colorful pebbles, then build a miniature fairy garden inside with moss, tiny mushrooms, and figurines.
Tip: Use aquarium pebbles for added color variety and finer detailing on smaller pots.
4. Zen-Inspired Pebble Pot for Indoor Plants
Decorate with flat, smooth black or grey stones to create a serene, meditative aesthetic. Ideal for bonsai or peace lilies.
Tip: Pair with minimalist decor and use LED underlighting or a white gravel base for contrast.
3. Seasonal Pebble Pot Themes
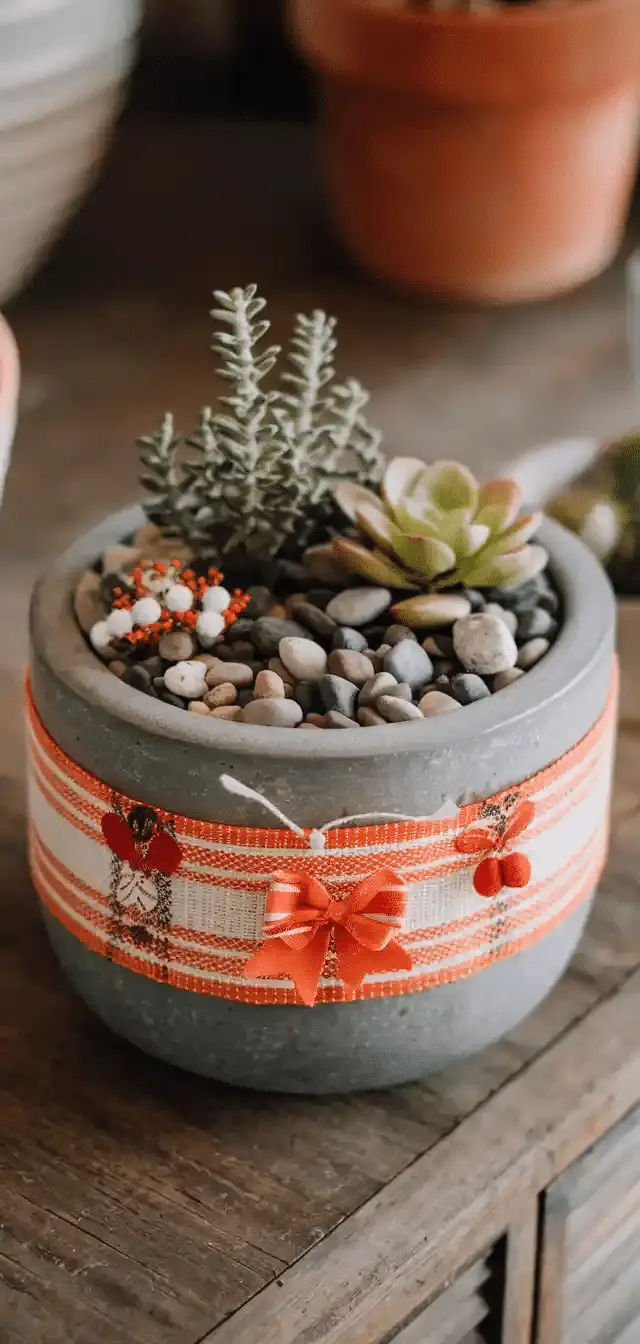
Swap out accent features like ribbon or painted embellishments with seasonal designs—red and green for holidays, pastel pebbles for spring.
Tip: Keep the main pebble decor neutral and change ribbons, decals, or plant picks based on season.
2. Pebble-Mosaic Lettered Pots
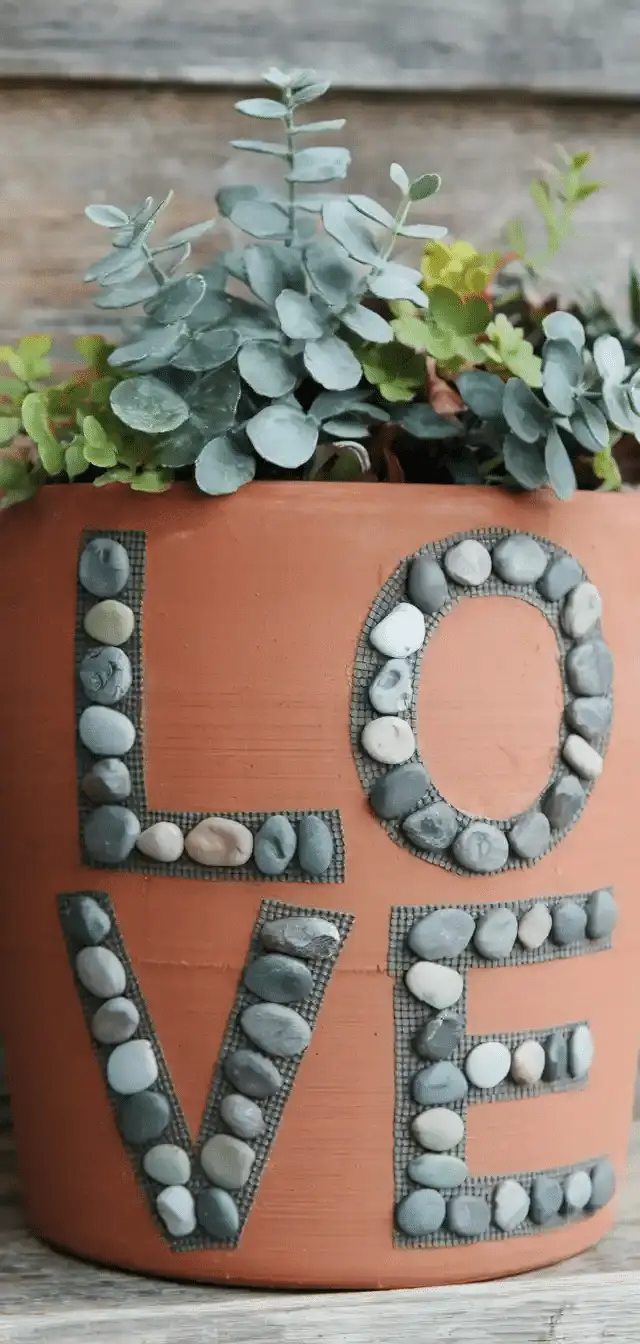
Spell out words like “Grow” or “Herbs” using contrast pebbles or painted stones embedded in a mosaic on each pot.
Tip: Draw your lettering outline first, then fill in with small contrasting pebbles or gravel. Great for labeling herb gardens.
1. Tiered Pebble Fountain Pot
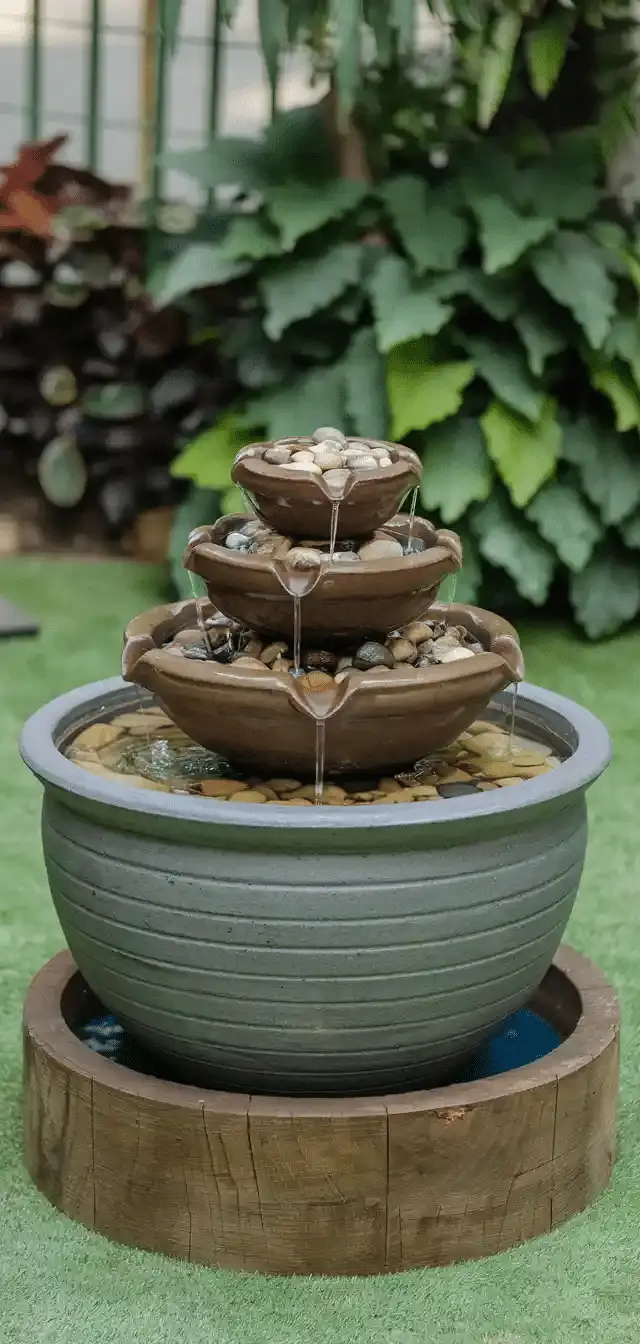
Convert a large pebble-decorated pot into a bubbling water feature by inserting a small submersible fountain pump and topping it with additional pebbles.
Tip: Place a small mesh screen over the pump to prevent clogs and use silicone to waterproof the inner walls of the pot.
Conclusion
DIY pebble pots offer an easy, customizable way to elevate any garden or indoor plant display. With endless design options and minimal tools required, these creative containers bring texture, style, and personal flair to your home decor or outdoor space.


[…] posting several creative tutorials like my recent DIY Pebble Pot Ideas, I stumbled upon another fun challenge: trying to recreate those stunning DIY garden globe projects […]