Make sure to join my list for Weekly Tips and Recipes to Your Inbox
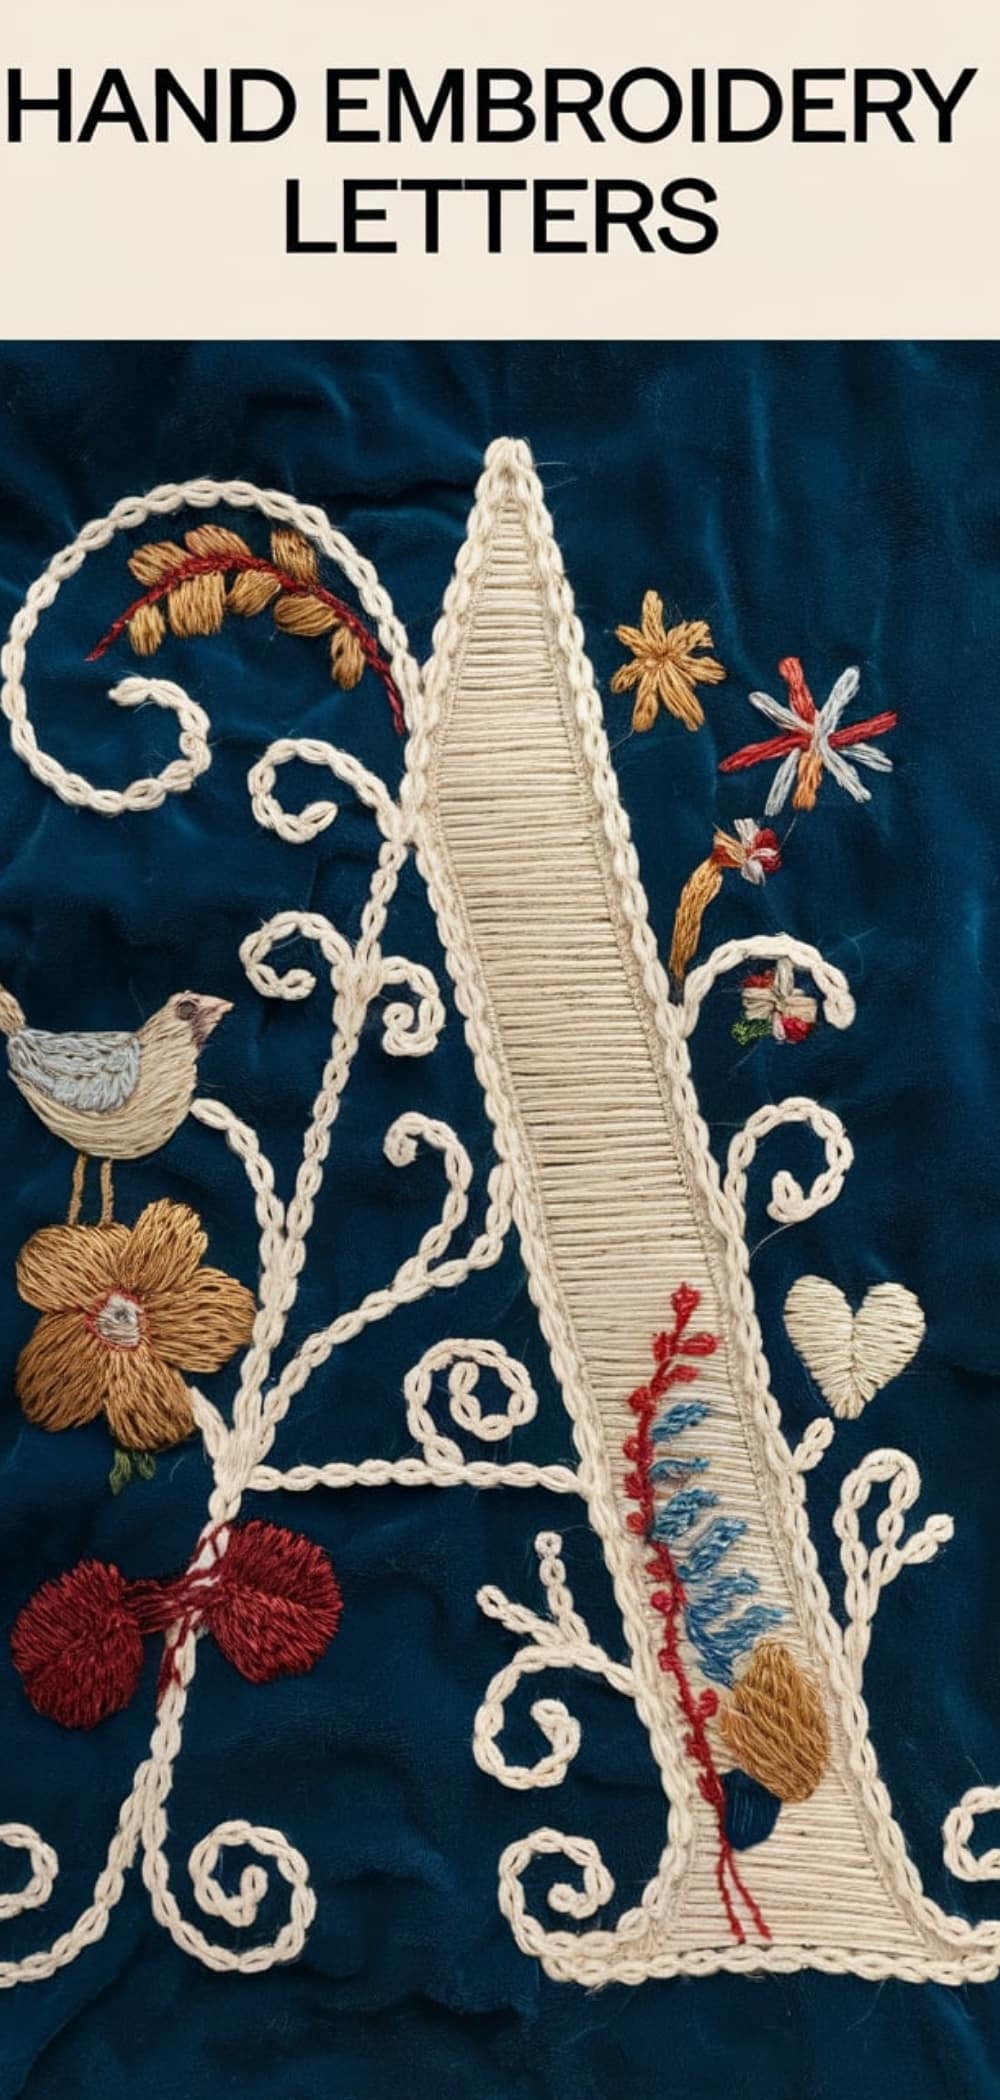
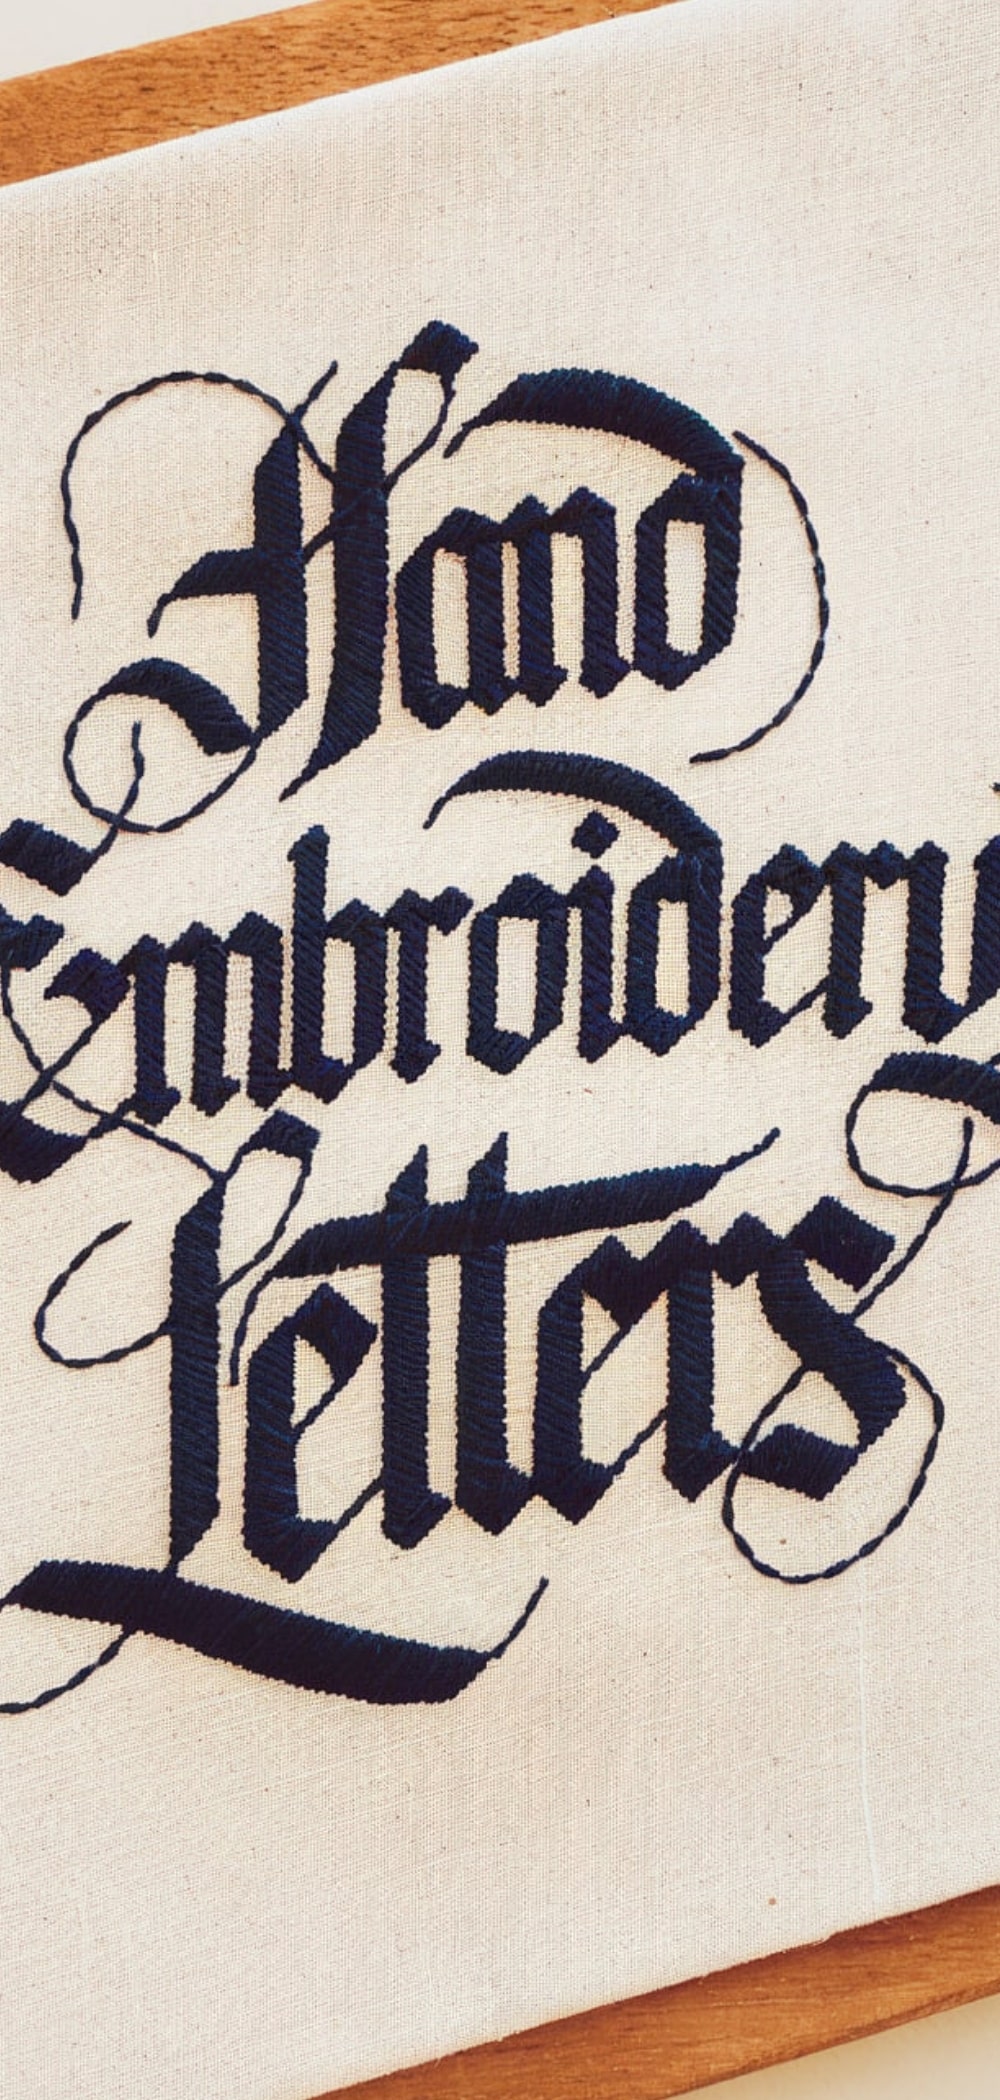
17 Beautiful Hand Embroidery Letters Ideas
After finishing my last project, a Nike sweatshirt with a floral pattern stitched neatly around the collar, I found myself asking: What’s next? I’d fallen in love with the meditative rhythm of needle and thread, but now I wanted to step it up. The next frontier? Embroidery letters. It’s one thing to stitch petals and vines, but smooth, legible letters? That’s a whole other challenge. My first few attempts came out a bit shaky, some puckering here, uneven edges there, but I knew this wasn’t the end. It was just the beginning of a new learning curve.
I started digging deeper, learning that thread choice, tension, and stabilizing all play huge roles in making embroidery letters look polished. Rayon embroidery thread, like the ones from Sulky, proved to be a game-changer shiny, smooth, and easy to control with a finer bobbin thread underneath. The stitches lay cleanly on the fabric without straining when the bobbin was gently adjusted and the needle tension was lowered. Pre-starching the fabric kept it from slipping in the middle of the stitch, and interfacing before stitching provided a strong basis for everything. These small changes began to have a significant impact.
However, my adoption of hand skills that stressed control and smooth curves was the true turning point. I was able to make consistent, flowing lines for every letter by using a split stitch or whipped backstitch. I discovered that heat-erase markers and chalk pencils were useful for marking textiles. I even experimented with “stick and stitch” paper to trace my designs. With every attempt, my embroidery letters became more confident, more consistent, and honestly, more me.
Whether it’s for a stocking, a bread bag, or another upgraded hoodie, the key is experimenting, adjusting, and not being afraid to slow down and enjoy the process. Below, I present 17 inspiring and achievable hand embroidery lettering ideas paired with detailed tips. That’s what takes your work to the next level.
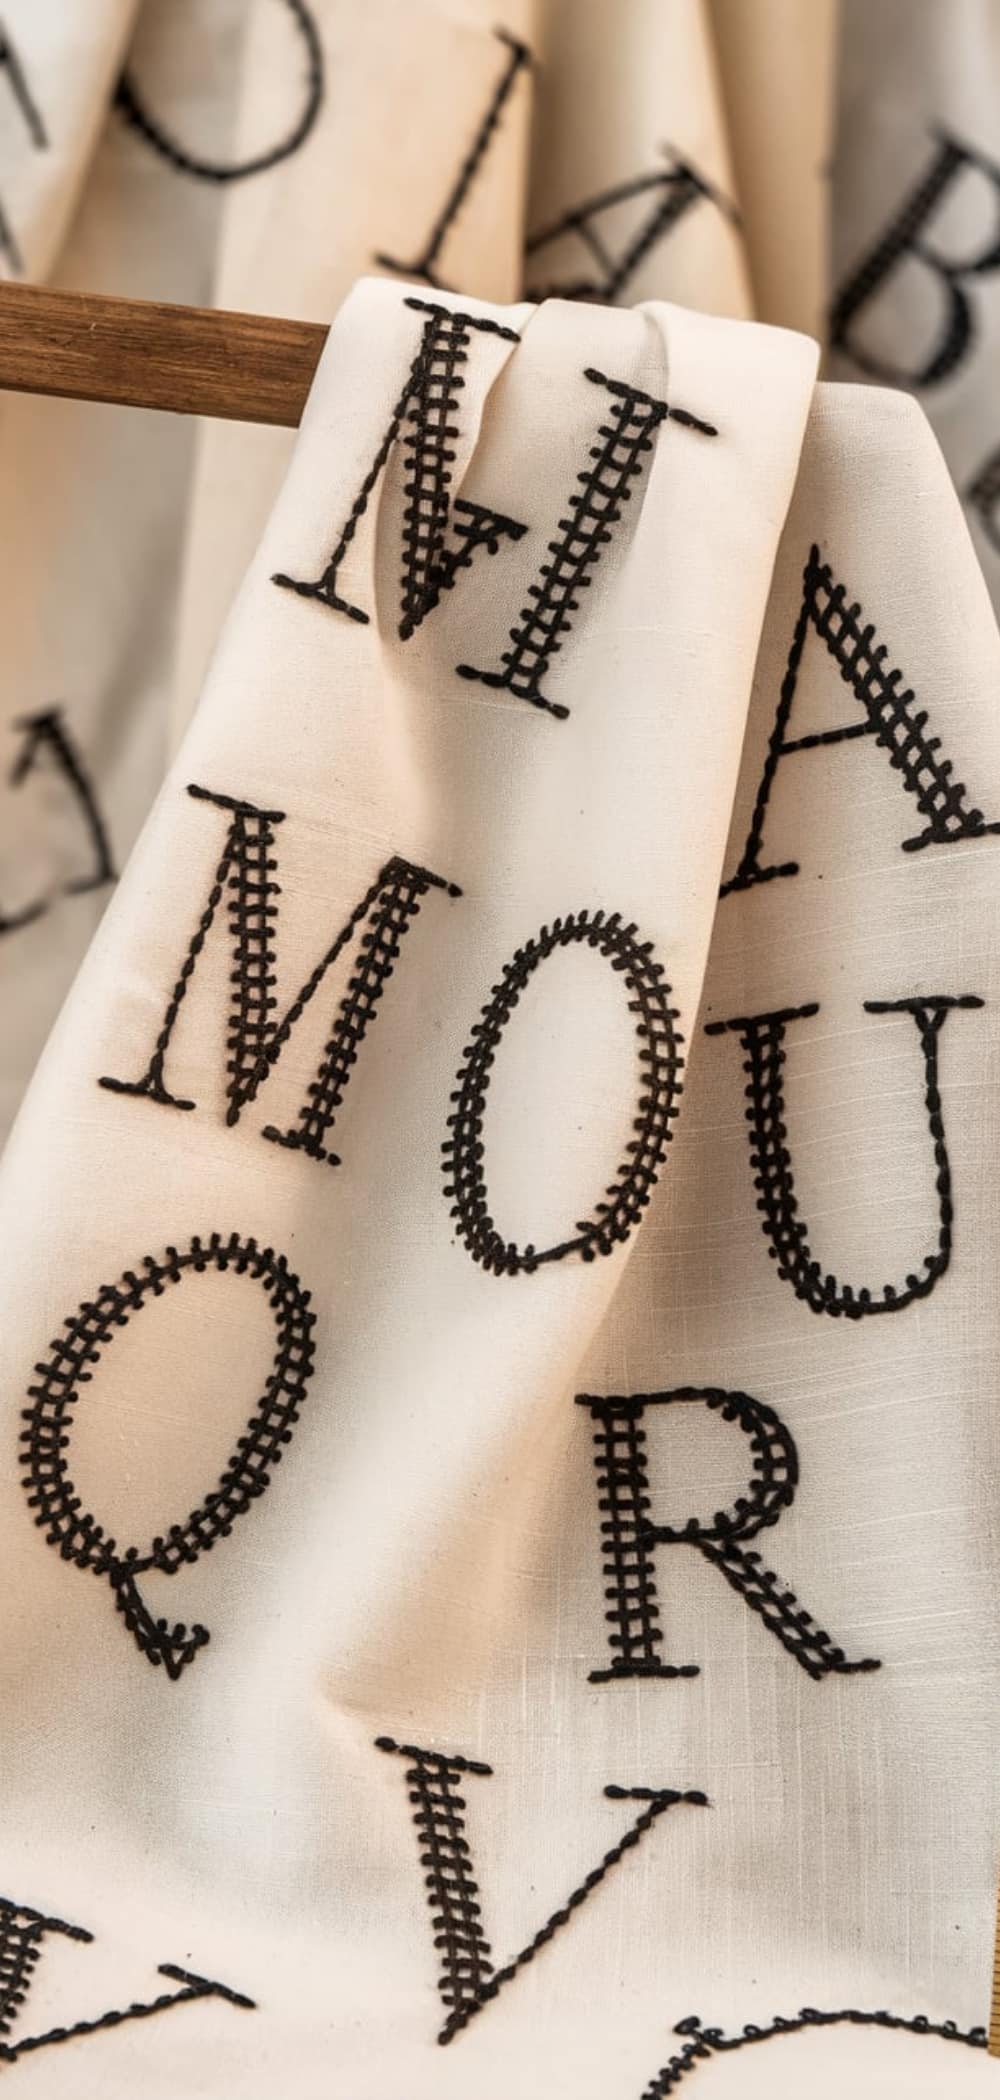
1. Classic Script Embroidery Letters
Elegant and flowing, script embroidery letters are perfect for formal or romantic projects.
Tips:
- Use a backstitch or split stitch for smooth curves.
- Choose fine cotton or silk thread for refined detail.
- Sketch the design lightly with a water-soluble pen before stitching.
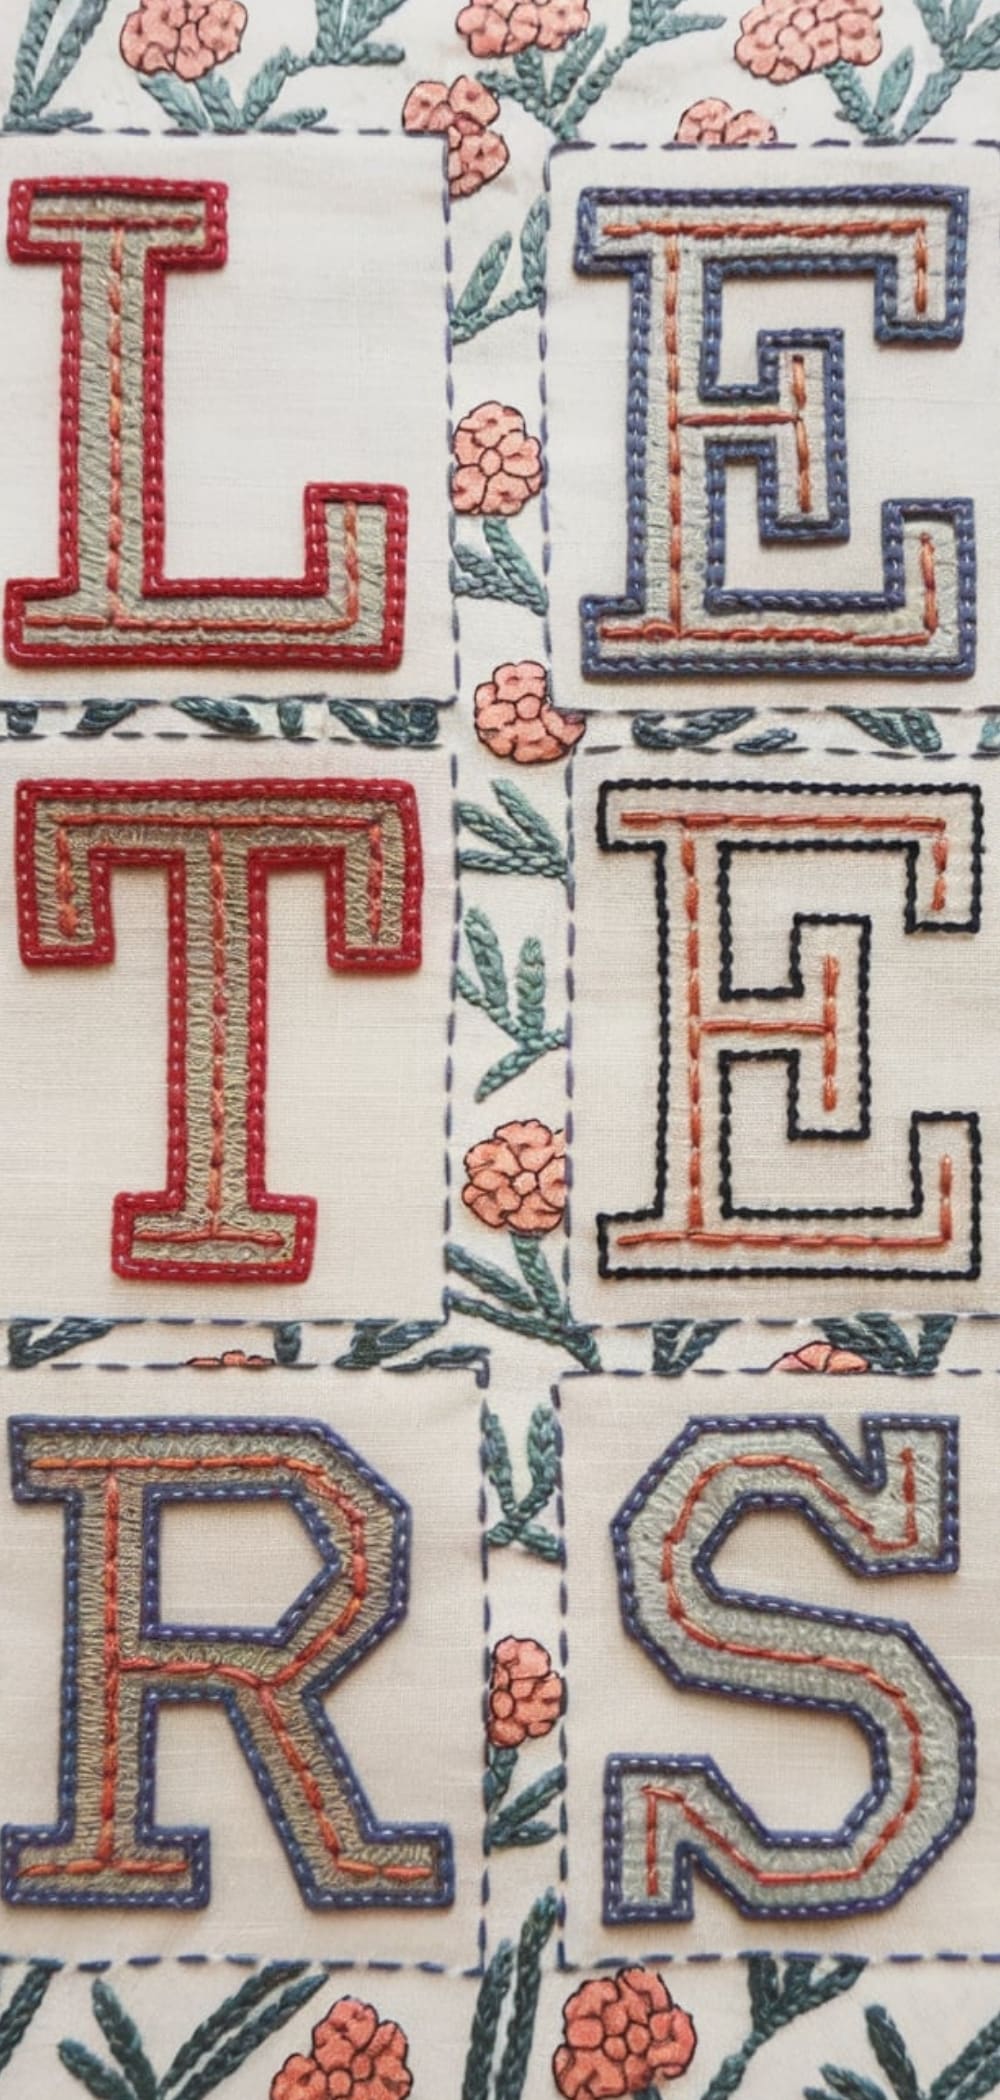
2. Block Letter Embroidery
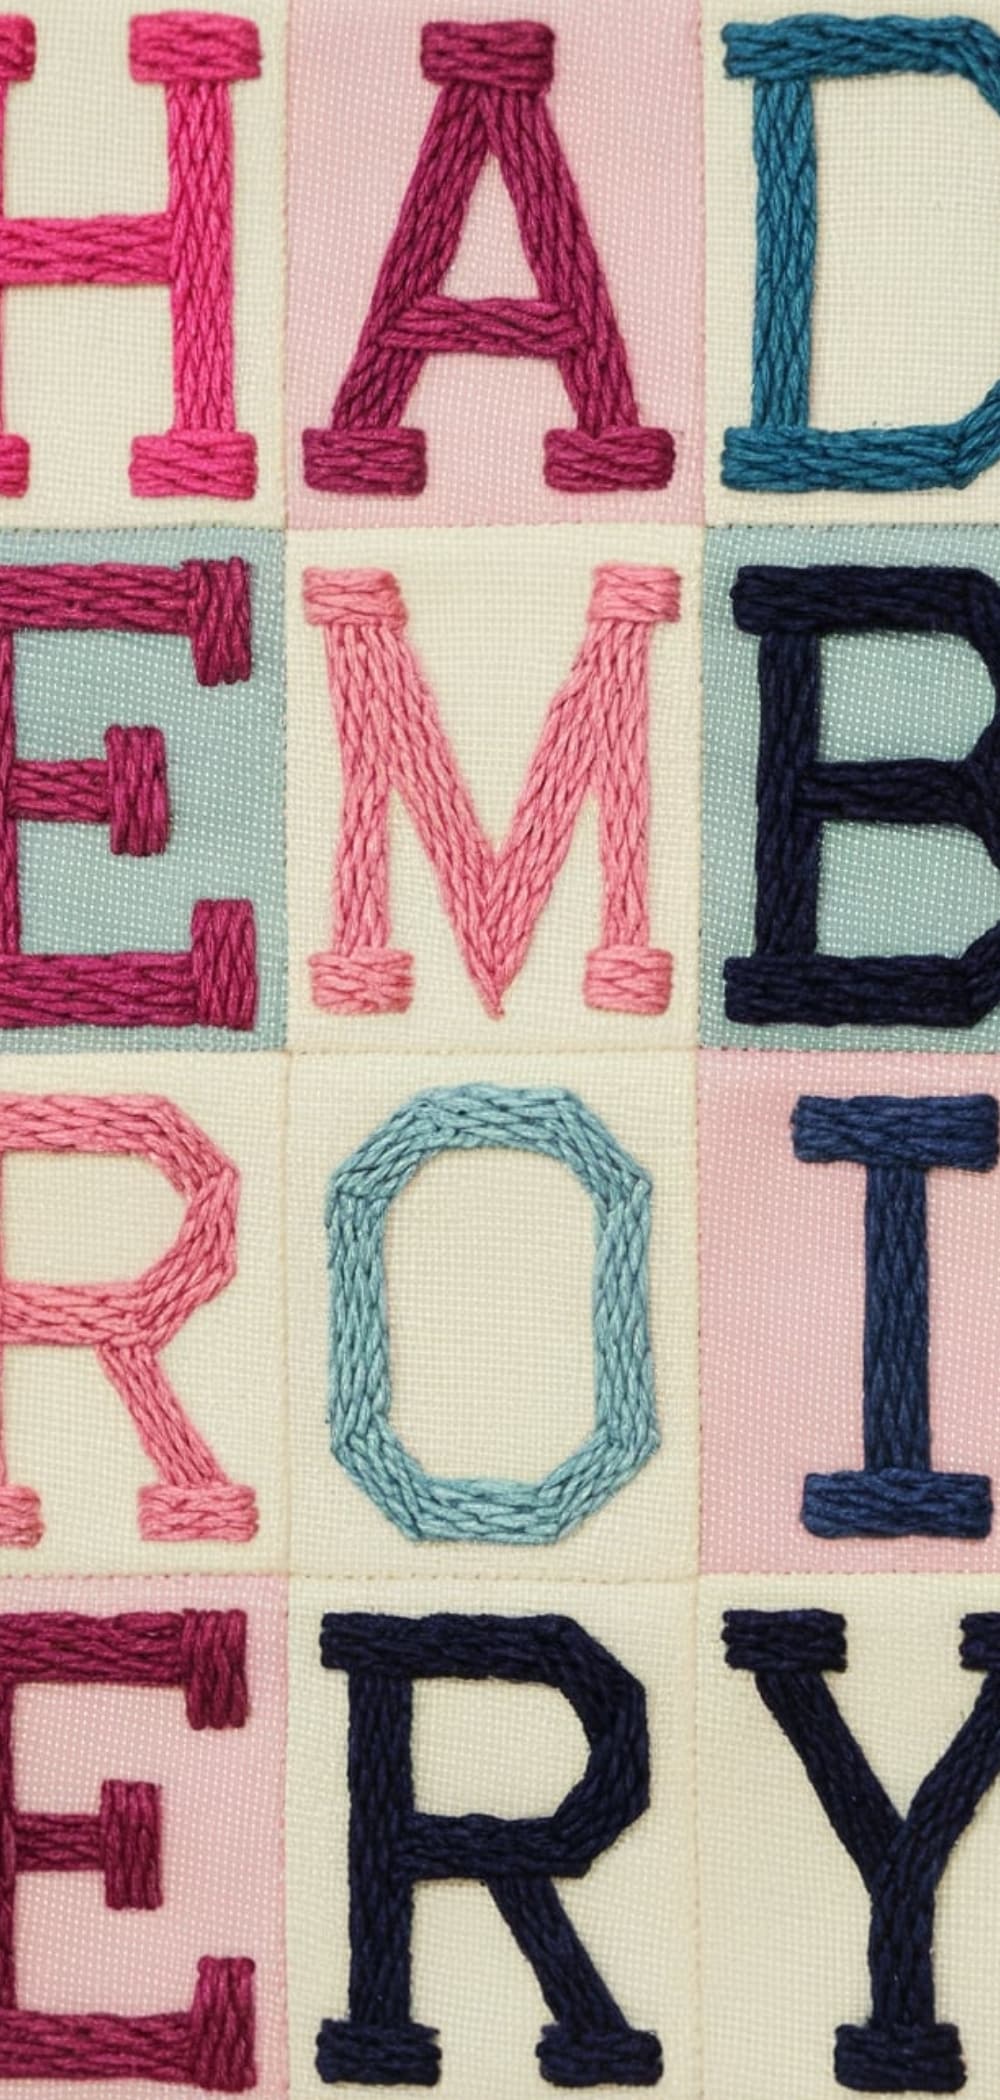
Bold and readable block embroidery letters suit casual styles or kid-friendly designs.
Tips:
- Use satin stitch for clean fills.
- Outline with a stem stitch for contrast.
- Great for names on towels, bags, and denim.
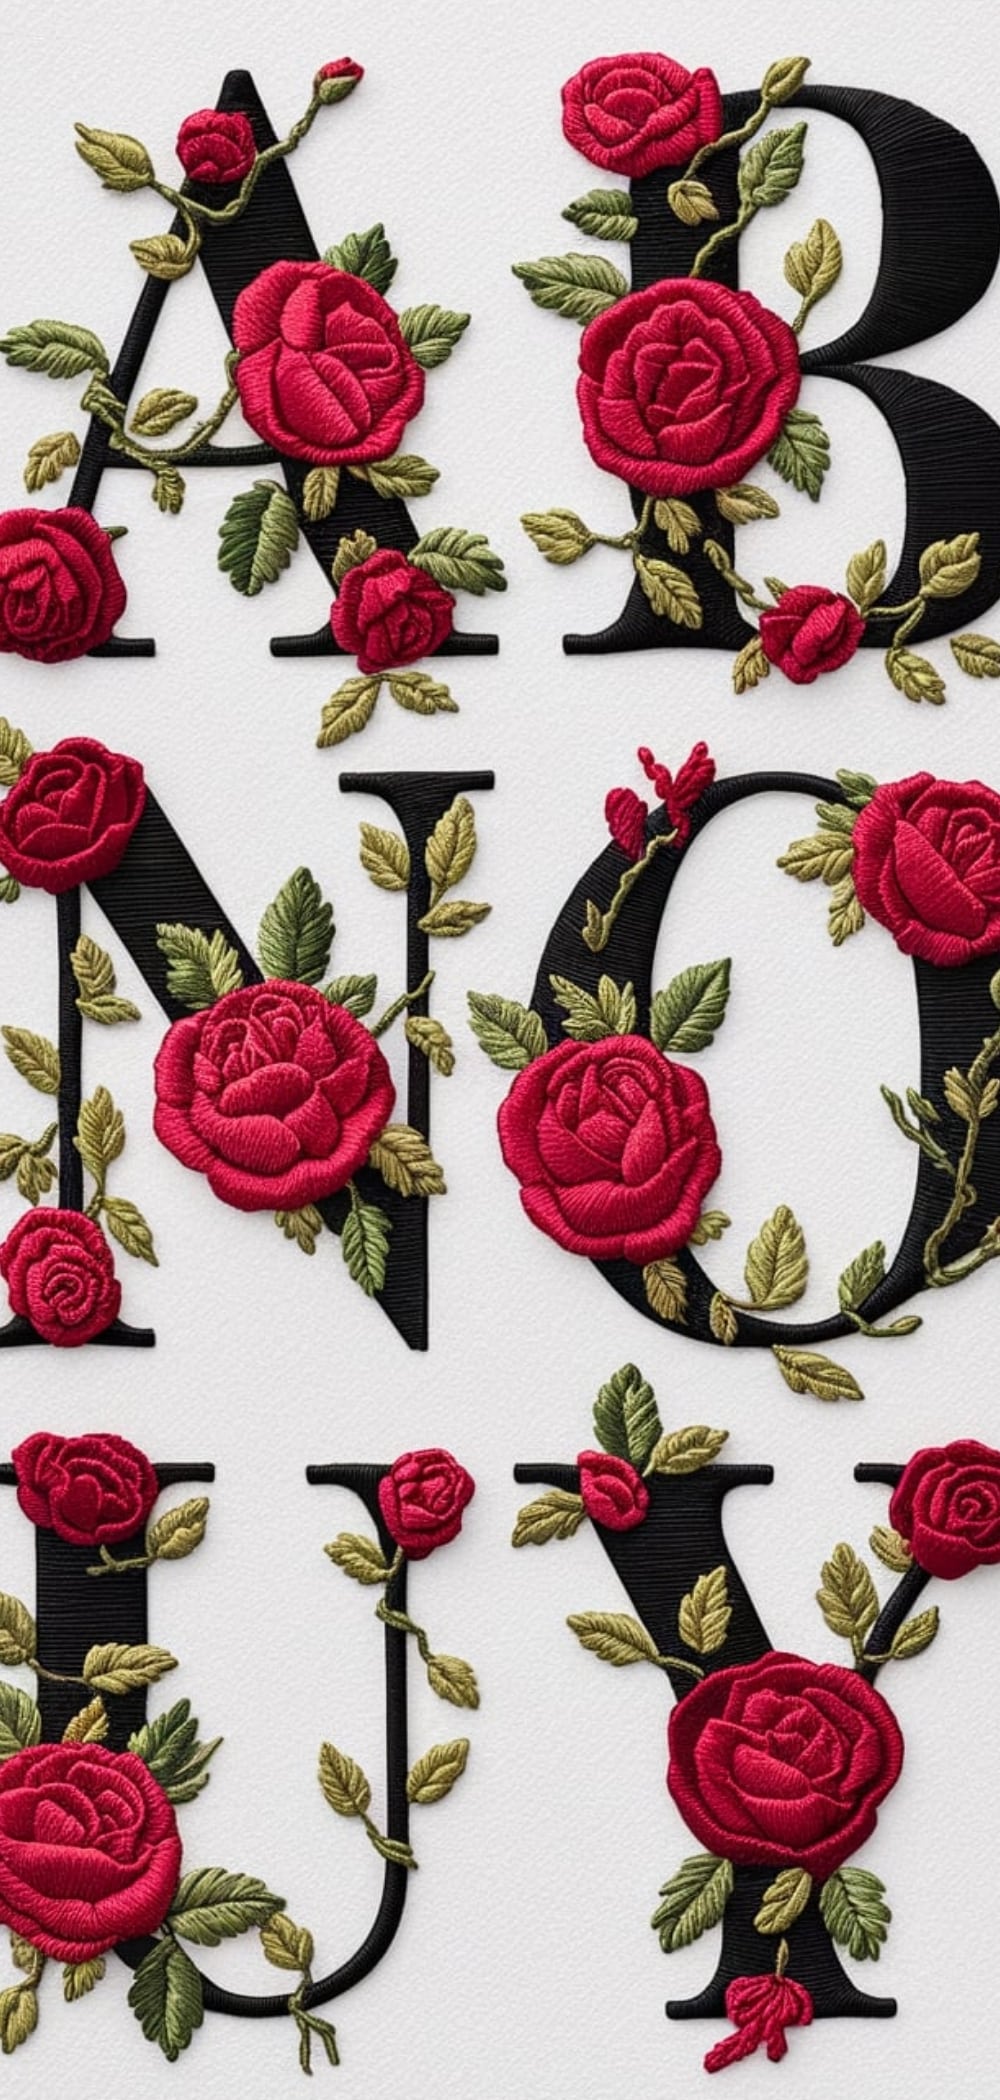
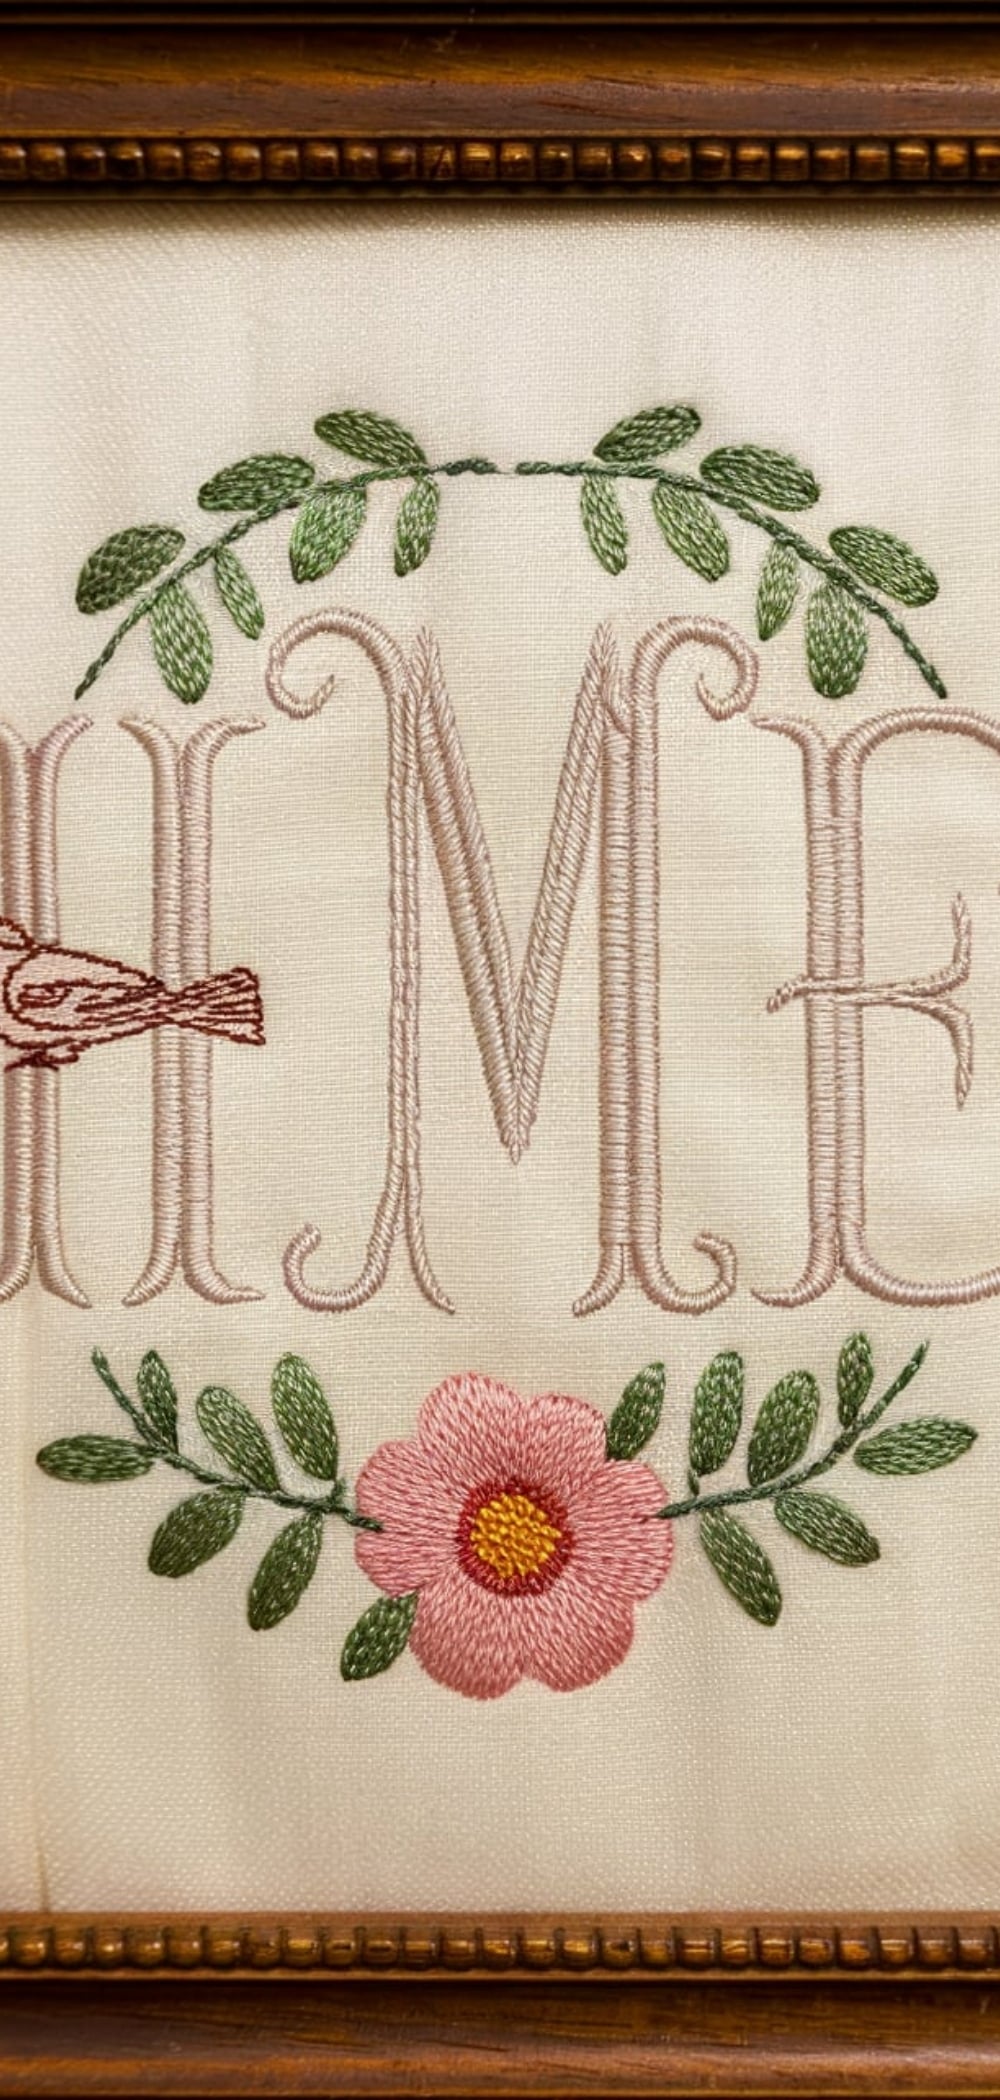
3. Floral Embellished Embroidery Letters
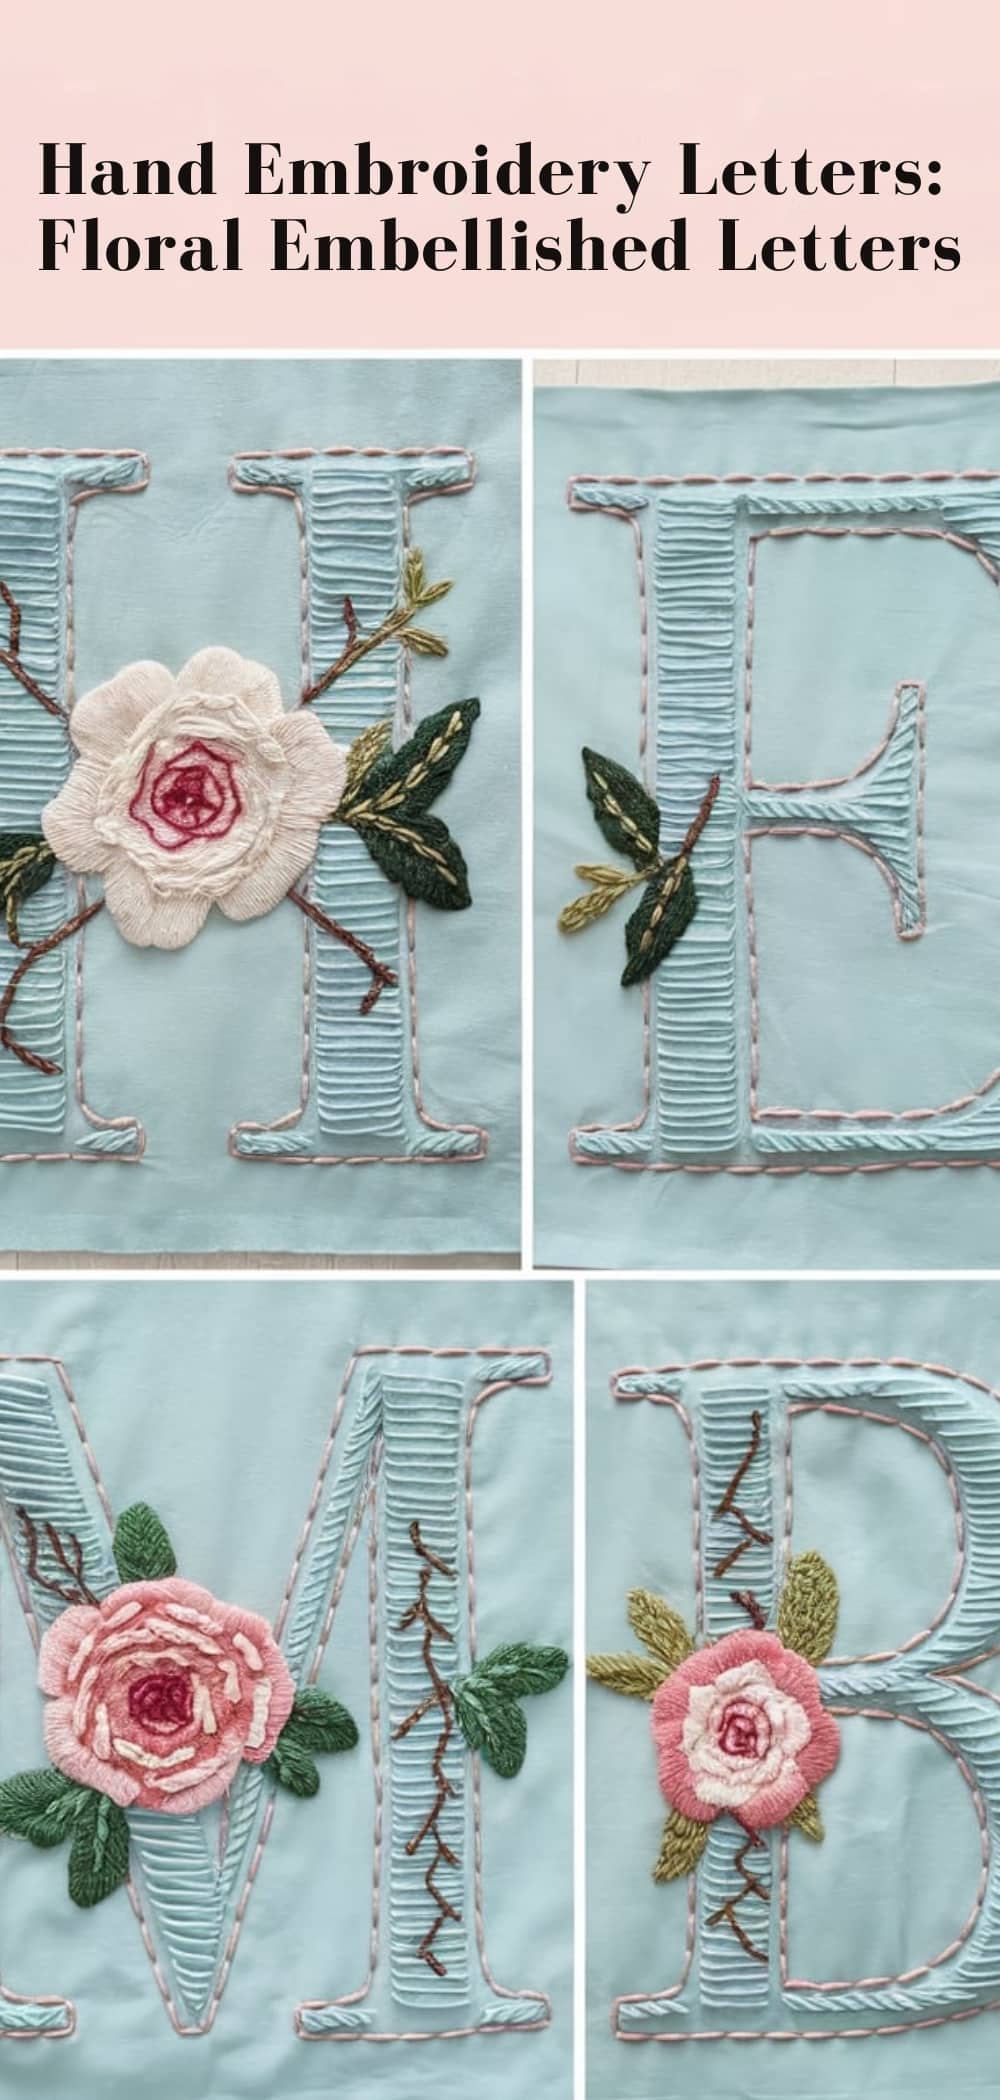
Incorporate miniature roses, leaves, and vines into or around the letterform.
Tips:
- Use lazy daisy and French knots for florals.
- Start with a simple serif letter as your base.
- Use soft, pastel threads for a romantic look.
4. Negative Space Embroidery Letters
Embroider the area around the letter, leaving the letter unstitched.
Tips:
- Trace the letter on fabric and fill the surroundings with a dense fill stitch.
- Works beautifully with bold sans-serif fonts.
- Use a hoop to keep the fabric taut during dense stitching.
5. Outline Embroidery Letters Only
A minimalist aesthetic perfect for modern or geometric looks.
Tips:
- Use stem, chain, or split stitch.
- Ideal for tea towels, pillowcases, or napkins.
- Choose high-contrast thread for visibility.
6. Whimsical Doodle Embroidery Letters
Playful and irregular shapes for a fun, lighthearted touch.
Tips:
- Sketch your letter freehand for personality.
- Use colorful variegated thread for added charm.
- Ideal for baby bibs and children’s room décor.
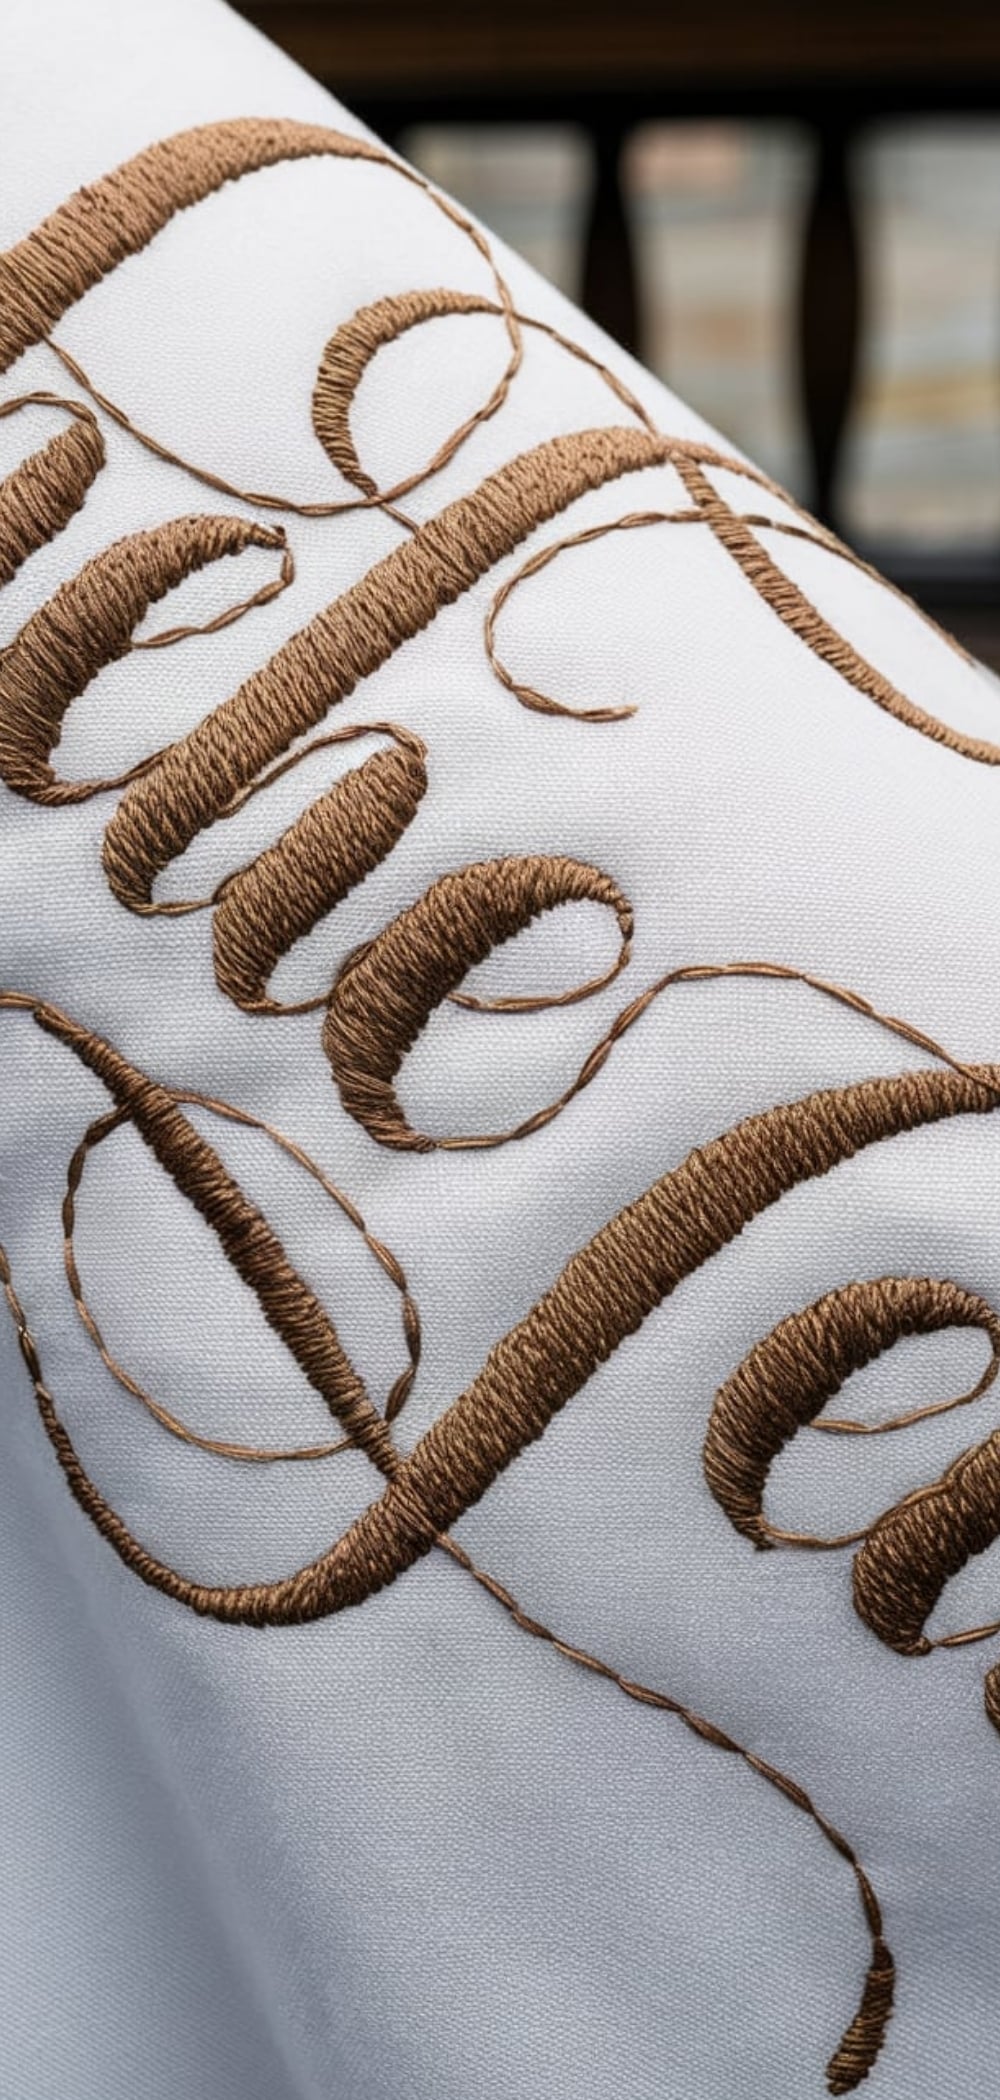
7. Chain-Stitched Calligraphy Embroidery Letters
Use a chain stitch to mimic the flowing style of ink calligraphy.
Tips:
- Maintain consistent tension for fluid loops.
- Best suited to cursive or script fonts.
- Use a metallic thread for a luxe finish.
8. French Knot Fill Letters
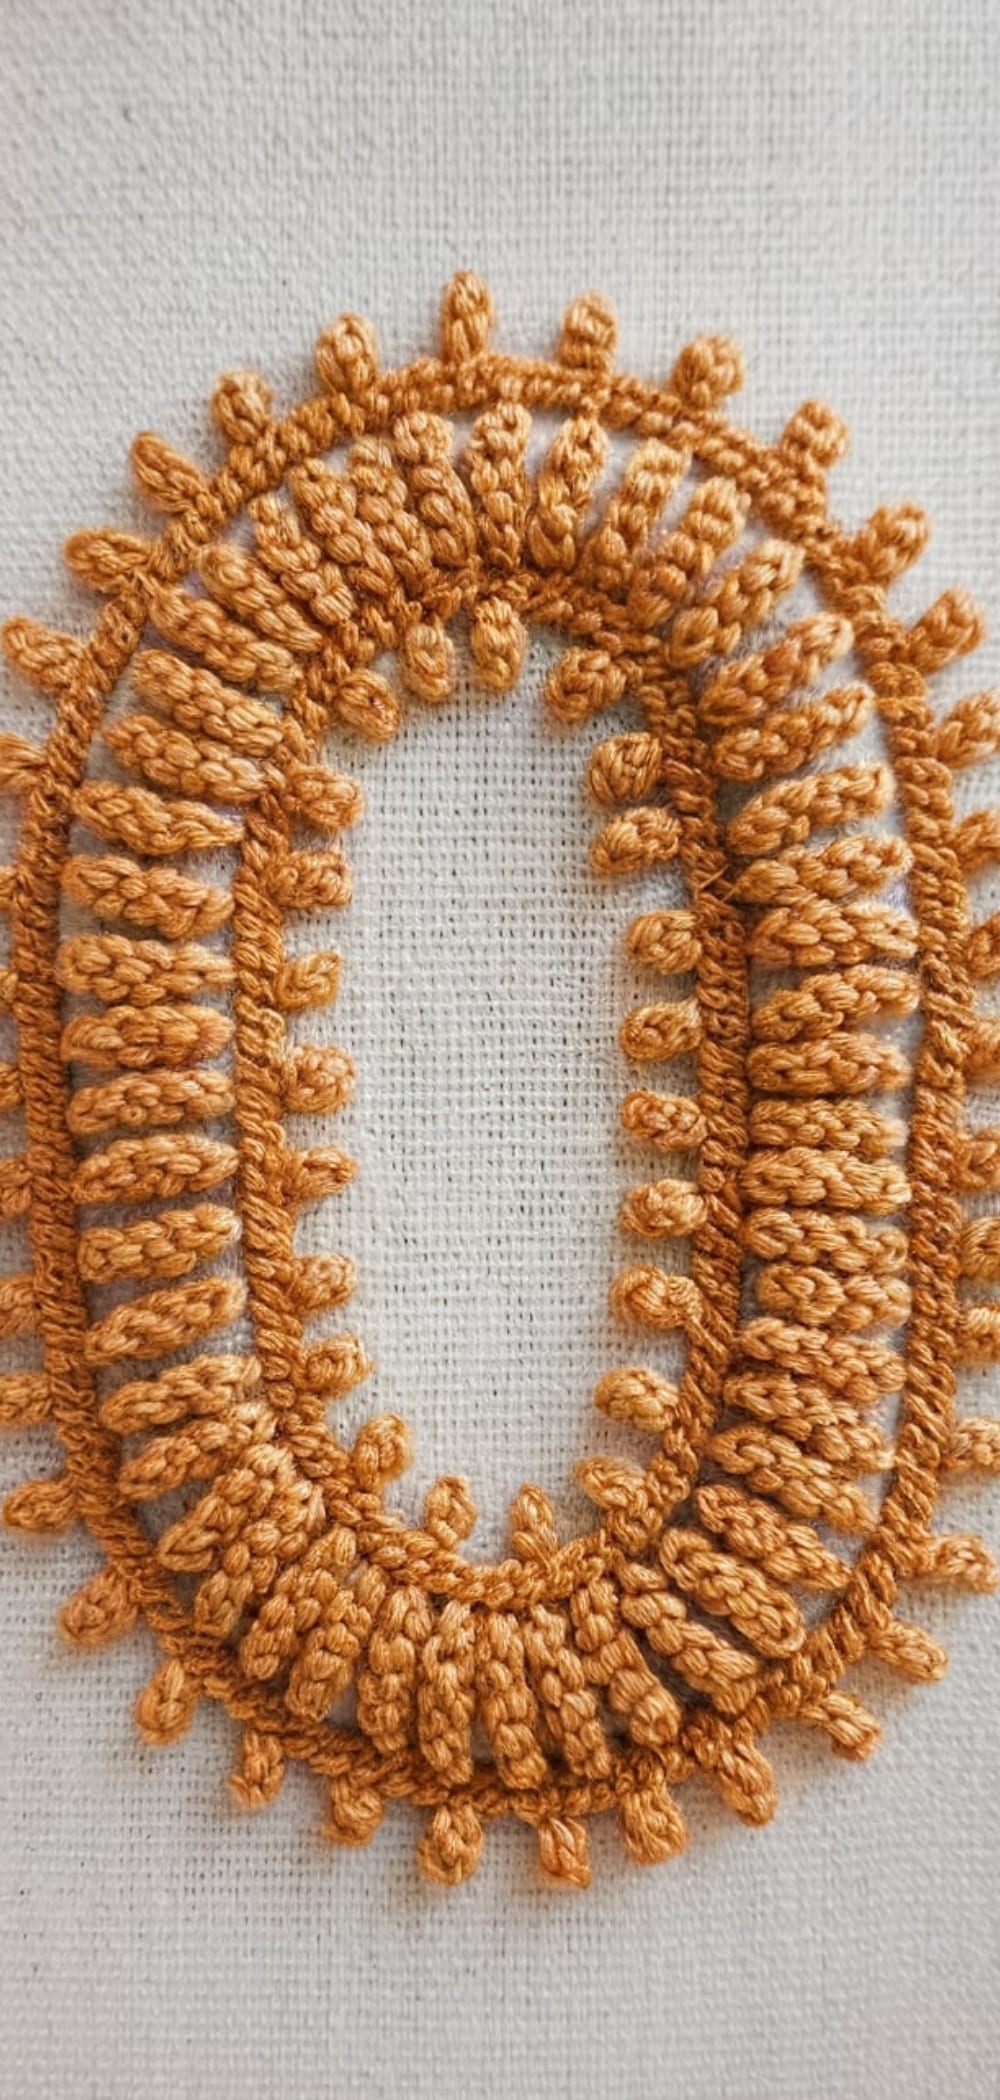
Fill bold letter shapes entirely with French knots.
Tips:
- Use a hoop to maintain fabric stability.
- Vary thread shades for a gradient or ombré effect.
- Best on larger fonts to avoid over-clutter.
9. Beaded Letter Embroidery
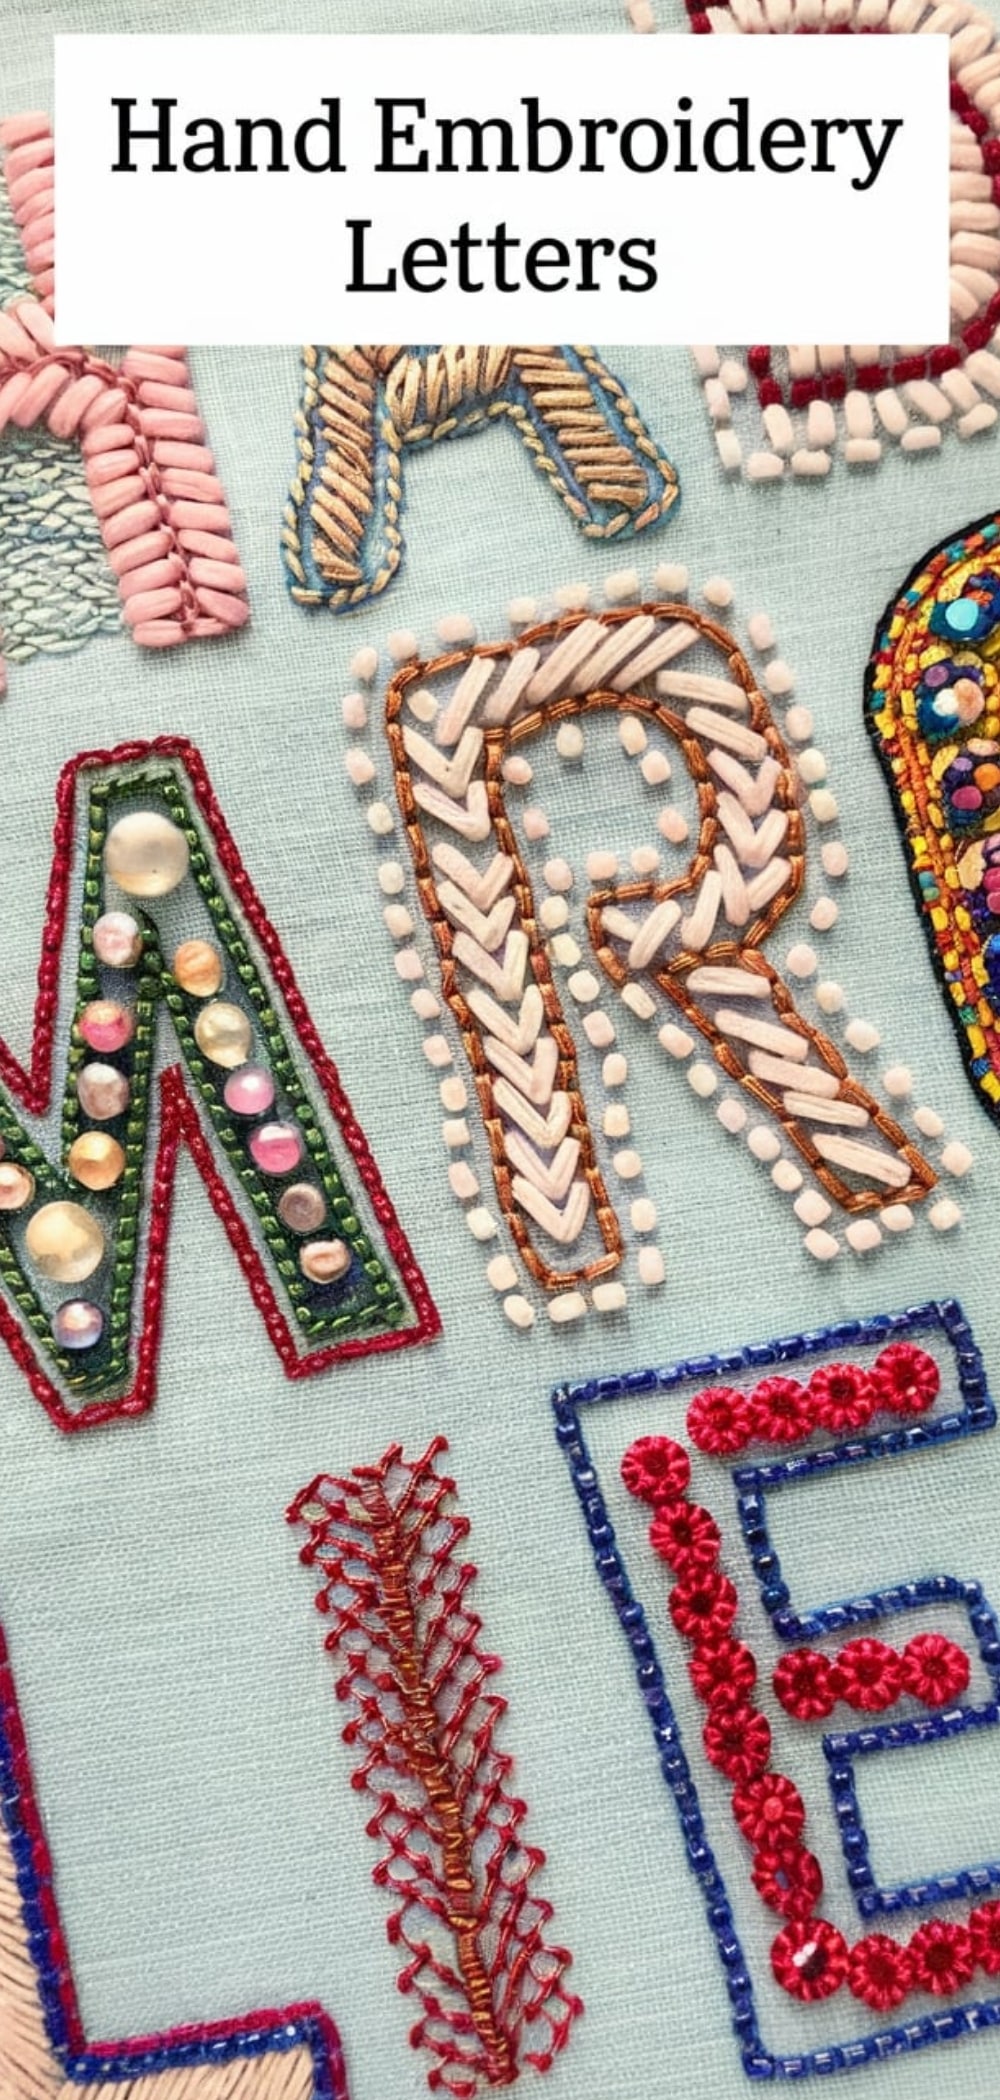
Add glamour with glass beads stitched over or within the letter.
Tips:
- Outline the letter with embroidery first, then add beads.
- Secure beads firmly with double-thread passes.
- Use sparingly to maintain legibility.
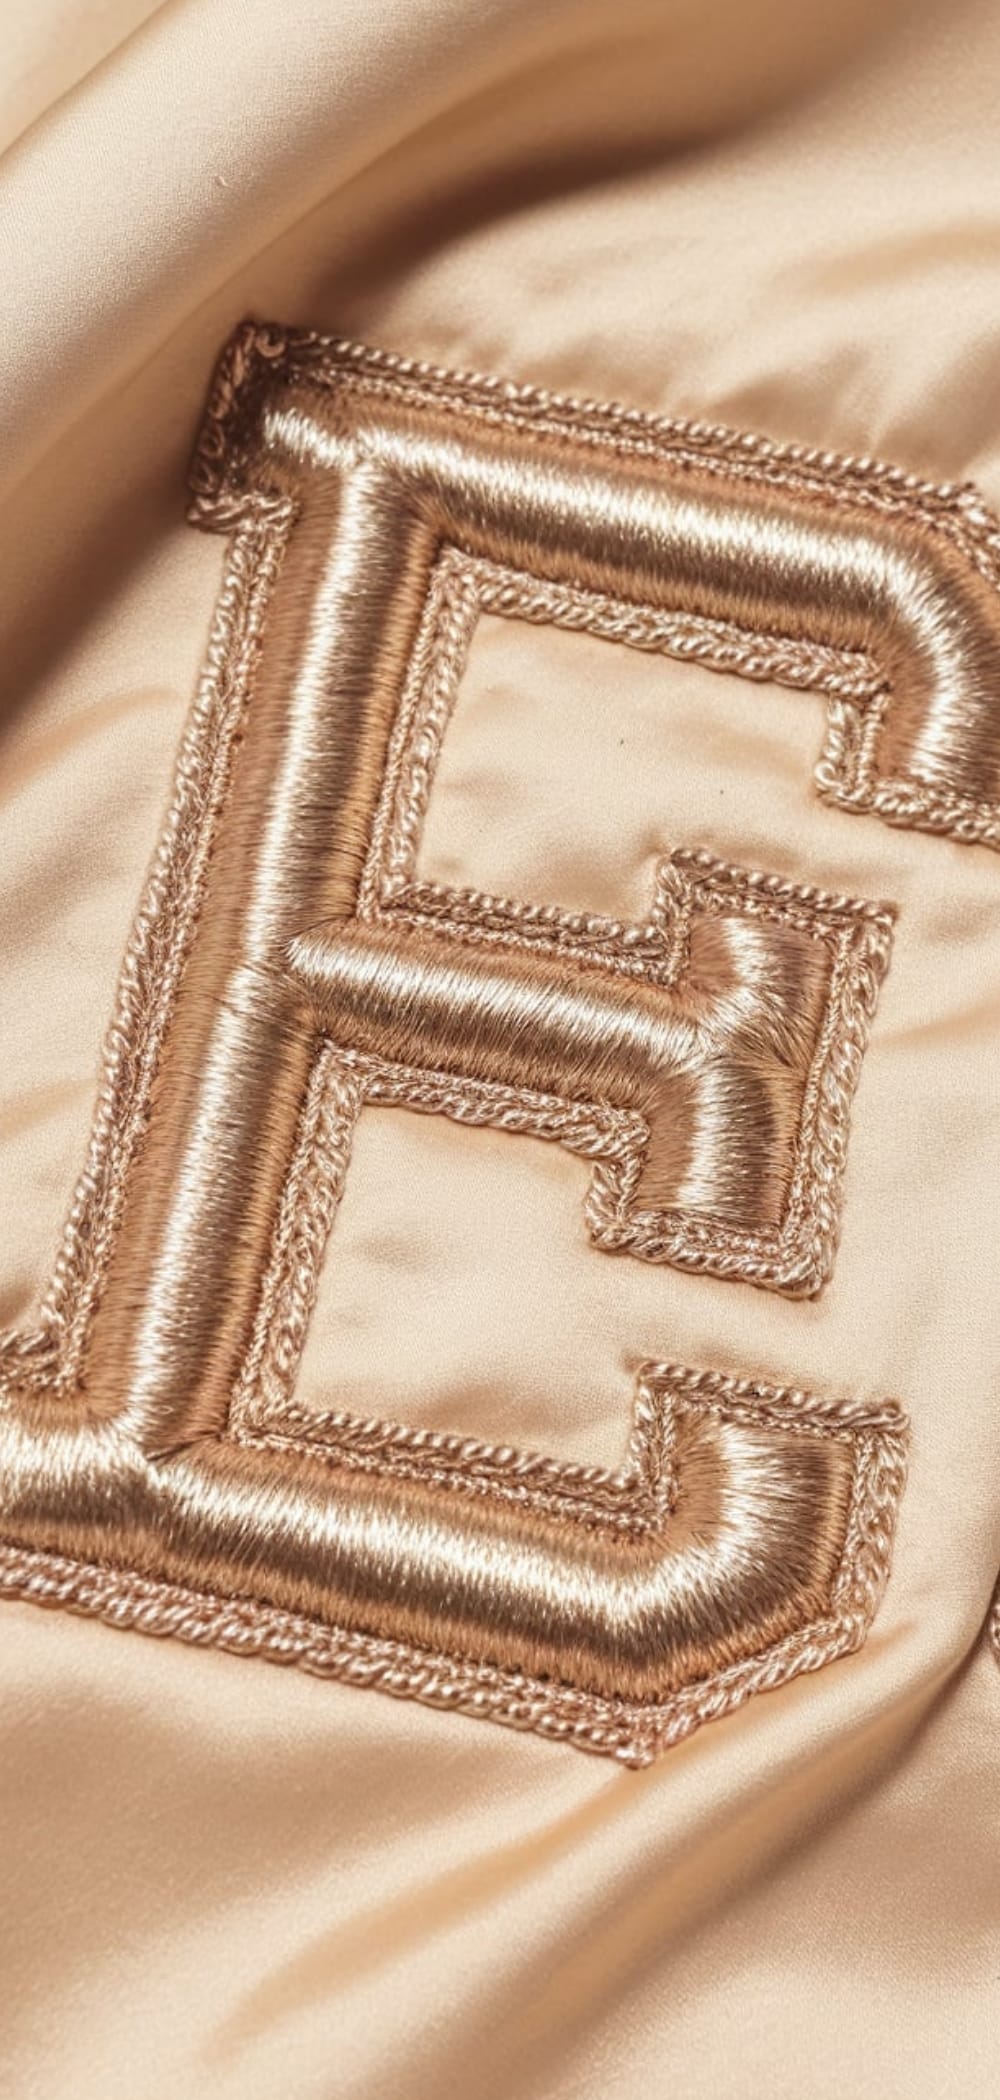
10. Satin-Stitch Monograms
Smooth, shiny satin stitch offers a professional-level finish.
Tips:
- Practice the short-to-long stitch technique for consistency.
- Ideal for formal projects like handkerchiefs and table runners.
- Combine with borders or frames for extra polish.
11. Shadow Work Letters
Subtle and elegant, perfect for sheer or delicate fabrics.
Tips:
- Use herringbone or double backstitch on the fabric’s underside.
- Looks best in pastel shades on lightweight cotton or linen.
- Common in heirloom sewing or baby gifts.
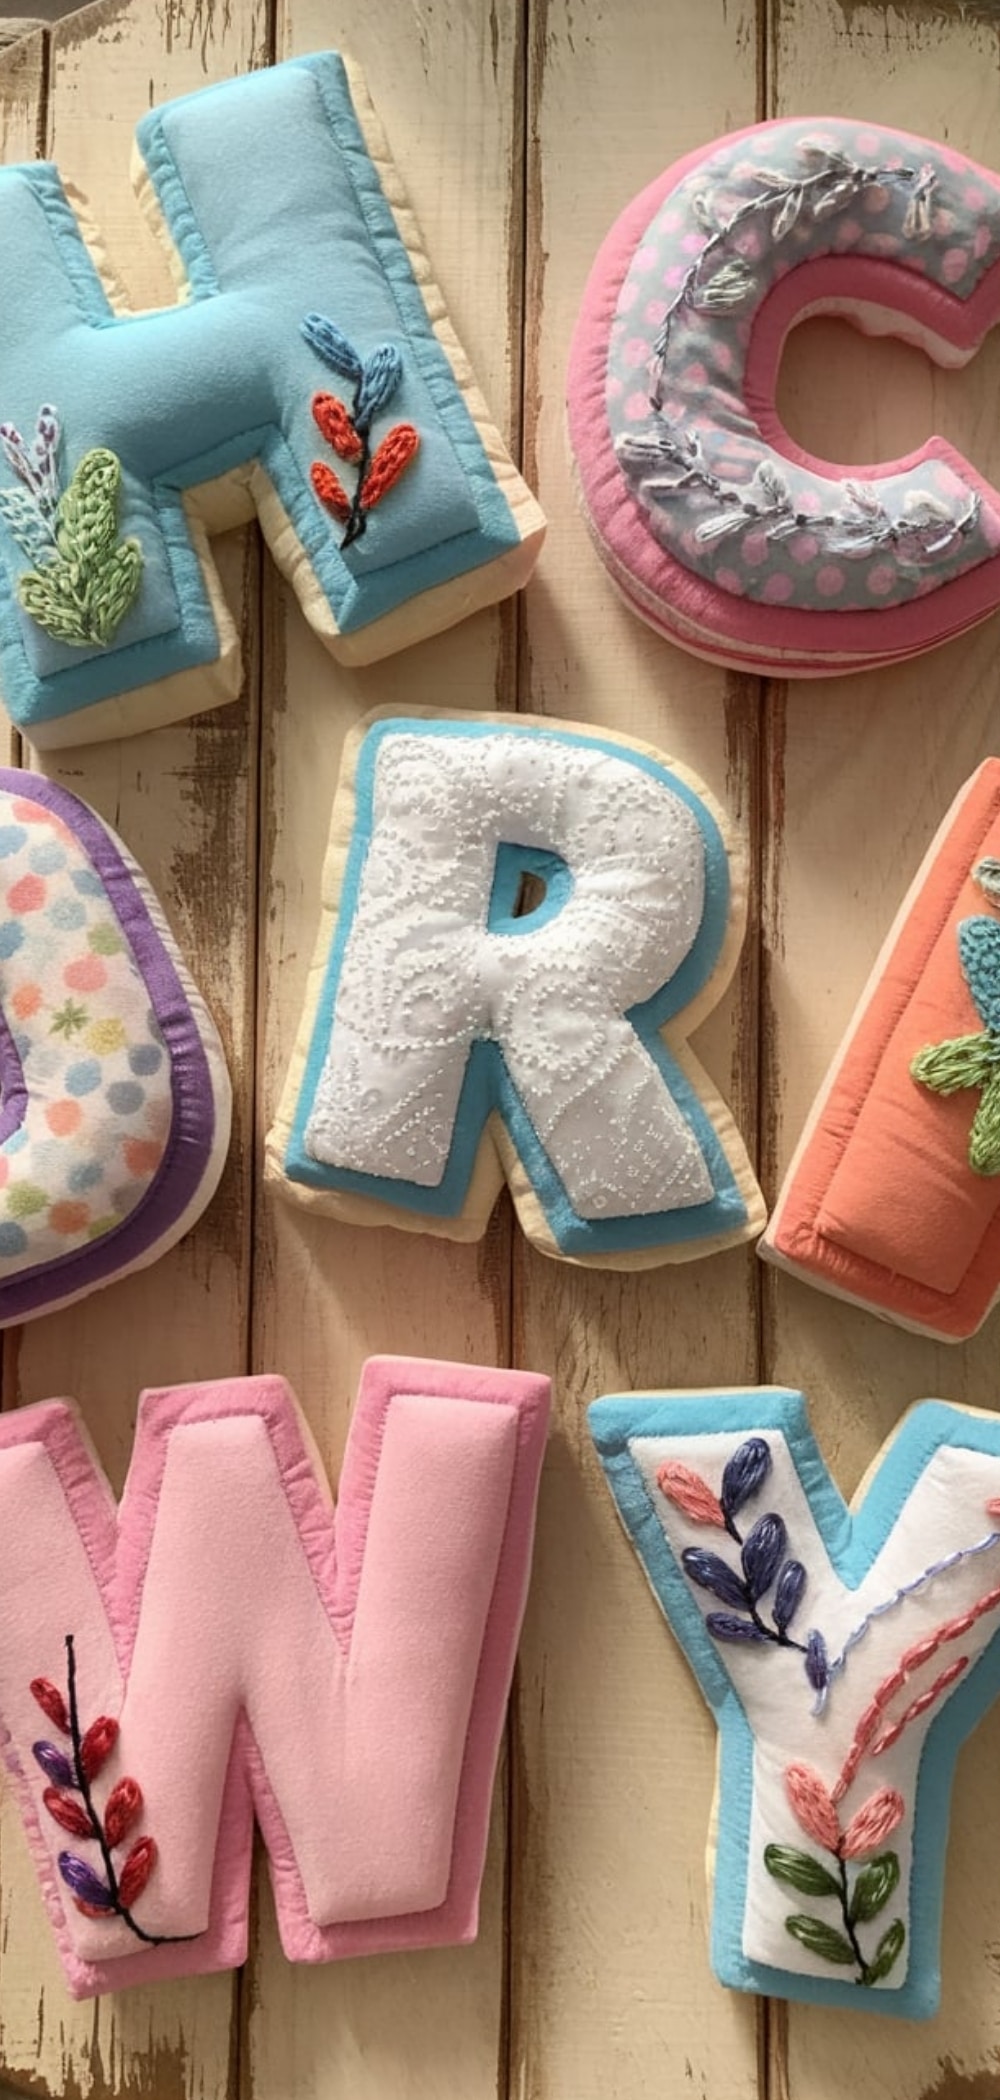
12. Patchwork Appliqué Letters with Embroidery
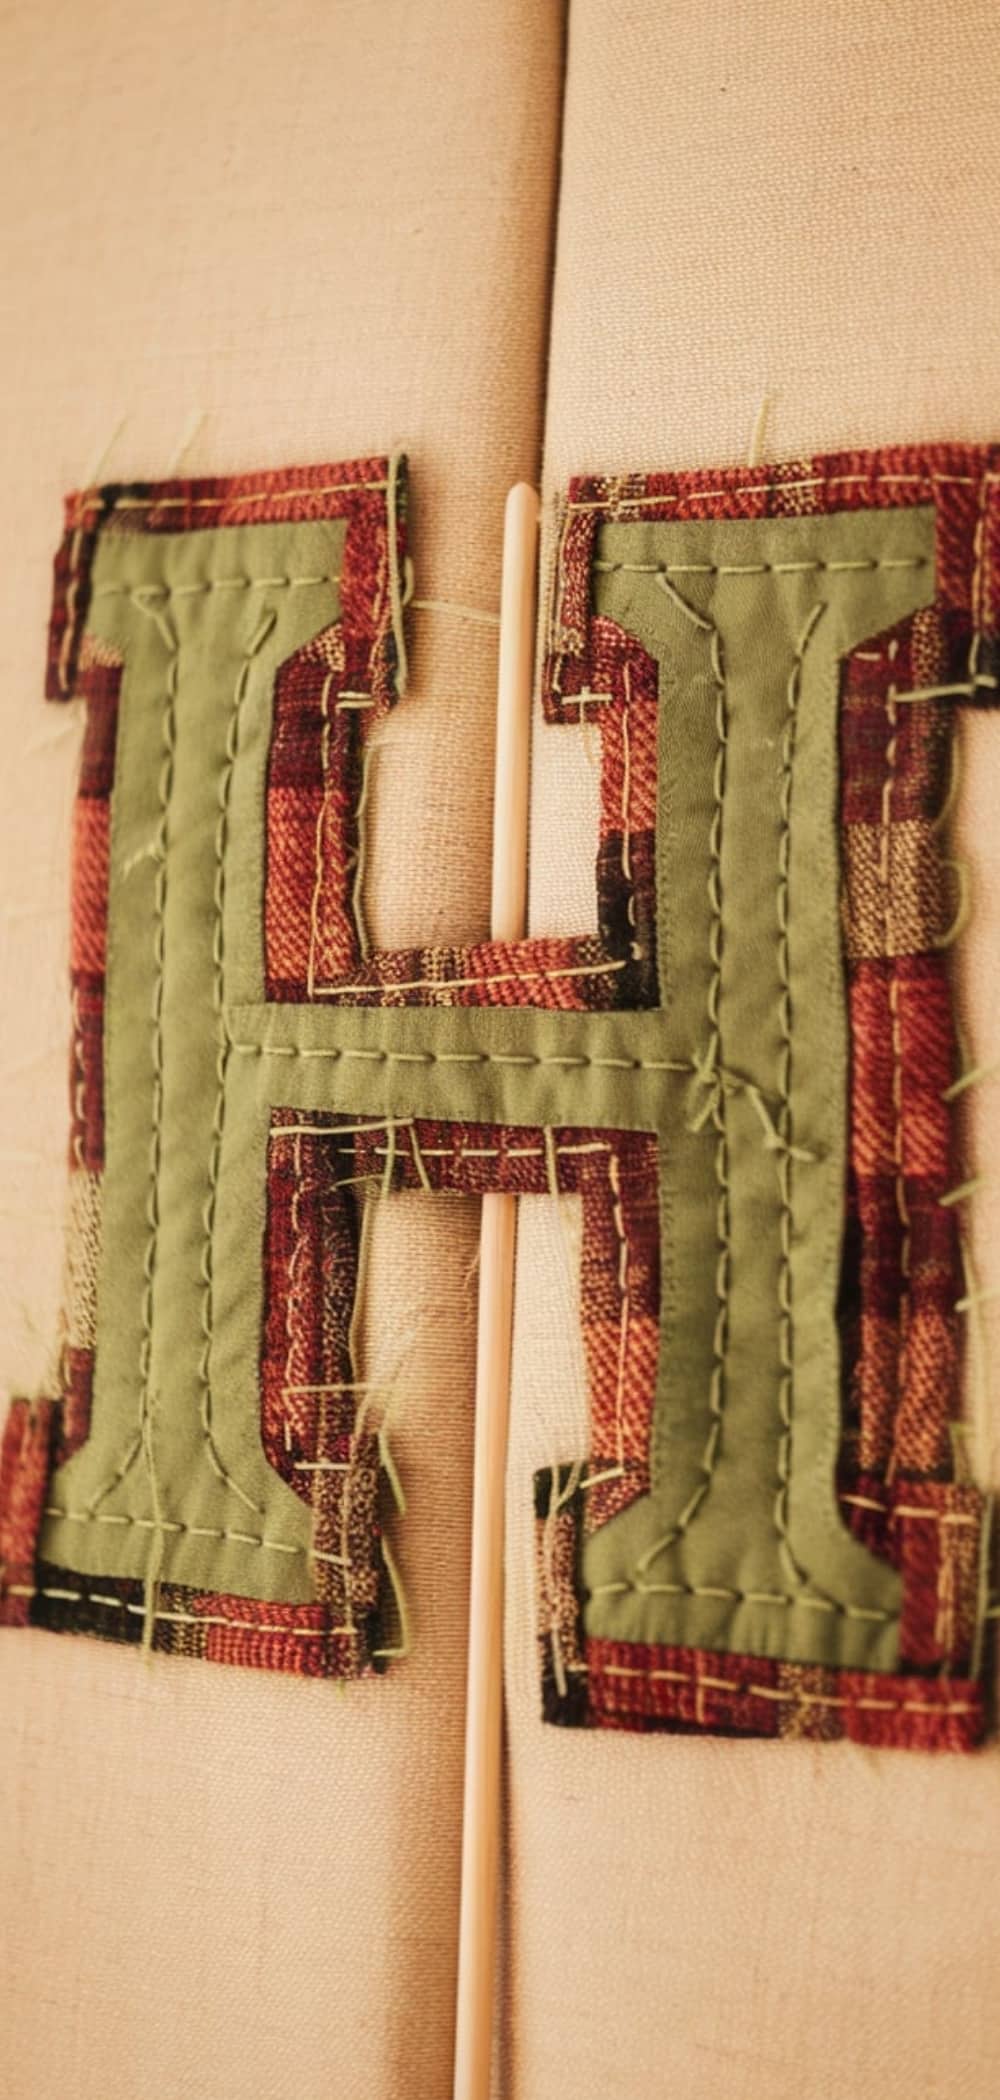
Combine fabric and embroidery for dimensional monograms.
Tips:
- Cut letters from cotton fabric and stitch onto base with blanket or herringbone stitch.
- Embellish edges with stem stitch or beads.
- Use fusible webbing to secure shapes before stitching.
13. Vintage Cross Stitch Letters
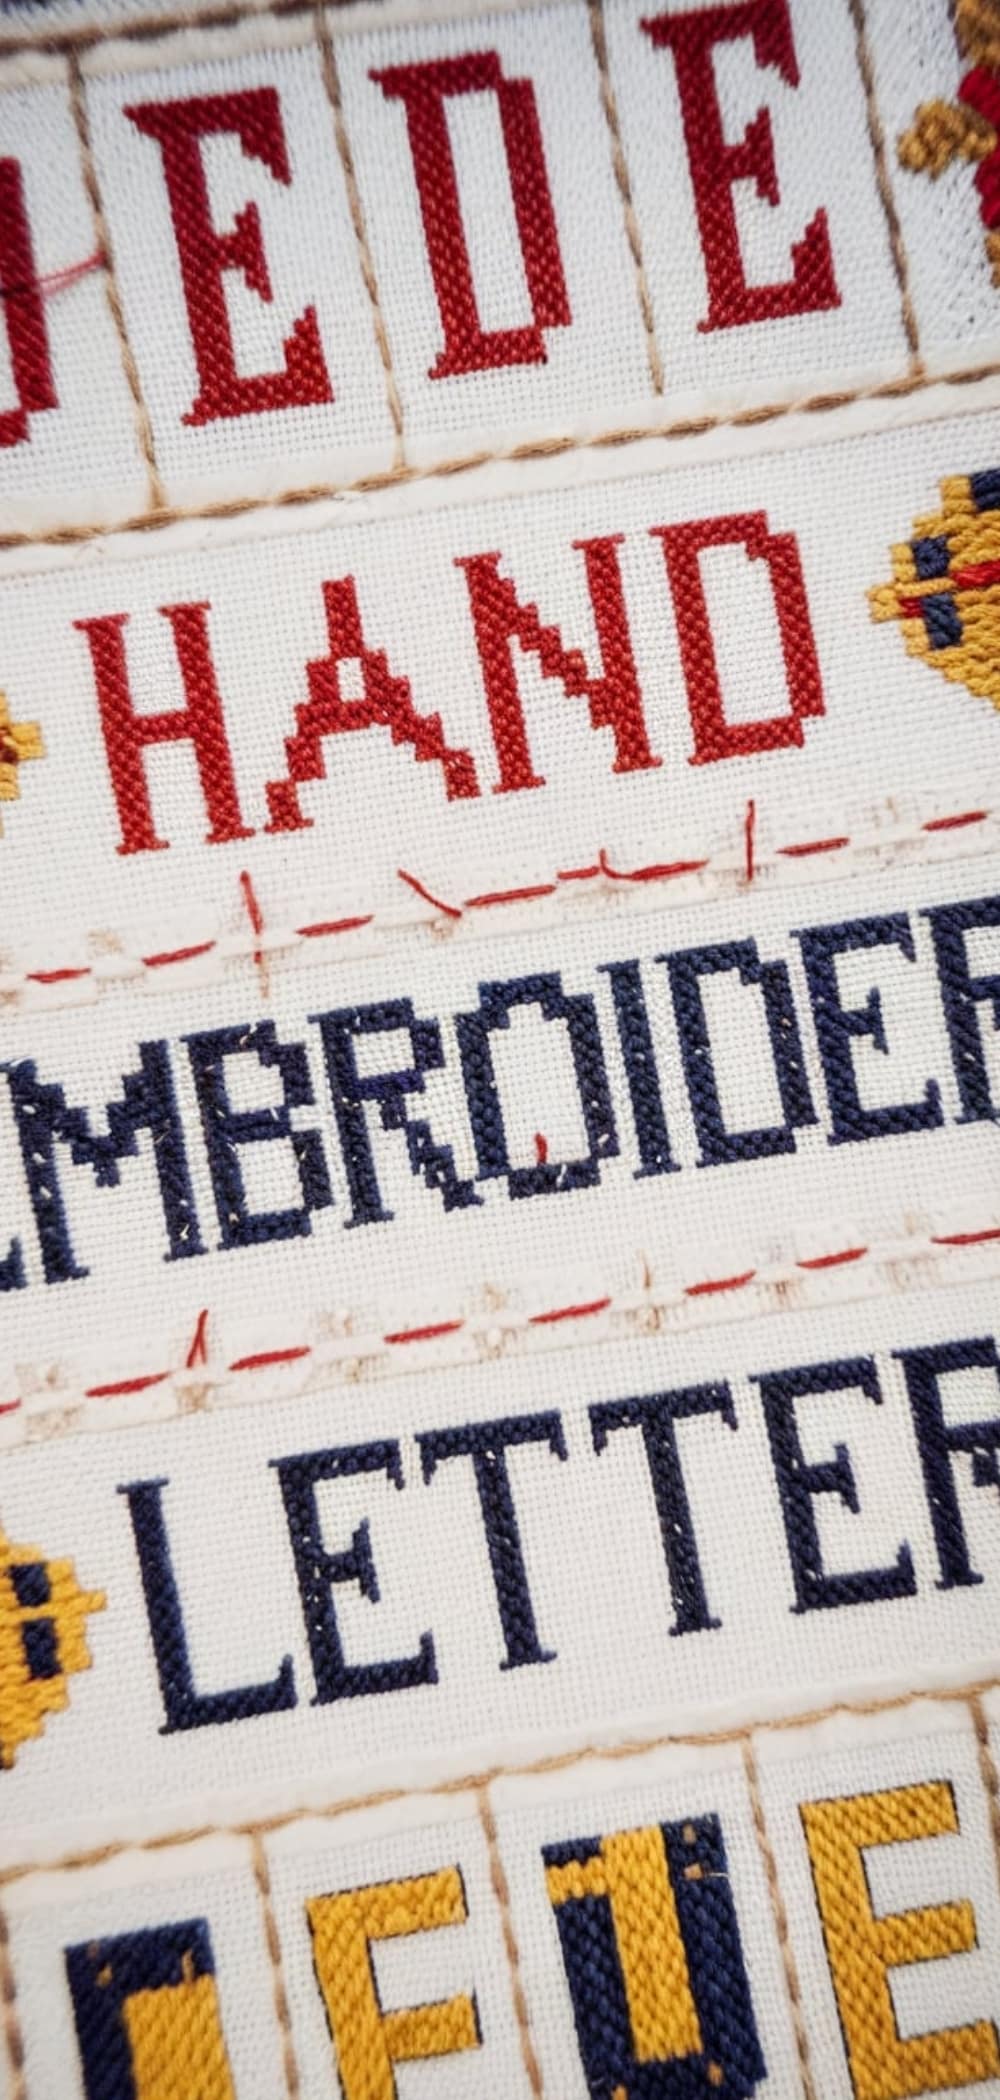
Ideal for retro samplers or rustic themes.
Tips:
- Work on Aida cloth or evenweave fabric.
- Choose traditional serif fonts for a nostalgic touch.
- Use red or blue thread for a classic farmhouse vibe.
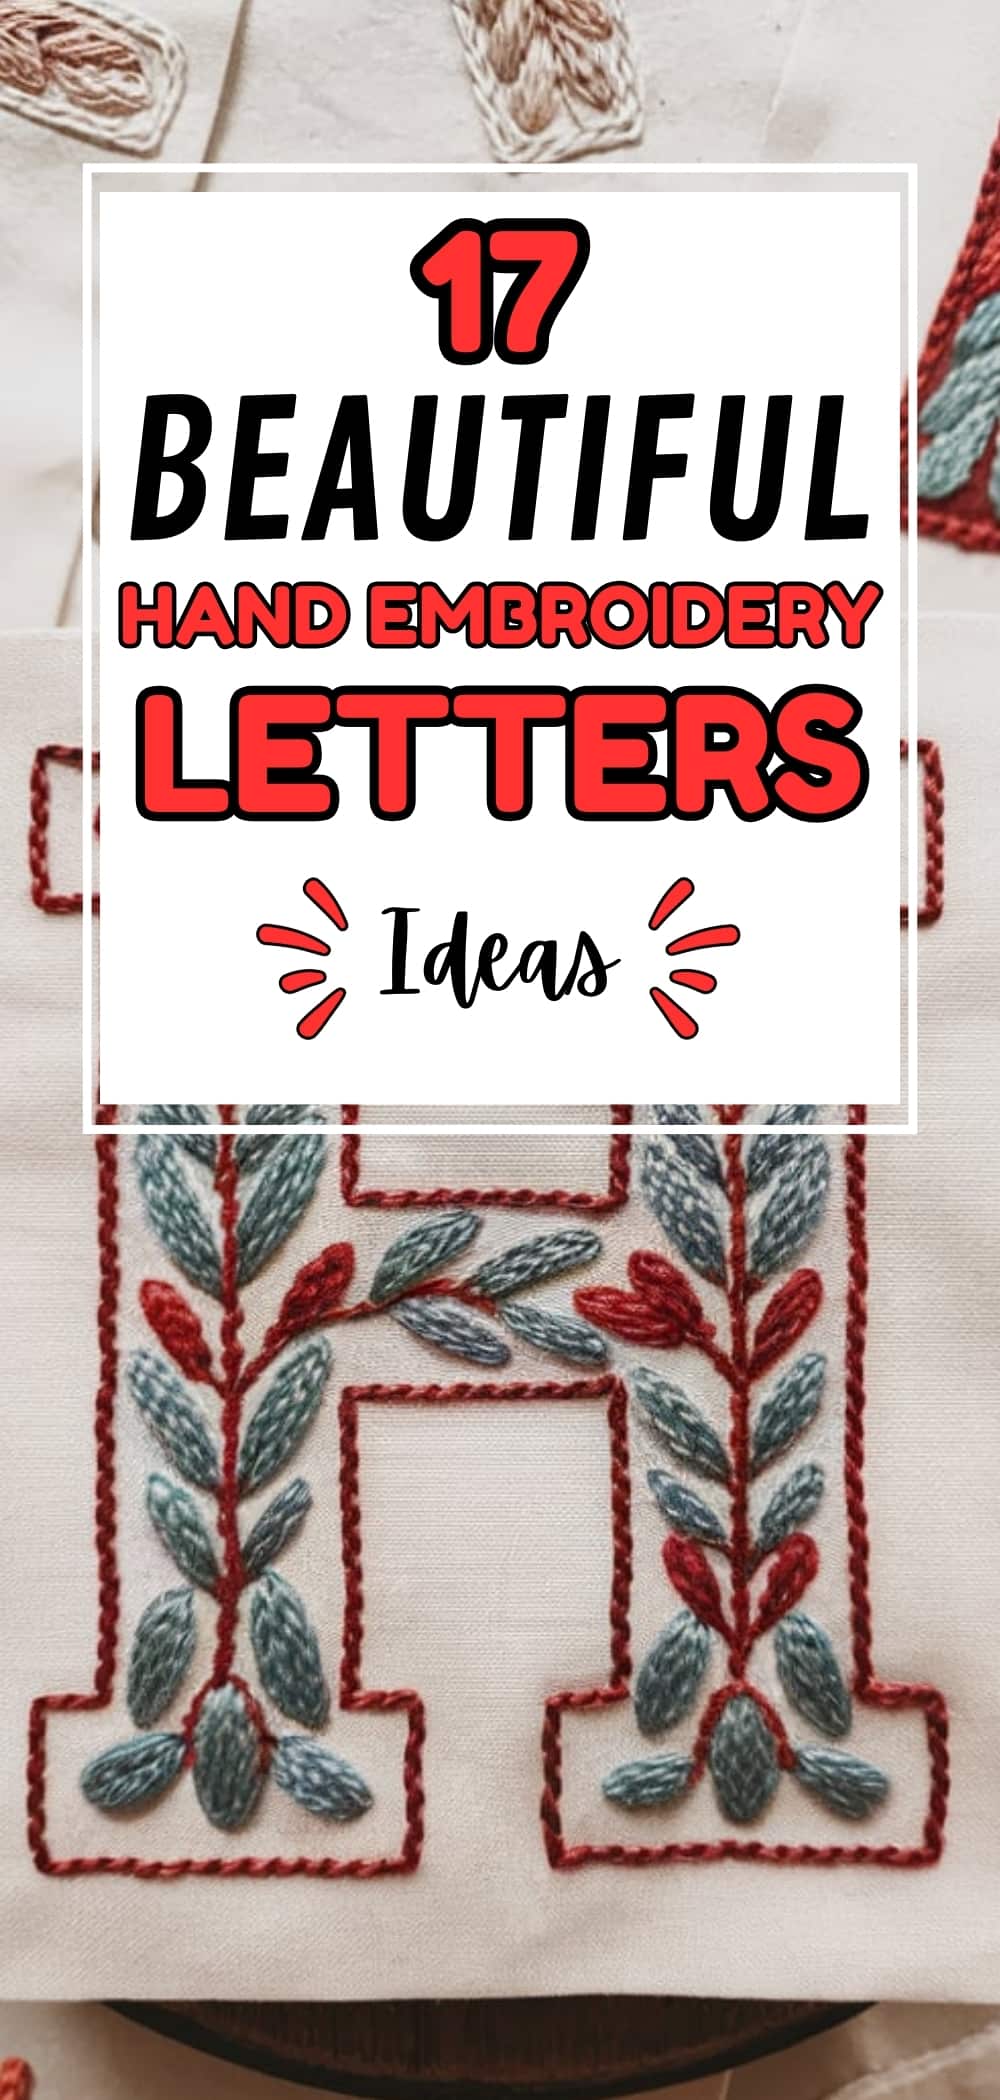
14. Botanical Letters
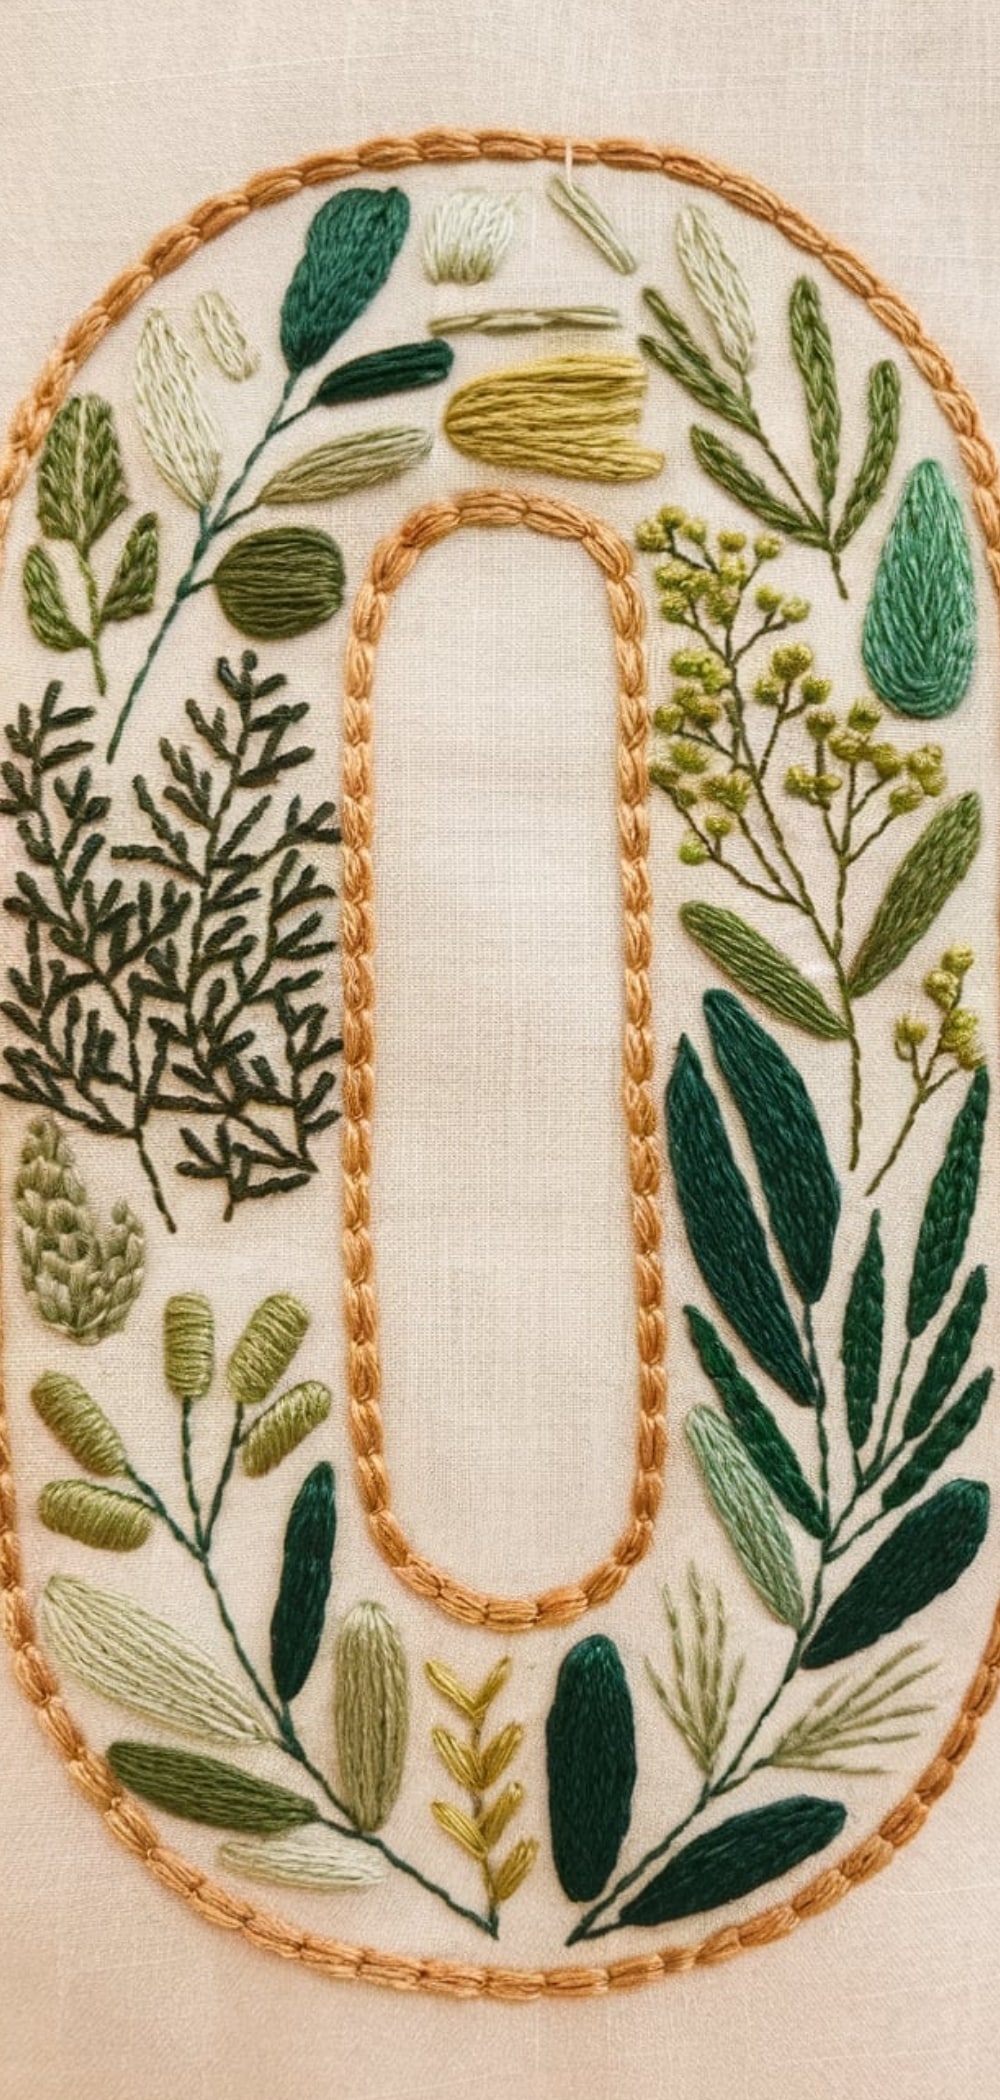
Fill the letterform with botanical illustrations—leaves, stems, and herbs.
Tips:
- Sketch plants lightly inside the letter outline.
- Use fly stitch, fern stitch, and French knots for variation.
- Choose earth tones and greens for authenticity.
15. Ombre Gradient Letters

Create a fade effect from dark to light using a single stitch style.
Tips:
- Use multiple shades of the same color.
- Apply satin stitch or long and short stitch.
- Transition gradually between shades for best results.
16. Metallic Thread Letters
Add shine and drama for holiday or formal embroidery.
Tips:
- Use short stitches to prevent thread fraying.
- Combine with satin or stem stitch.
- Ideal for initials on festive napkins or tree skirts.
17. 3D Padded Letters
Raised embroidery adds texture and tactile interest.
Tips:
- Pad the letter with felt or several layers of thread before covering.
- Use tightly spaced satin stitches over the padding.
- Best on thick fabric like canvas or denim.
Conclusion
We understand the power of detail in handmade crafts. Whether you’re new to embroidery or seeking to elevate your projects, these 17 hand embroidery letters ideas offer creative, elegant, and achievable inspiration. By focusing on stitch quality, design consistency, and thoughtful embellishments, your lettered embroidery will stand out as timeless keepsakes.