Make sure to join my list for Weekly Tips and Recipes to Your Inbox
8 Easy Steps To Build a DIY Pergola
I love DIY projects and decor. In the past, space was limited in the condo where I used to live with my hubby and four kids, but it didn’t stop me from doing what I love. Now I see a big opportunity to follow my love in our new single-family home, particularly in the backyard, which should be fun for my kids and look colorful in the spring.

I just saw a few pictures of a DIY pergola, I believe it will change our outdoor space and make it more useful and vibrant in addition to the yard art craft ideas I have previously completed. I constructed the DIY pergola from the ground up in less than 8 hours, excluding the preparation of the boards. I agree with you if you believe it’s difficult, but the difficult tasks will be simple if you follow this detailed 8-step guide to building a DIY pergola yourself.
I will never forget my children’s reactions when they saw the pergola; trust me, it was worth it. We take a few photos to save the memories. I’m excited to enjoy it in the spring.
Materials Needed for Your DIY Pergola
Structural Materials

- Pressure-treated lumber: 4×4 posts, 2×6 beams, 2×4 rafters
- Concrete: For securing posts in the ground
- Galvanized post anchors: For added stability
Tools

- Measuring tape
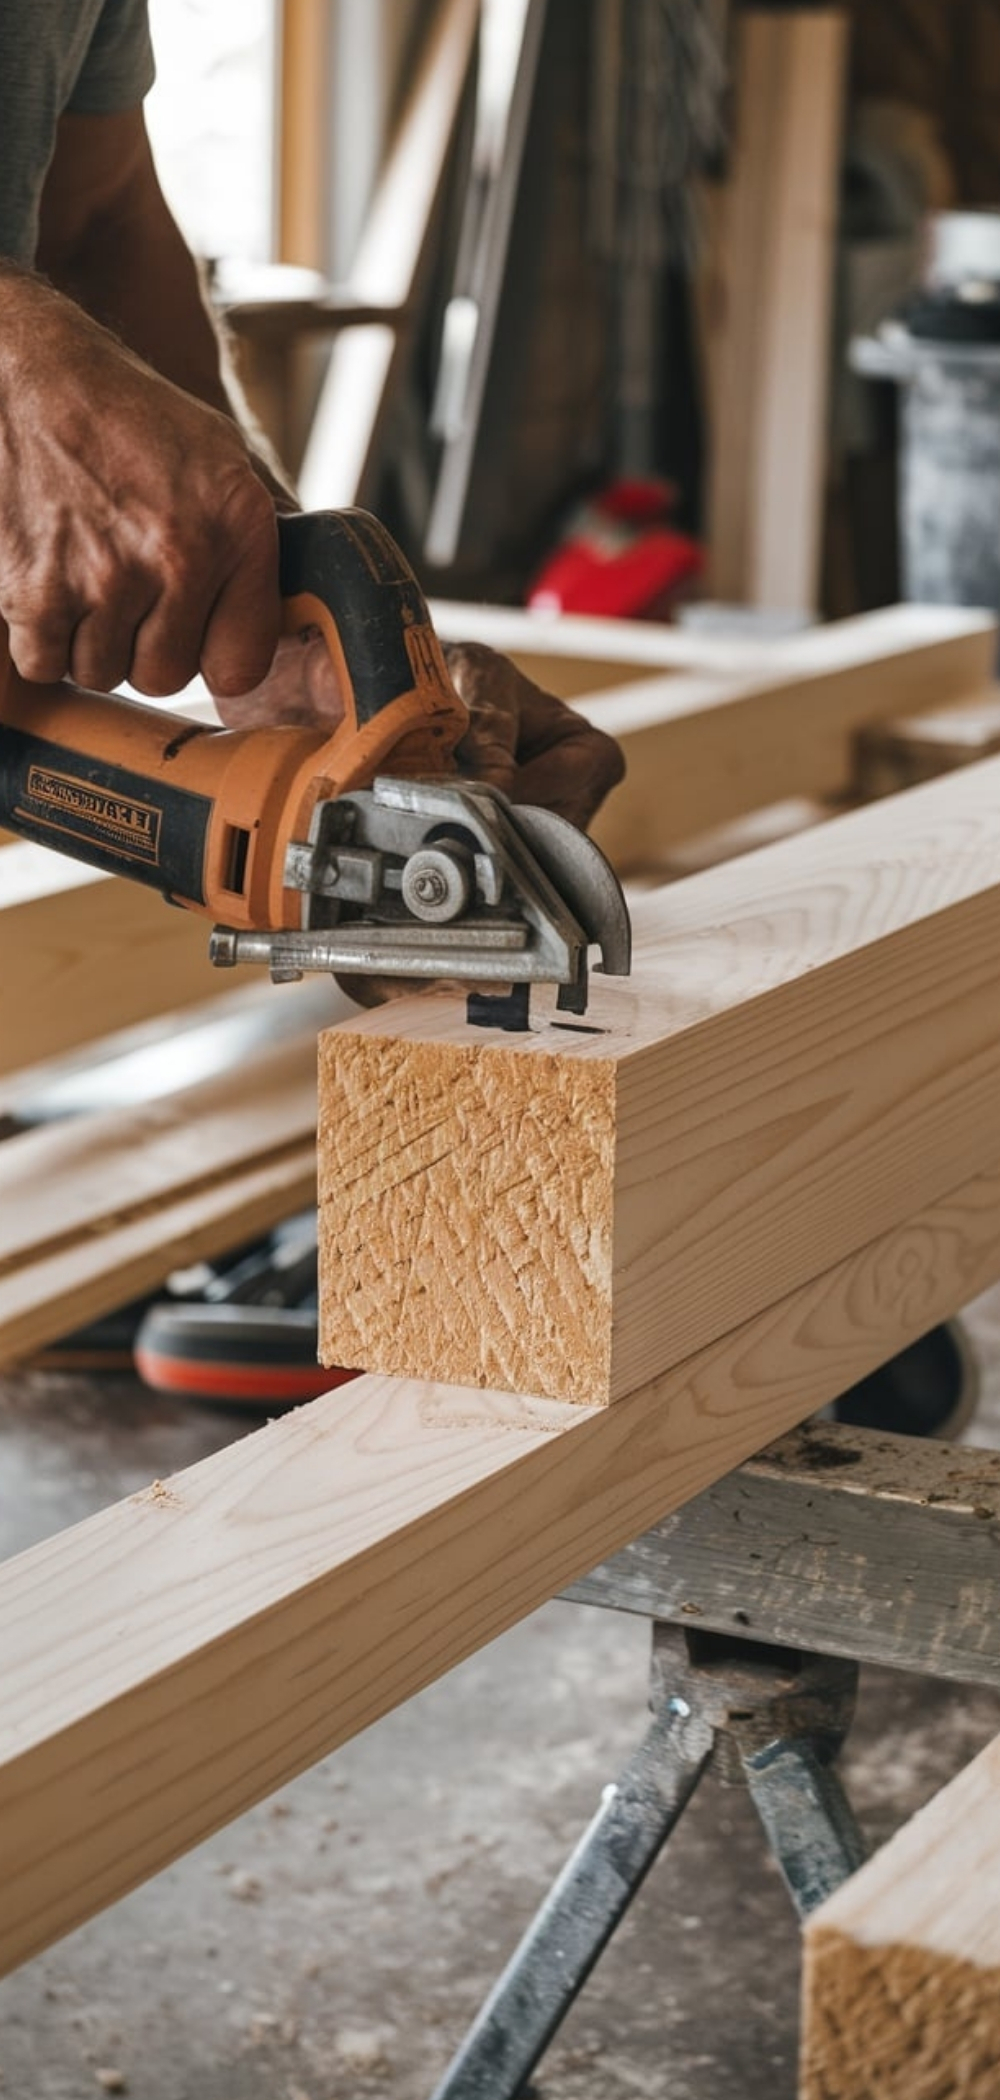
- Circular saw or miter saw
- Power drill and screws
- Post hole digger
- Level and square
- Sandpaper
Finishing Supplies

- Outdoor wood stain or paint
- UV-resistant wood sealant
- Climbing plants or fabric for shade
Step-by-Step Guide to Building a DIY Pergola
8. Plan and Measure Your Pergola

Decide the dimensions and location of your pergola. Measure the area carefully, ensuring it fits your space and aligns with existing landscaping. Sketch a design with specific dimensions and material requirements.
7. Mark the Post Locations

Mark the exact locations for the pergola posts using stakes and string. Measure diagonally across the rectangle to ensure the layout is square.
6. Dig the Post Holes

Use a post-hole digger to create holes about 2 feet deep and 12 inches wide. This depth ensures the stability of your pergola, especially in windy areas.
5. Set the Posts in Concrete

Place the 4×4 posts into the holes and fill them with concrete. Use a level to ensure the posts are perfectly vertical. Allow the concrete to cure for at least 24 hours.
4. Attach the Support Beams

Cut 2×6 boards to the width of your pergola. Secure them horizontally to the posts using galvanized screws or bolts. Double up the beams for extra strength and stability.
3. Install Rafters

Cut 2×4 rafters to the desired length and notch them so they fit securely on top of the beams. Space them evenly across the pergola, ensuring they are parallel. Secure each rafter with screws.
2. Add Decorative Touches

For a polished look, round the edges of the rafters or cut decorative designs at the ends using a jigsaw. Sand all edges to prevent splinters.
1. Stain or Paint Your Pergola

Apply a weather-resistant wood stain or paint to protect your pergola from the elements. Follow this with a UV-resistant sealant to prevent fading.
Enhancing Your DIY Pergola
Add Climbing Plants

Install trellises or hooks to support climbing plants like wisteria, roses, or grapevines. Over time, they will provide natural shade and beauty.
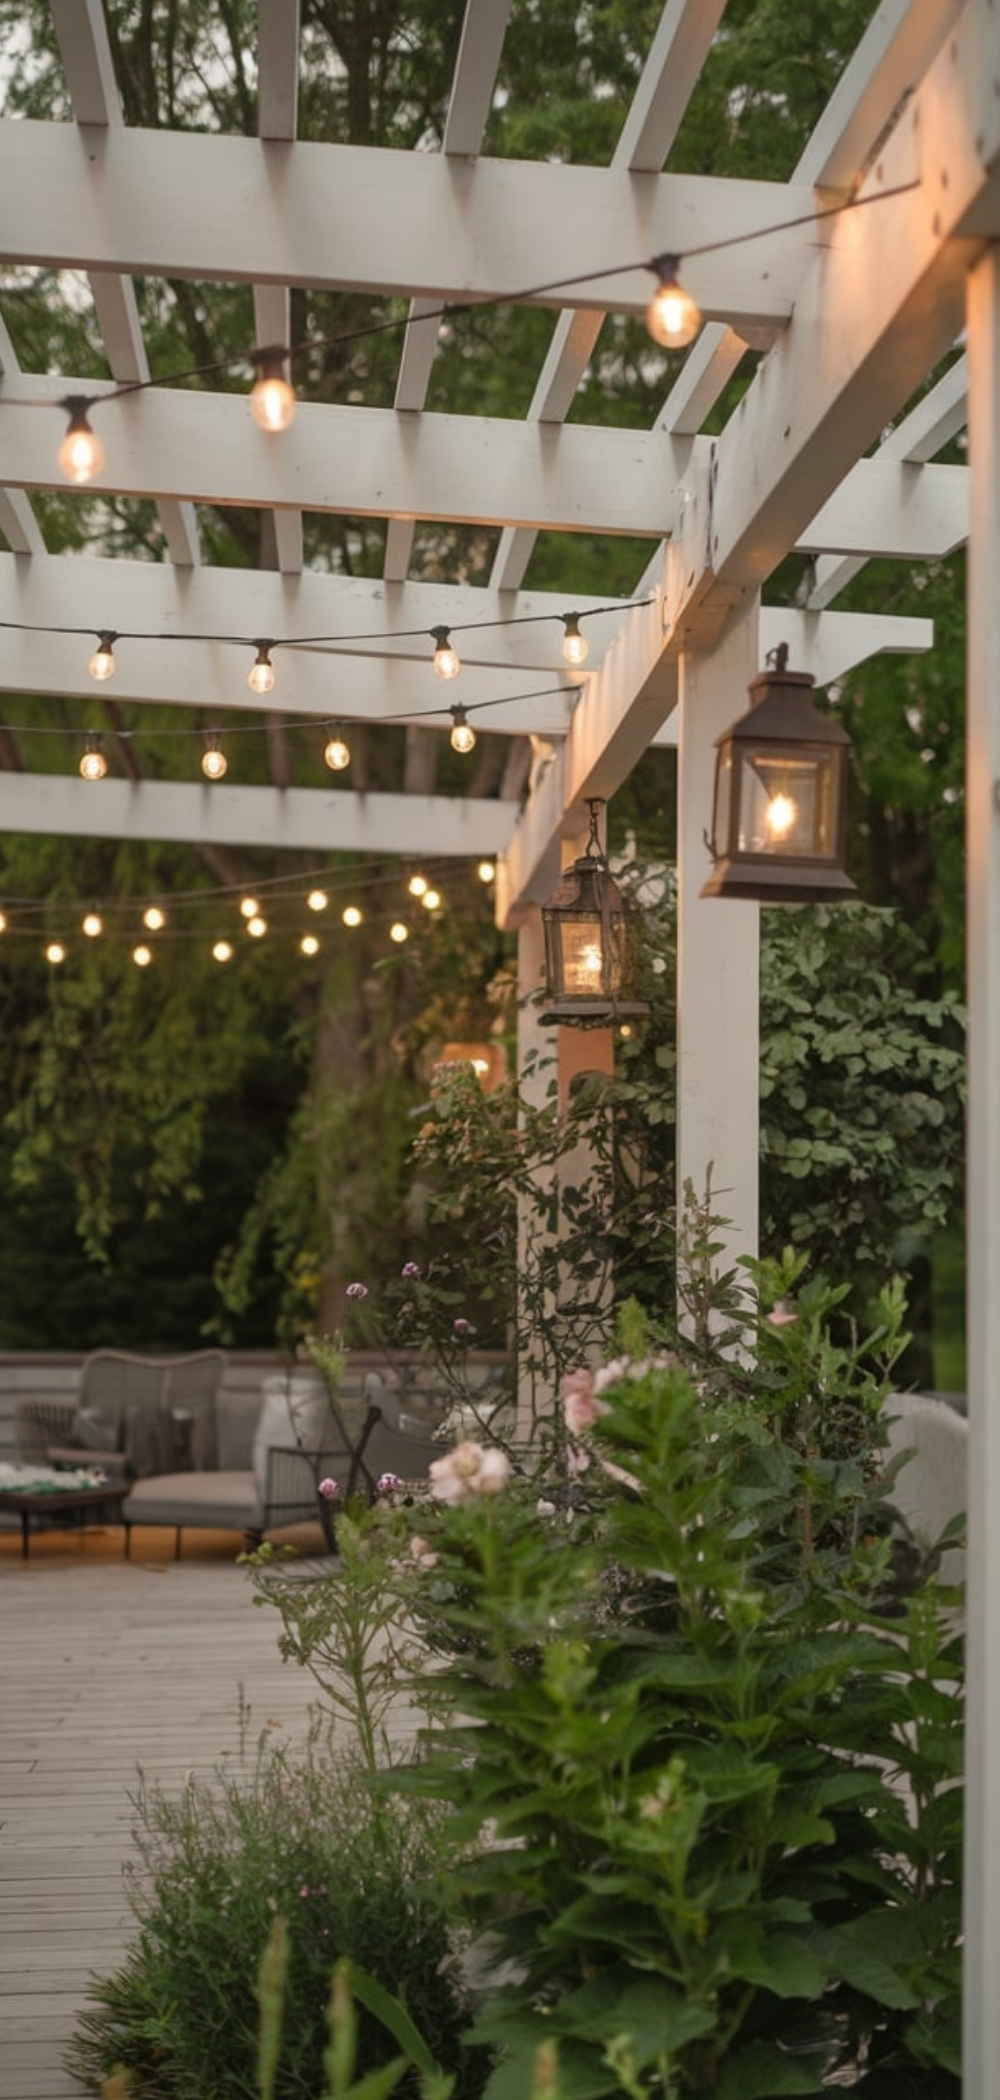
Hang Outdoor Lighting

String fairy lights or lanterns across the rafters to create a cozy evening ambiance.
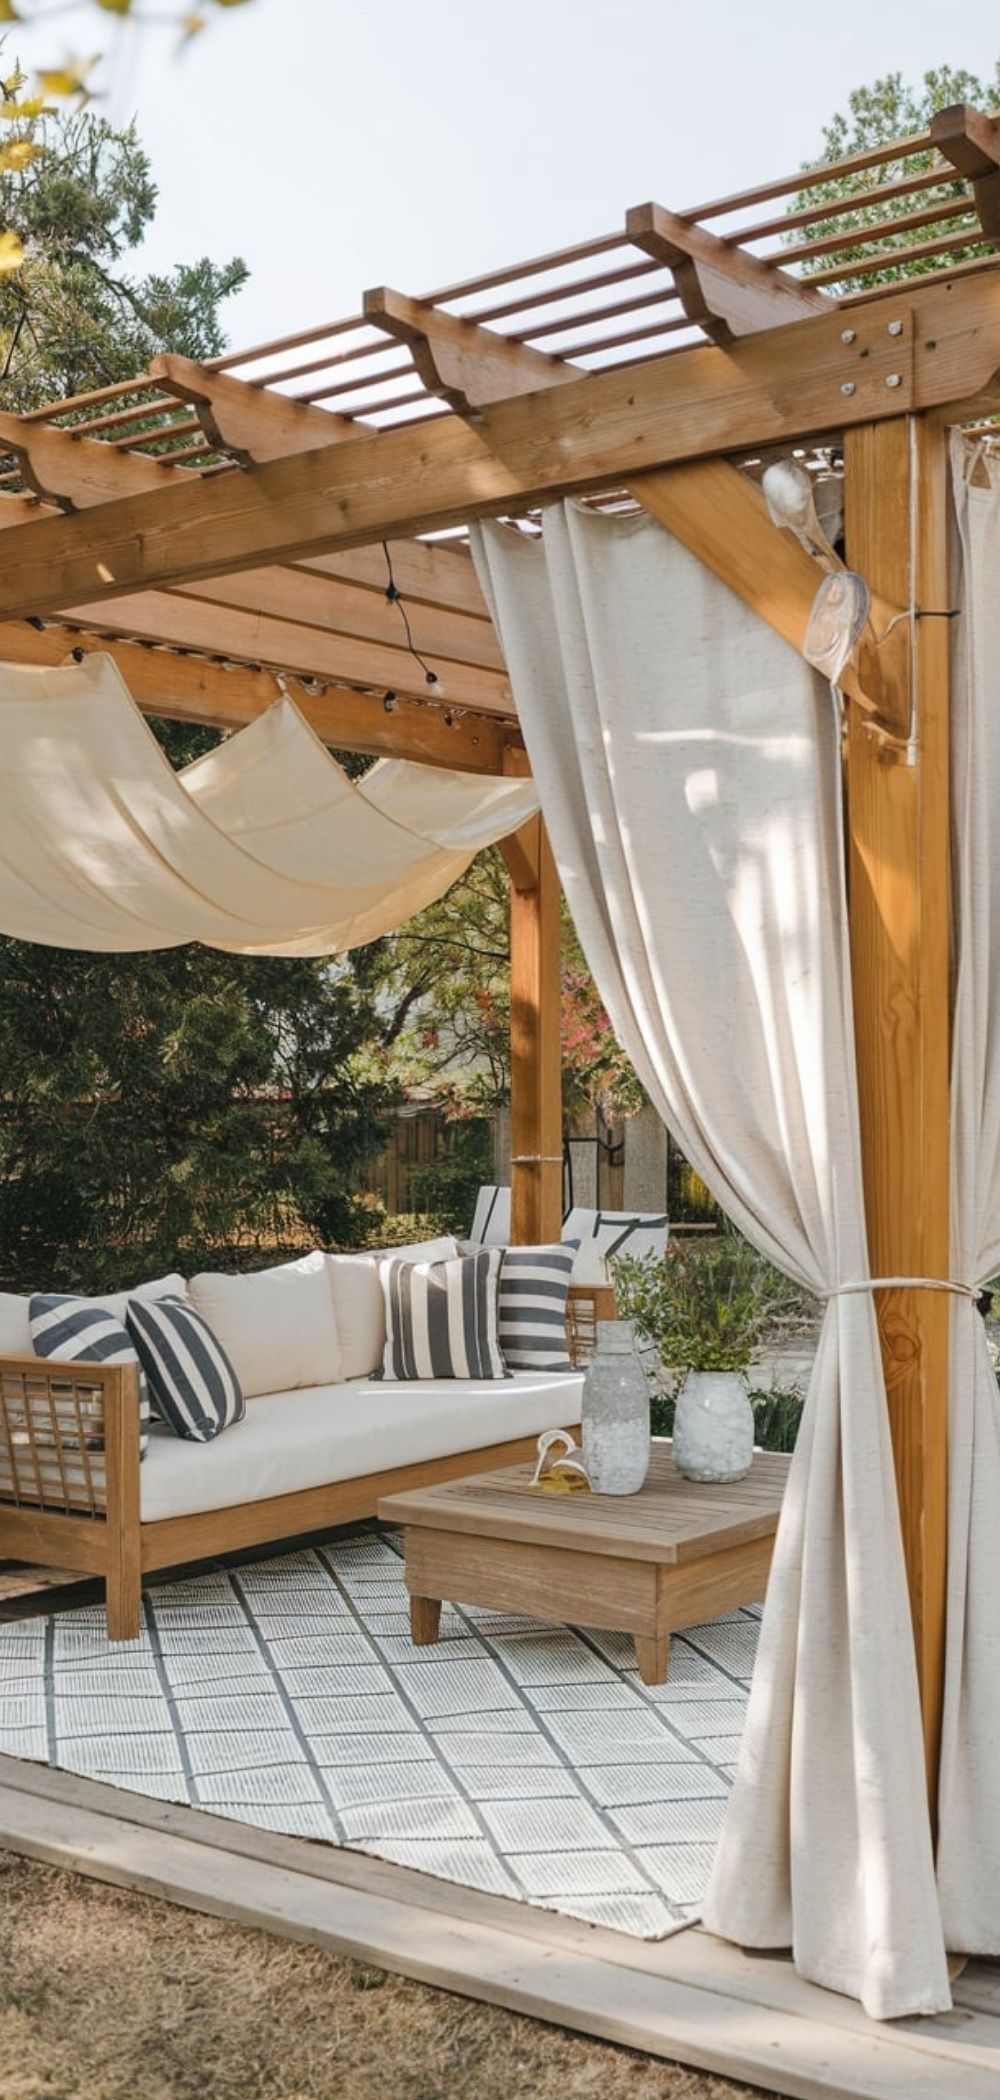
Install Fabric Shade Panels

Attach outdoor fabric panels for additional sun protection. These can be tied back when not in use.
Conclusion
By following this comprehensive guide, you can build a stunning DIY pergola that enhances your outdoor space and provides lasting enjoyment for years. Happy building!


