Make sure to Join my list for Weekly Tips and Recipes to Your Inbox.
15 Stylish Crochet Ear Warmer Patterns
Crochet ear warmer patterns are simple to make, quick to master, and will keep your ears toasty warm throughout the winter. My crochet animal patterns have great feedback from family and friends that encourages me to try this new challenge. I’m presenting my inspirational crochet ear warmer patterns in this post. These crochet ear warmers would be wonderful presents for loved ones.
When the temperature drops, there’s nothing better than a nice ear warmer to keep you comfortable and fashionable. A must-have item for cold weather, crocheted ear warmers are ideal for providing warmth without the bulk of a hat. These 15 lovely crochet ear warmer ideas will appeal to both novice and expert crocheters.
My top pick for crochet supplies is the row counter because I can always keep track of the row I’m crocheting, and stitch markers help me mark my stitches.
15. Twisted Headband Crochet Ear Warmer
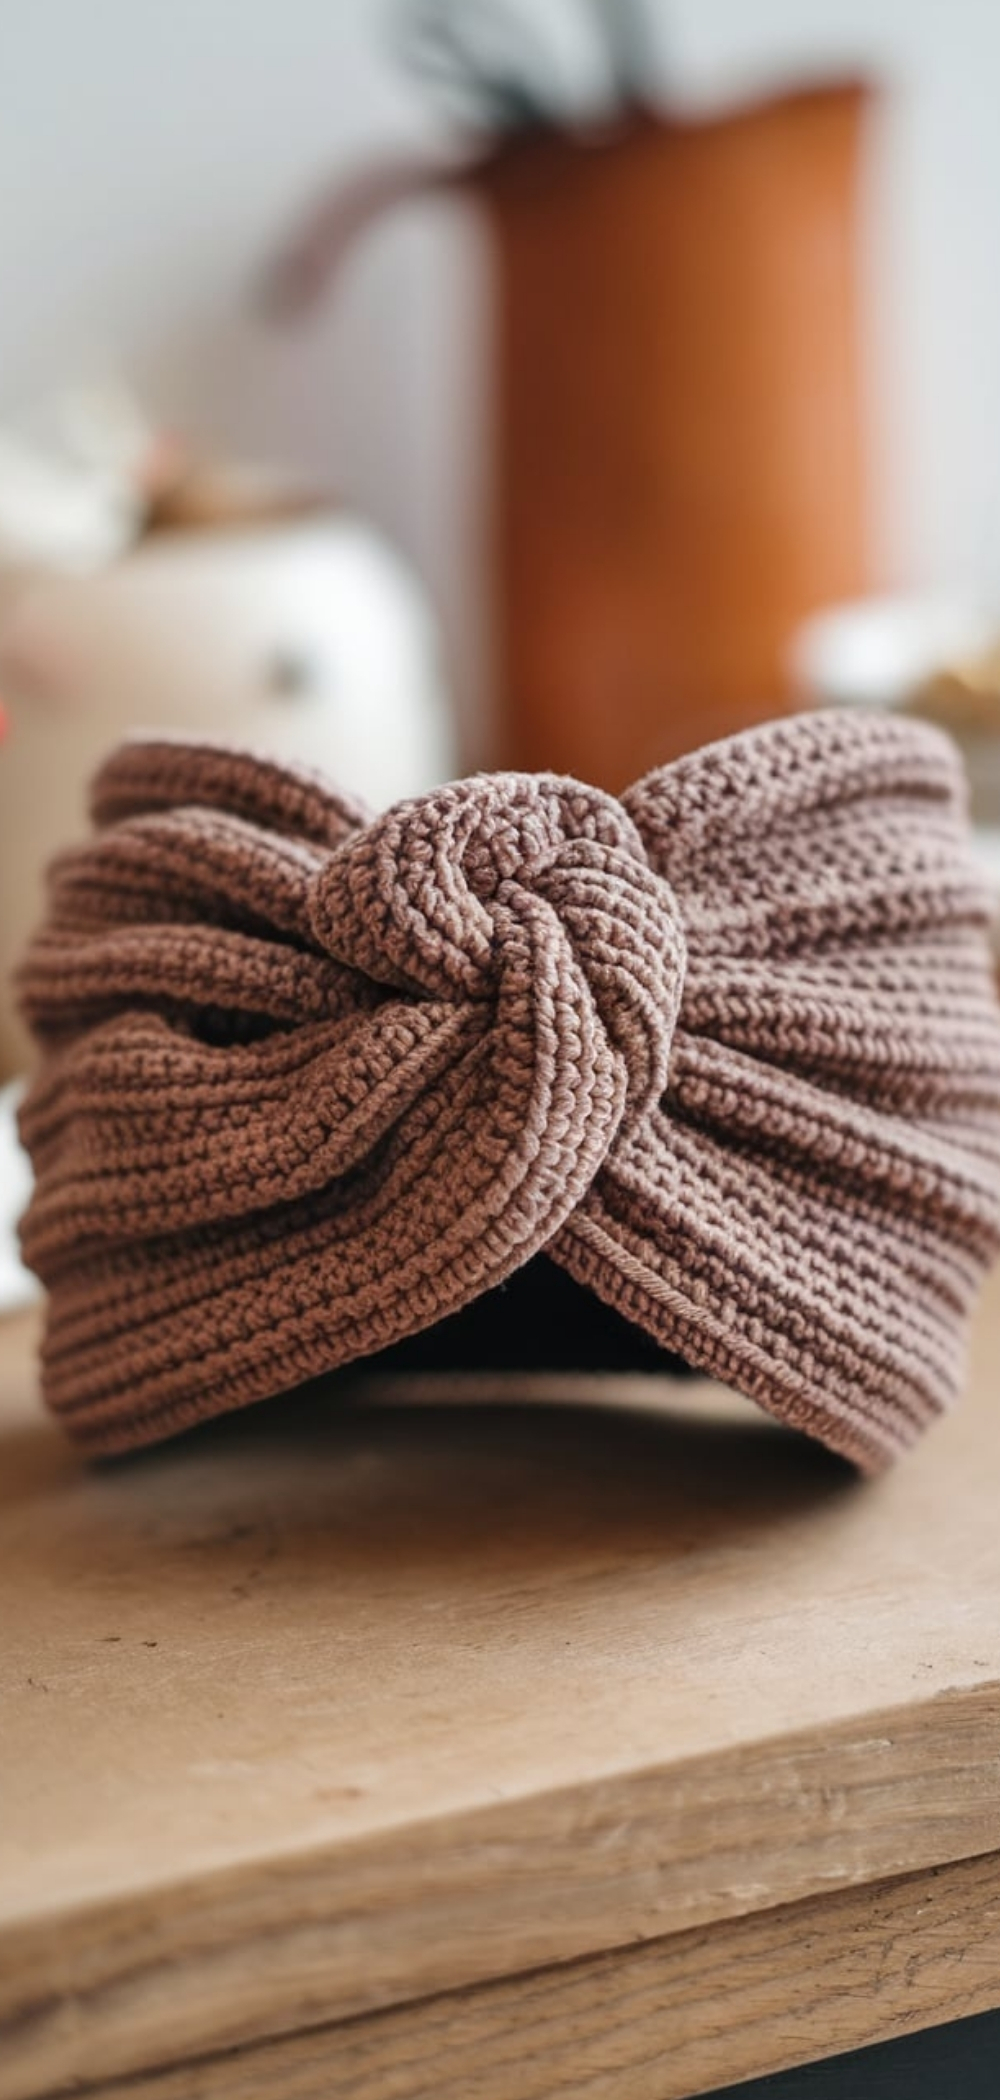
This chic twisted design adds a stylish flair to your winter wardrobe. The twisted knot in the center gives it a turban-like appearance, making it perfect for both casual and formal looks.
Materials Needed:
- Worsted weight yarn
- 5.5 mm crochet hook
Quick Directions:
- Create a long rectangular piece.
- Fold and twist the ends before sewing them together.
- Finish with a neat edge for a polished look.
14. Cable Stitch Ear Warmer
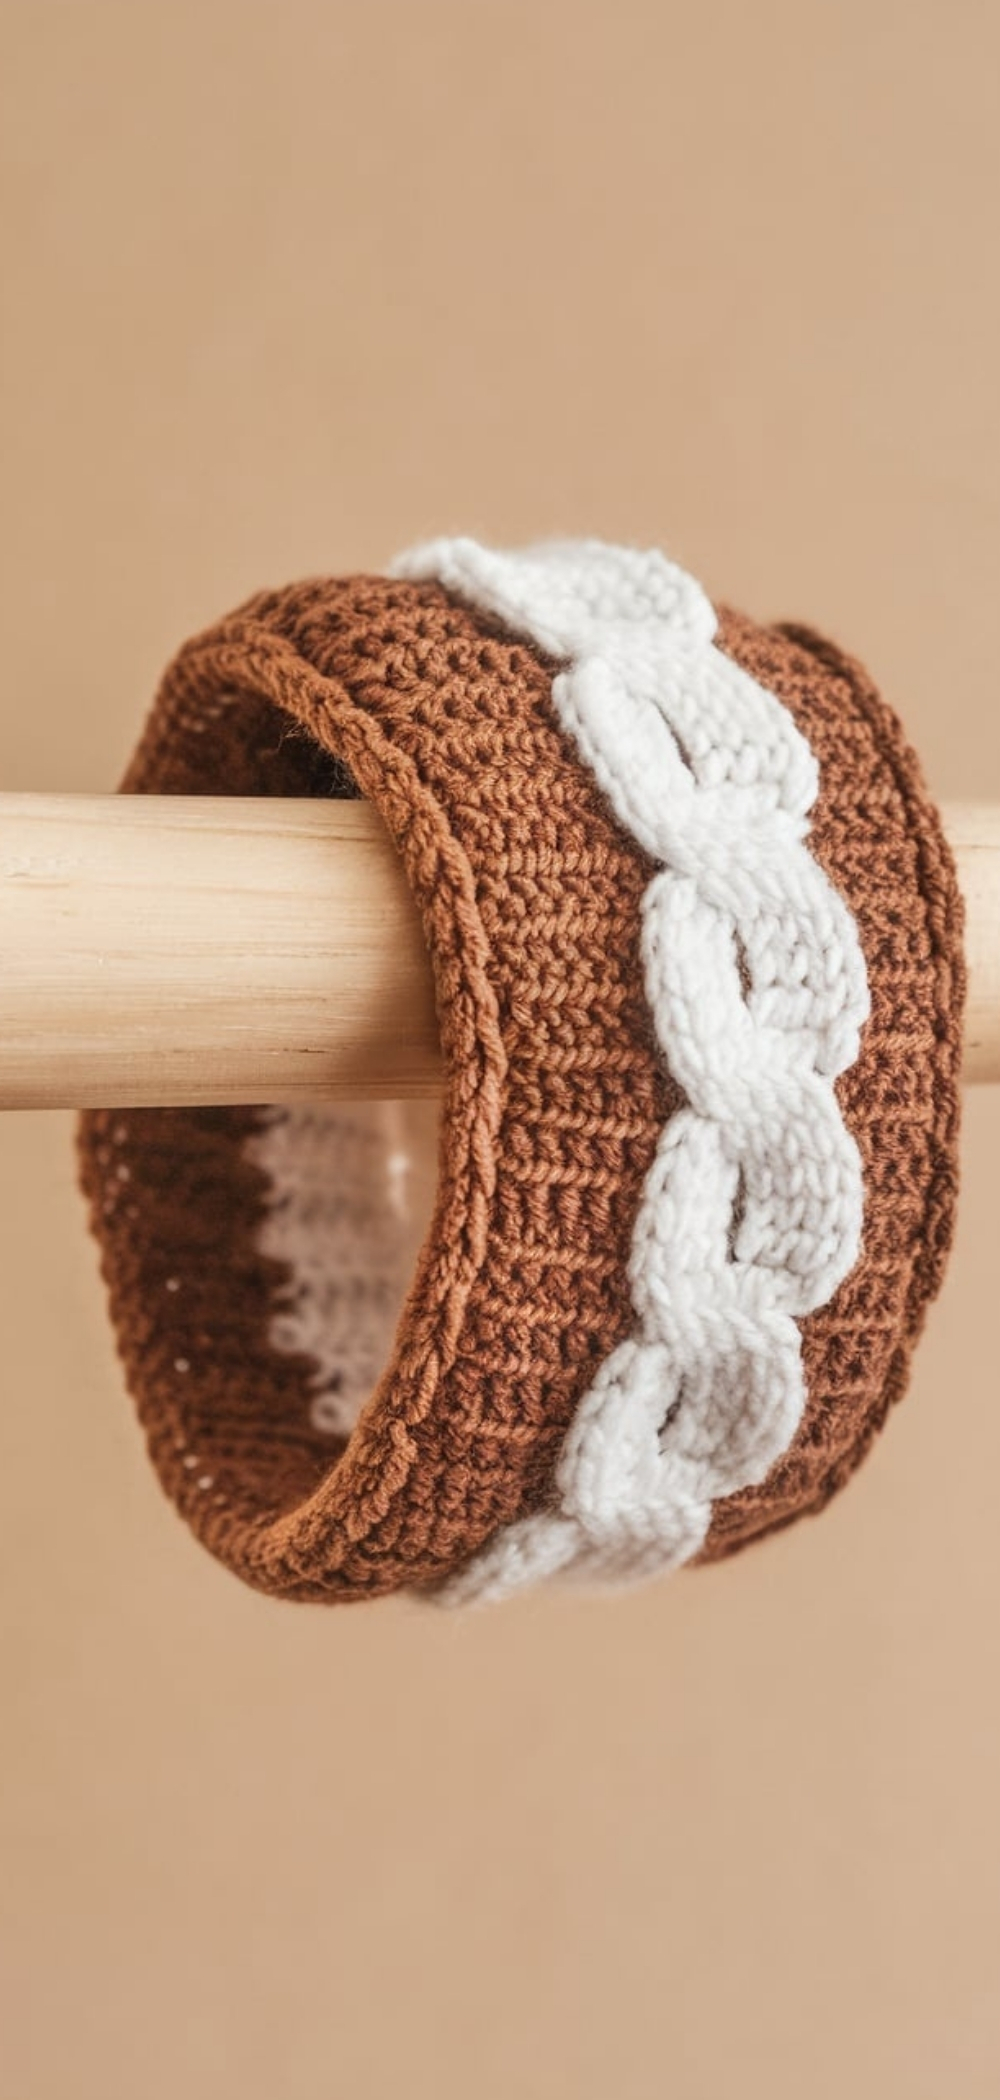
Cables add depth and texture to your project. This pattern mimics the intricate designs of cable knit but uses crochet techniques.
Materials Needed:
- Aran weight yarn
- 6 mm crochet hook
Quick Directions:
- Create a foundation chain.
- Use front post and back post double crochets to create the cable effect.
- Seam the ends to form a band.
13. Buttoned Crochet Ear Warmer

A buttoned ear warmer allows for easy customization. You can make it adjustable by adding more button holes.
Materials Needed:
- DK weight yarn
- 4 mm crochet hook
Quick Directions:
- Crochet a simple band with buttonholes.
- Attach a decorative button for style and functionality.
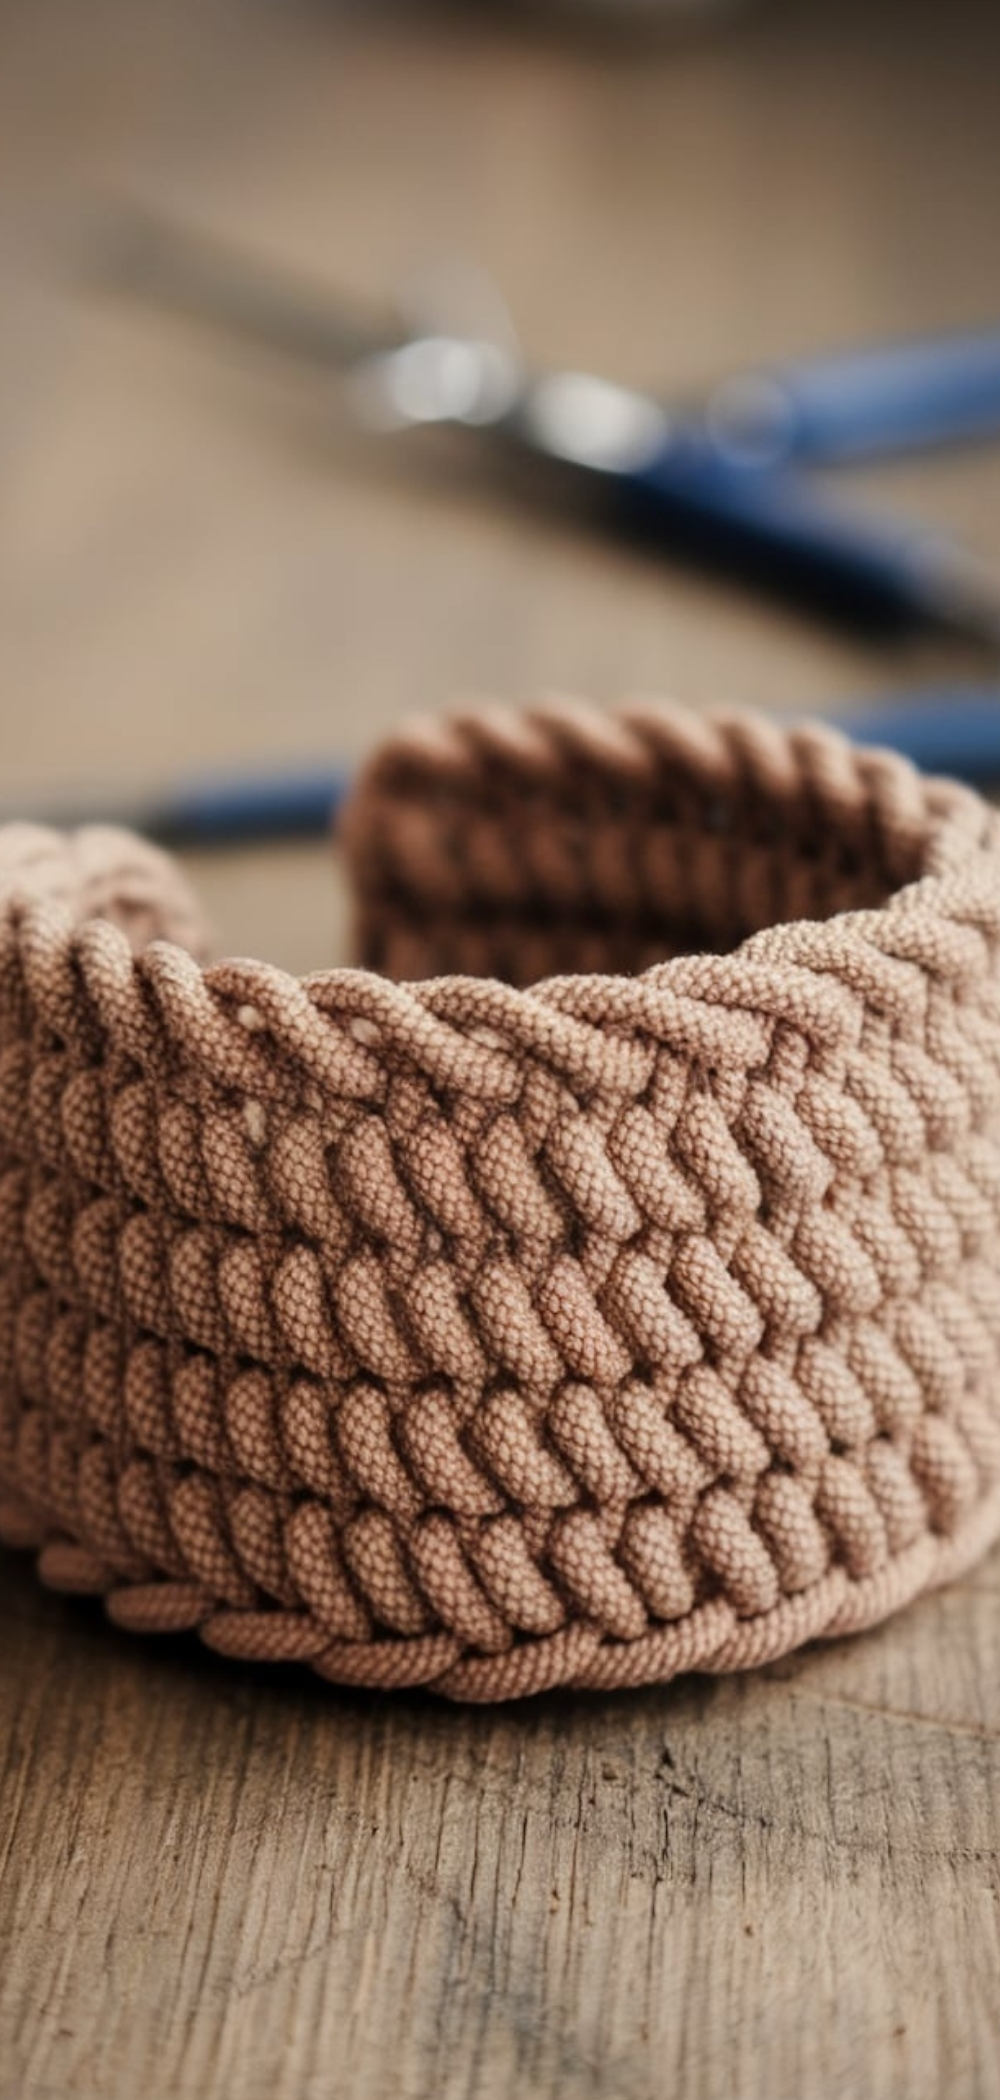
12. Chunky Braided Ear Warmer
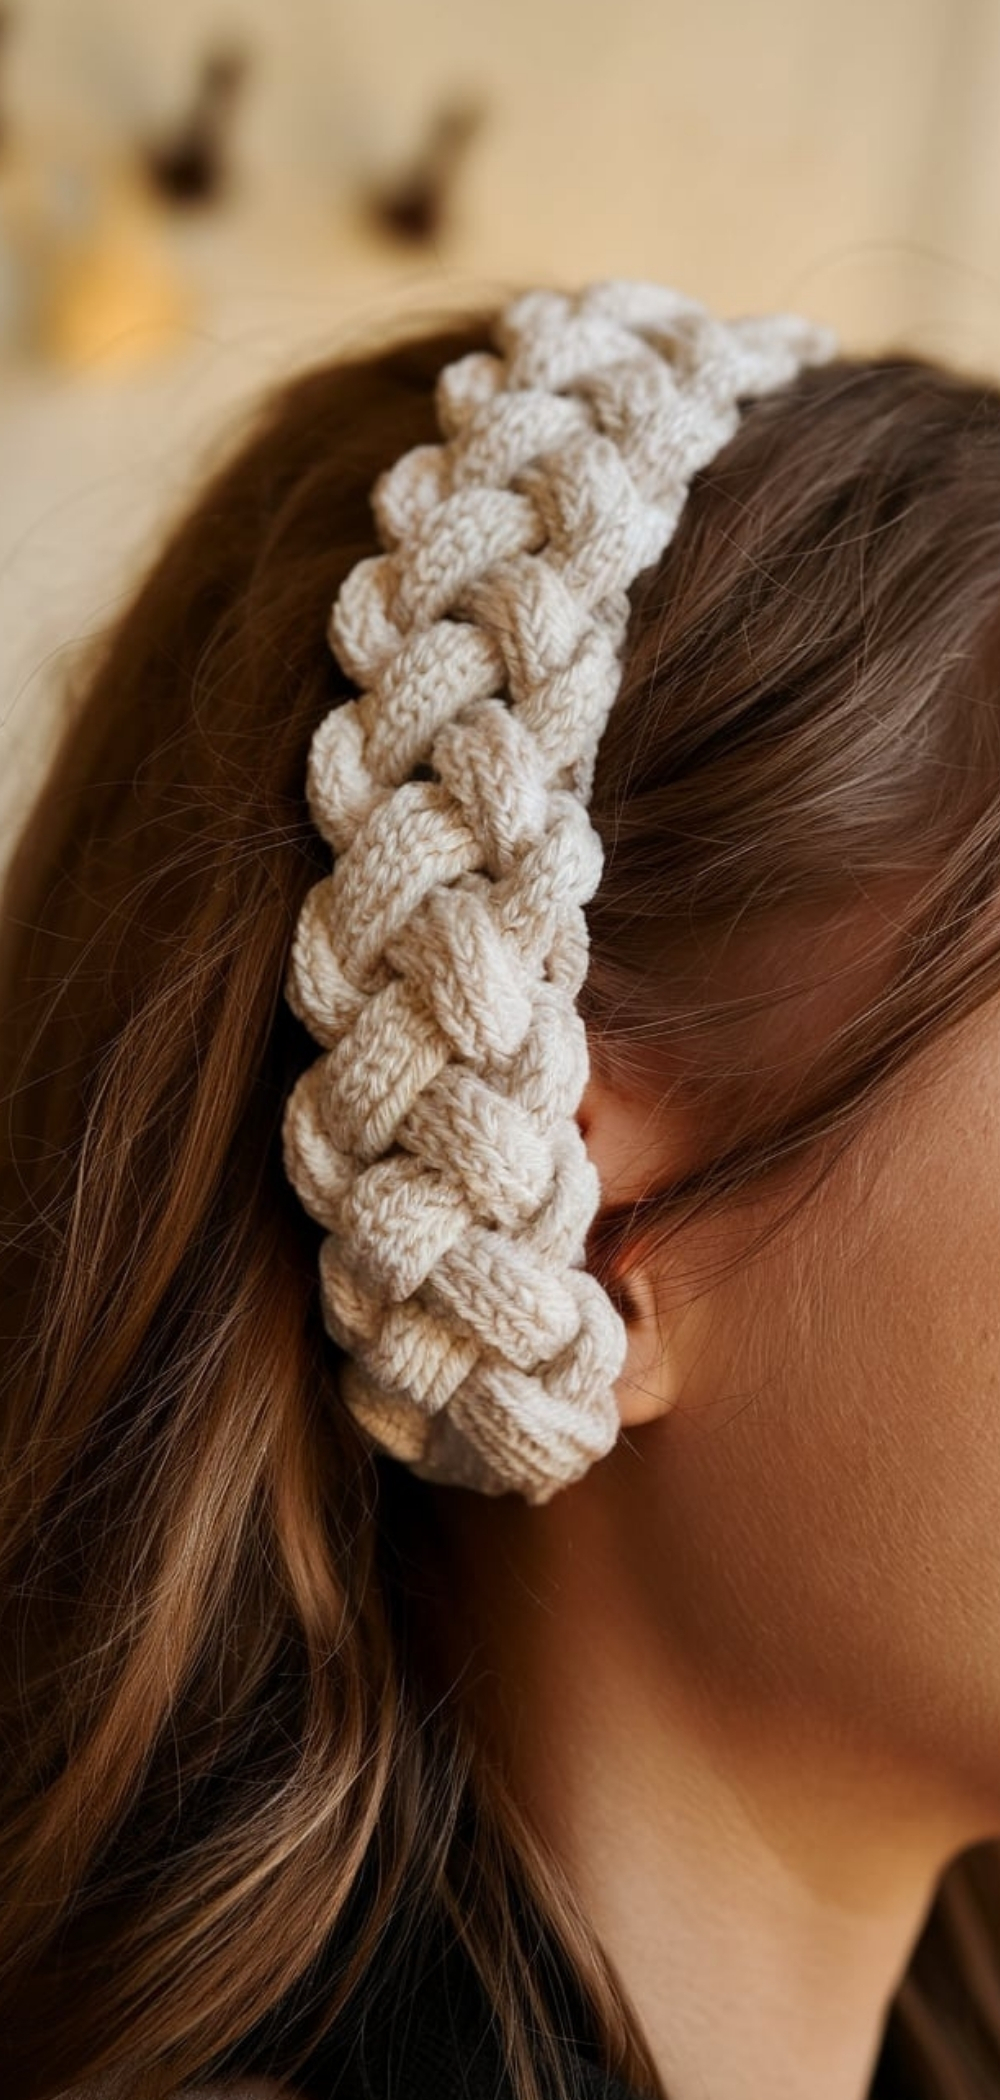
This trendy design features a braided look that’s surprisingly easy to achieve. It’s perfect for extra warmth and modern style.
Materials Needed:
- Bulky weight yarn
- 7 mm crochet hook
Quick Directions:
- Create three separate strips.
- Braid the strips together and stitch the ends.
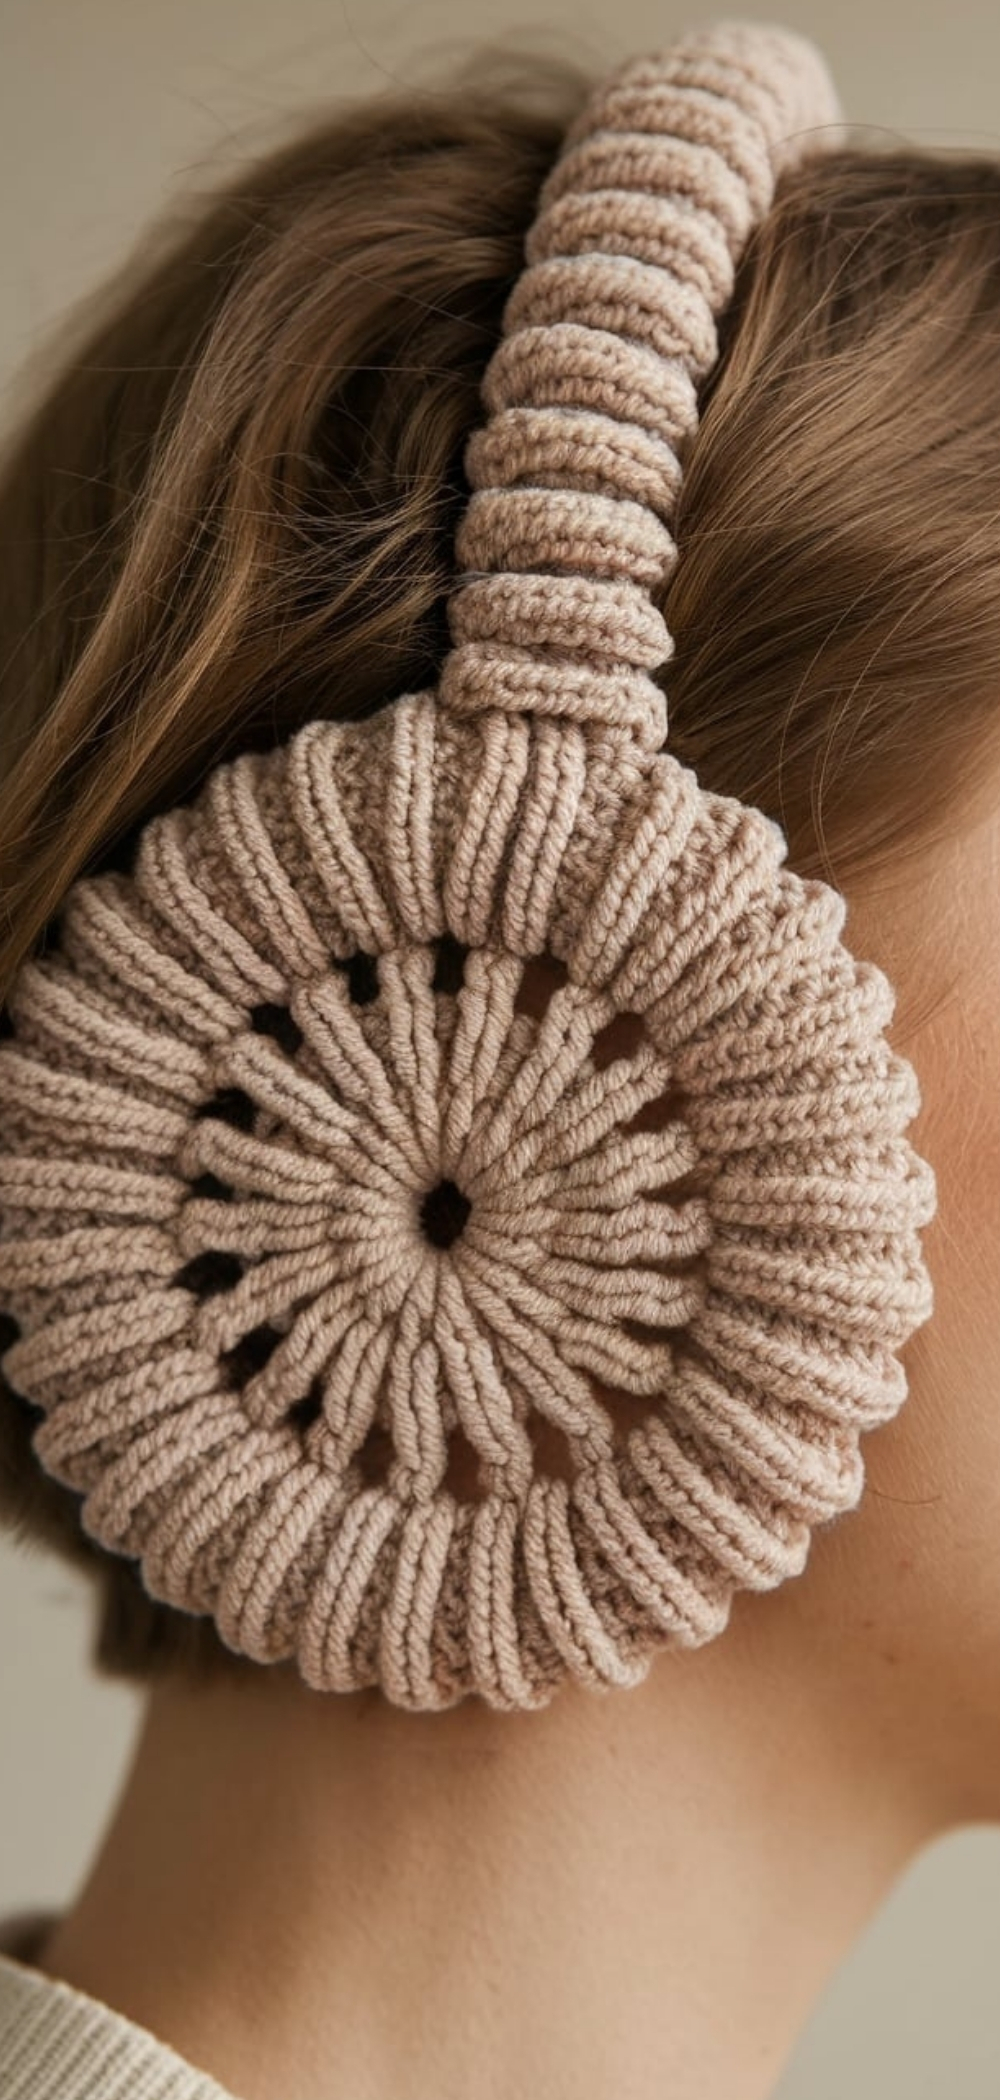
11. Floral Accent Crochet Ear Warmer
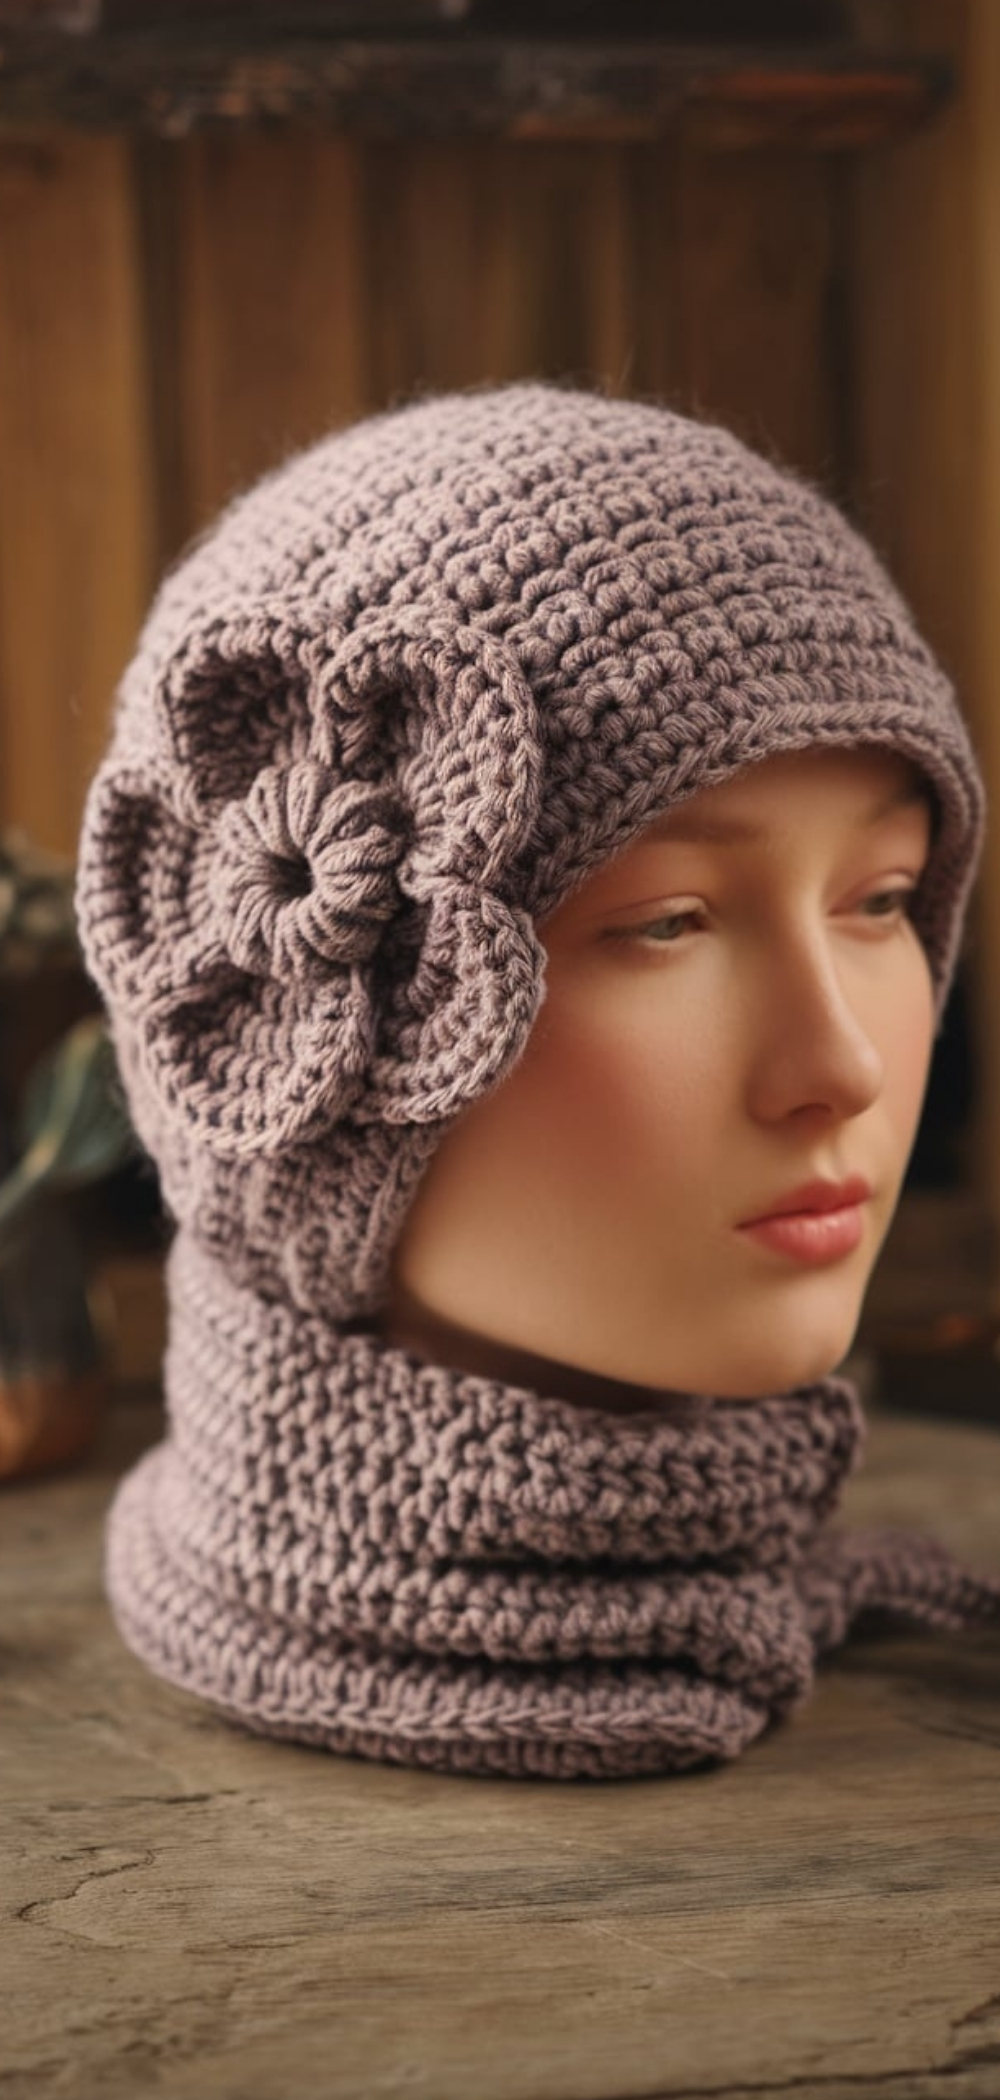
A simple ear warmer gets an upgrade with a crochet flower embellishment. This feminine design is perfect for a touch of elegance.
Materials Needed:
- Light worsted yarn
- 5 mm crochet hook
Quick Directions:
- Crochet a plain band.
- Create a separate crochet flower and attach it.
10. Striped Crochet Ear Warmer
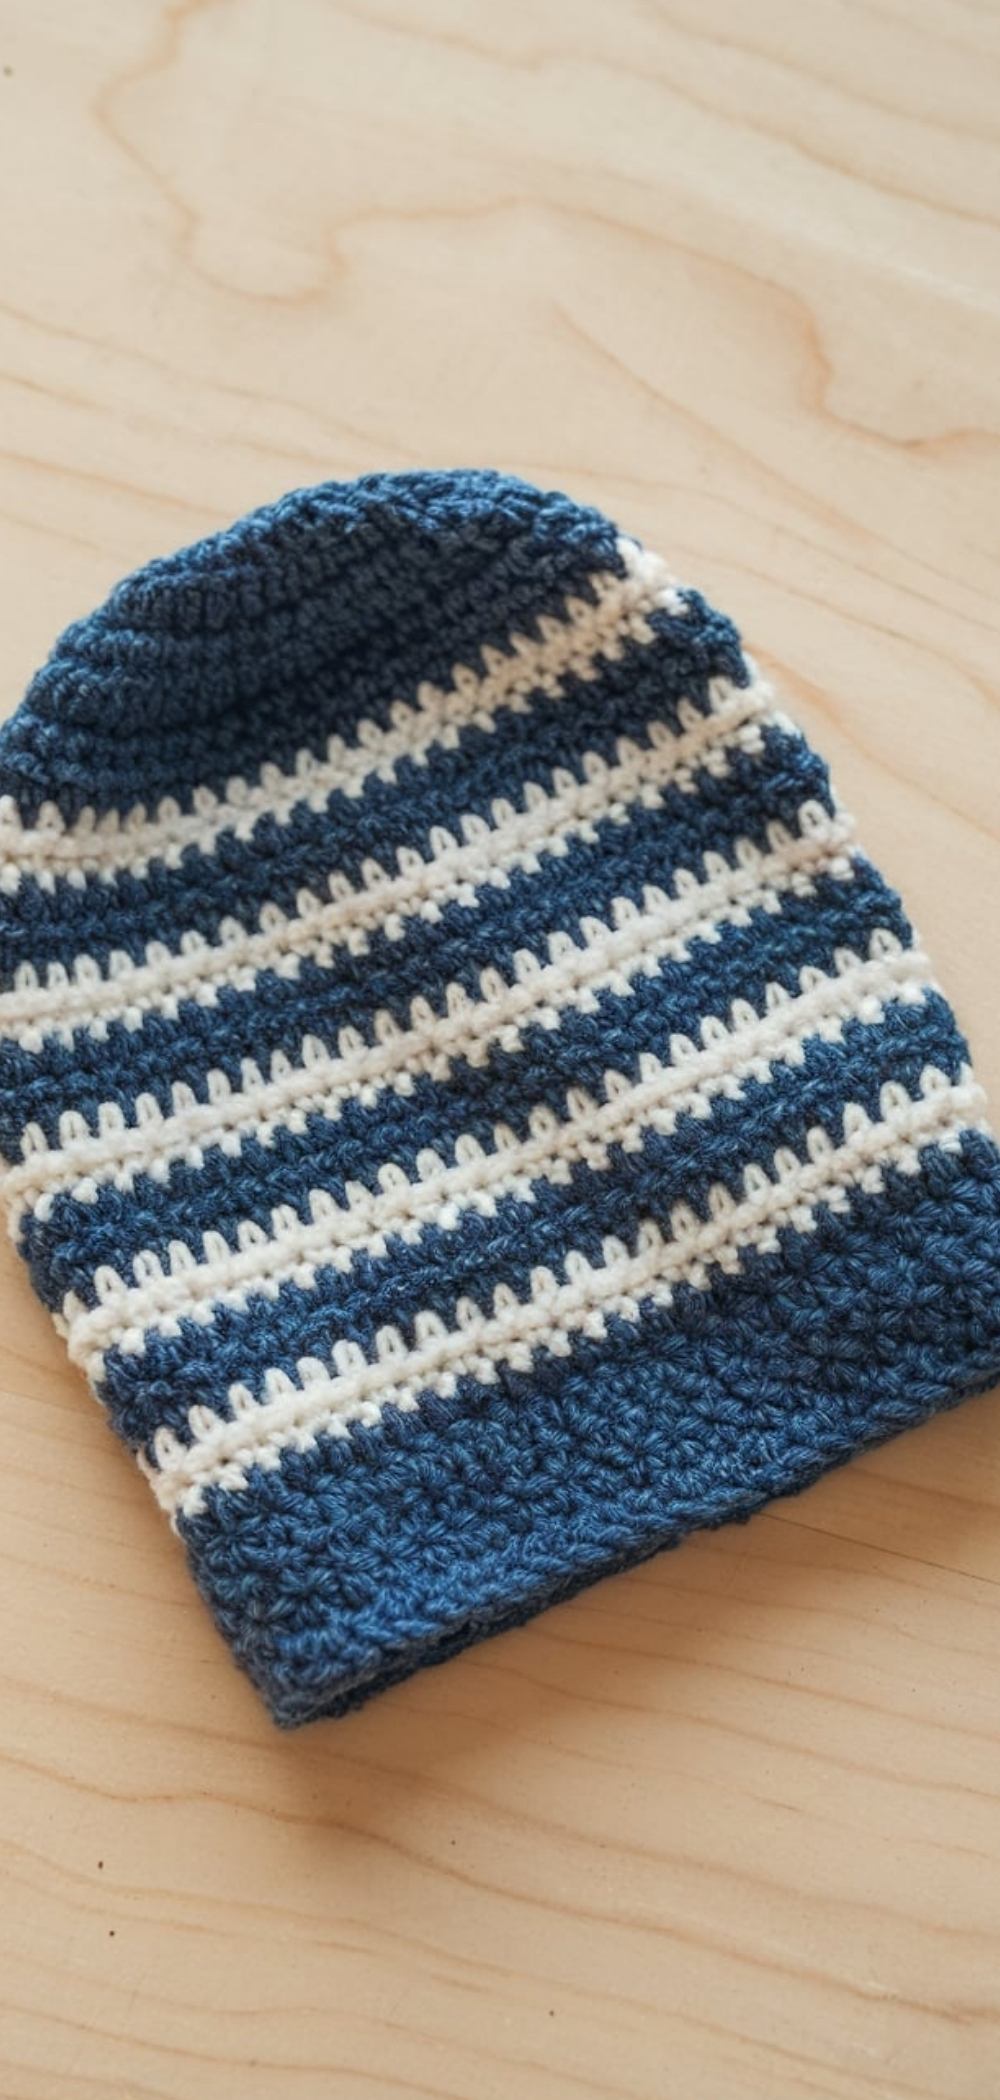
Stripes add visual interest and allow you to play with color combinations.
Materials Needed:
- Two contrasting colors of worsted yarn
- 5.5 mm crochet hook
Quick Directions:
- Alternate colors every few rows.
- Seam the ends to create a loop.
9. Puff Stitch Ear Warmer

Puff stitches add texture and coziness to your ear warmer.
Materials Needed:
- Worsted weight yarn
- 6 mm crochet hook
Quick Directions:
- Use puff stitches across the band.
- Finish with a slip-stitch seam.
8. Double Crochet Ribbed Ear Warmer
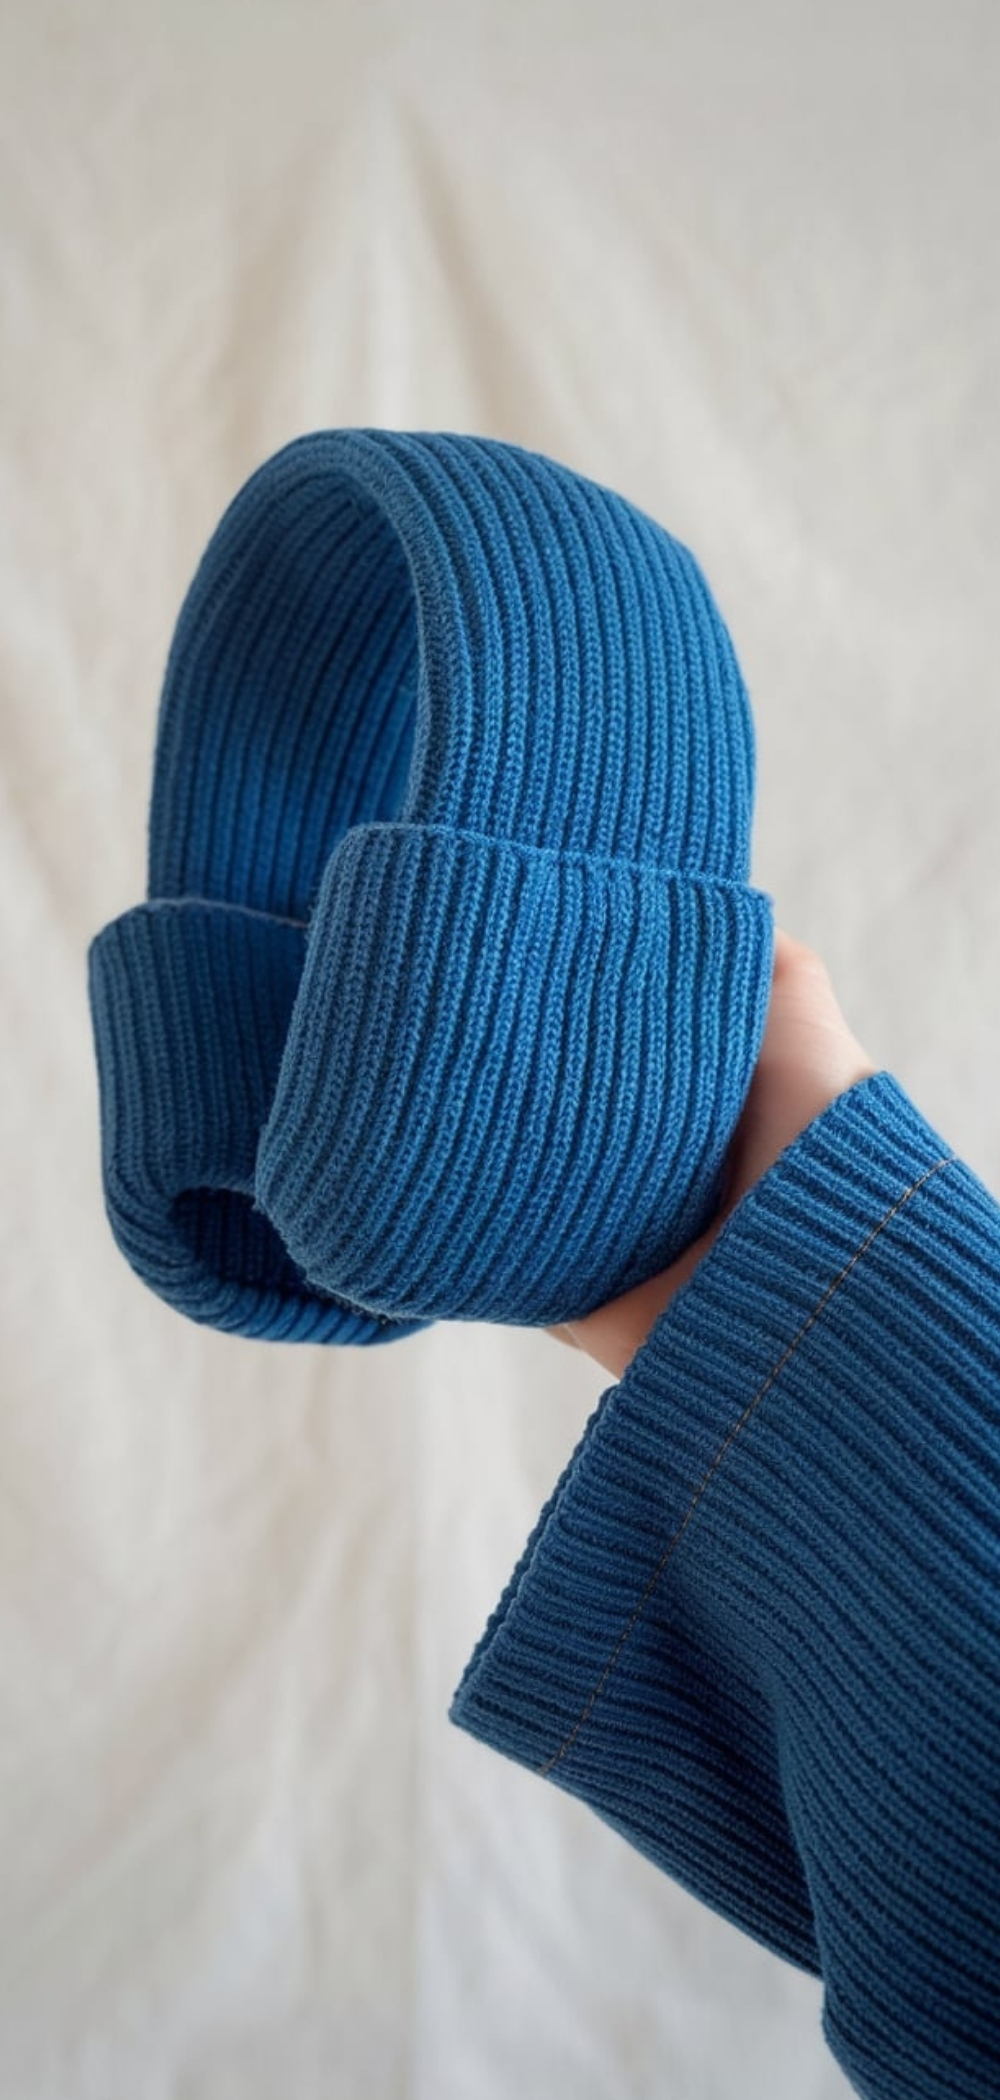
A ribbed design provides stretch and comfort.
Materials Needed:
- Aran weight yarn
- 5.5 mm crochet hook
Quick Directions:
- Alternate front and back post double crochets.
- Seam the ends together.
7. Lattice Crochet Ear Warmer
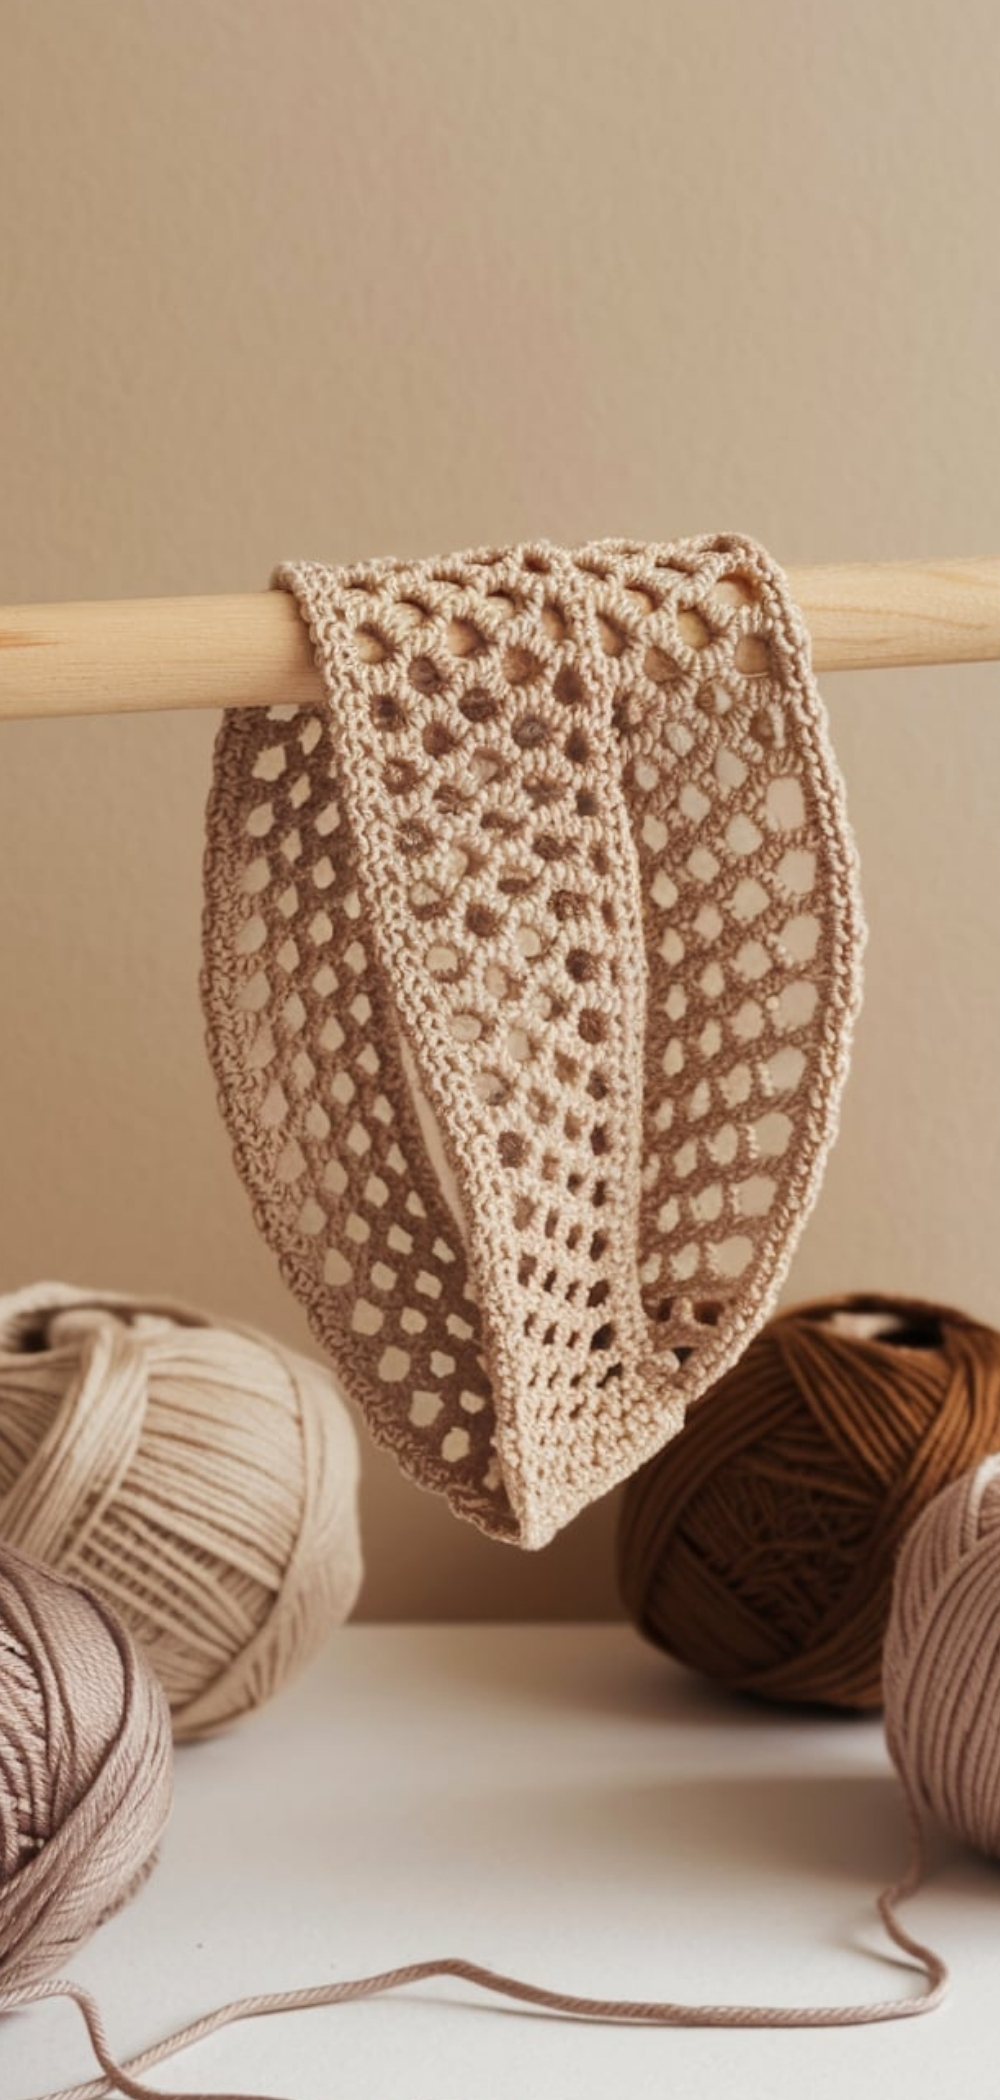
The lattice pattern creates an open, airy design while still keeping you warm.
Materials Needed:
- Fingering weight yarn
- 4 mm crochet hook
Quick Directions:
- Use chain spaces and double crochets for the lattice look.
- Finish with a slip-stitch seam.
6. Bow-Style Crochet Ear Warmer
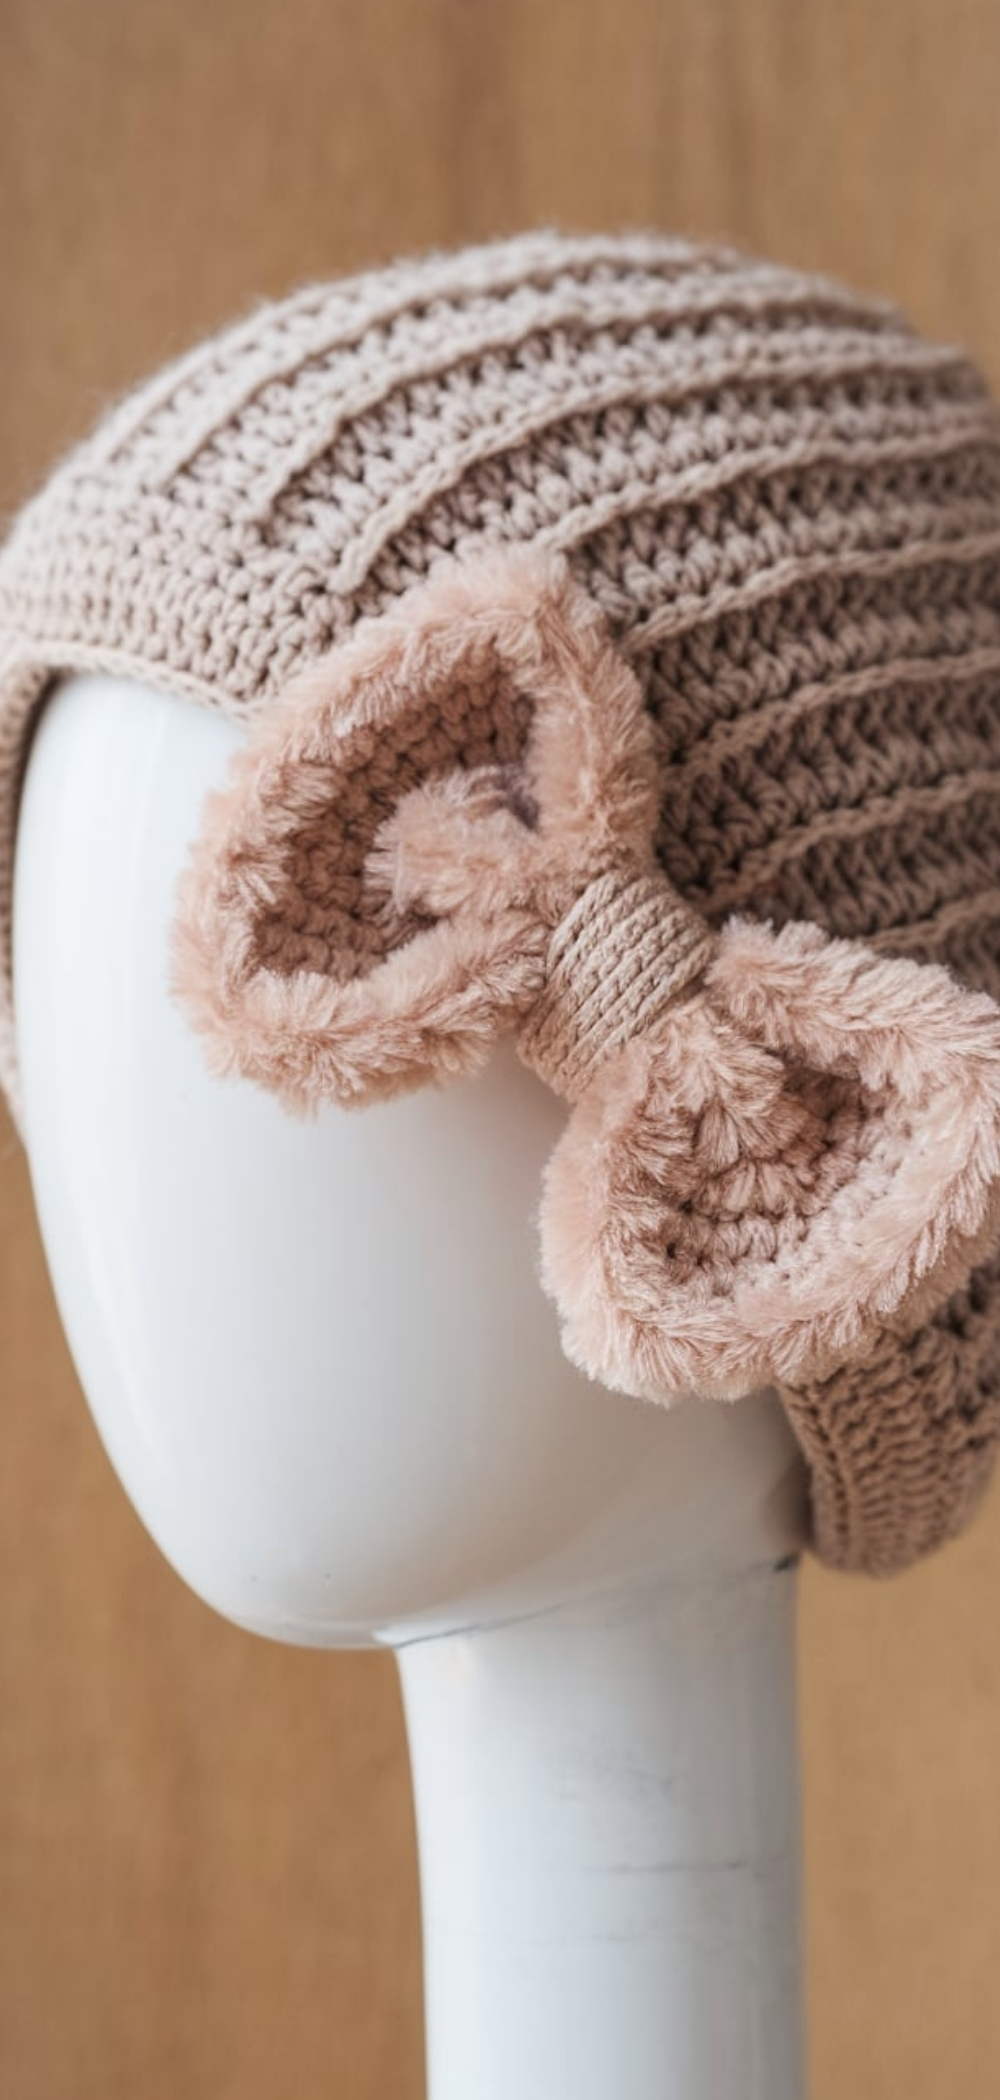
A bow detail adds charm and femininity.
Materials Needed:
- Worsted weight yarn
- 5 mm crochet hook
Quick Directions:
- Crochet a wide band.
- Cinch the middle with yarn to create a bow effect.
5. Moss Stitch Ear Warmer
The moss stitch creates a textured, woven appearance.
Materials Needed:
- Worsted yarn
- 5.5 mm crochet hook
Quick Directions:
- Alternate single crochet and chain stitches.
- Seam the ends together.
4. Picot Edge Ear Warmer
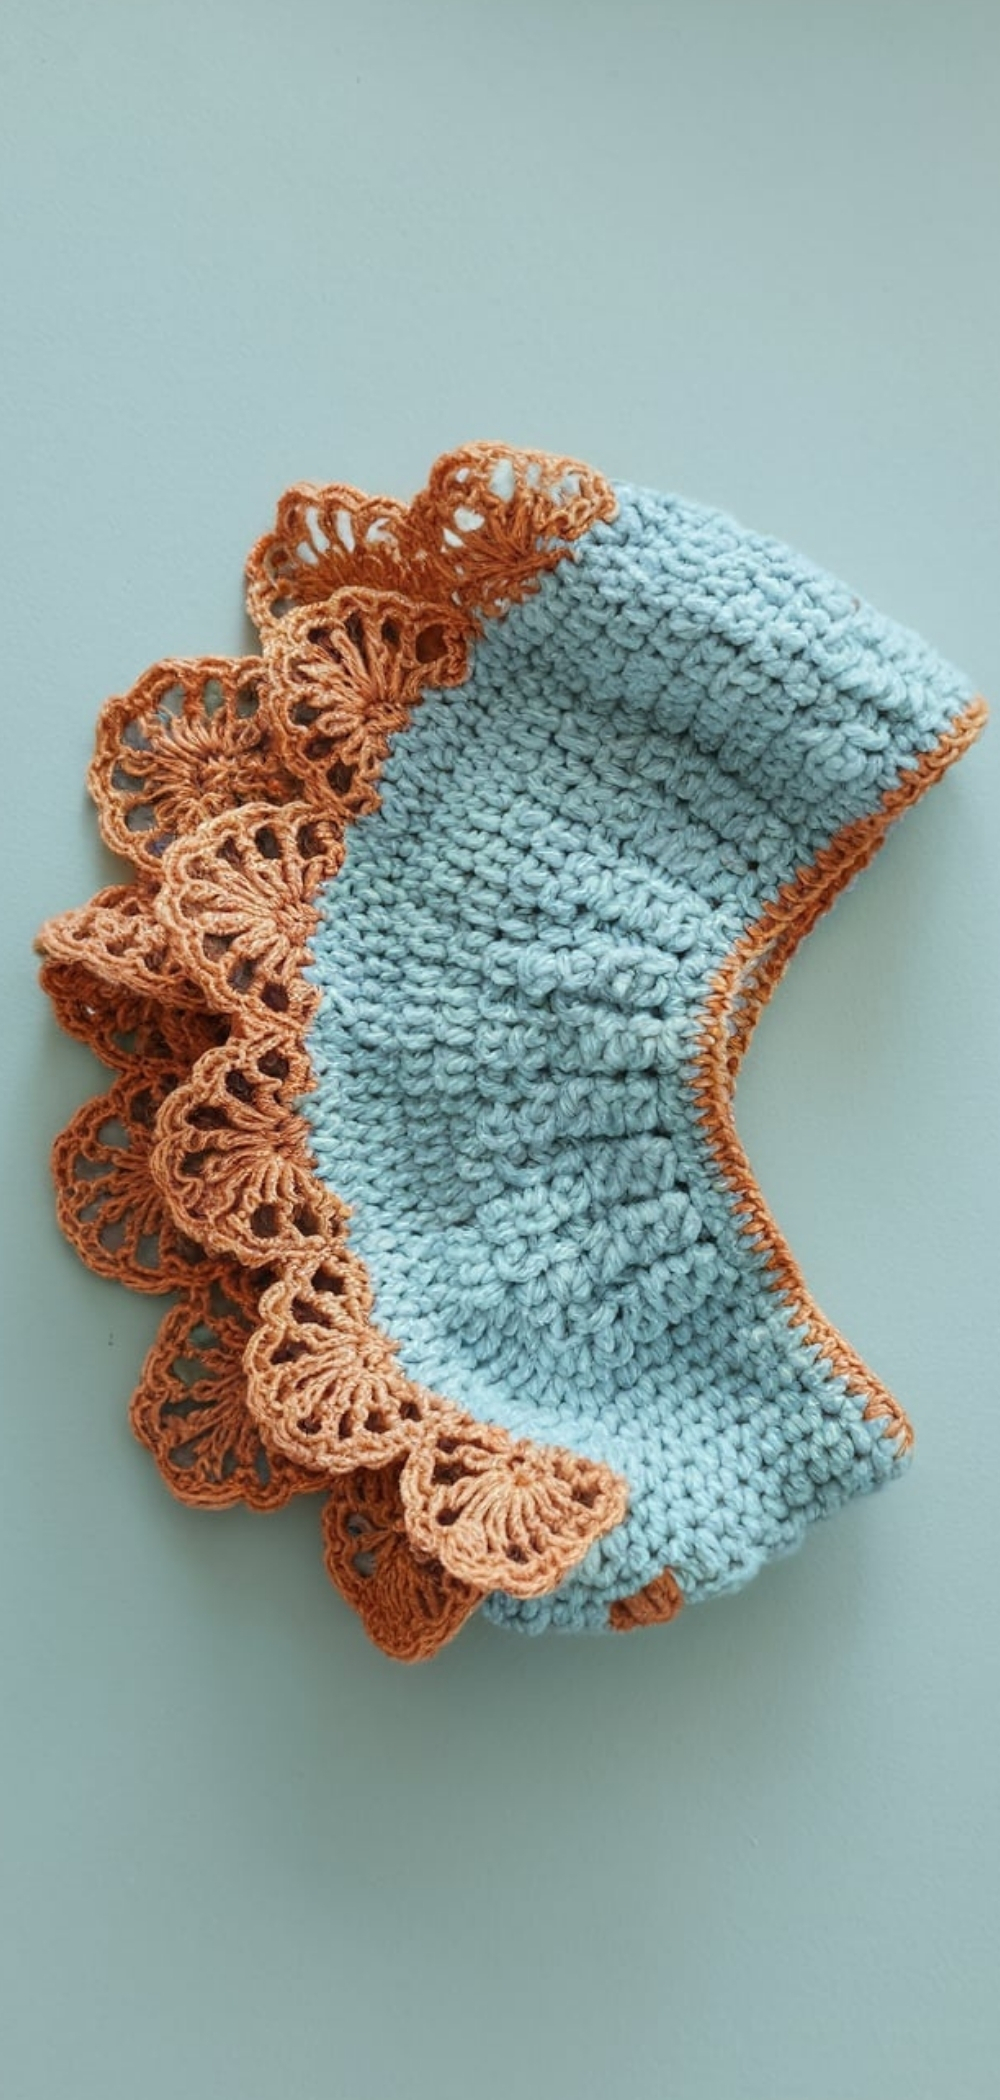
Add a decorative picot edge for a touch of sophistication.
Materials Needed:
- DK weight yarn
- 4 mm crochet hook
Quick Directions:
- Crochet is a basic band.
- Add a picot border for detail.
3. Seamless Infinity Ear Warmer
A continuous round design avoids visible seams.
Materials Needed:
- Medium weight yarn
- 5.5 mm crochet hook
Quick Directions:
- Crochet in the round.
- Use slip stitches to join each round seamlessly.
2. Ear Warmer with Beaded Embellishment
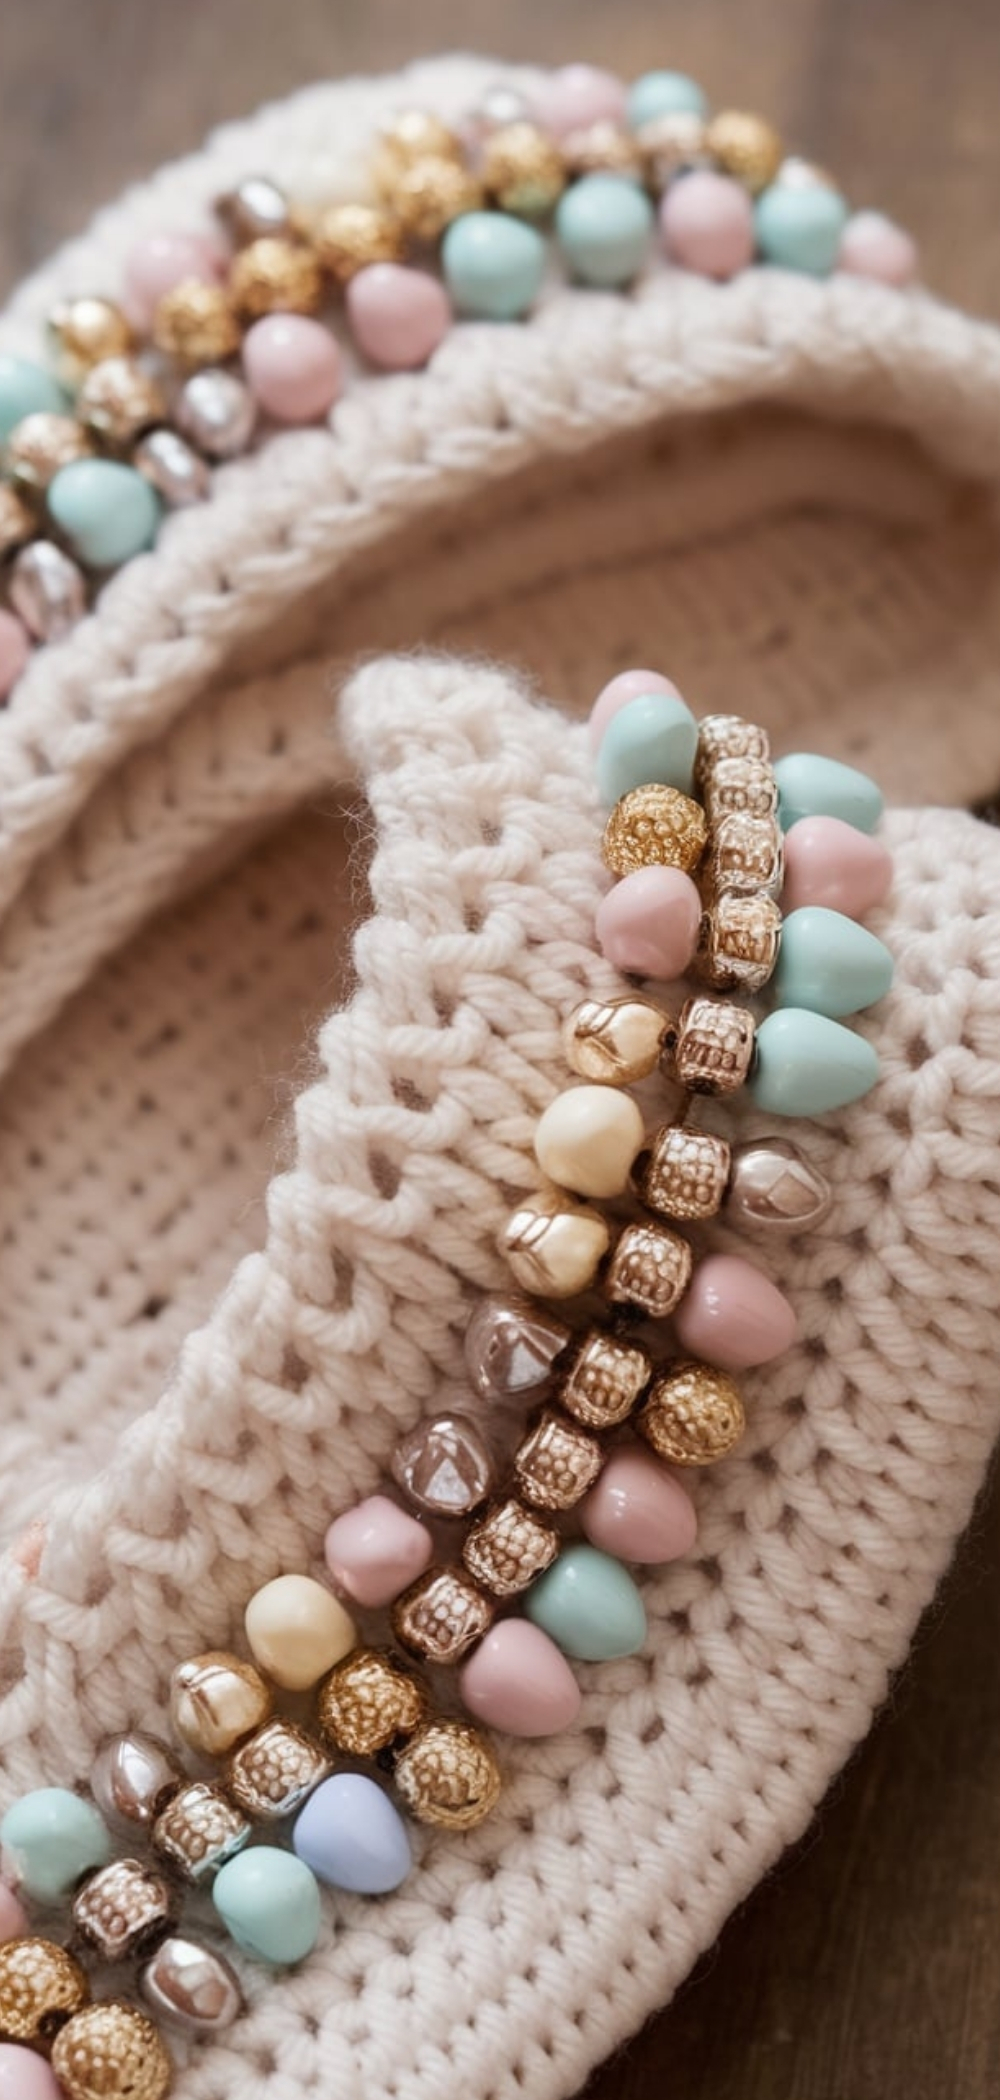
Add sparkle by incorporating beads into your design.
Materials Needed:
- Worsted weight yarn
- 5 mm crochet hook
- Beads
Quick Directions:
- Thread beads onto your yarn.
- Crochet the band, placing beads strategically.
1. Shell Stitch Ear Warmer
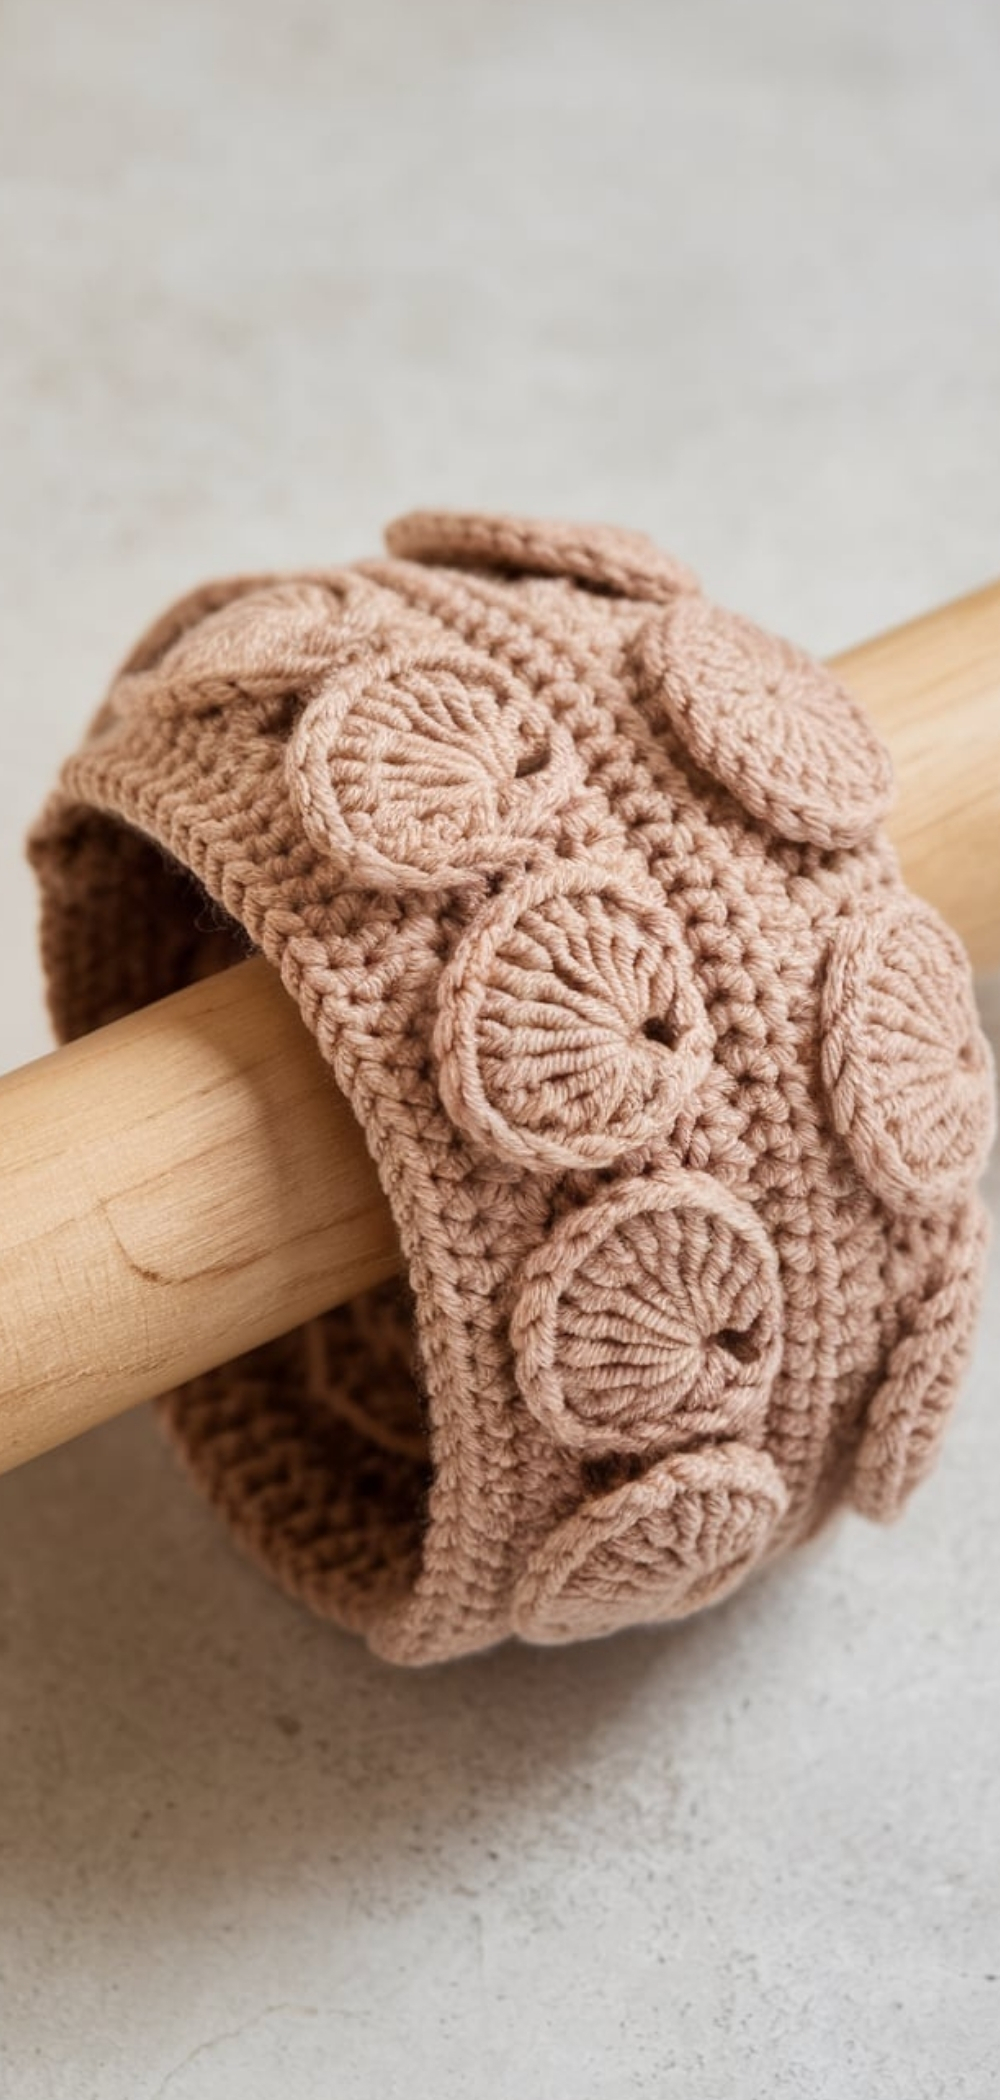
The shell stitches create a scalloped, elegant design.
Materials Needed:
- Sport weight yarn
- 4.5 mm crochet hook
Quick Directions:
- Use shell stitches across the band.
- Seam the ends to finish.
Conclusion
These 15 patterns offer a range of designs from simple to intricate. Experiment with different yarns and colors to create personalized ear warmers that are both fashionable and functional.