Make sure to join my list for Weekly Tips and Recipes to Your Inbox
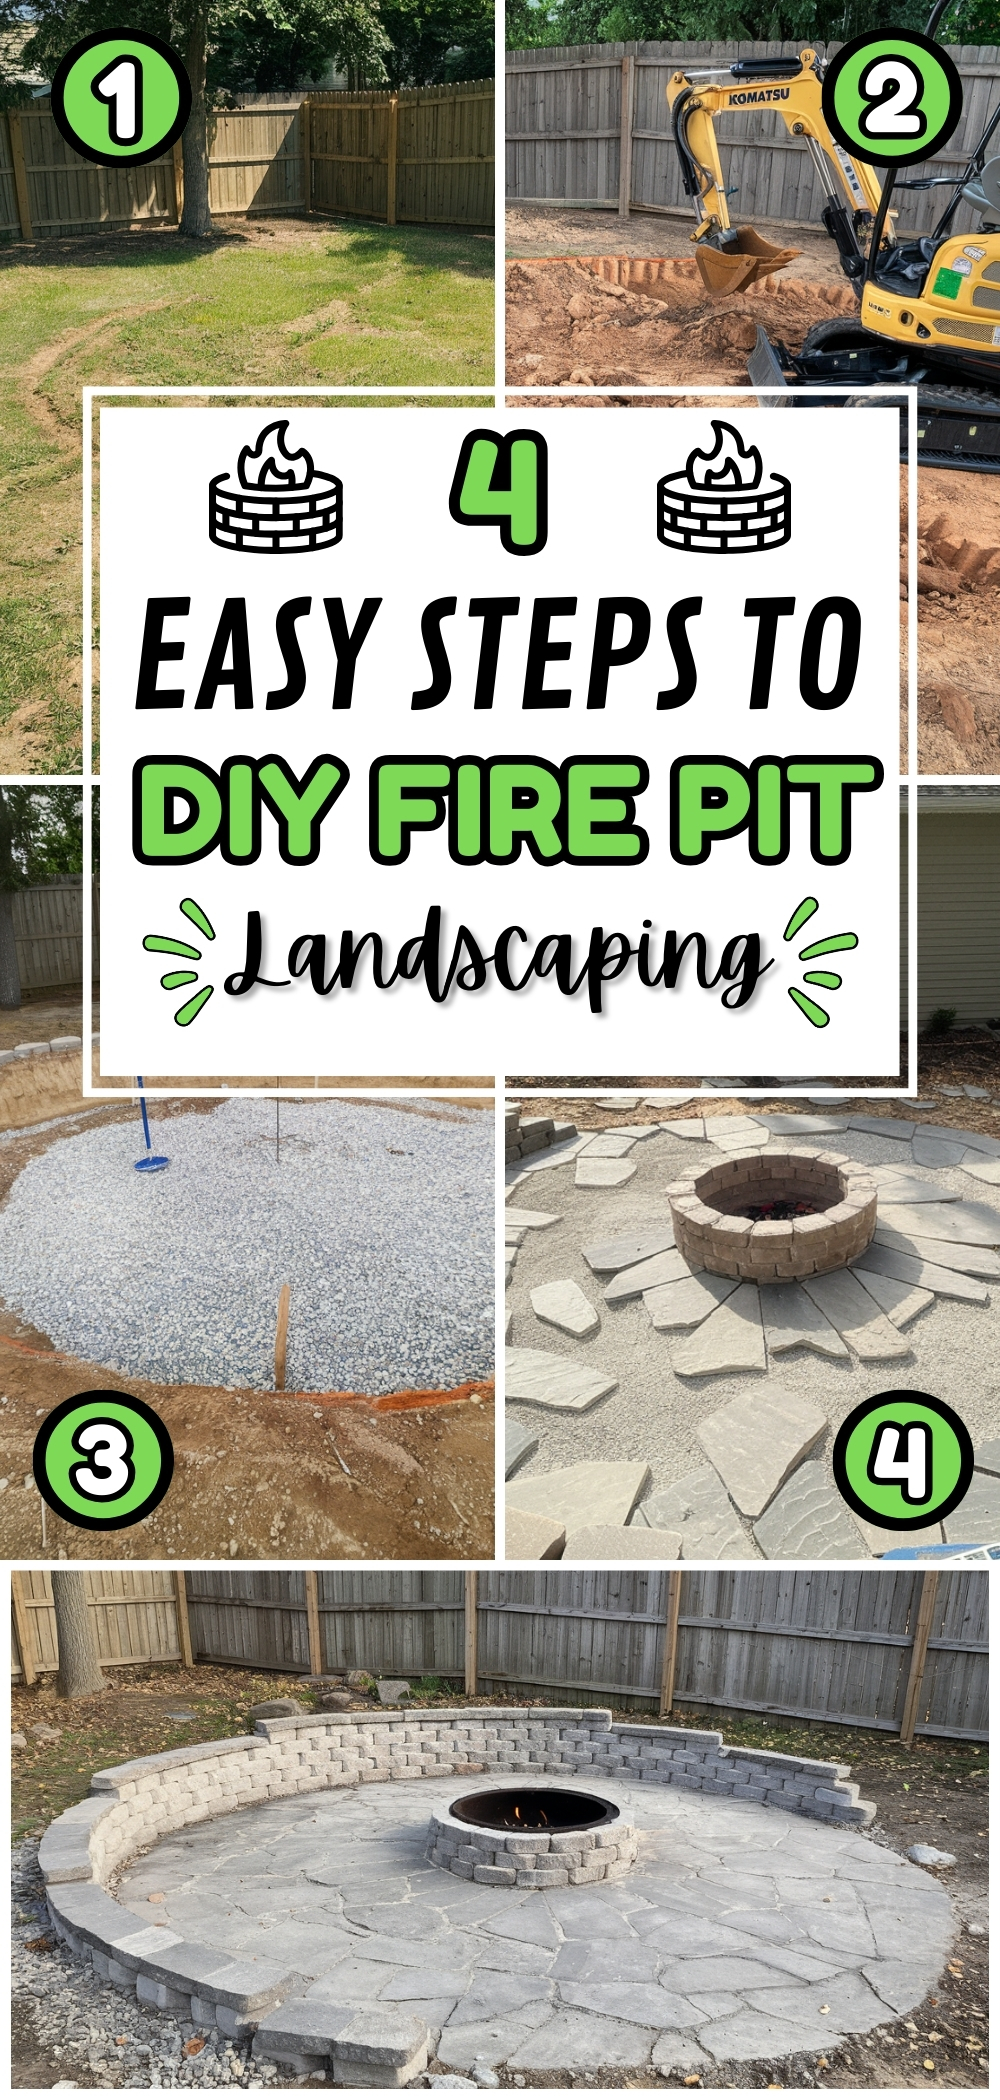
4 Easy steps to DIY Fire Pit Landscaping
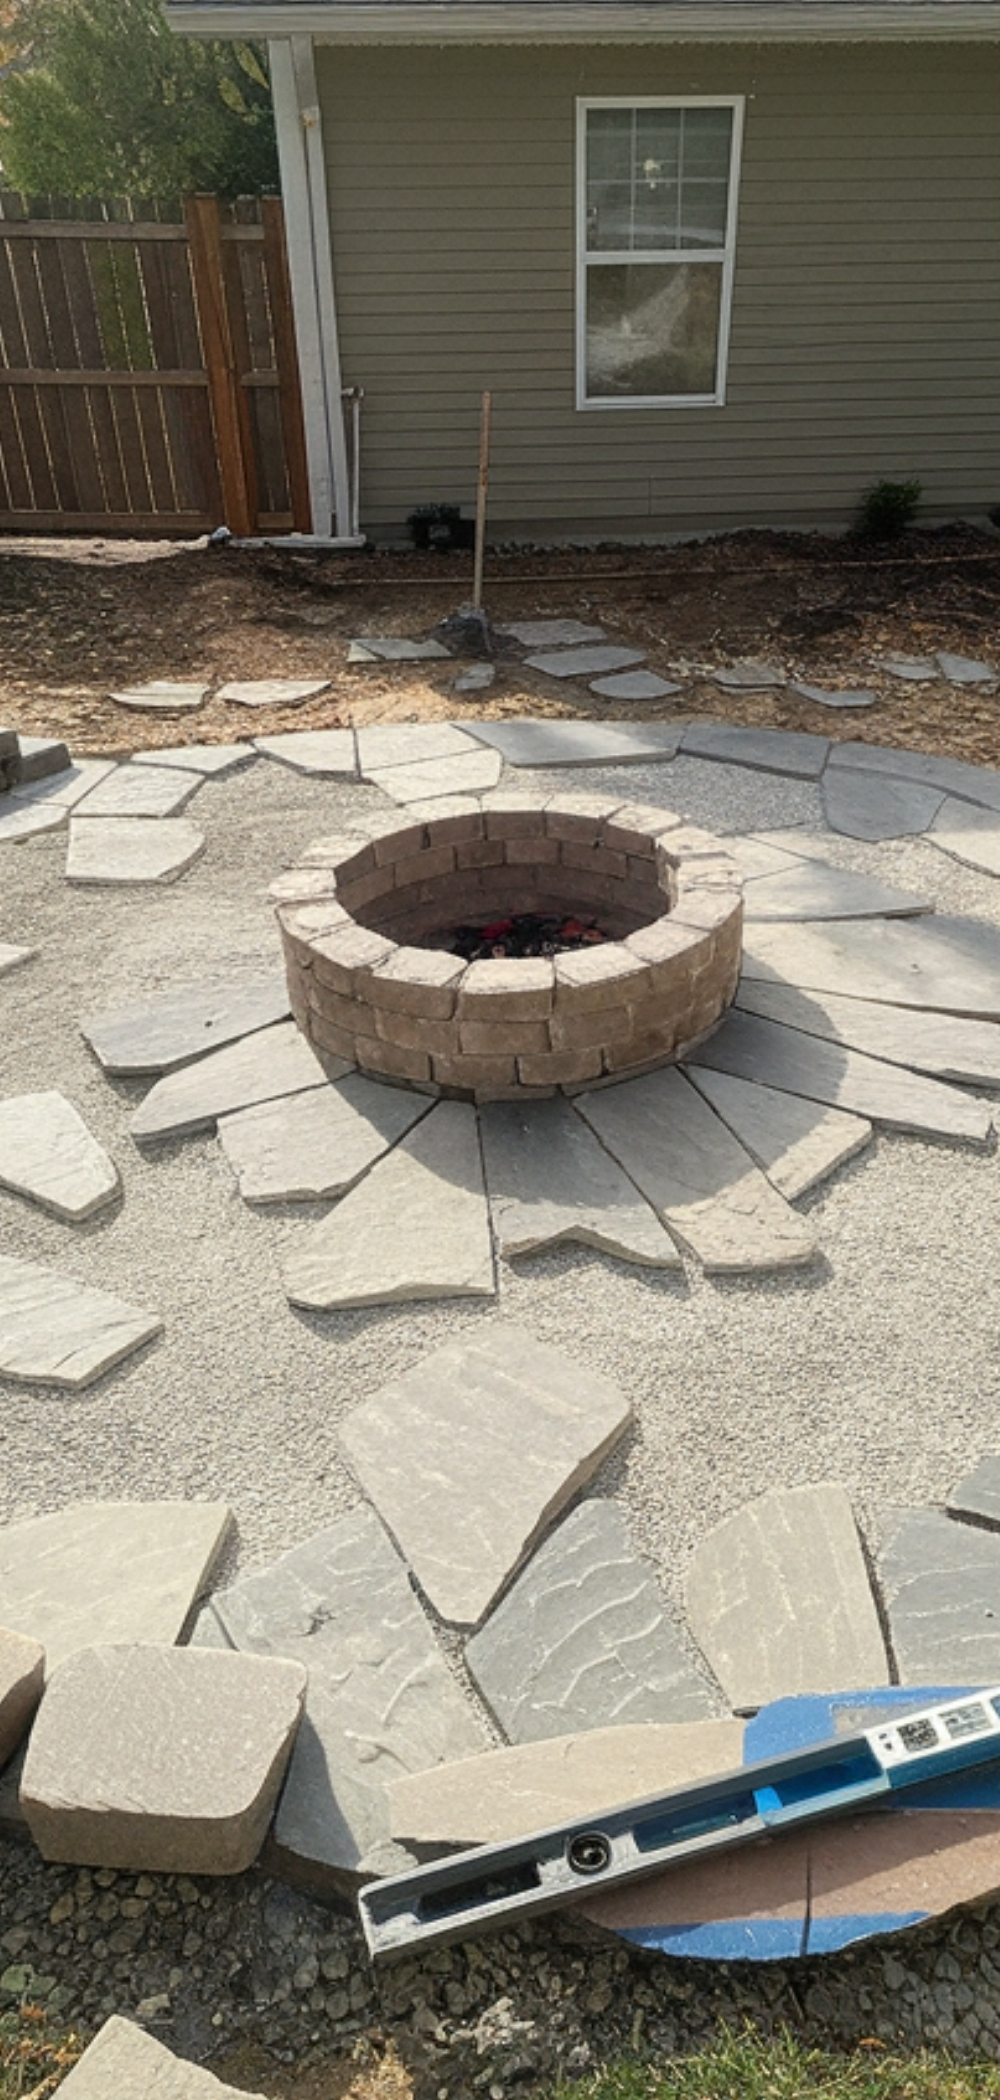
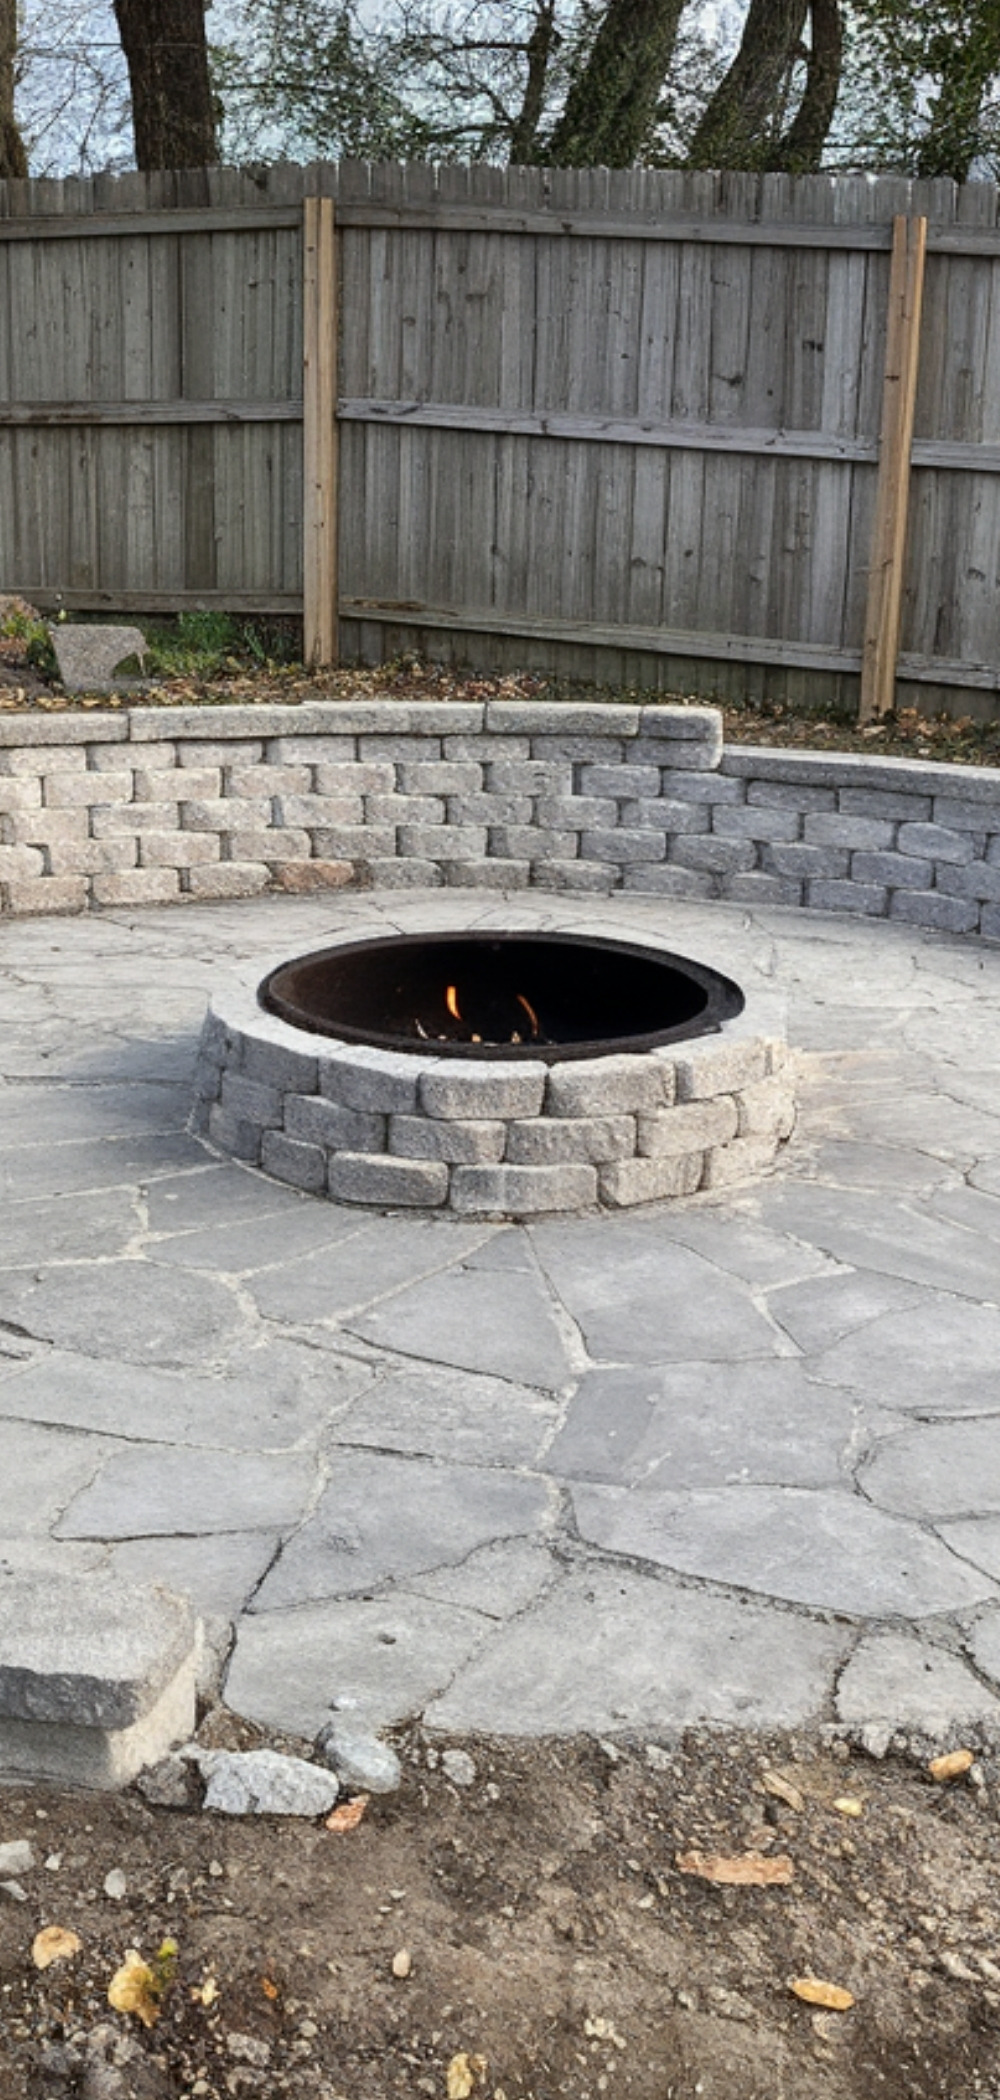
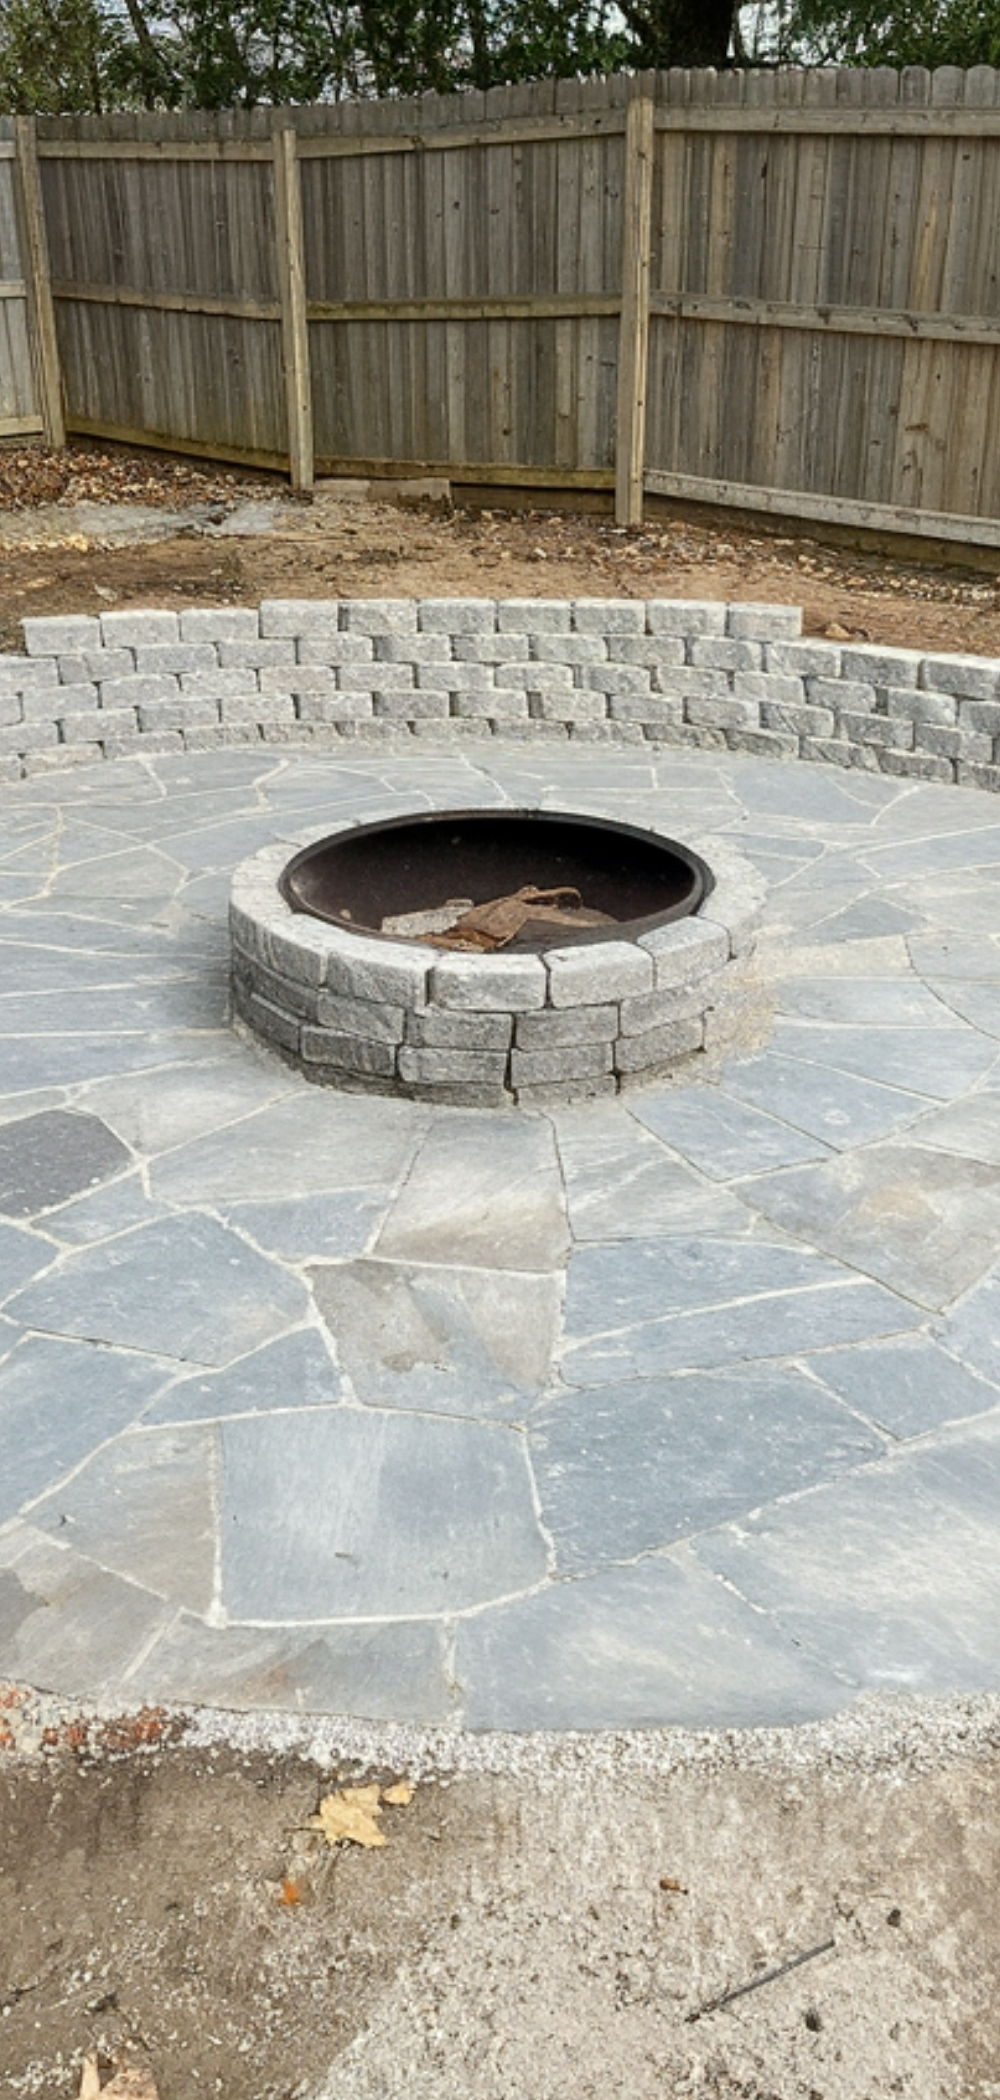
Building my DIY fire pit was a long adventure but rewarding process, taking me about four months to complete and costing almost $2,500. I’m really happy with how it turned out, and it has become the centerpiece of our backyard. The only thing I might have done differently is to spend on a higher quality brick for the retaining wall, as I went with the cheapest option. Still, the overall design looks great, and the DIY fire pit has already become a favorite spot for relaxing and gathering with my family and my friends.
The hardest part of the project was working with the flagstone itself. Since it doesn’t come pre-shaped, I had to cut and fit each piece individually, which required a lot of trial and error. Using a masonry blade on a grinder, I carefully shaped each slab to match the natural curves of the surrounding stones. This process was time-consuming, and lifting the heavy stones repeatedly left my back sore for days. For filling the gaps, I used number 12 rock and then finished with crushed granite (chicken grit) to lock everything in place.
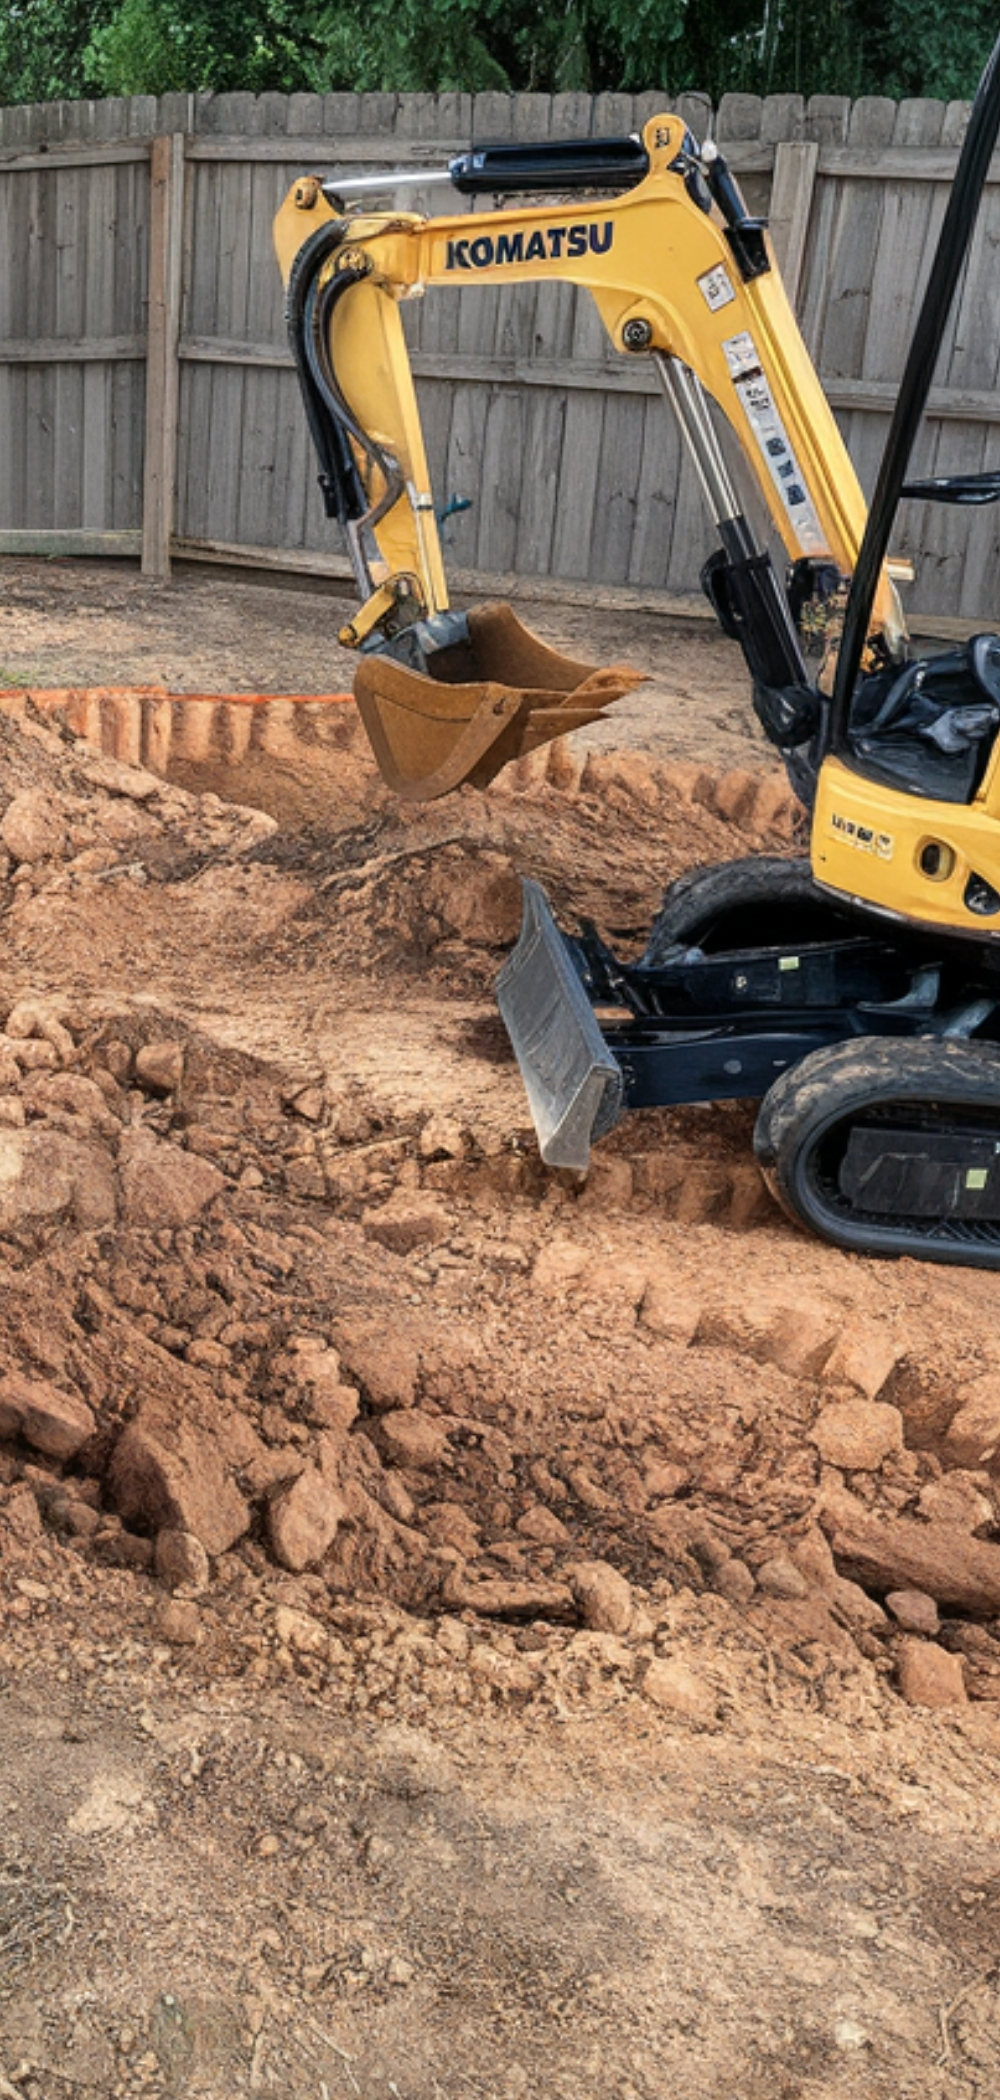
In terms of structure, I dug about five inches down for the base and added an extra inch of finer rock to level the flagstone. The entire flagstone area is 15 feet in diameter, plus an additional foot for the retaining wall. I used about 3,500 pounds of flagstone, which covered roughly 200 square feet. The DIY fire pit itself has excellent drainage, with a 6–7 inch base of rock underneath to prevent water buildup. Overall, despite the effort and cost, I’m thrilled with how this project came together, and I wouldn’t hesitate to tackle another DIY landscaping project in the future.
This guide below walks you through the steps to create a stunning DIY fire pit landscape that makes your outdoor space more beautiful and cozy.
Planning Your DIY Fire Pit Landscape
Before diving into construction, proper planning is crucial to ensuring a well-integrated DIY fire pit in your landscape.
Choosing the Right Location
- Safety First: Place the DIY fire pit at least 10 feet away from structures, trees, and fences.
- Wind Direction: Position the pit where smoke won’t blow directly into seating areas.
- Accessibility: Ensure easy access to seating, fuel sources, and outdoor entertainment areas.
- Ground Level: Select a relatively flat area to simplify installation.
DIY Fire Pit Design Considerations
- Shape & Size: Common options include circular, square, and rectangular pits ranging from 3 to 5 feet in diameter.
- Material Selection: Flagstone, brick, or concrete blocks provide durability and visual appeal.
- Permanent vs. Portable: Decide whether you want a built-in pit or a portable option for flexibility.
Gathering Materials and Tools
To build a DIY fire pit and create a beautifully landscaped area around it, gather the following materials:
Essential Materials:
- Fire bricks (for inner walls)
- Flagstones or pavers
- Gravel or crushed stone (for drainage and flooring)
- Sand or leveling compound
- Mortar (if needed for added stability)
- Heat-resistant adhesive (optional)
- Outdoor seating materials (stones, benches, or chairs)
Necessary Tools:
- Shovel
- Level
- Rubber mallet
- Measuring tape
- Trowel
- Tamper (to compact gravel)
- Wheelbarrow (for transporting materials)
Step-by-Step DIY Fire Pit Landscaping Guide
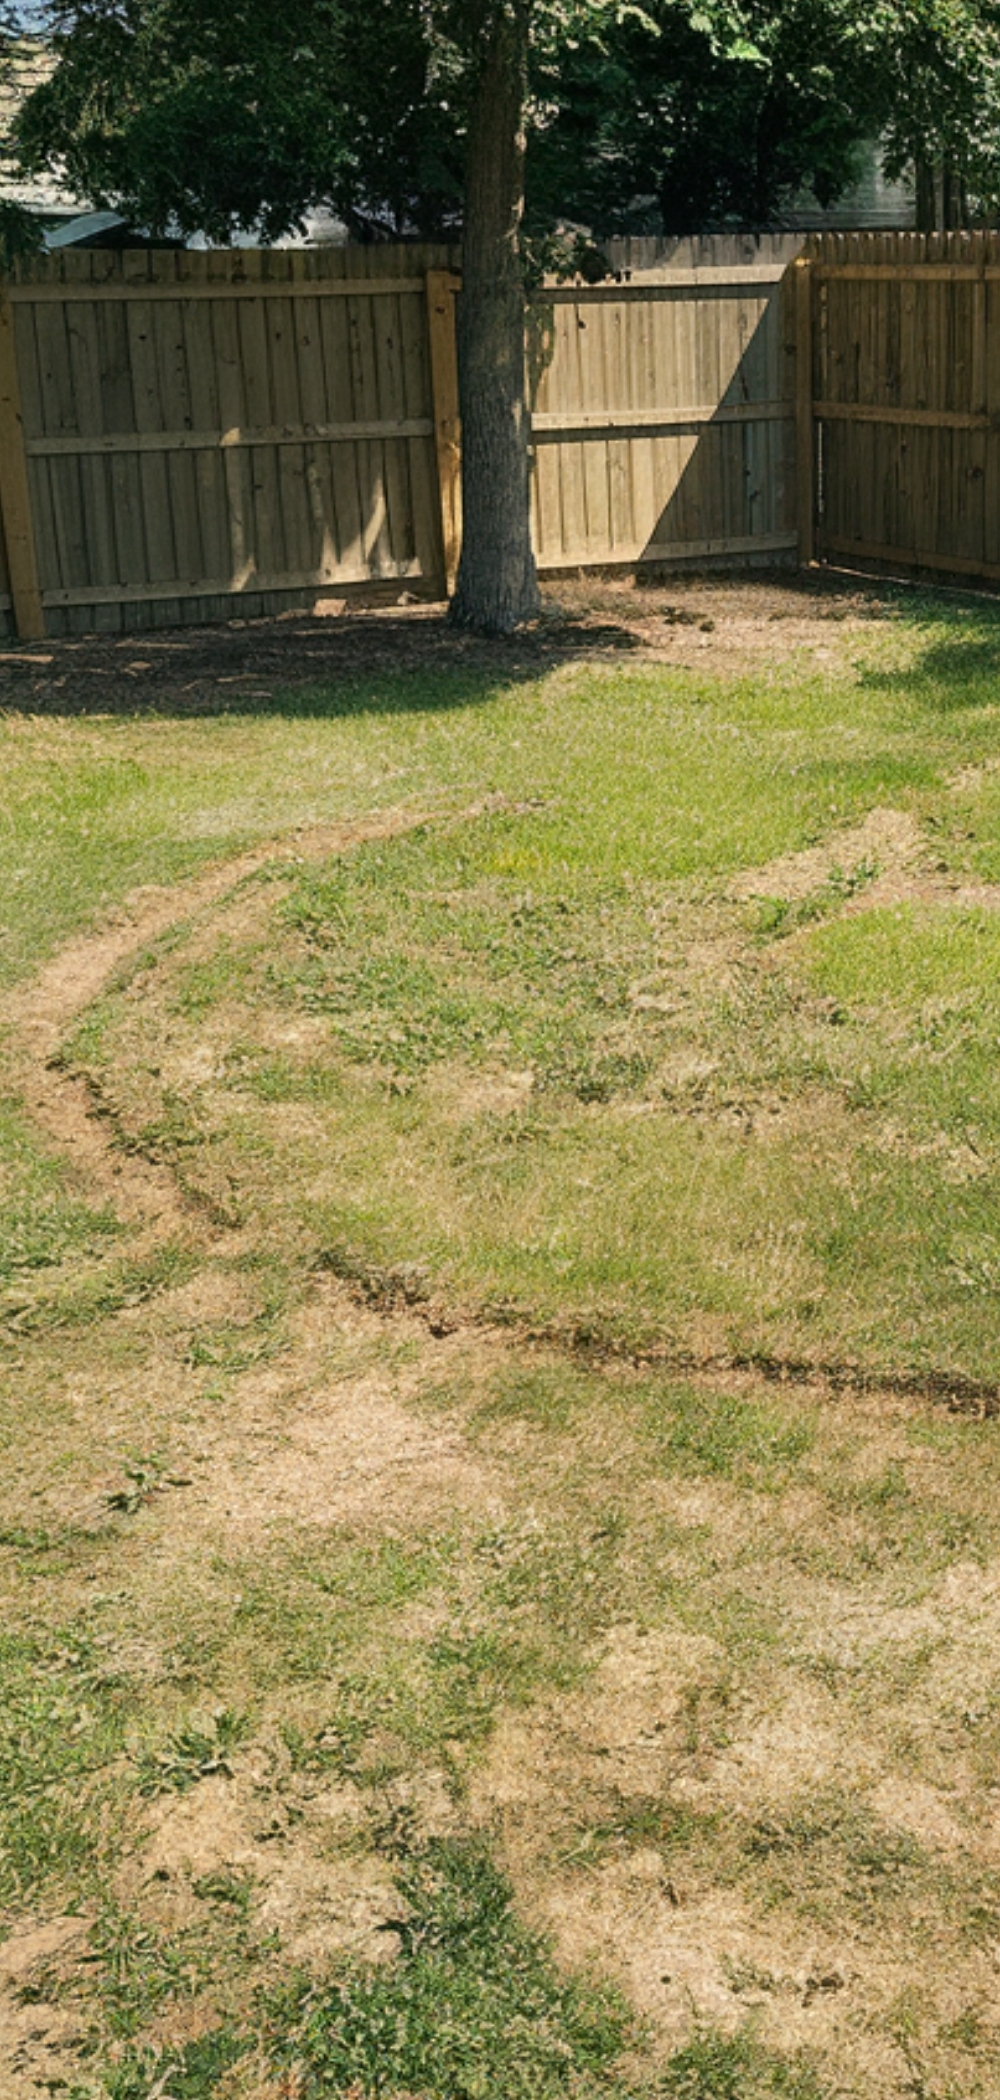
1. Site Preparation
- Mark the fire pit’s desired location with spray paint or a rope outline.
- Dig about 6-8 inches deep for the DIY fire pit base.
- Add a 3-4 inch layer of gravel or crushed stone for proper drainage.
- Compact the base using a tamper to create a stable foundation.
2. Building the DIY Fire Pit
- Arrange fire bricks in a circular or square shape to form the inner wall.
- Stack flagstones or bricks around the fire brick core, ensuring a snug fit.
- Use mortar or heat-resistant adhesive to secure the structure if needed.
- Check alignment with a level to maintain balance and stability.
- Let the structure cure for 24-48 hours before use.
3. Landscaping Around the DIY Fire Pit
To enhance the visual appeal and functionality of your fire pit, consider the following landscaping elements:
- Seating Options: Incorporate built-in stone benches or arrange Adirondack chairs.
- Ground Cover: Use gravel, paving stones, or a stone patio around the fire pit to define the space.
- Greenery: Plant shrubs, ornamental grasses, or flowers around the fire pit for a natural touch.
- Lighting: String lights, solar lanterns, or in-ground LED lighting can create a warm ambiance.
- Decorative Elements: Add firewood storage areas, rustic planters, or a pergola for an inviting setting.
Fire Pit Safety Considerations
- Always use fire-resistant materials to prevent damage and hazards.
- Keep a water source nearby, such as a hose or fire extinguisher.
- Never leave a fire unattended and fully extinguish embers after use.
- Follow local fire regulations regarding open flames in residential areas.
Maintenance Tips for Longevity
- Regular Cleaning: Remove ash and debris after each use.
- Inspect for Damage: Check for cracks in bricks or stones and repair them as needed.
- Protect from Weather: Use a fire pit cover to shield from rain and snow.
- Weed Control: Maintain the surrounding landscape to prevent overgrowth.
Conclusion
Creating a DIY fire pit landscape enhances your outdoor space with warmth and beauty. By carefully selecting materials, ensuring safety, and incorporating thoughtful landscaping elements, you can build a stunning backyard focal point for relaxation and entertainment. Whether hosting gatherings or enjoying quiet nights by the fire, your DIY fire pit will be a cherished addition to your home.