Make sure to join my list for Weekly Tips and Recipes to Your Inbox
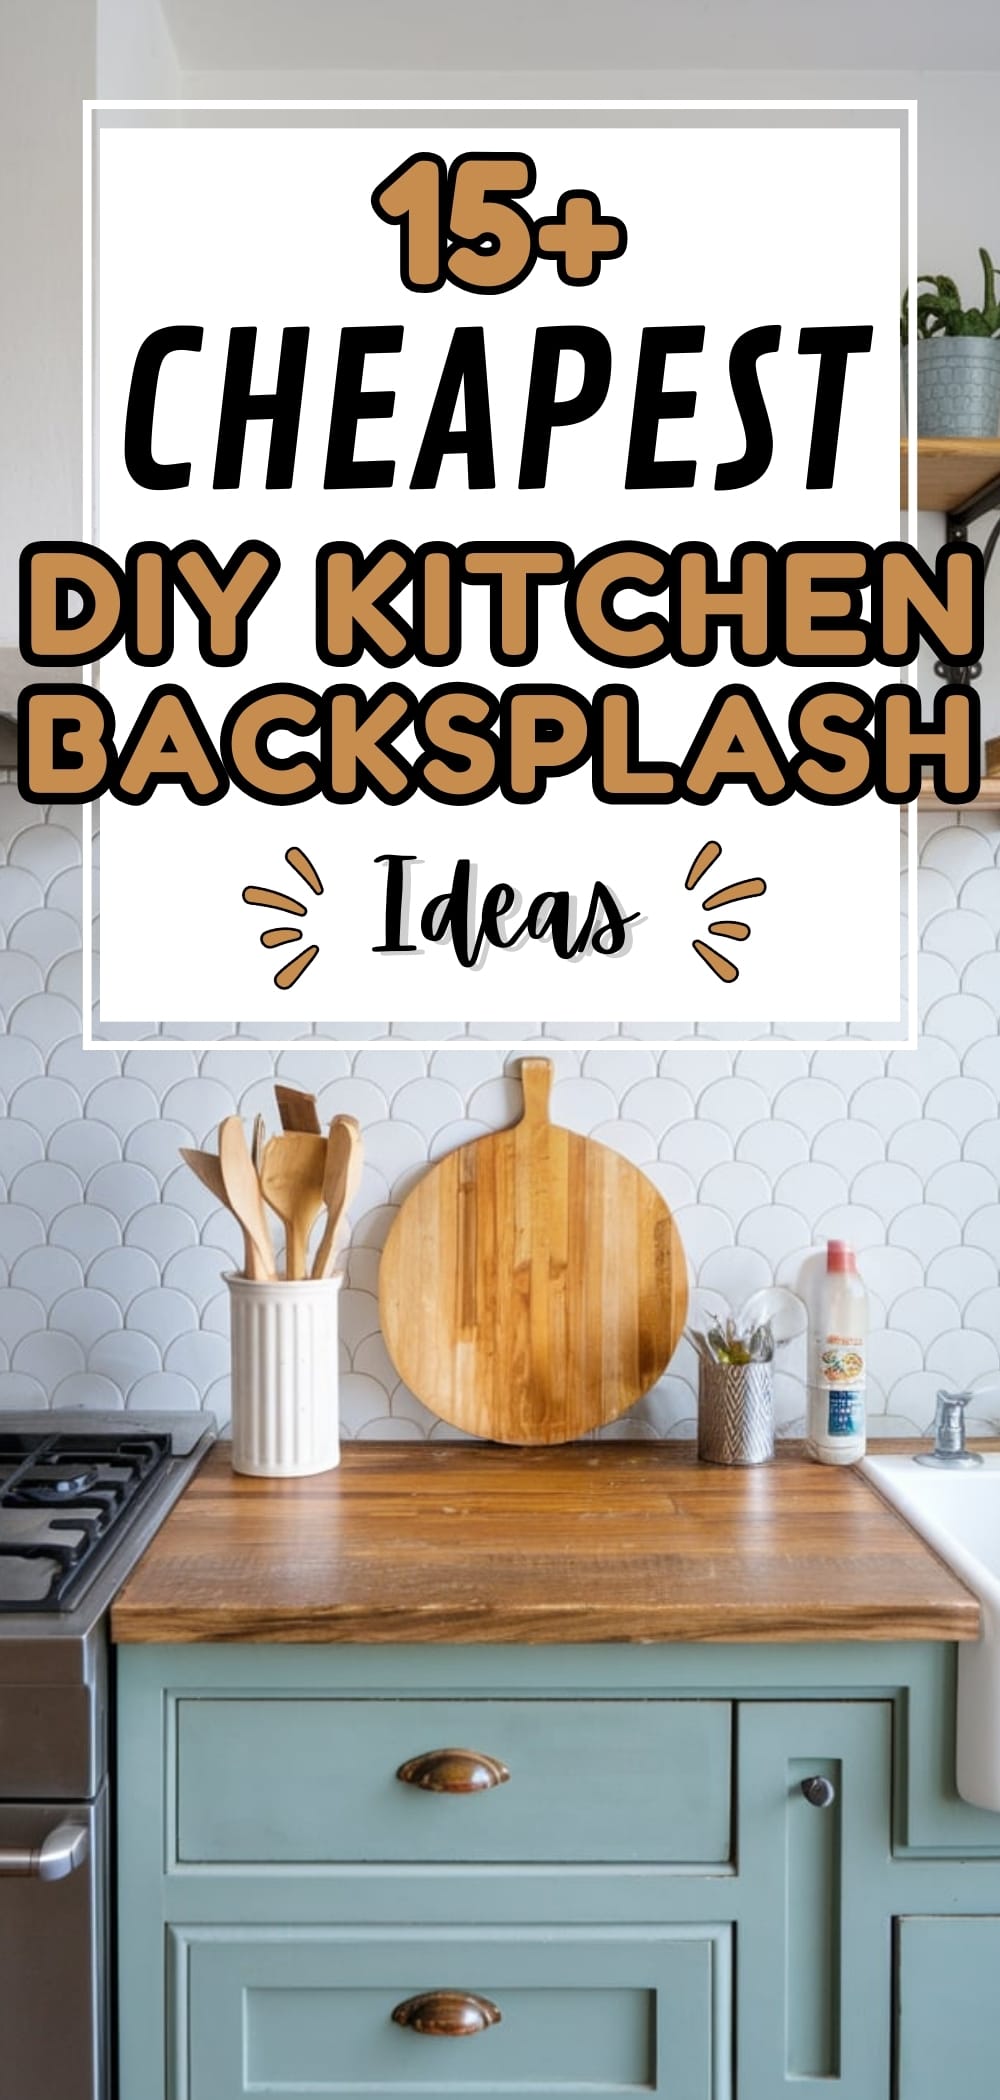
15+ Cheapest DIY Kitchen Backsplash Ideas
A little note: Some images in this post may come from third-party sources and are shared purely to inspire you. All credit goes to their original creators. Visit our Image Credits Policy for more information.
When my cousin called me, upset and knee-deep in tile dust, I knew exactly what she was dealing with. Her 30-year-old kitchen backsplash had finally given up, and after hours of carefully prying off old tiles, she was left staring at a mess of leftover mastic clinging to a drywall that had seen better decades.
She asked me, “Can I just tile over this?” and I understood the urge. After all, in a DIY kitchen backsplash project, it’s tempting to skip steps when things look “mostly okay.” But from my own experience of redoing the backsplash in my kitchen, I knew that shortcuts here can lead to bigger problems later.
After checking out her wall (and her determined expression), I gently explained why removing and replacing the drywall was the better route. Skim coating sounds simple until you realize you are working over ancient adhesives made of who-knows-what. The risk? Poor bonding, uneven tile, and hours of labor wasted when tiles start to pop off down the line.
And sanding that stuff down? Not just messy but potentially dangerous. I told her how I once tried that and ended up with a kitchen covered in fine dust for weeks. In my case, ripping out the old drywall and starting fresh took half the time and gave me a smooth, clean canvas for the new tile. No guessing, no health risks, and a professional finish.
Together, we went with cement fiber board, a sturdy, flat surface perfect for tiling. We applied mortar to the back, screwed it into the studs, and were ready to start the fun part. My cousin was amazed at how much simpler things became once we committed to doing them right.
She even said the process turned out easier than expected, thanks to a bit of planning and the right tools (and maybe my borrowed wet saw!). The end result? A sleek new DIY Kitchen Backsplash she proudly shows off to anyone who walks through her door. Sometimes, starting over is the fastest way forward.
A well-chosen backsplash can transform the Kitchen, adding both style and functionality. Below, I share 17 cost-effective DIY kitchen backsplash ideas, complete with detailed instructions to guide you through each project.
What We're Exploring
- 01 16. Peel-and-Stick Vinyl Tiles
- 02 15. Beadboard Panels
- 03 14. Chalkboard Paint
- 04 13. Tin Ceiling Tiles
- 05 12. Painted Plywood Panels
- 06 11. Mosaic Tile Sheets
- 07 10. Reclaimed Wood Planks
- 08 9. Stainless Steel Sheets
- 09 8. Faux Brick Panels
- 10 7. Glass Bead Tiles
- 11 6. Contact Paper DIY kitchen Backsplash
- 12 5. Fabric with Acrylic Sheet Cover
- 13 4. Wallpaper DIY kitchen Backsplash
- 14 3. Laminate Flooring Planks
- 15 2. Painted Stencils
- 16 1. Mirror Backsplash
- 17 Conclusion
16. Peel-and-Stick Vinyl Tiles
Peel-and-stick vinyl tiles offer an easy and budget-friendly way to update your DIY kitchen backsplash. Available in various designs, they can mimic the appearance of more expensive materials.
Implementation Tips:
- Surface Preparation: Ensure the wall is clean, dry, and smooth. Wipe down with a damp cloth and let it dry completely.
- Application: Start from the center of the area. Peel off the backing and press the tile firmly onto the wall, smoothing out any bubbles.
- Cutting Tiles: Use a utility knife to trim tiles to fit around outlets or edges.
15. Beadboard Panels
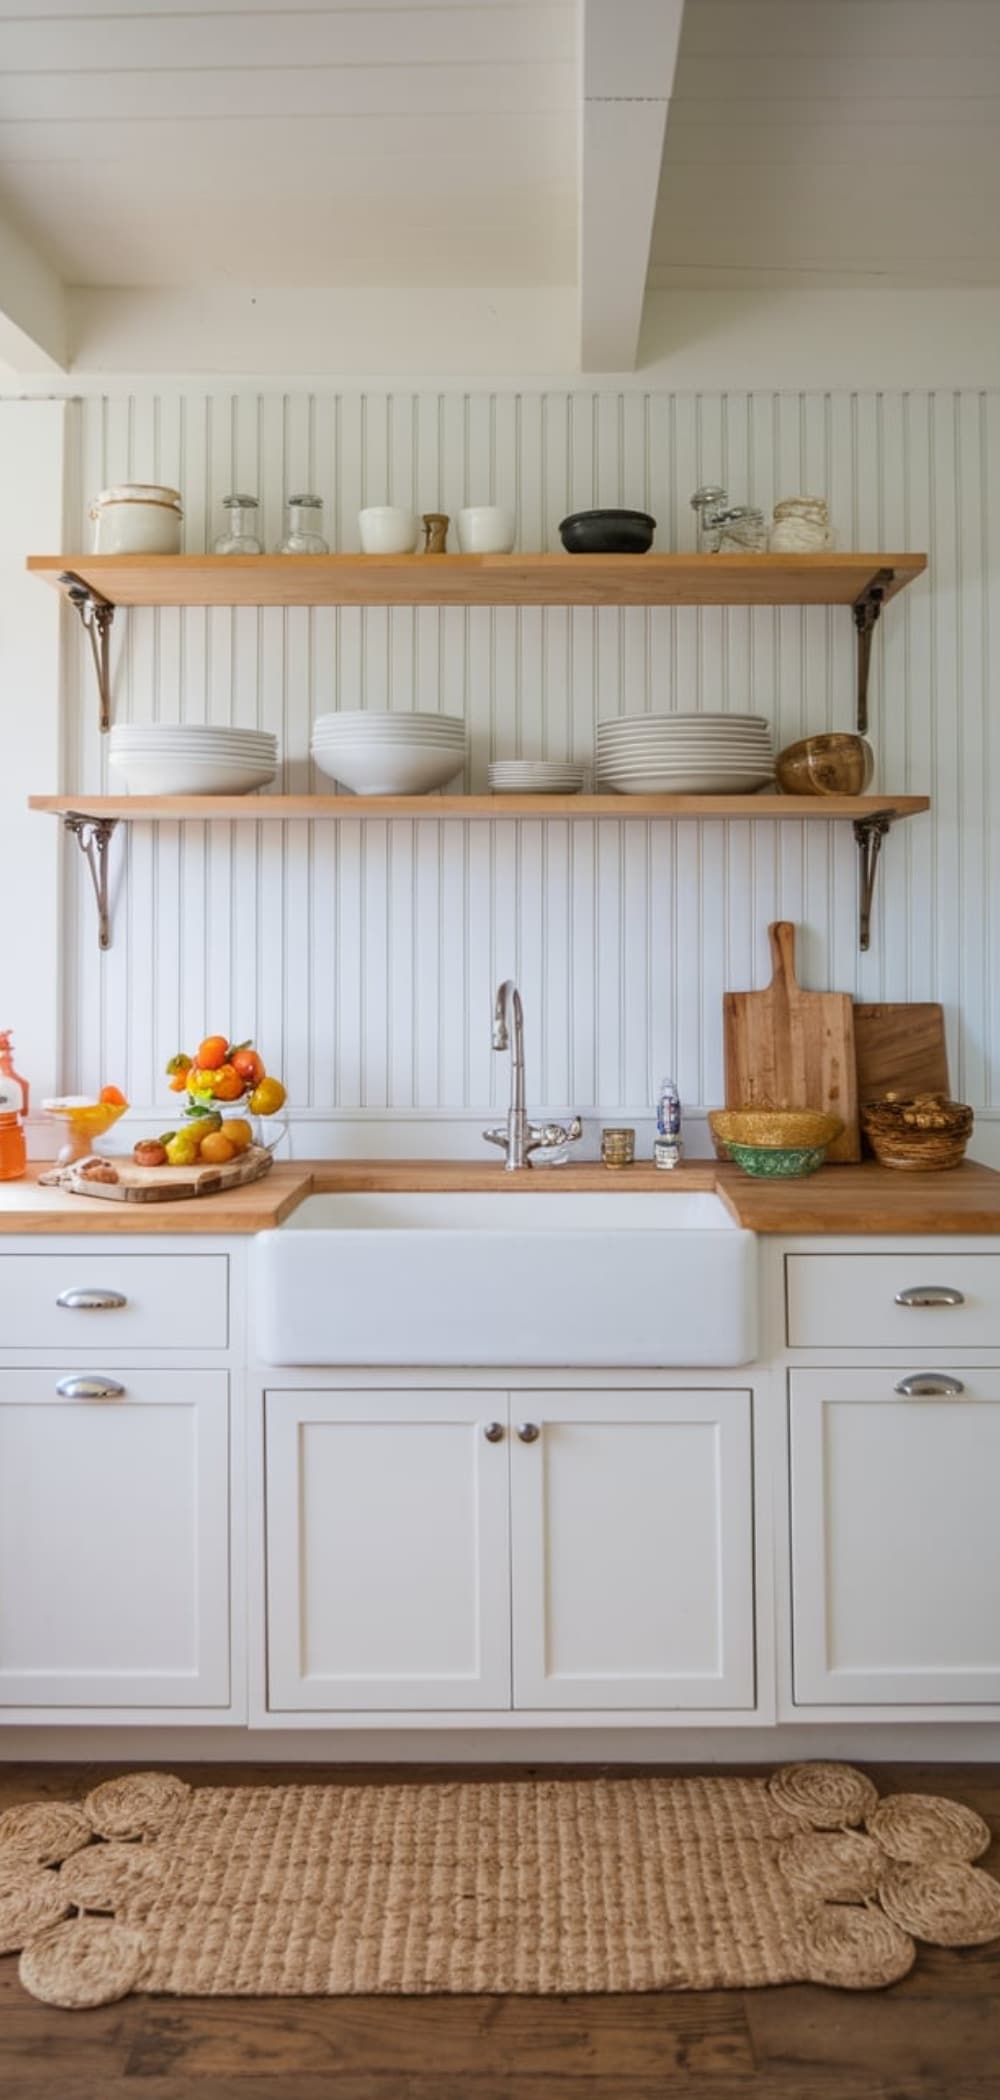
Beadboard adds a classic, cottage-style charm to kitchens and is relatively inexpensive.
Implementation Tips:
- Measurement: Measure the backsplash area and cut the beadboard panels accordingly.
- Installation: Apply construction adhesive to the back of the panels and press them onto the wall. Secure with finishing nails.
- Finishing: Caulk the seams and paint the beadboard with a semi-gloss or gloss paint for durability.
14. Chalkboard Paint
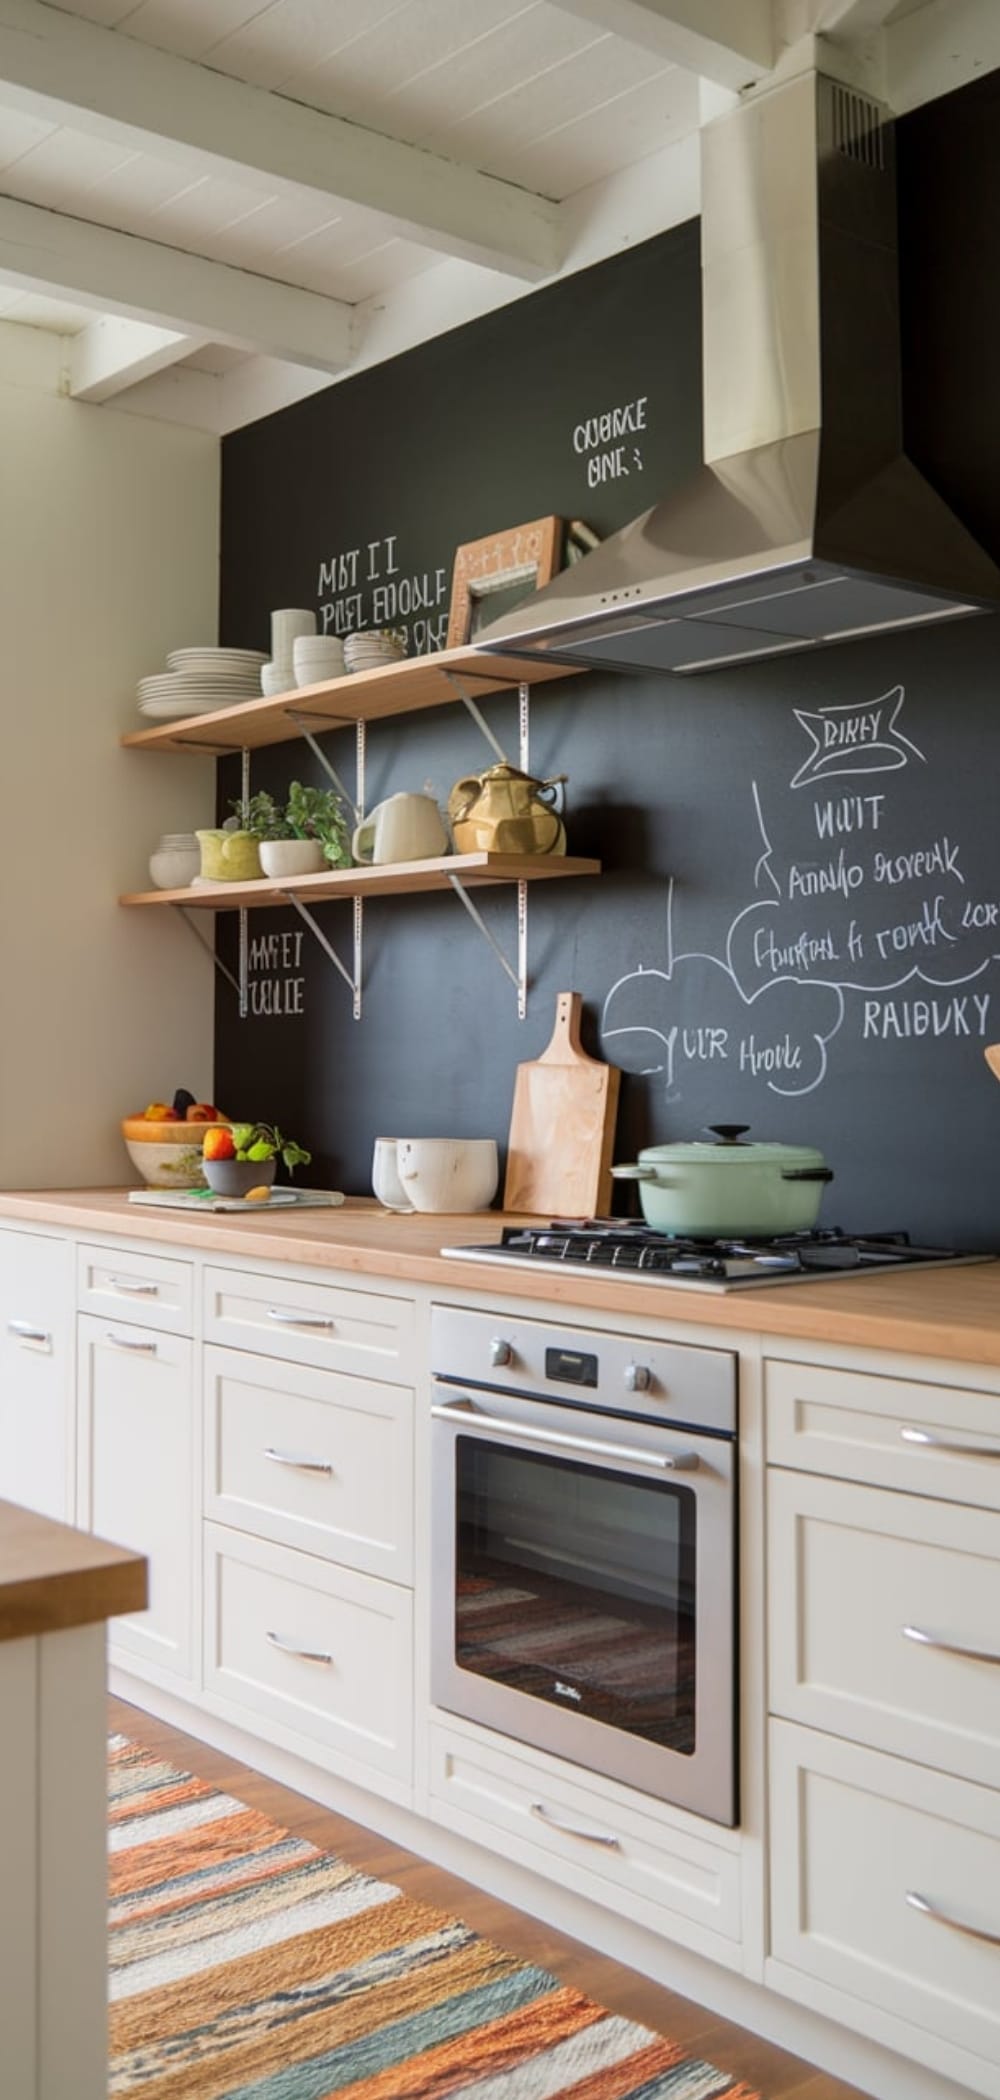
A chalkboard DIY kitchen backsplash allows for creativity and functionality, providing a space to jot down notes or recipes.
Implementation Tips:
- Surface Preparation: Clean and sand the wall to ensure the paint adheres well.
- Application: Apply at least two coats of chalkboard paint, allowing adequate drying time between coats.
- Curing: Let the paint cure for 24 hours before using chalk on it.
13. Tin Ceiling Tiles
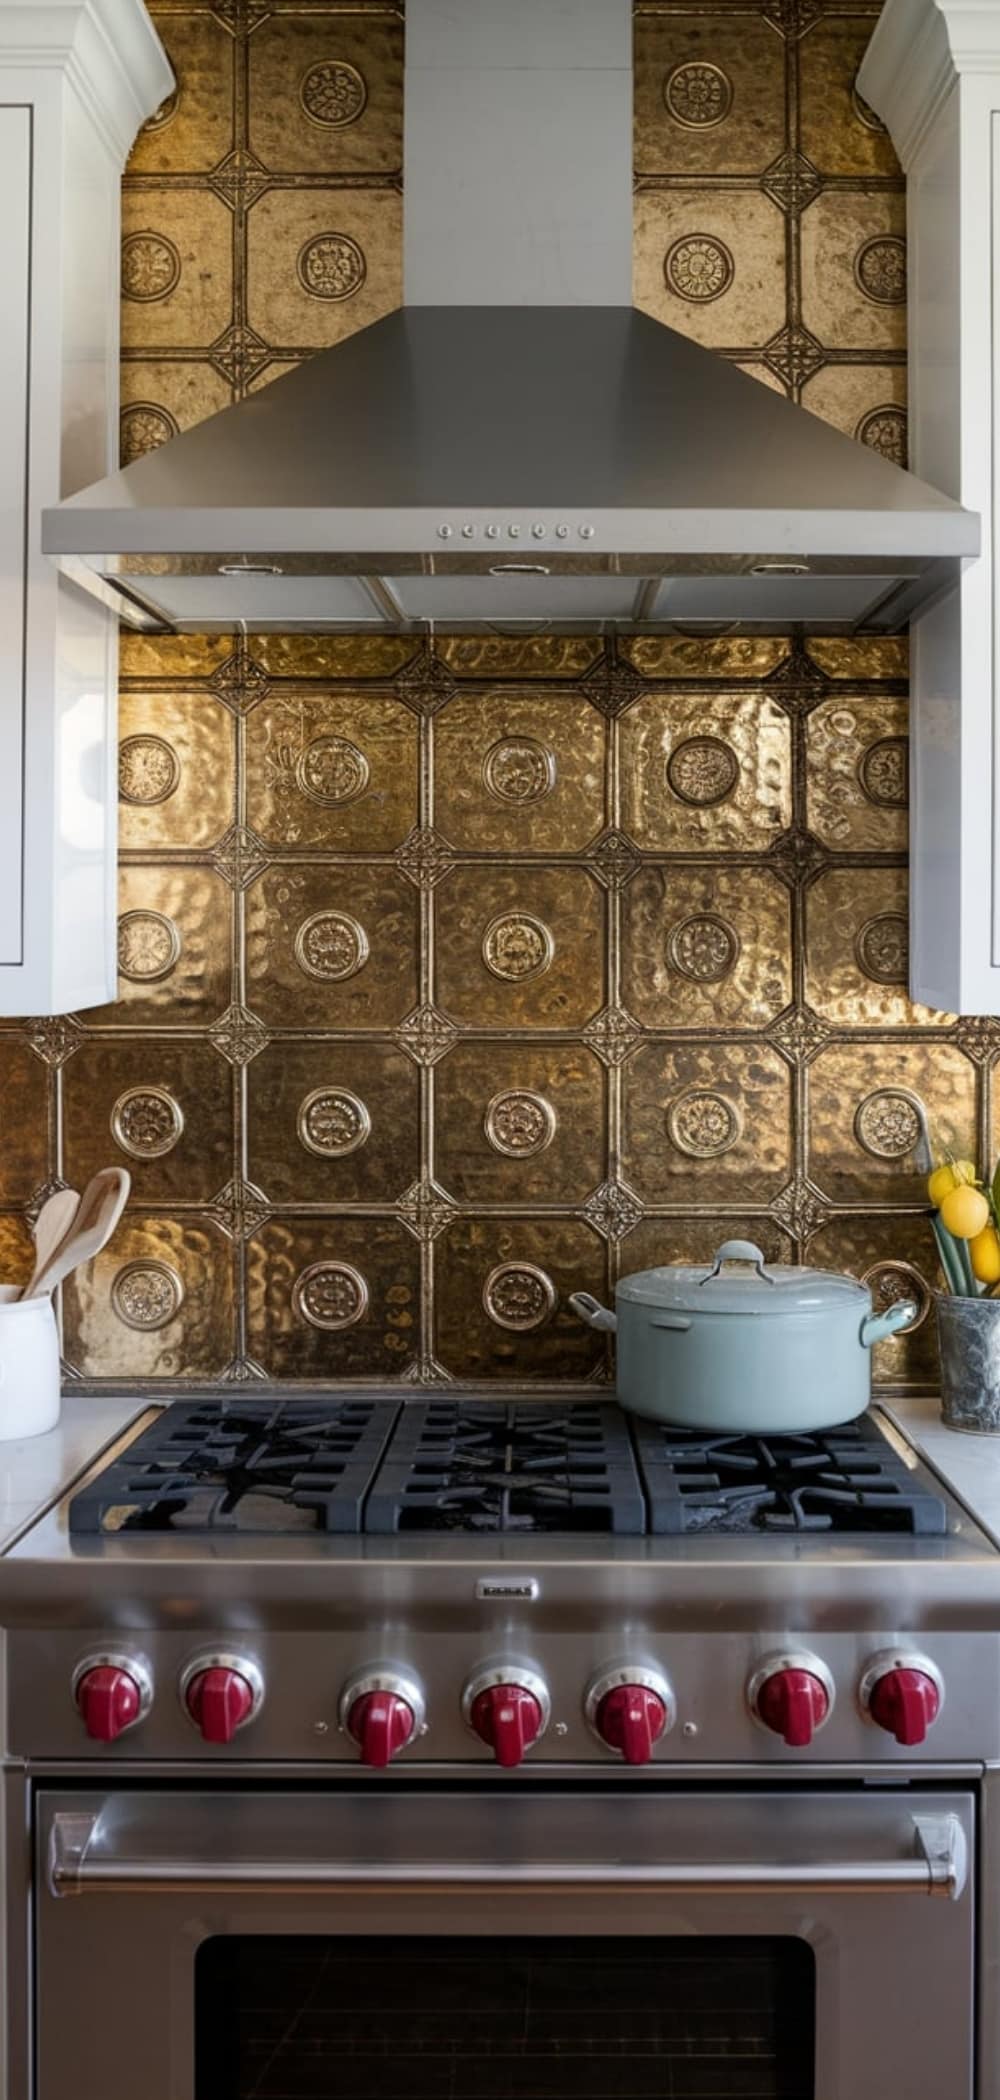
Repurposing tin ceiling tiles as a DIY kitchen backsplash adds a vintage touch to your kitchen.
Implementation Tips:
- Measurement: Measure the backsplash area and cut the tin tiles to fit.
- Installation: Use construction adhesive to attach the tiles to the wall.
- Sealing: Apply a clear sealant to protect the tiles from moisture and stains.
12. Painted Plywood Panels

Plywood panels can be painted to create a custom DIY kitchen backsplash that suits your kitchen’s decor.
Implementation Tips:
- Cutting: Cut the plywood to the size of your backsplash area.
- Painting: Prime the plywood and then paint with a durable, washable paint.
- Installation: Attach the panels to the wall using construction adhesive and finishing nails.
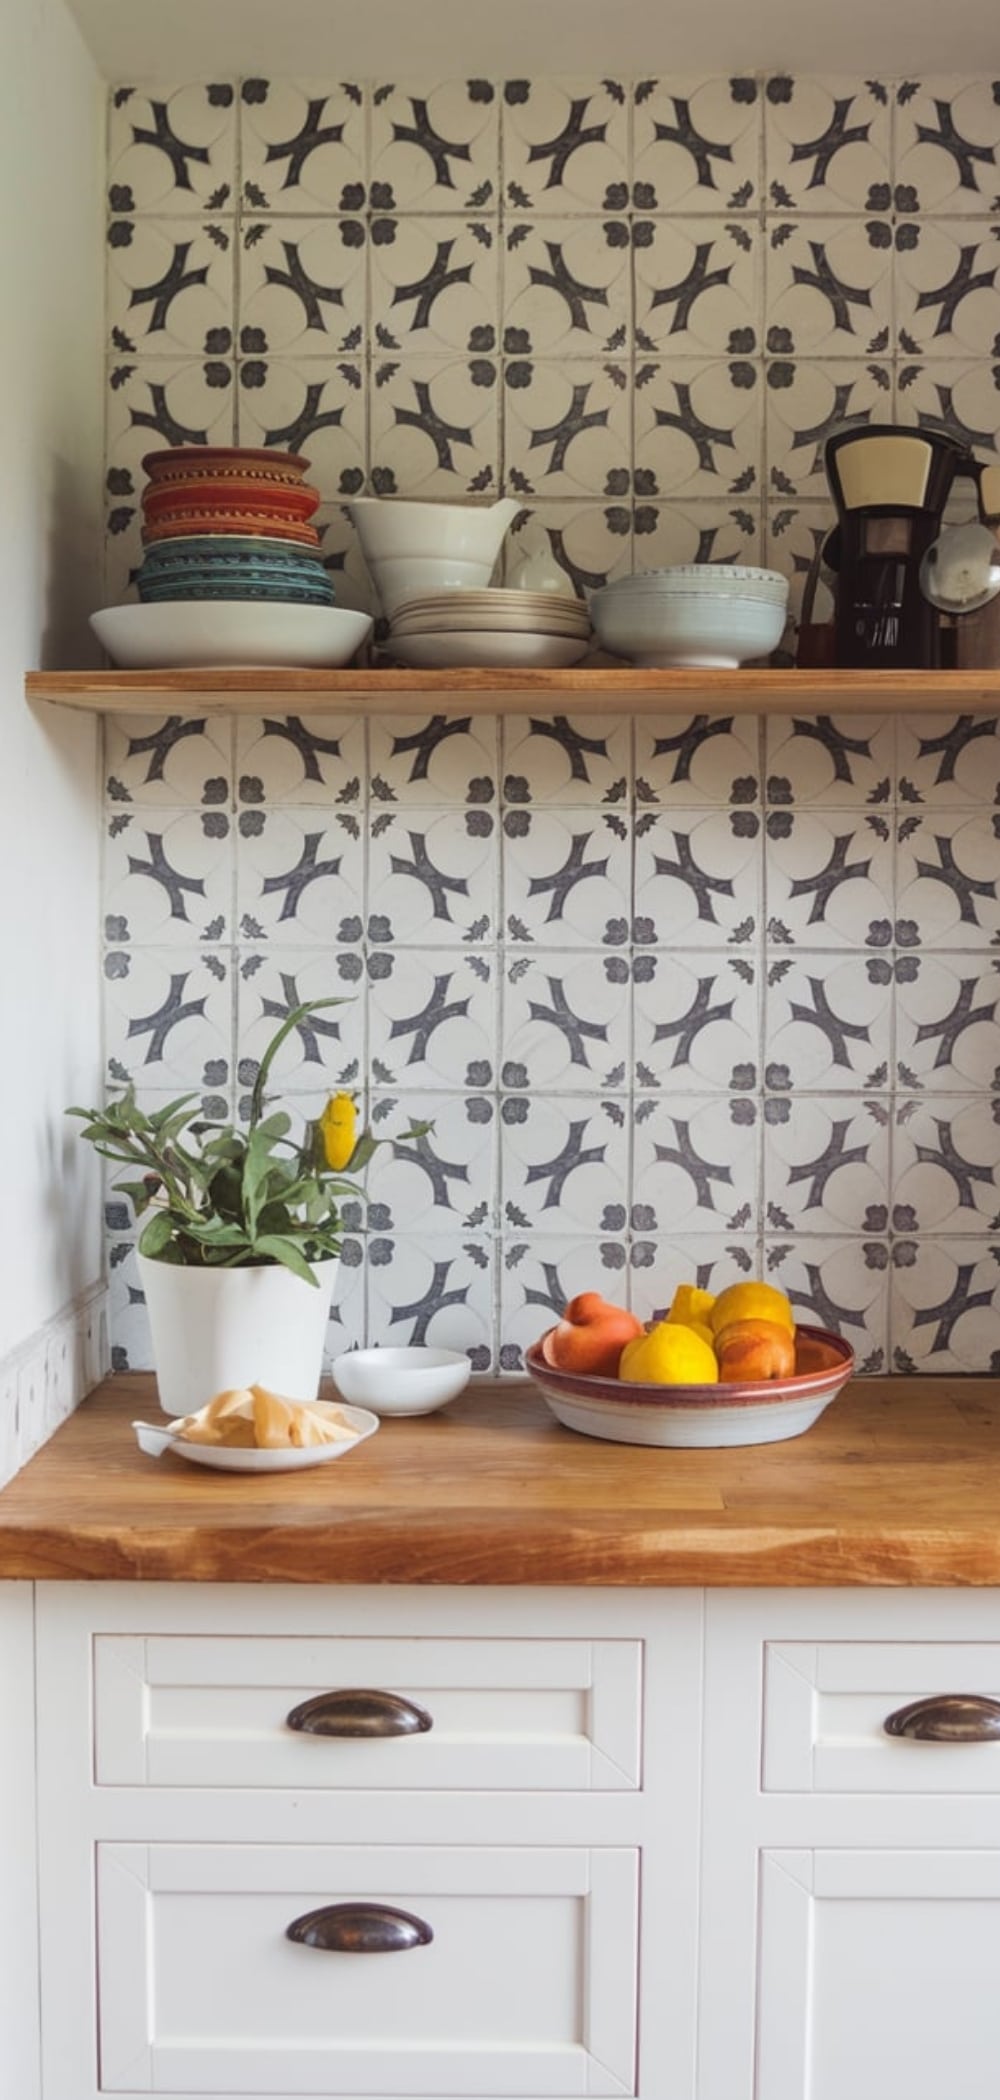
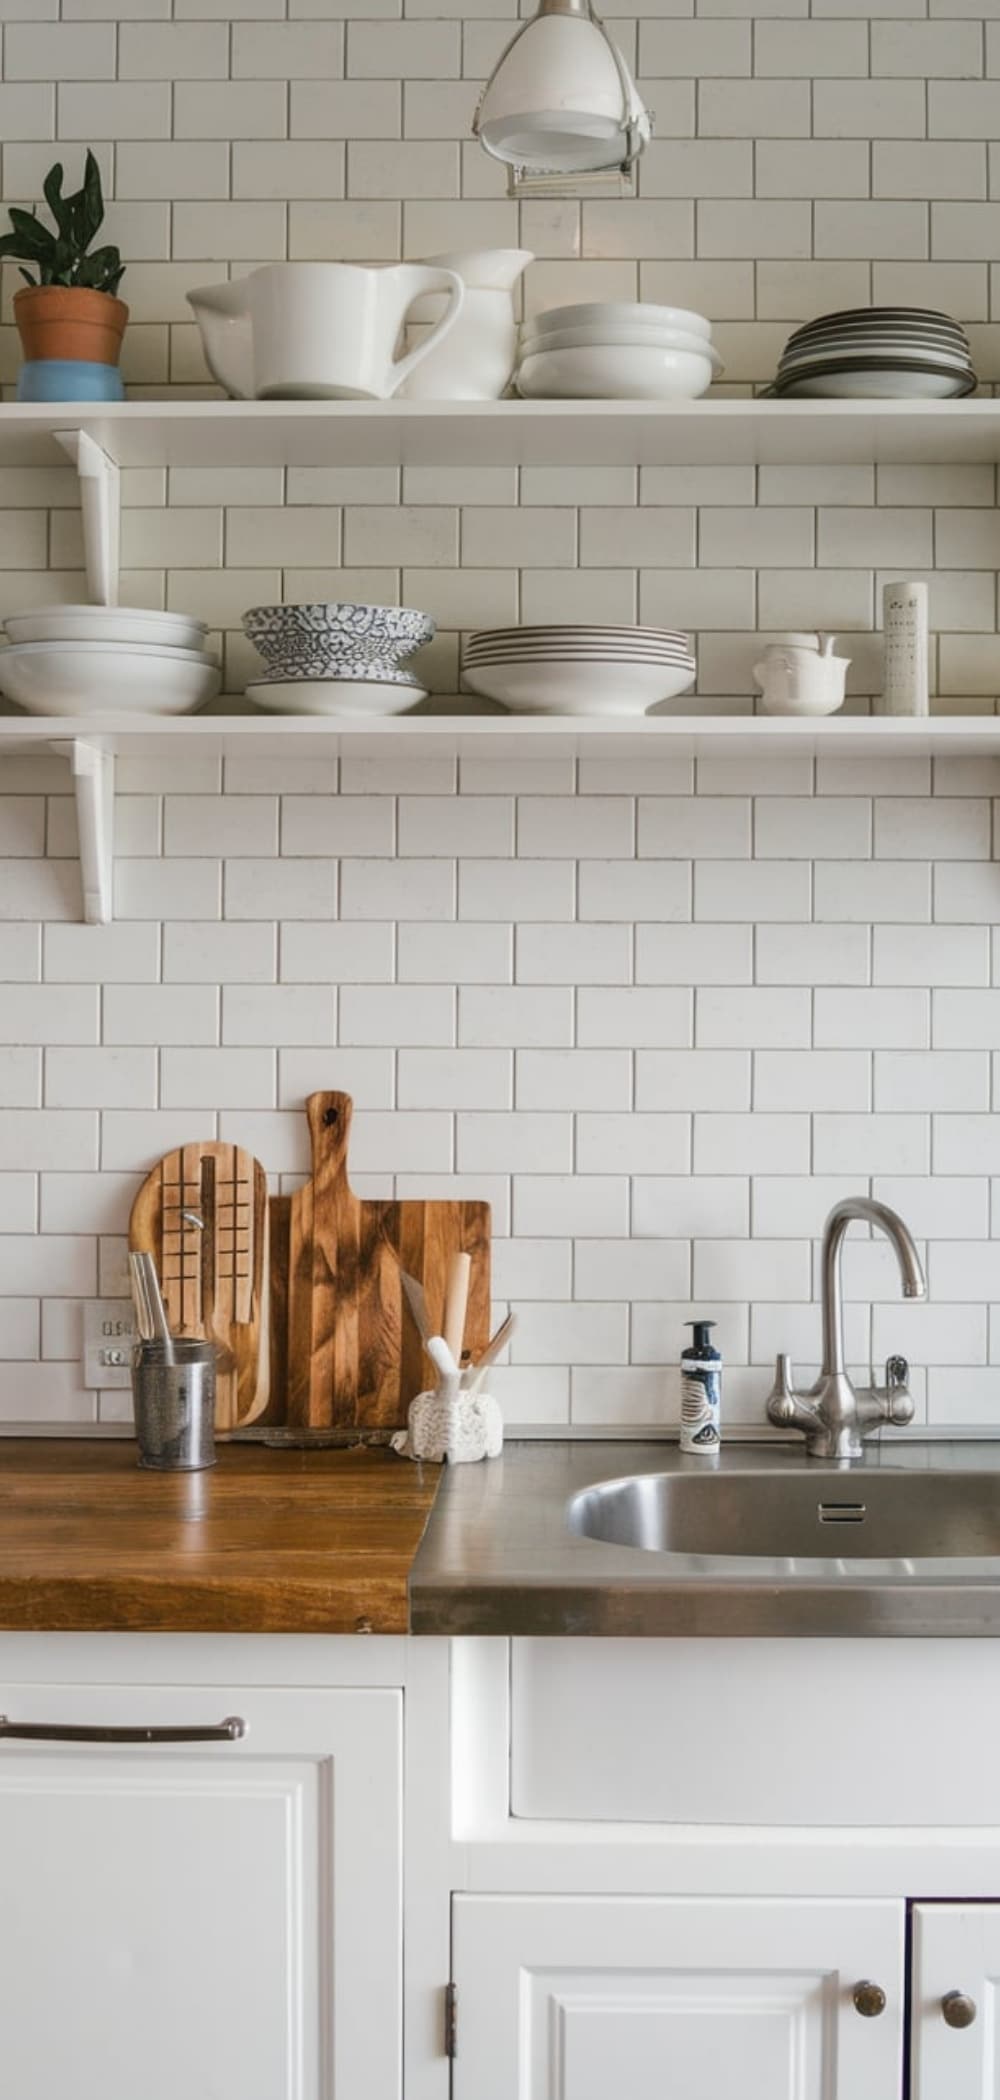
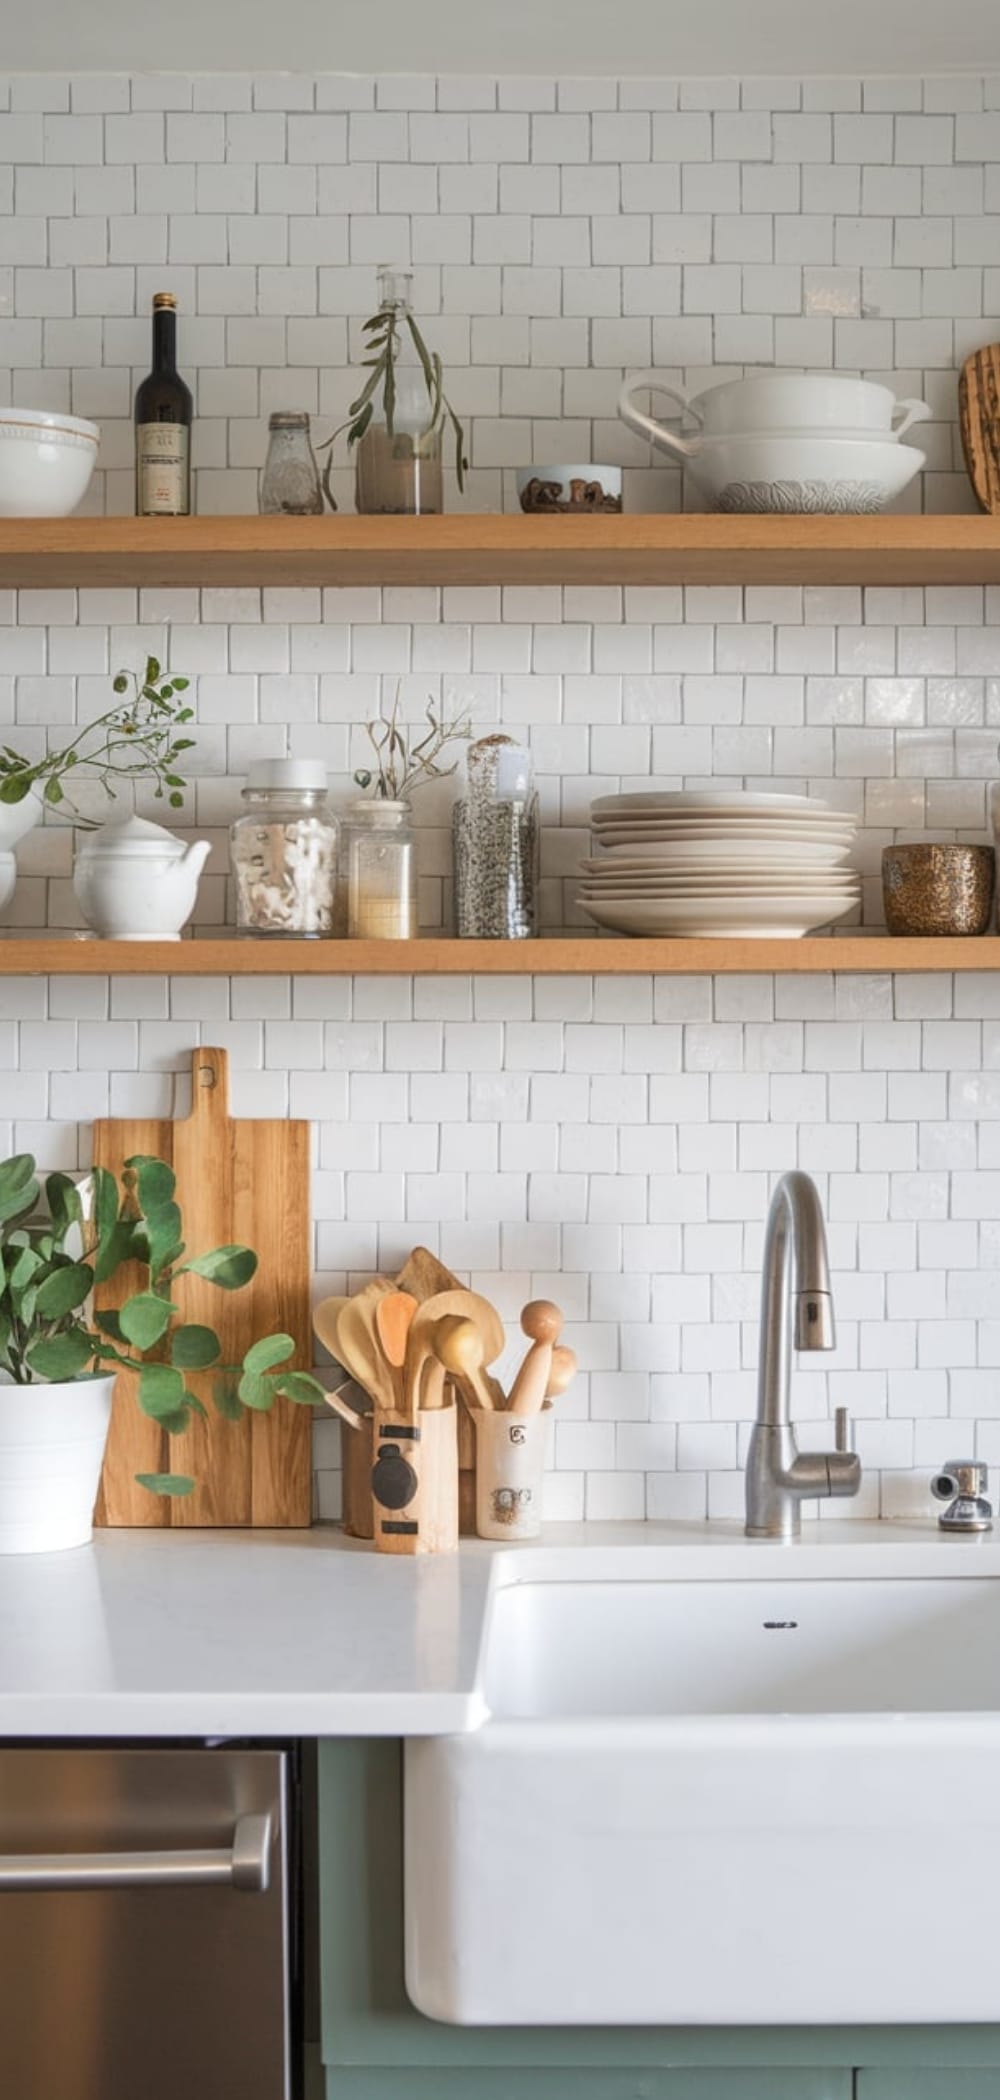
11. Mosaic Tile Sheets

Mosaic tile sheets provide a high-end look without the complexity of individual tile installation.
Implementation Tips:
- Surface Preparation: Ensure the wall is clean and smooth.
- Adhesive Application: Spread tile adhesive on the wall using a notched trowel.
- Tile Placement: Press the mosaic sheets onto the adhesive, aligning them carefully.
- Grouting: Once the adhesive dries, apply grout over the tiles and wipe off the excess.
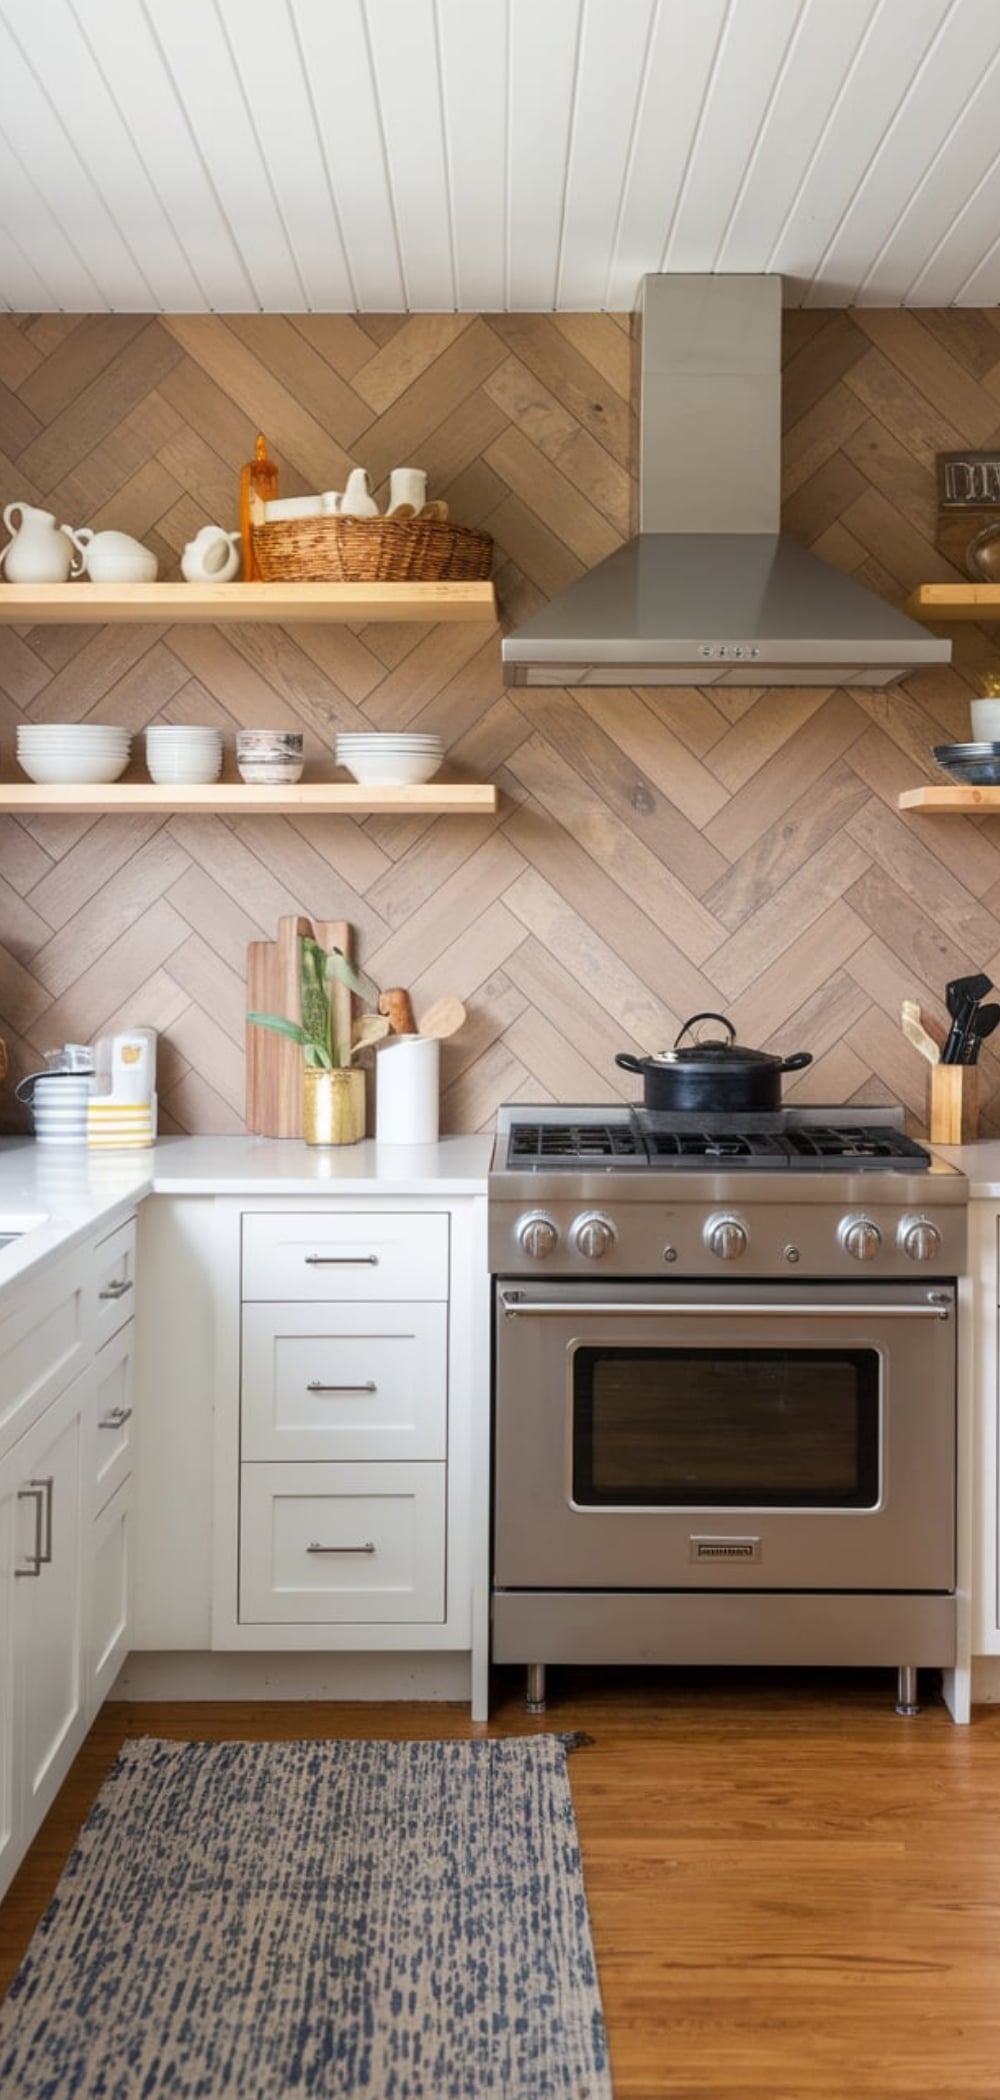
10. Reclaimed Wood Planks
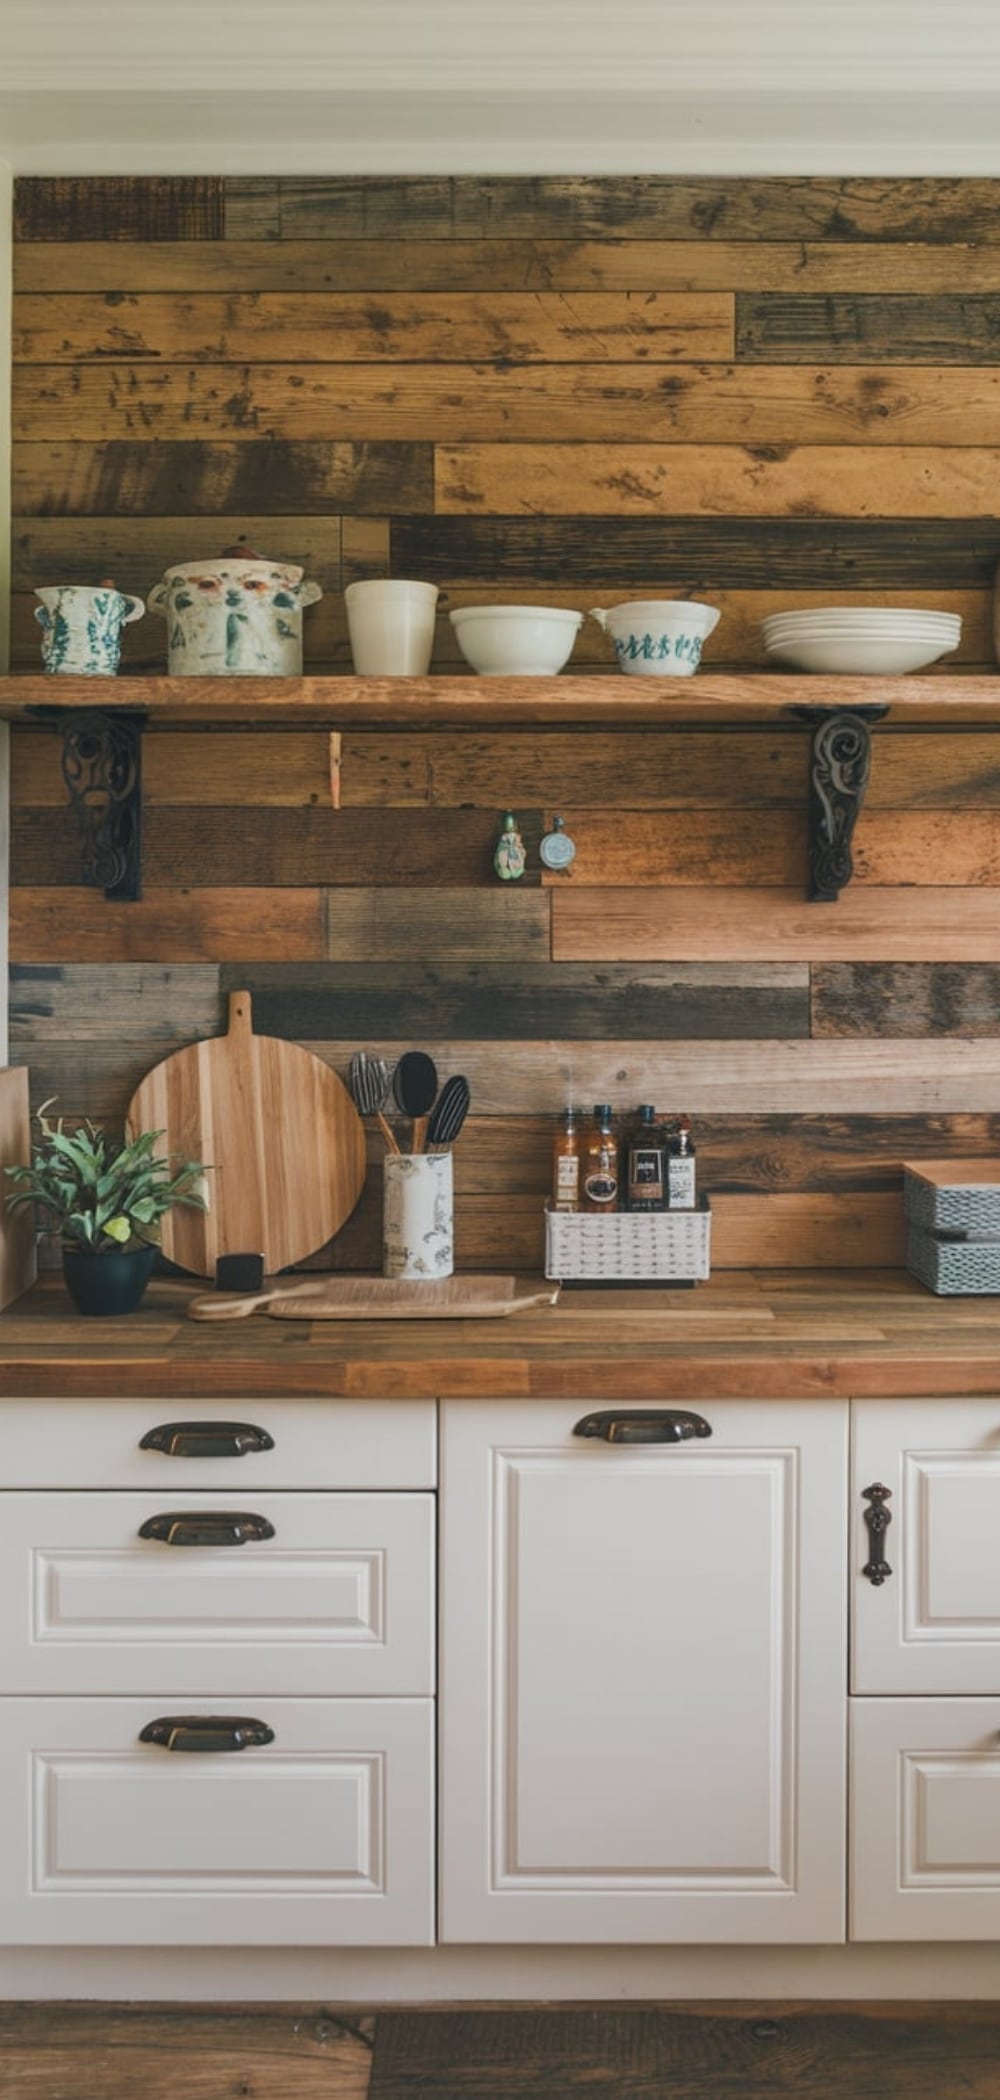
Using reclaimed wood adds warmth and a rustic feel to your kitchen.
Implementation Tips:
- Selection: Choose wood that is free from pests and has been properly treated.
- Cutting: Cut the planks to fit the backsplash area.
- Installation: Attach the planks to the wall using construction adhesive and nails.
- Sealing: Apply a clear sealant to protect the wood from moisture.
9. Stainless Steel Sheets
Stainless steel offers a sleek, modern look and is easy to clean.
Implementation Tips:
- Measurement: Measure and cut the stainless steel sheets to fit your DIY kitchen backsplash area.
- Installation: Use construction adhesive to attach the sheets to the wall.
- Finishing: Seal the edges with silicone caulk to prevent moisture ingress.
8. Faux Brick Panels
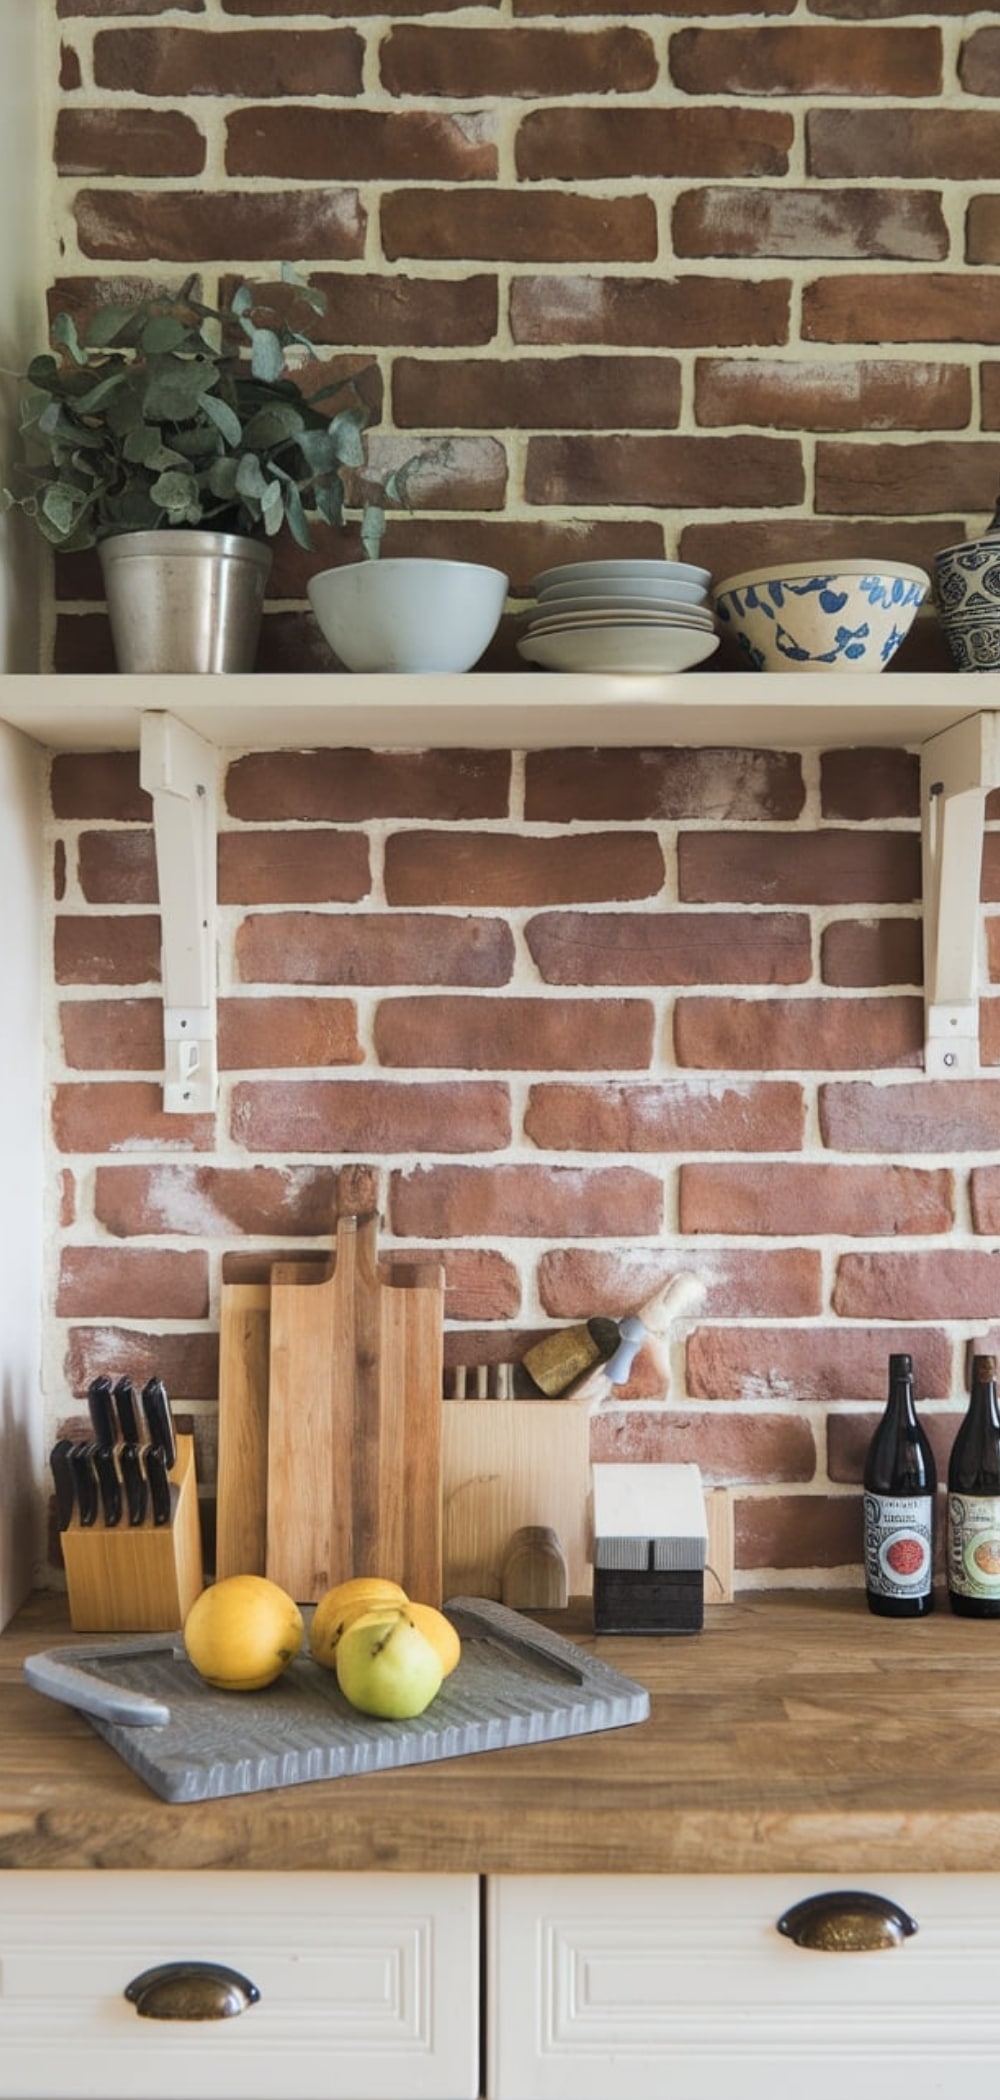
Faux brick panels provide an industrial aesthetic without the weight and cost of real brick.
Implementation Tips:
- Cutting: Cut the panels to fit your DIY kitchen backsplash area.
- Installation: Attach the panels using construction adhesive and secure with nails.
- Painting: Paint or whitewash the panels to achieve the desired look.
7. Glass Bead Tiles
Glass bead tiles add a touch of elegance and reflect light, brightening the kitchen.
Implementation Tips:
- Surface Preparation: Ensure the wall is clean and smooth.
- Adhesive Application: Use a white adhesive to prevent discoloration.
- Tile Placement: Press the tiles onto the adhesive and let it set.
- Grouting: Apply grout and clean off the excess carefully.
6. Contact Paper DIY kitchen Backsplash

Contact paper offers an incredibly affordable and versatile way to create a stylish DIY kitchen backsplash. Available in countless designs, it can mimic tile, marble, or even brick.
Implementation Tips:
- Surface Prep: Ensure the wall is clean and dry before applying contact paper.
- Application: Peel off the backing and carefully stick it onto the wall, using a squeegee to remove air bubbles.
- Finishing Touches: Seal the edges with clear silicone caulk for added durability and water resistance.
5. Fabric with Acrylic Sheet Cover
This unique idea involves using fabric as the base for your DIY kitchen backsplash, covered by a clear acrylic sheet for protection.
Implementation Tips:
- Choosing Fabric: Select a durable, stain-resistant fabric with a design that matches your kitchen aesthetic.
- Attachment: Secure the fabric to the wall using spray adhesive.
- Acrylic Installation: Cut an acrylic sheet to size and attach it over the fabric using screws or adhesive for a polished look.
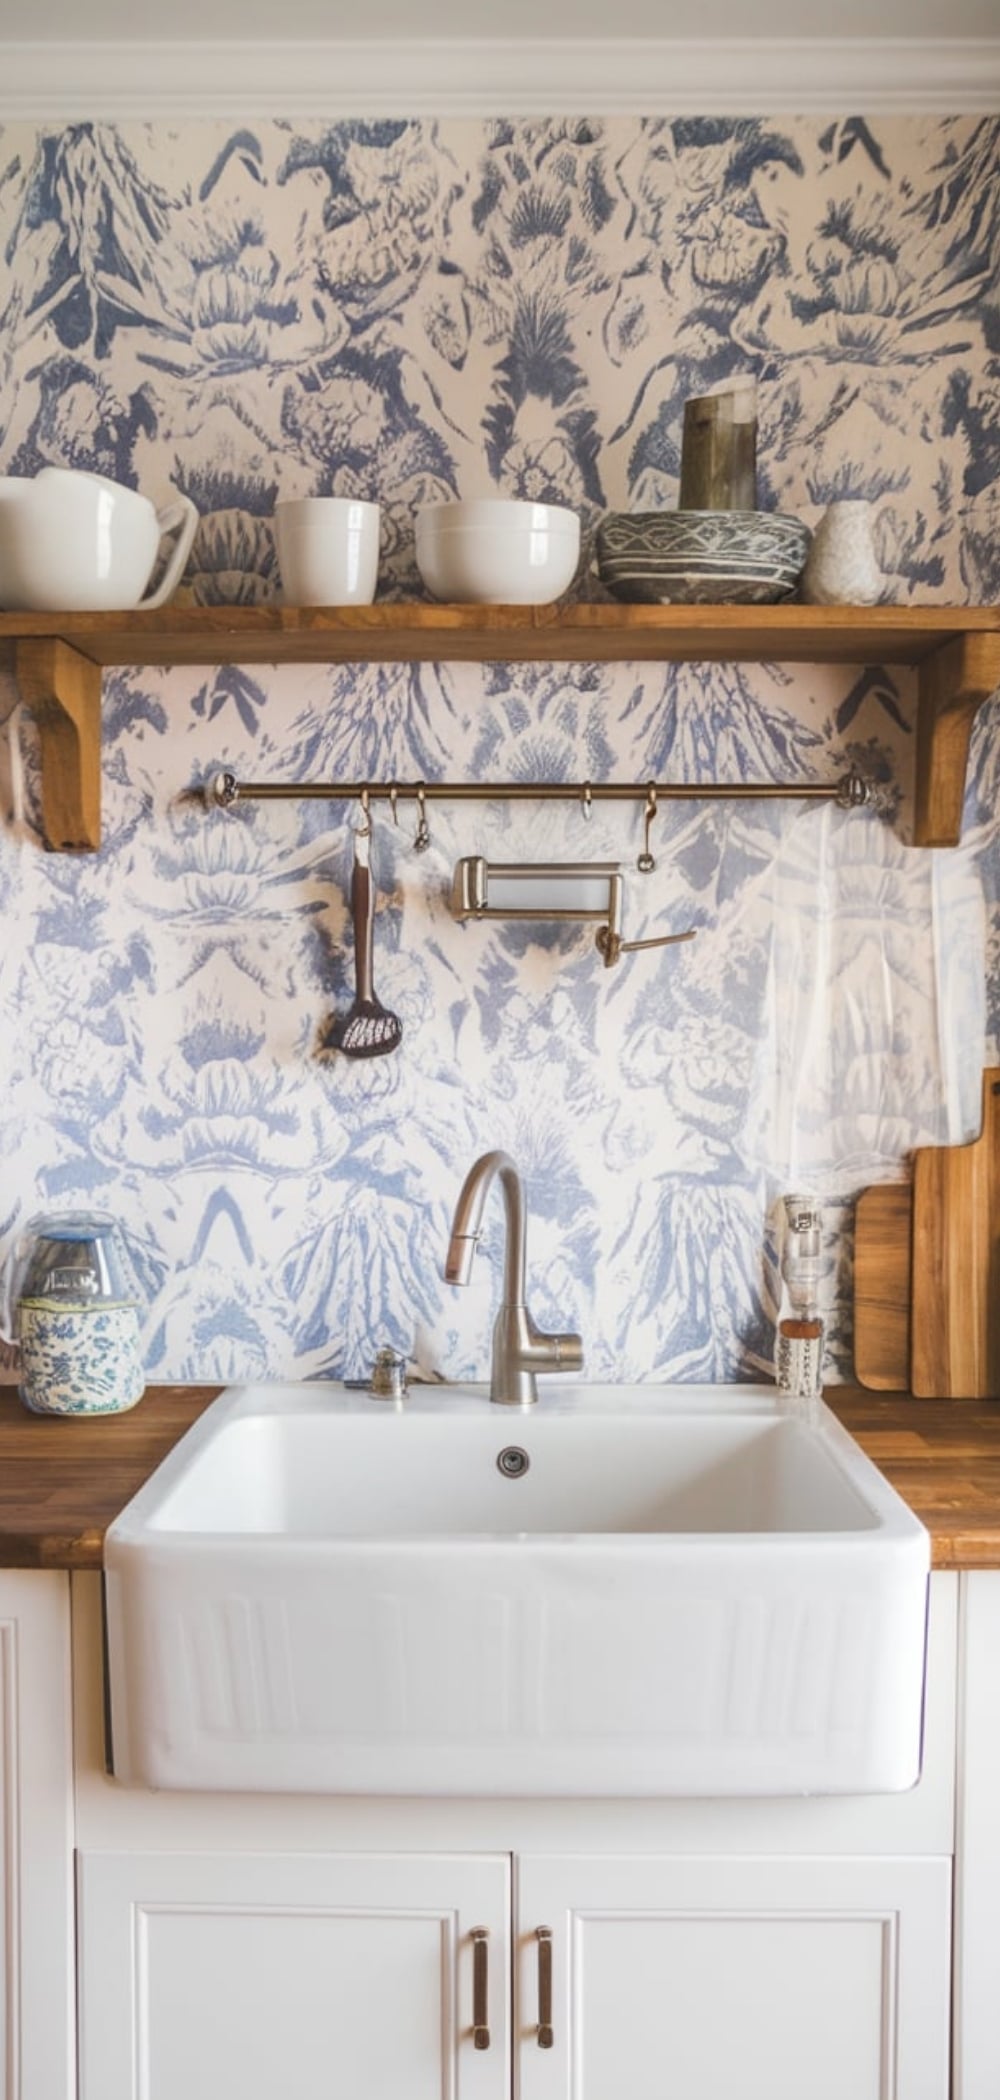
4. Wallpaper DIY kitchen Backsplash
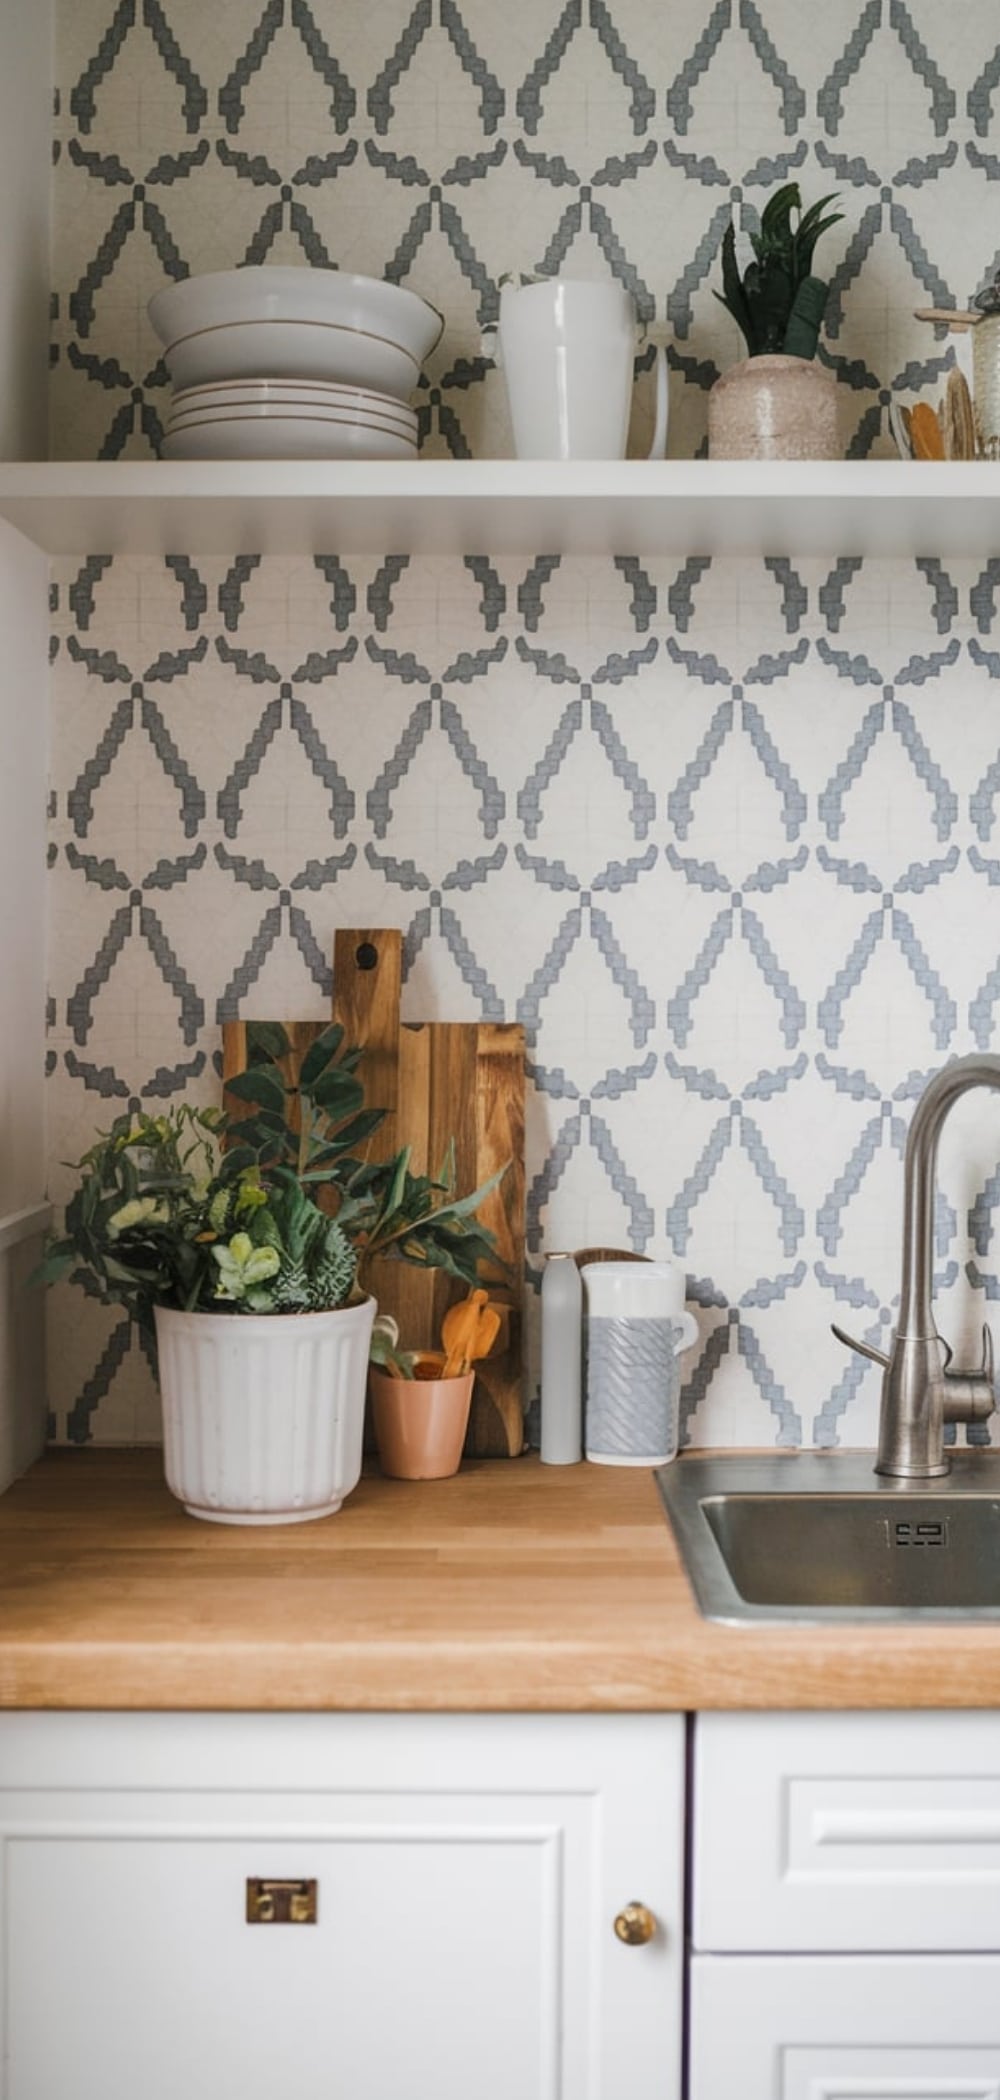
Waterproof wallpaper provides an easy and stylish solution for a low-cost DIY kitchen backsplash.
Implementation Tips:
- Selection: Use vinyl or peel-and-stick wallpaper designed for high-moisture areas.
- Installation: Smooth the wallpaper onto the backsplash area using a squeegee to eliminate bubbles.
- Sealing: Apply a clear, waterproof sealant for added protection.
3. Laminate Flooring Planks
Repurposing laminate flooring as a backsplash creates a durable, wood-like appearance at a fraction of the cost.
Implementation Tips:
- Cutting: Measure and cut the laminate planks to fit the backsplash space.
- Installation: Apply construction adhesive to the back and press firmly against the wall.
- Finishing: Use caulk to seal any gaps and ensure a seamless look.
2. Painted Stencils
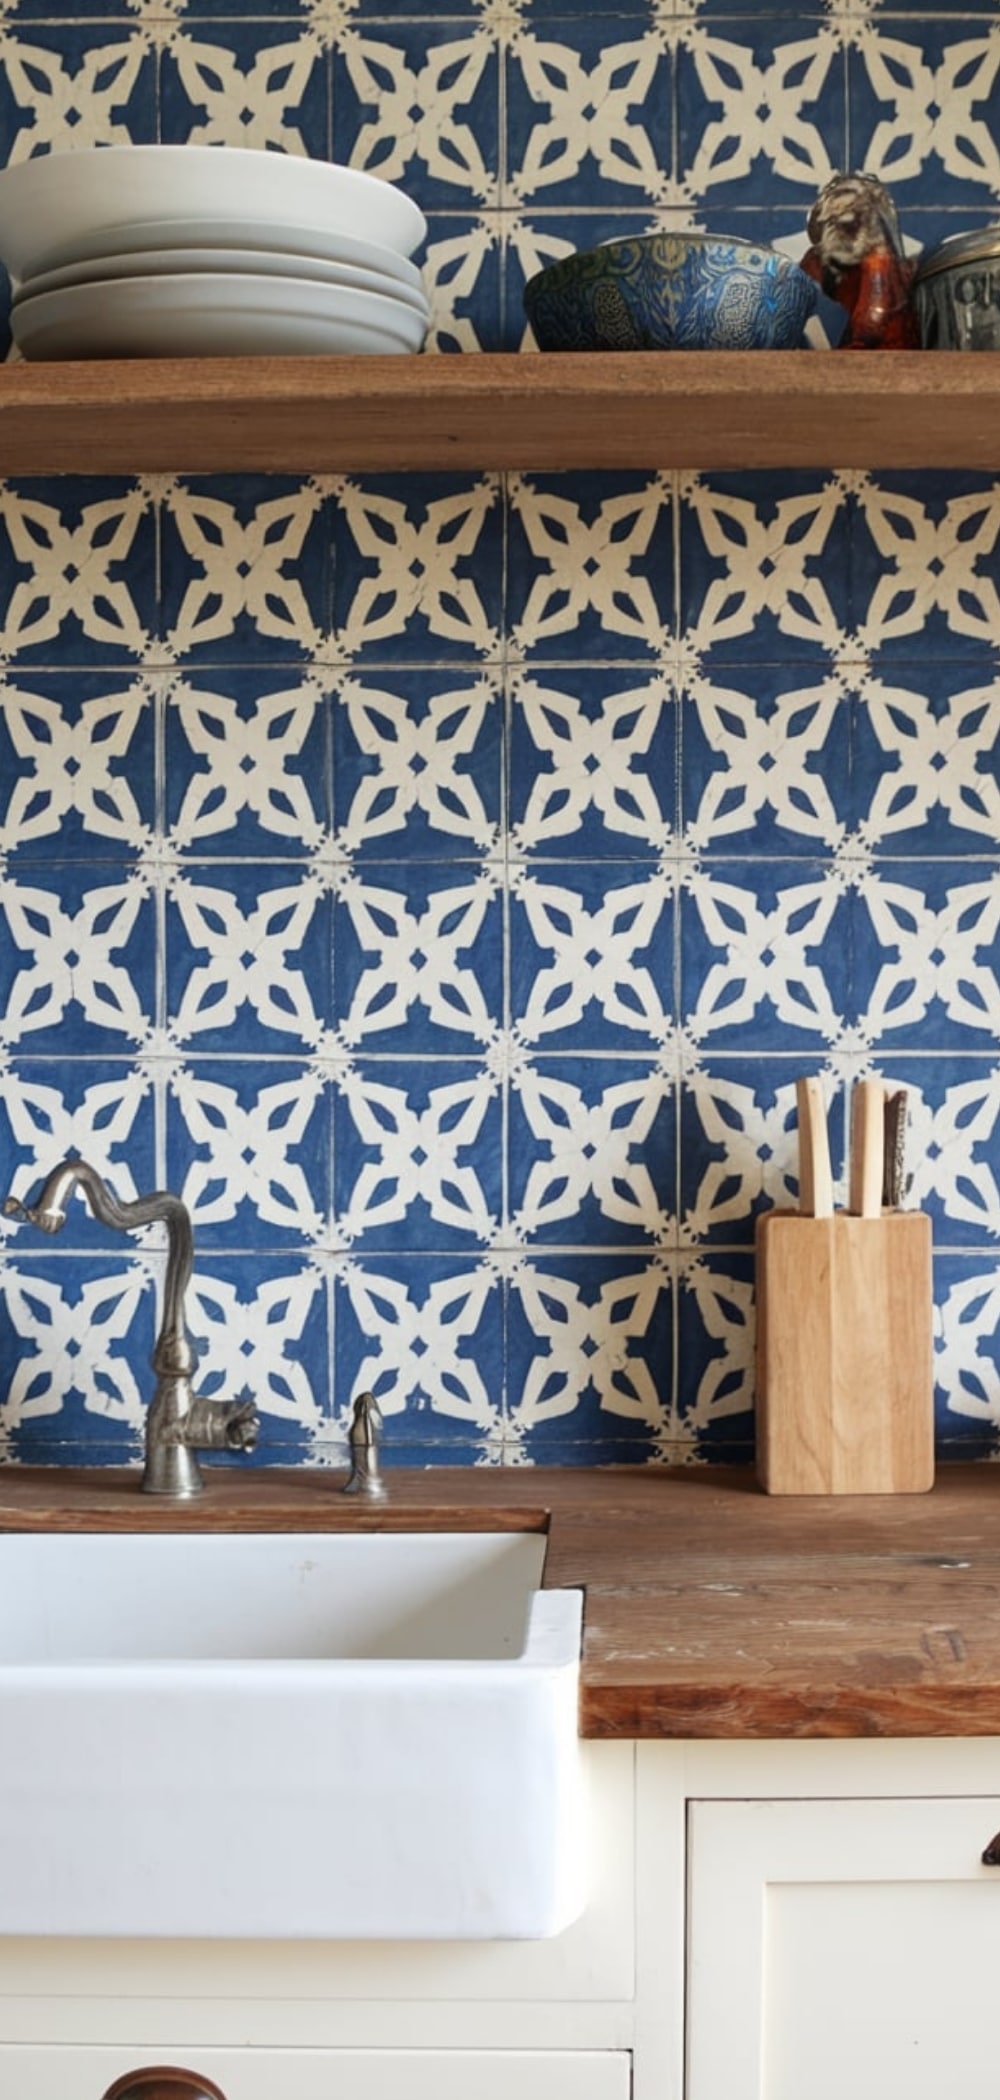
Instead of installing a physical backsplash, painted stencils allow you to create a tile-like effect on a budget.
Implementation Tips:
- Surface Prep: Clean and prime the wall for better paint adhesion.
- Stencil Application: Use painter’s tape to secure the stencil and apply paint with a foam roller.
- Sealing: Protect the design with a clear topcoat for longevity.
1. Mirror Backsplash
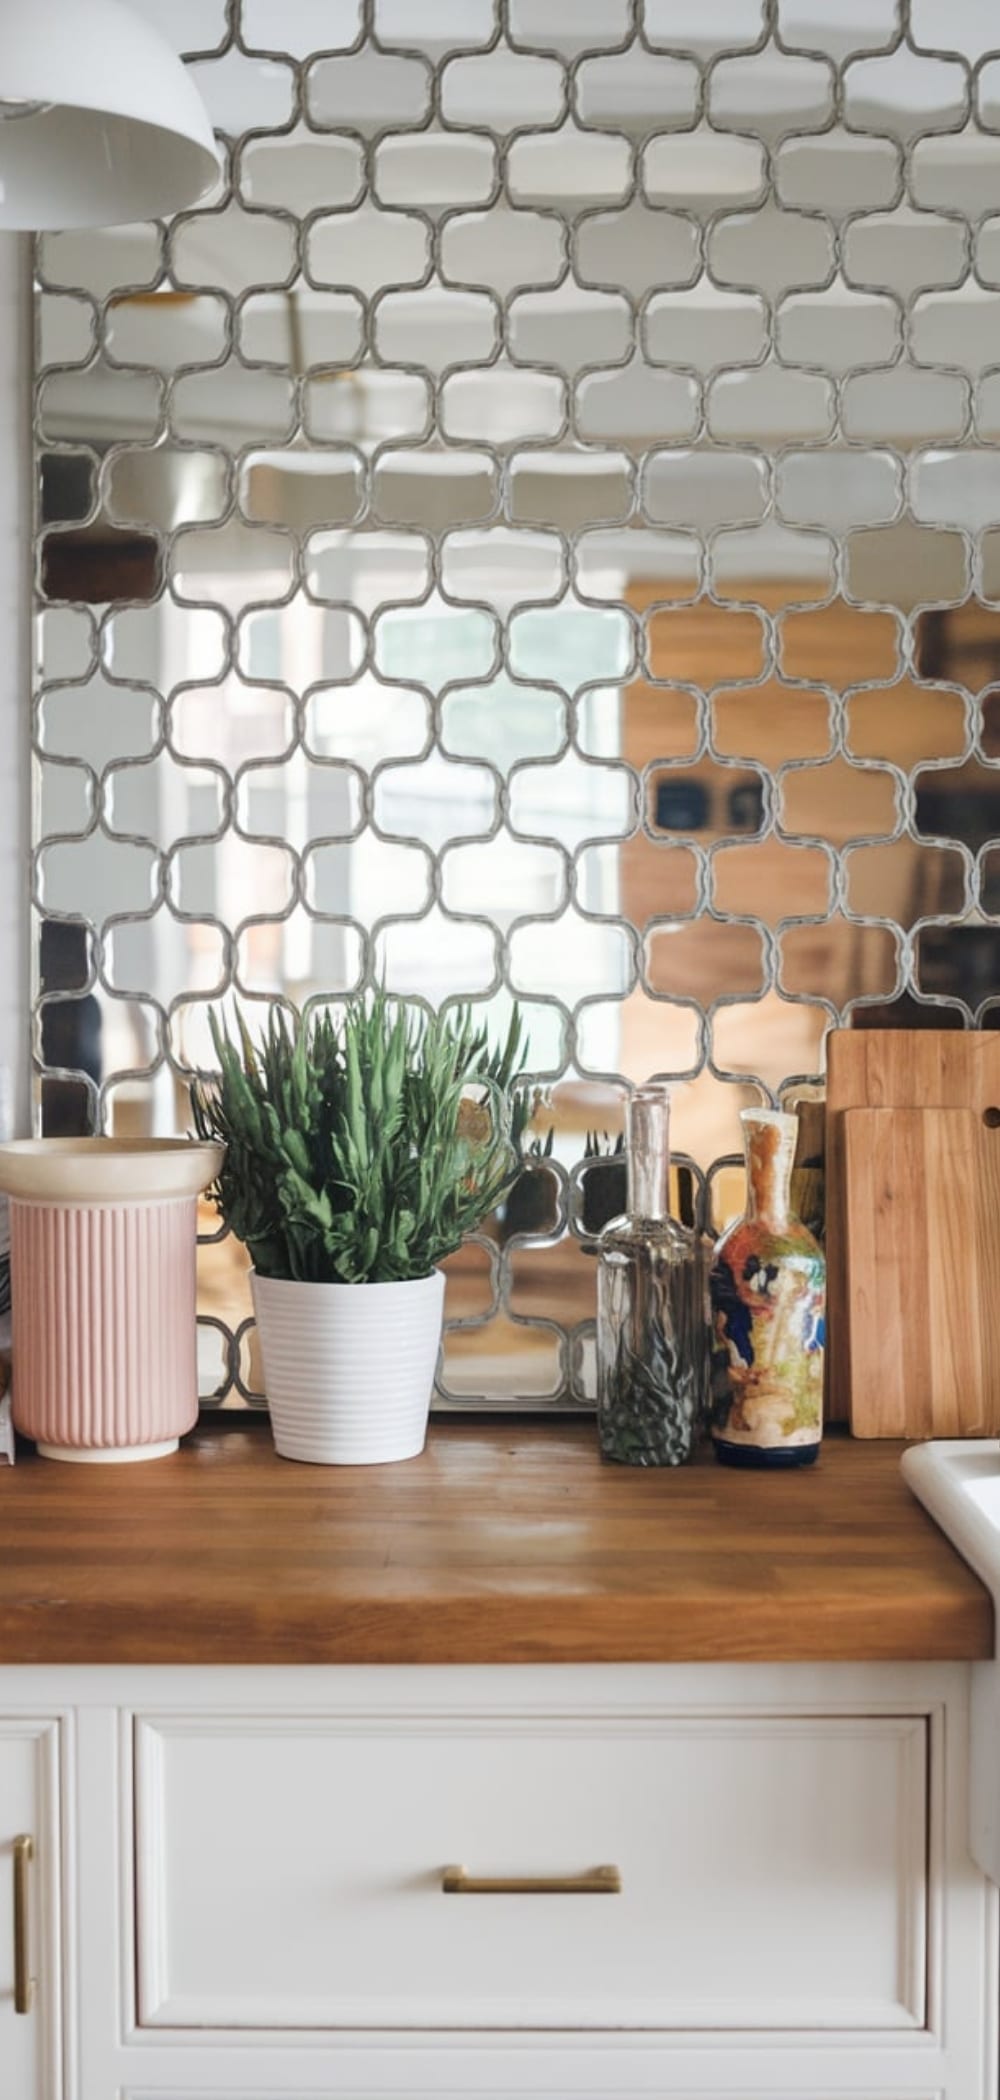
A mirror backsplash adds depth and brightness to small kitchens by reflecting light.
Implementation Tips:
- Measurement: Cut mirror panels to fit the backsplash space.
- Installation: Use mirror adhesive or mounting clips to secure the panels.
- Maintenance: Clean regularly with a glass cleaner to maintain shine.
Conclusion
These 15+ budget-friendly DIY kitchen backsplash ideas provide stylish, easy-to-install options for upgrading your kitchen. Whether you prefer a modern, rustic, or classic look, these solutions allow you to create a custom design without breaking the bank. Happy DIY-ing!
Enjoyed this post?
Share the love with another mom!
Every share helps this little blog grow — thank you so much