Make sure to join my list for Weekly Tips and Recipes to Your Inbox
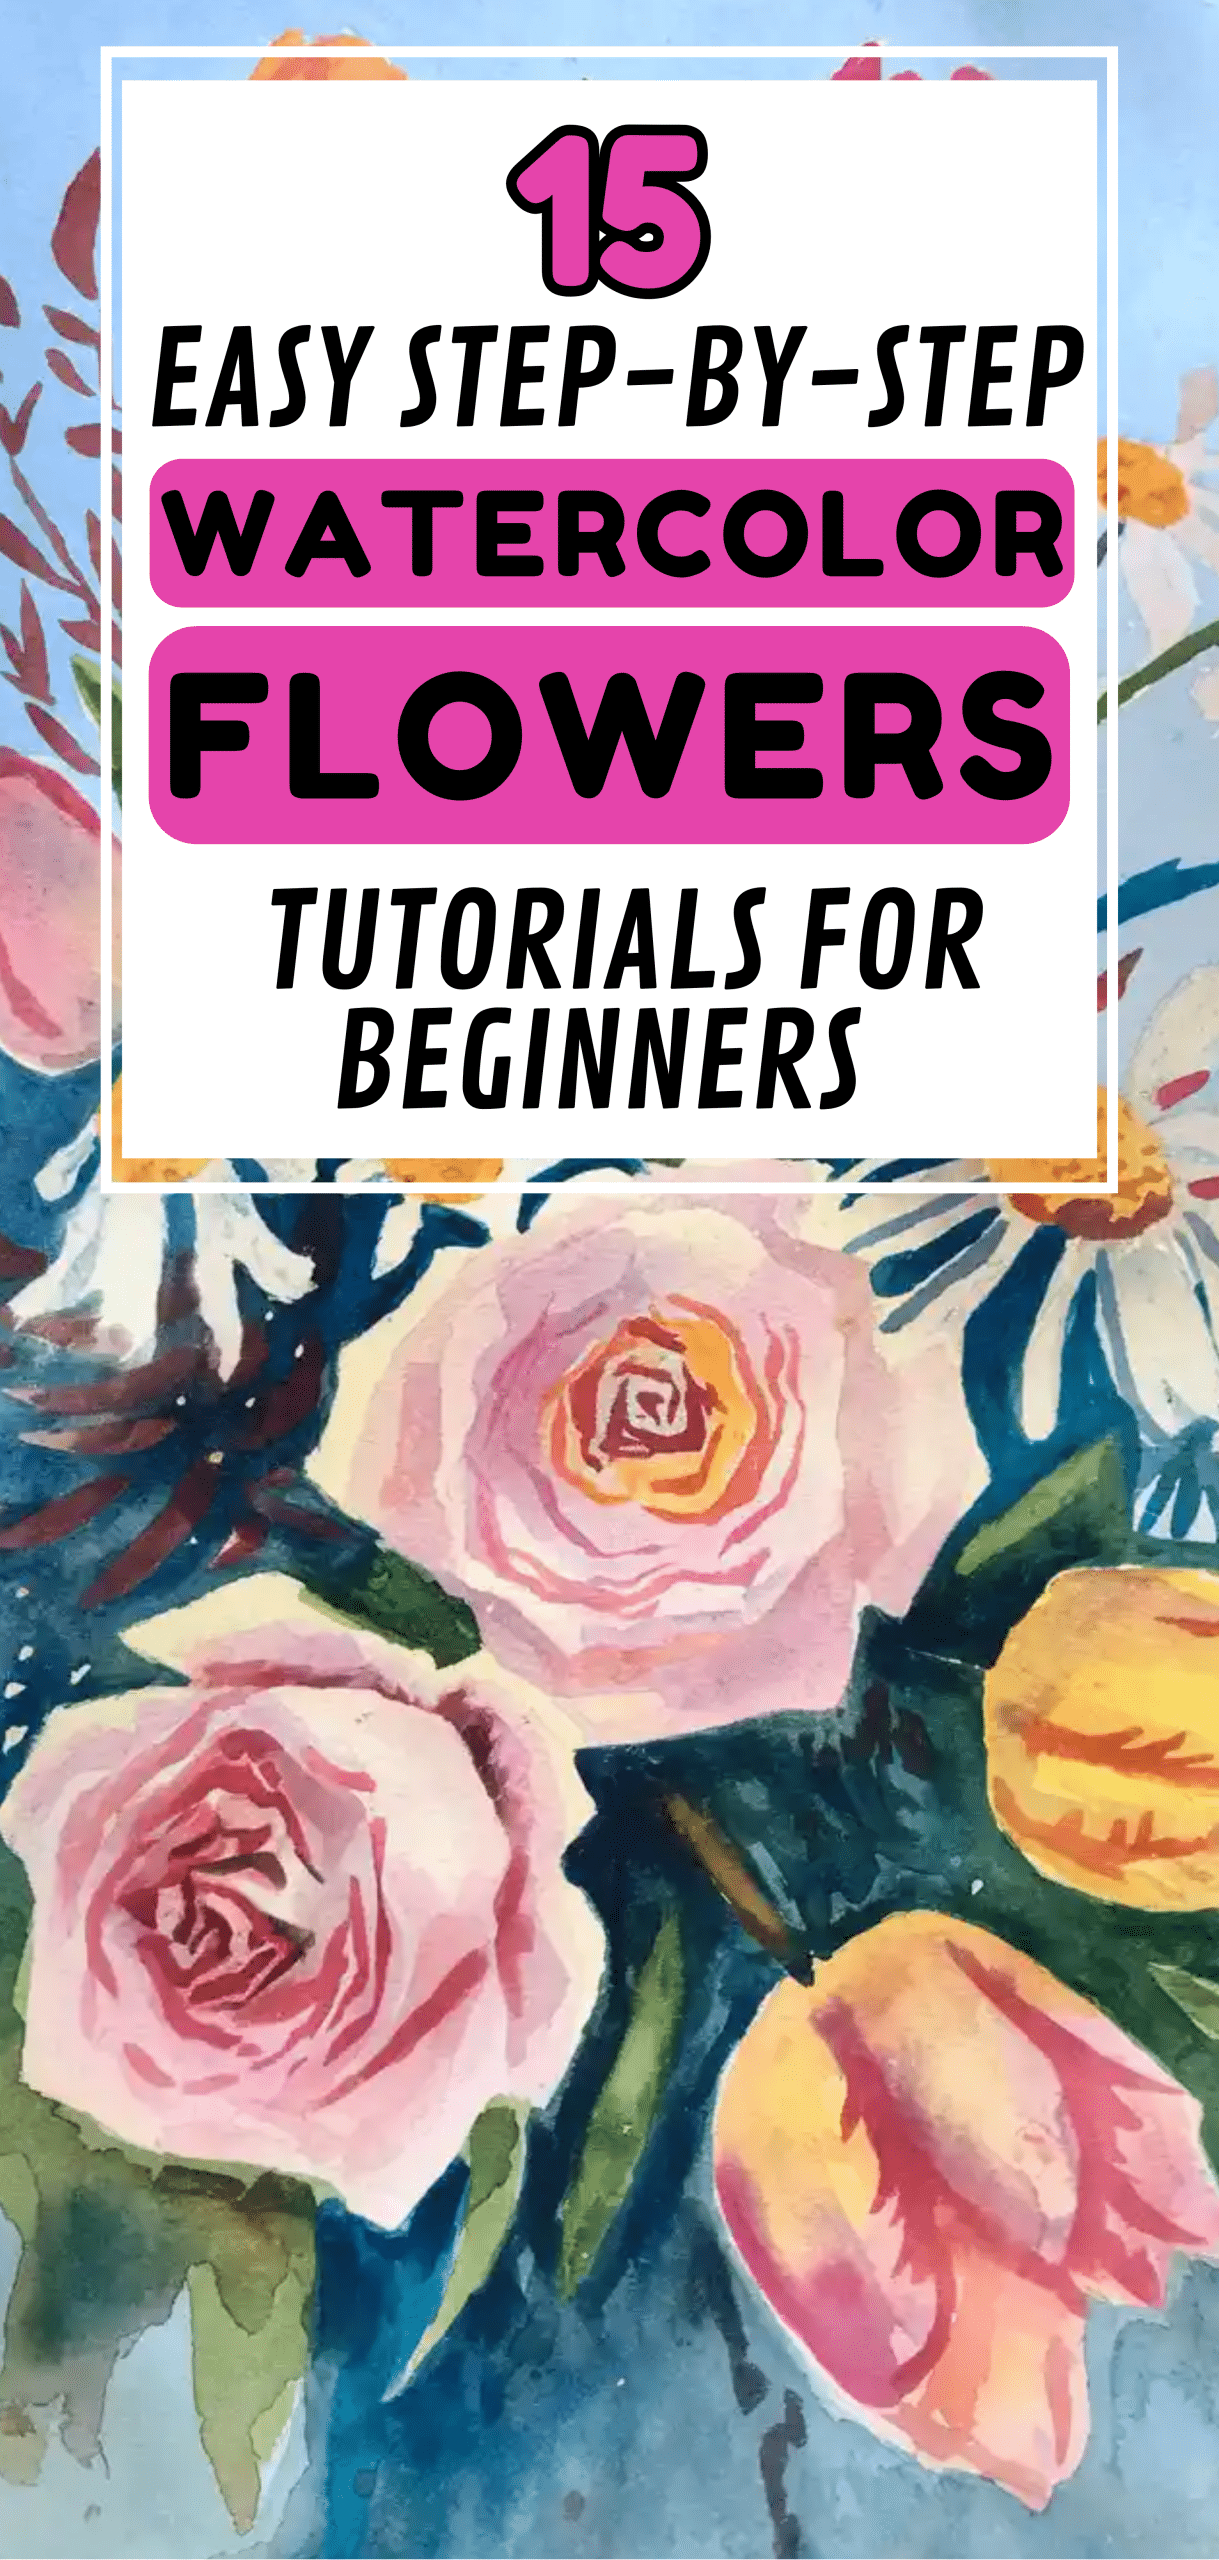
15 Easy Step-By-Step Watercolor Flowers Tutorials for Beginners
A little note: Some images in this post may come from third-party sources and are shared purely to inspire you. All credit goes to their original creators. Visit our Image Credits Policy for more information.
When I first wanted to learn how to paint watercolor flowers, I was full of hope… and frustration at the same time. I’d always dreamed of having soft petals and blooms, but the paint never landed quite how I imagined.
The petals blurred into each other, the colors didn’t layer right, and I wasn’t sure whether to start wet-on-wet or petal by petal. YouTube was both a blessing and a rabbit hole. With so many tutorials and techniques out there, I didn’t know what to follow first, or even if I was cut out for watercolor painting at all.
But with time (and a lot of scrap paper), I discovered that the key wasn’t mastering one technique, it was exploring a few and letting your own style evolve. Wet-on-wet gives you that soft bloom effect, perfect for loose florals.
Wet-on-dry adds detail and structure. I learned that layering light to dark gives petals beautiful depth, and that shadows can define a flower without harsh outlines. One of my favorite discoveries? Letting go of perfection. The charm of watercolor flowers lies in their imperfections, in that gentle unpredictability that makes each petal look alive.
If you’re a beginner wondering where to start, I recommend trying tutorials from artists like Shayda Campbell, Diane Antone Studio, or Watercolor by Shibasaki. Their approaches are clear and beginner-friendly.
And don’t forget to practice! Even a few minutes a day can lead to noticeable growth. If you’re looking for more inspiration (especially if you love crafting with kids too), check out my article on Classroom Crafts for Kids; some of those techniques are surprisingly helpful for beginners of any age.
You don’t need to be a pro to paint something beautiful; you just need a brush, a bit of patience, and a willingness to enjoy the process.
What We're Exploring
- 01 15. Watercolor Rose Tutorial (Soft Petal Blending)
- 02 14. Simple Lavender Sprigs (Wet-on-Dry Control)
- 03 13. Daisy Flower (Layering with Negative Space)
- 04 12. Sunflower Composition (Dry Brush Texture)
- 05 11. Peony Blossoms (Layered Petal Construction)
- 06 10. Tulip Buds (Wet-on-Wet Flow)
- 07 9. Poppy Flower (Bold Center Contrast)
- 08 8. Cherry Blossoms (Cluster Painting)
- 09 7. Hydrangeas (Shape Suggestion with Dots)
- 10 6. Cosmos Flowers (Two-Tone Petal Gradient)
- 11 5. Morning Glory (Scroll Petal Formation)
- 12 4. Anemone Flower (Focus on Contrast)
- 13 3. Wildflowers Field (Loose and Expressive)
- 14 2. Camellia (Glazed Wash Technique)
- 15 1. Freesia (Directional Petal Brushwork)
- 16 Conclusion
15. Watercolor Rose Tutorial (Soft Petal Blending)

Materials:
- Round brush size 6 or 8
- Rose pink, crimson, and sap green
- Cold-pressed watercolor paper
Steps:
- Lightly sketch a circular spiral as a petal guide.
- Start from the center using diluted rose pink.
- Build outer petals with less water and more pigment.
- Let each petal dry slightly to avoid bleeding.
- Add shadow to inner layers with crimson.
- Use sap green to create flowing, S-shaped leaves.
Watercolor Flowers Tip: Lift pigment using a dry brush for petal highlights.
14. Simple Lavender Sprigs (Wet-on-Dry Control)
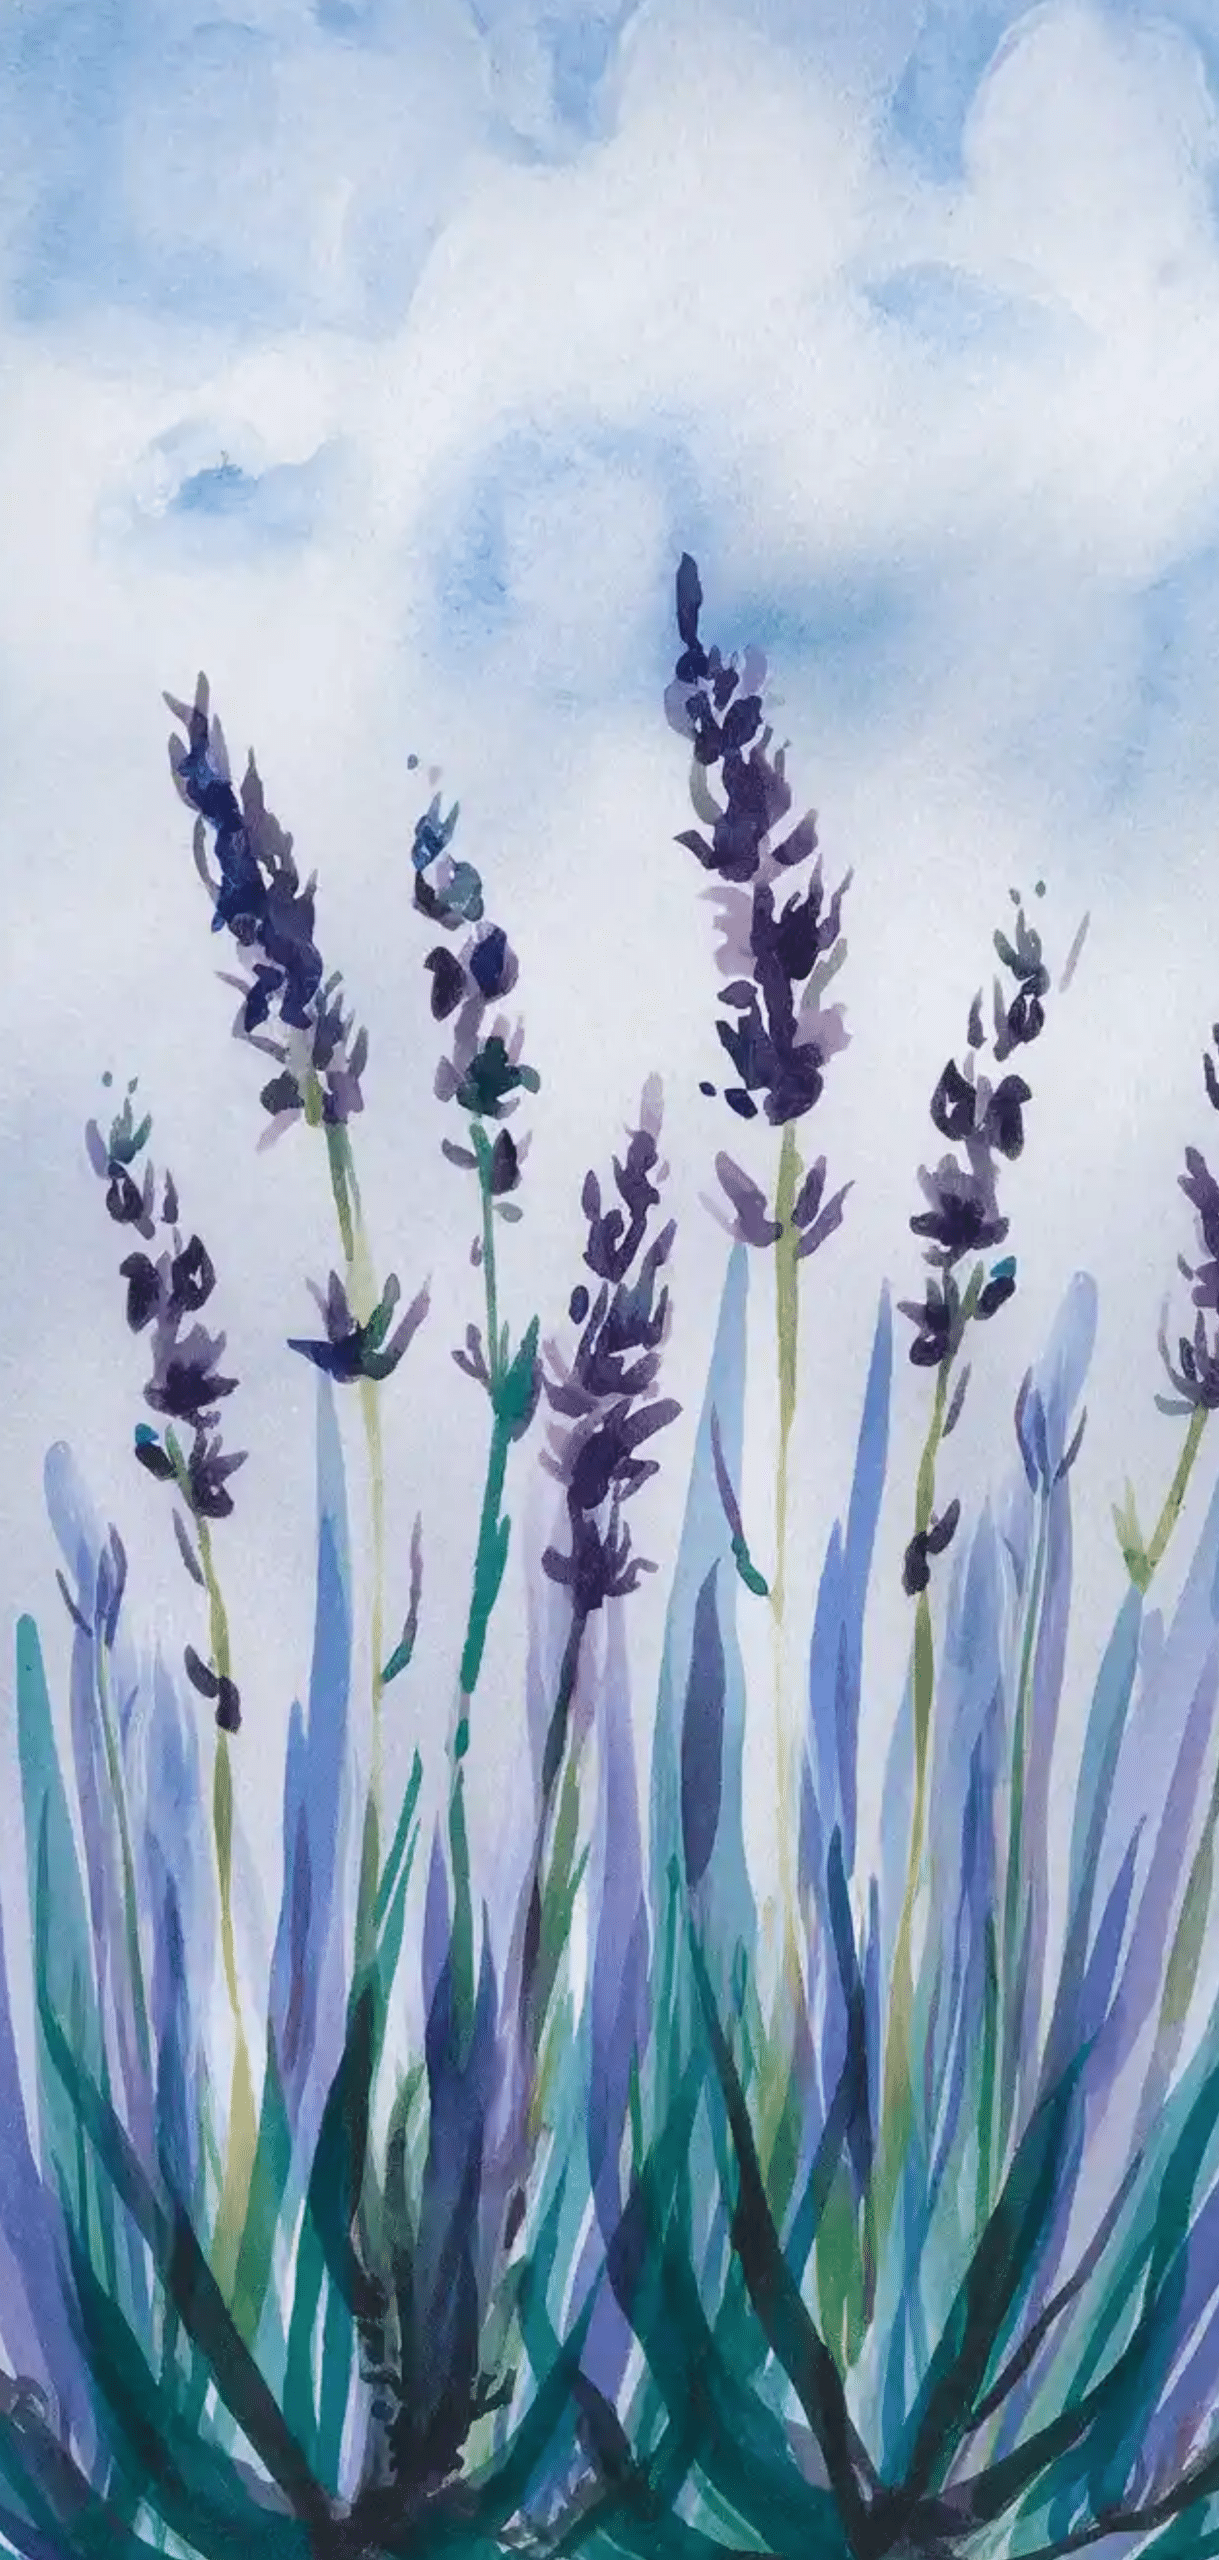
Materials:
- Size 2 round brush
- Dioxazine purple, ultramarine blue, sap green
Steps:
- Paint a thin vertical stem using green.
- Use the tip of the brush to dot lavender buds from top to bottom.
- Blend purple and blue for color variation.
- Add thin leaves in a flicking motion.
Watercolor Flowers Tip: Keep the brush upright for fine, controlled dots.
13. Daisy Flower (Layering with Negative Space)
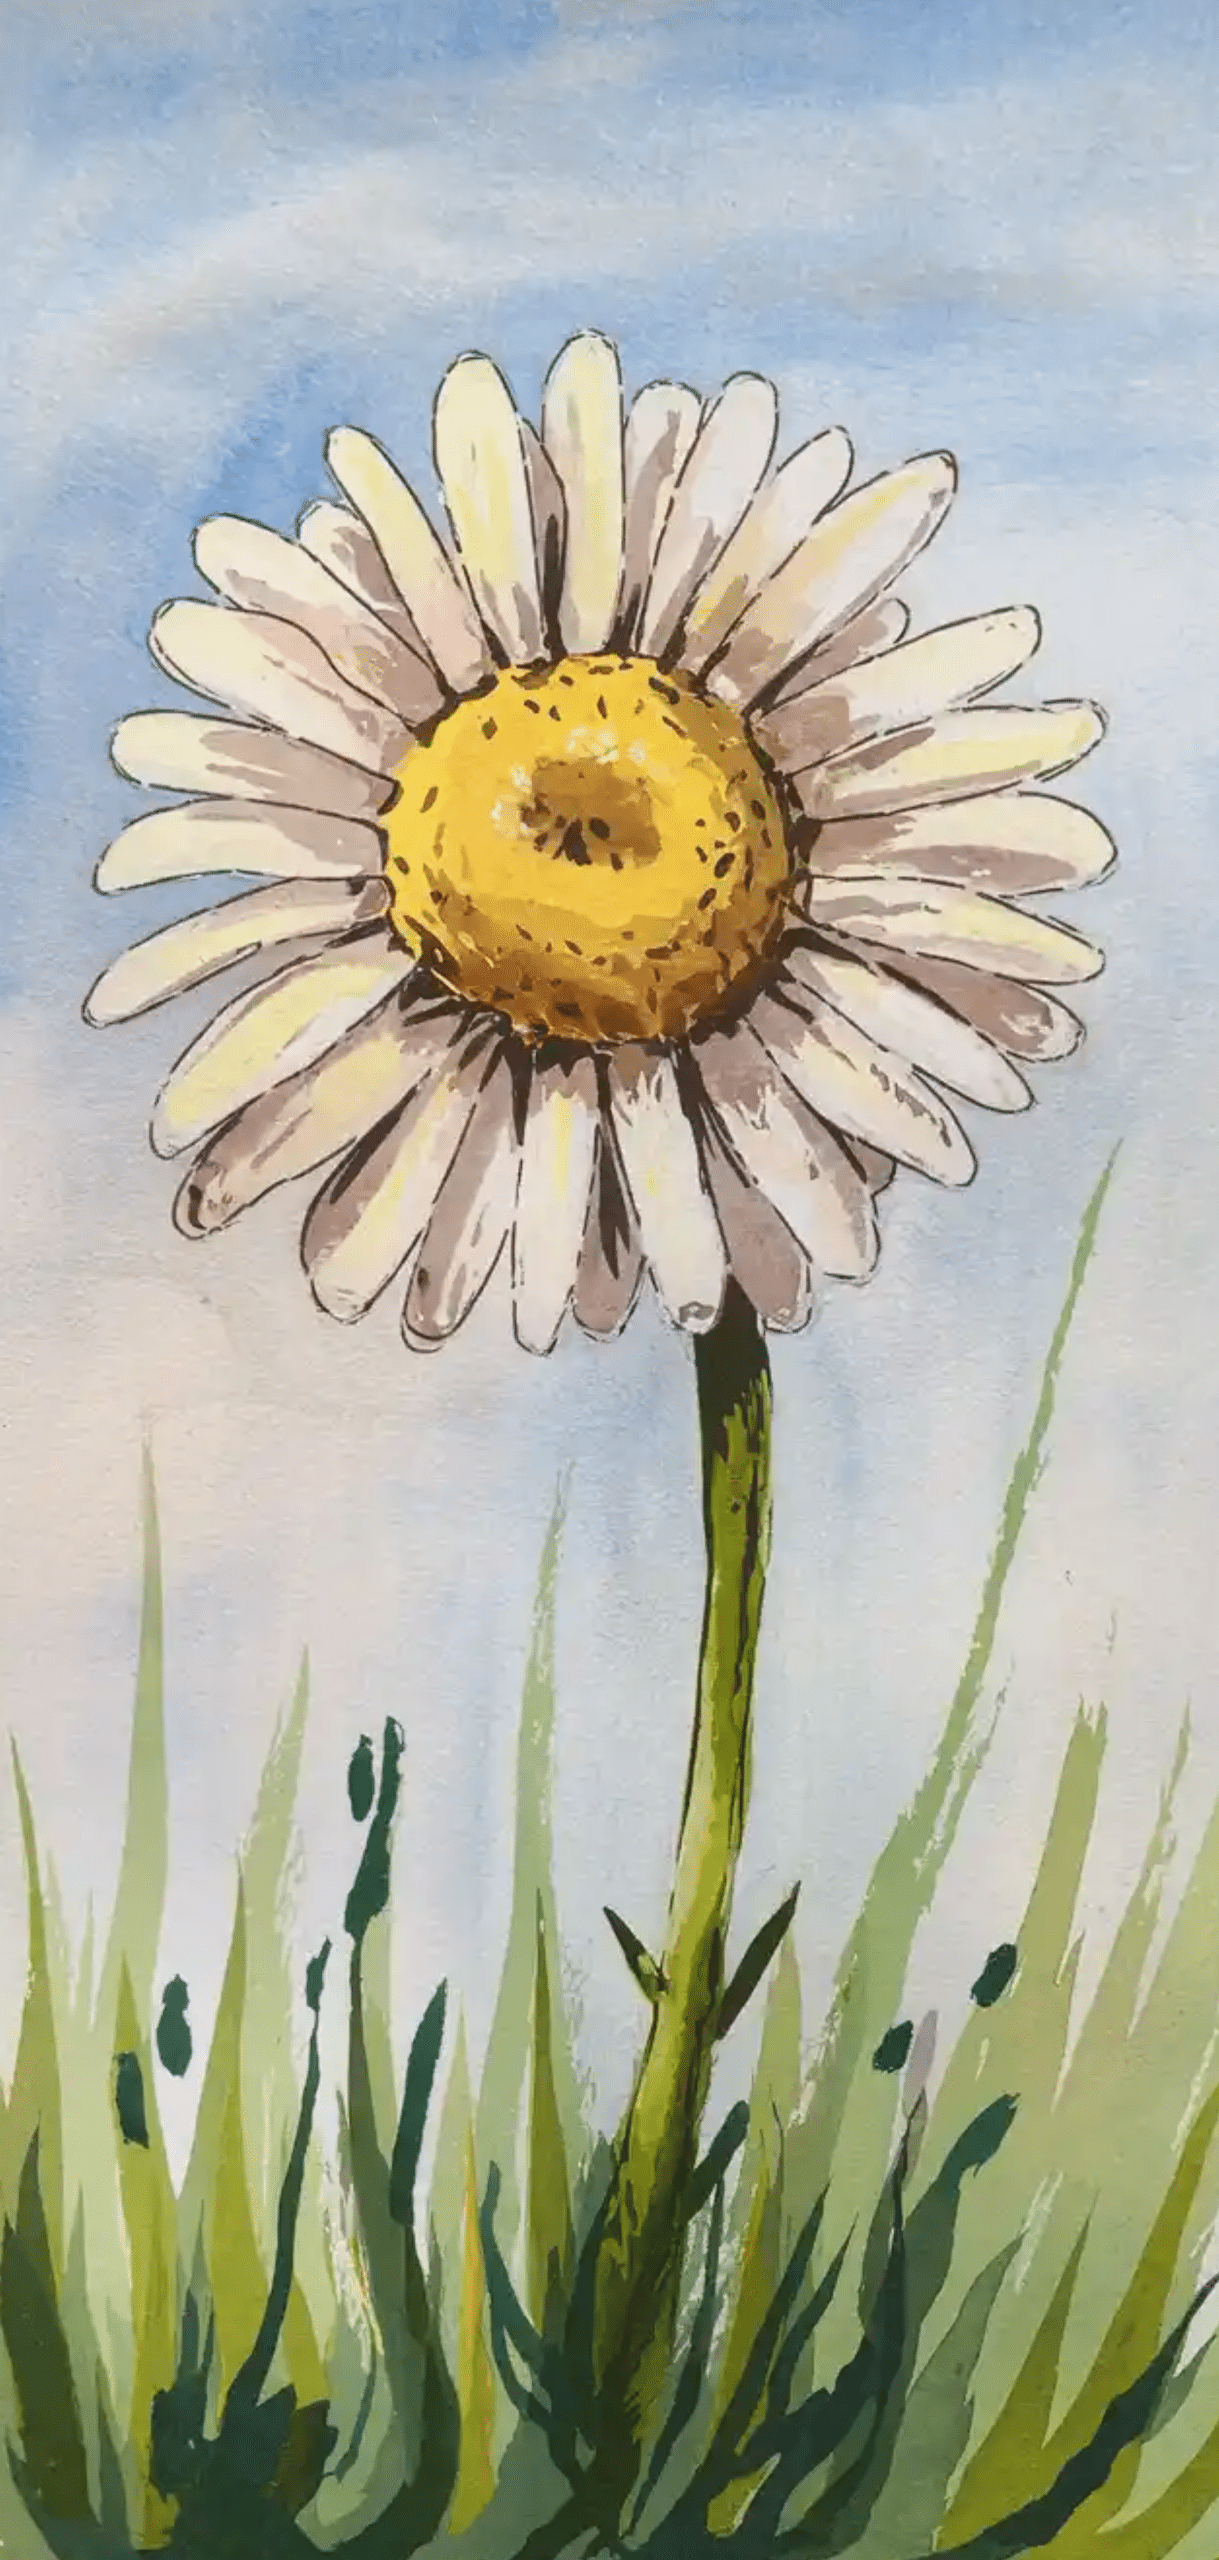
Materials:
- Size 4 round brush
- Lemon yellow, burnt umber, ultramarine blue
Steps:
- Paint the center circle using yellow.
- Pull white petals outward, leaving gaps for light reflection.
- Add shadows with a diluted blue wash.
- Dot the center with brown for depth.
Watercolor Flowers Tip: Reserve the white of the paper for petal highlights.
12. Sunflower Composition (Dry Brush Texture)
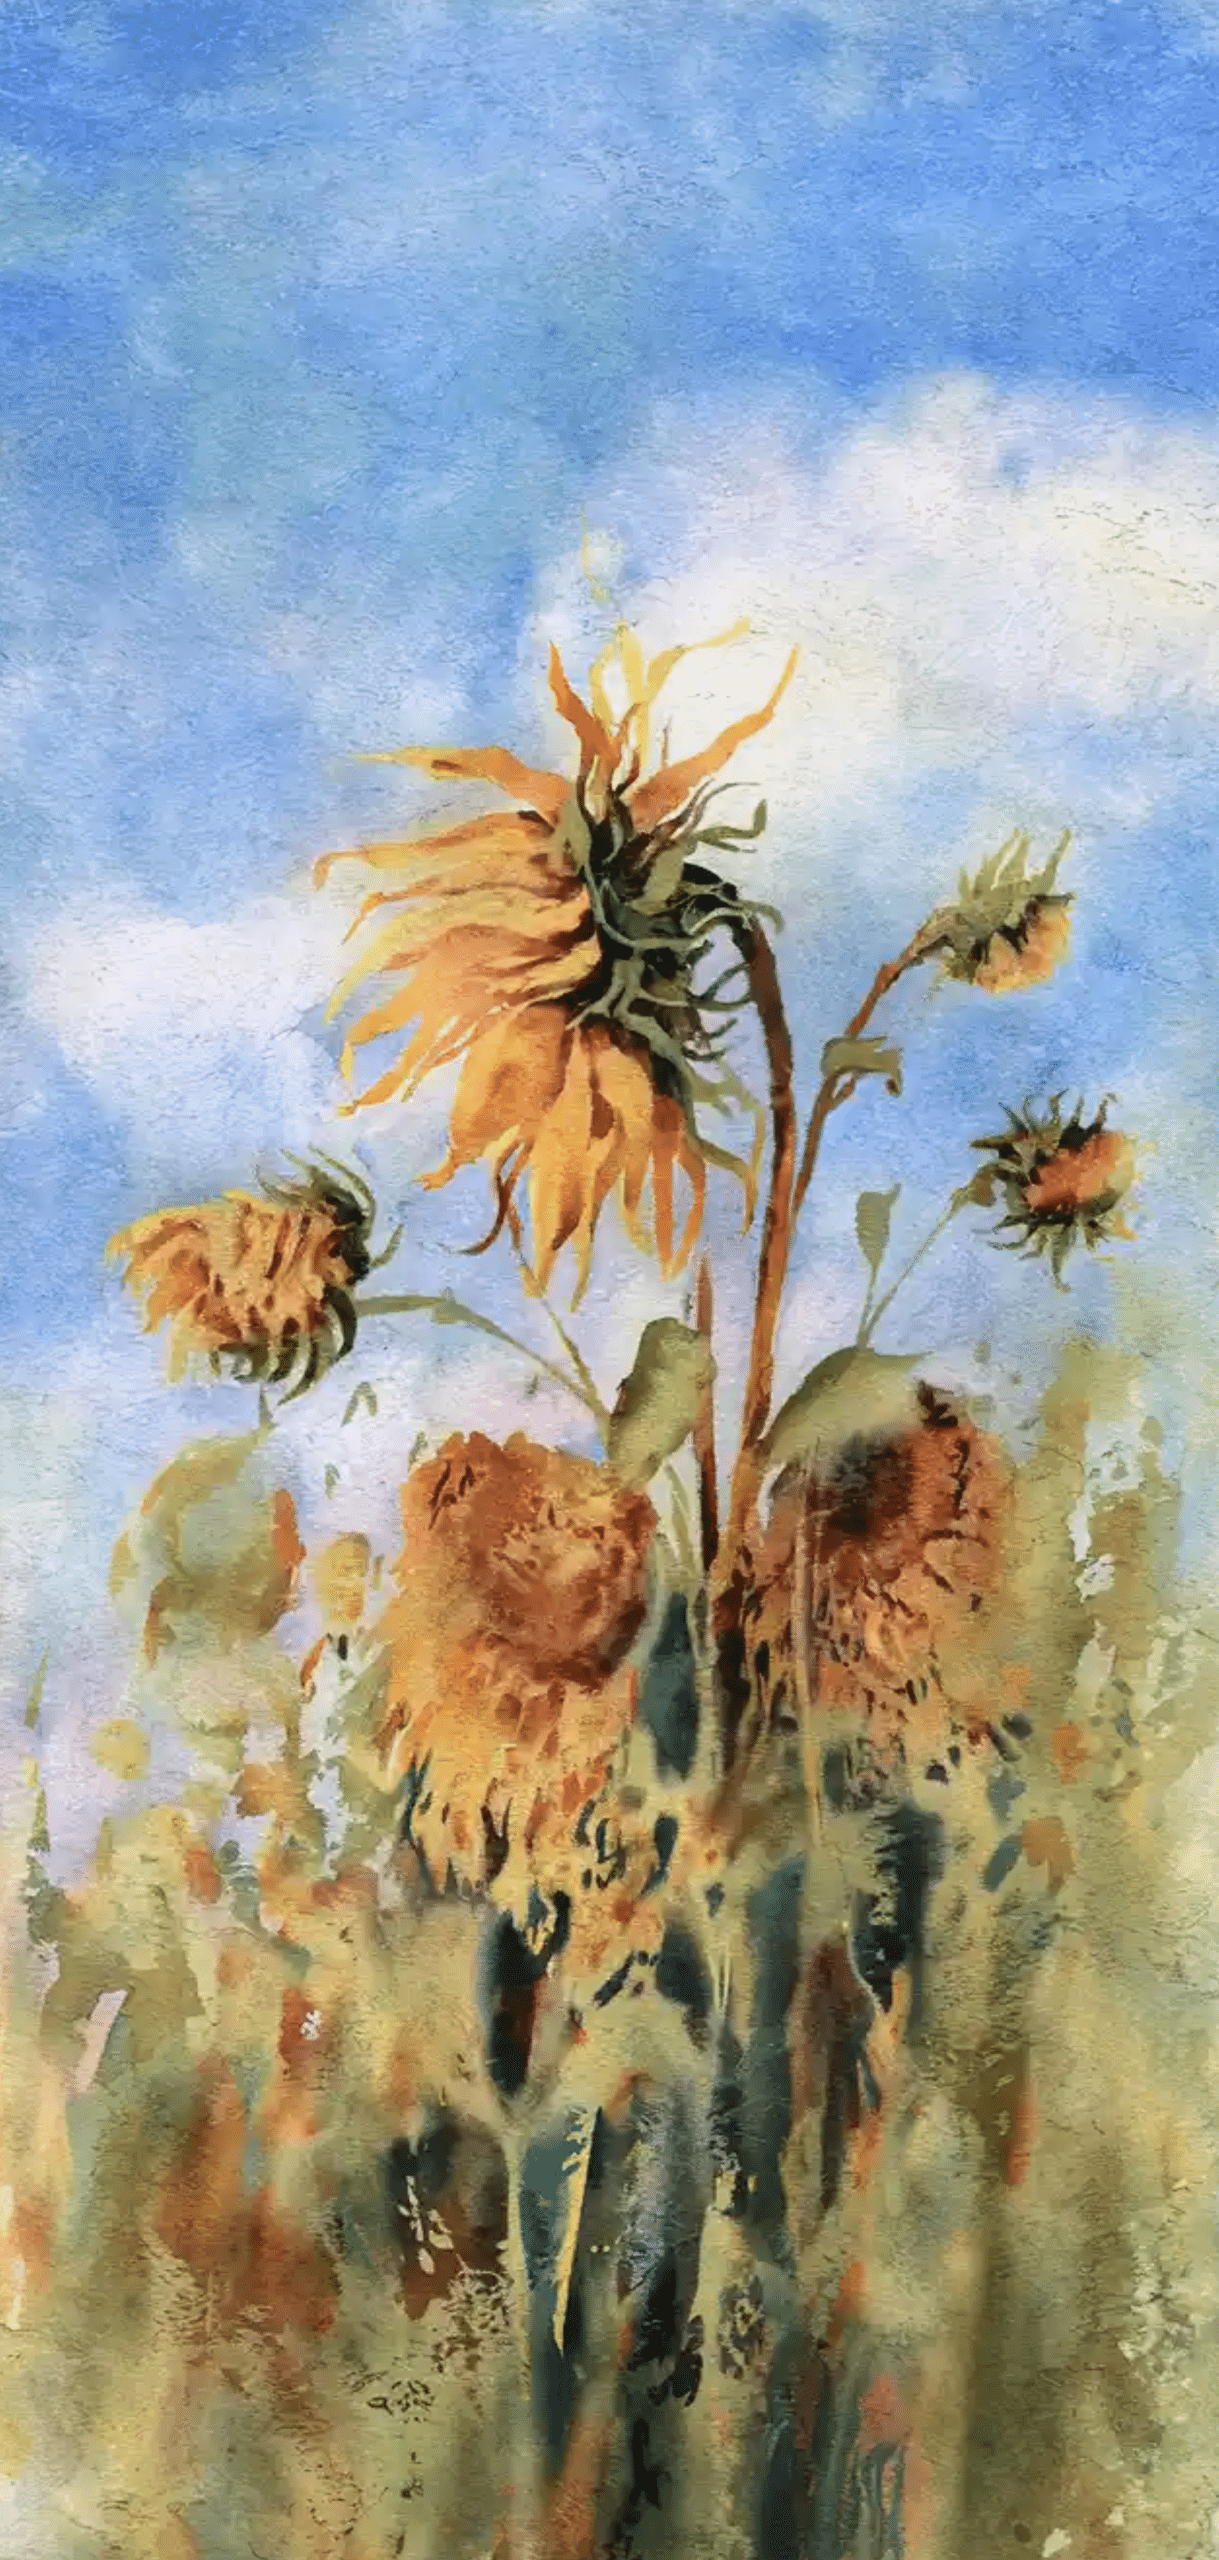
Materials:
- Size 6 round and flat brush
- Yellow ochre, burnt sienna, sap green
Steps:
- Create the central disk with burnt sienna.
- Use the dry brush technique to fan out large yellow petals.
- Add green stems and large textured leaves.
- Add a second layer of petals beneath for depth.
Watercolor Flowers Tip: Use horizontal dry strokes to mimic rough petal texture.
11. Peony Blossoms (Layered Petal Construction)
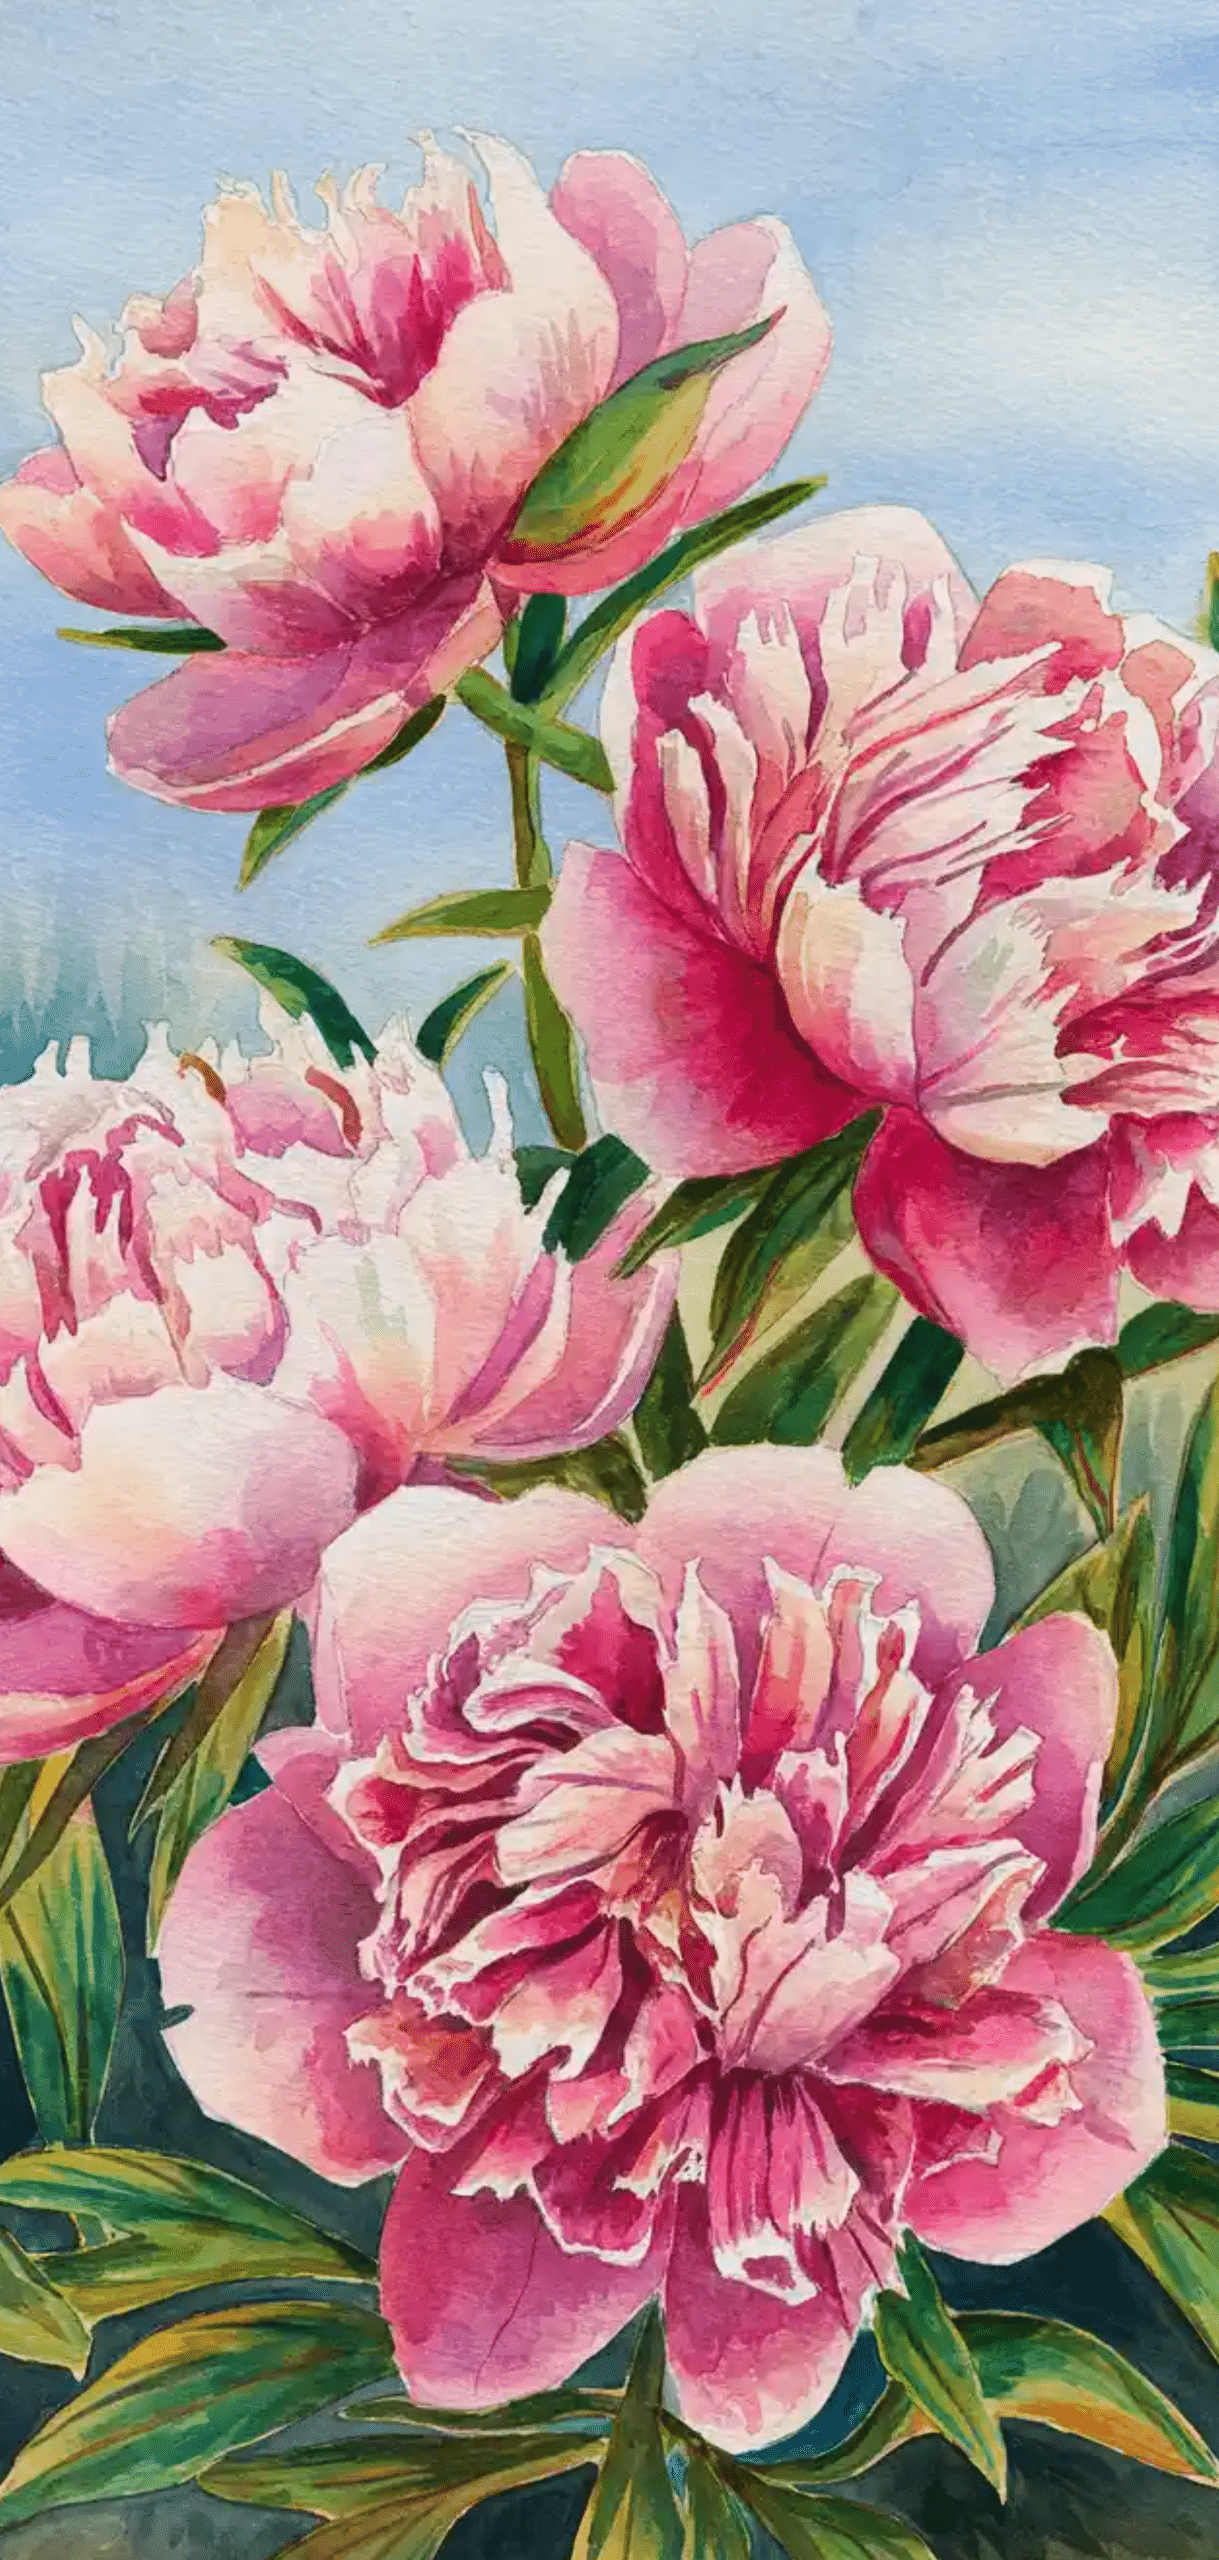
Materials:
- Size 8 round brush
- Alizarin crimson, pink, and pale green
Steps:
- Light wash of crimson for outer petal structure.
- Allow drying before applying a second layer inside.
- Use deeper crimson near the center for realism.
- Paint wide, round leaves with light green.
Watercolor Flowers Tip: Use a lifting technique to create folded petal edges.
10. Tulip Buds (Wet-on-Wet Flow)
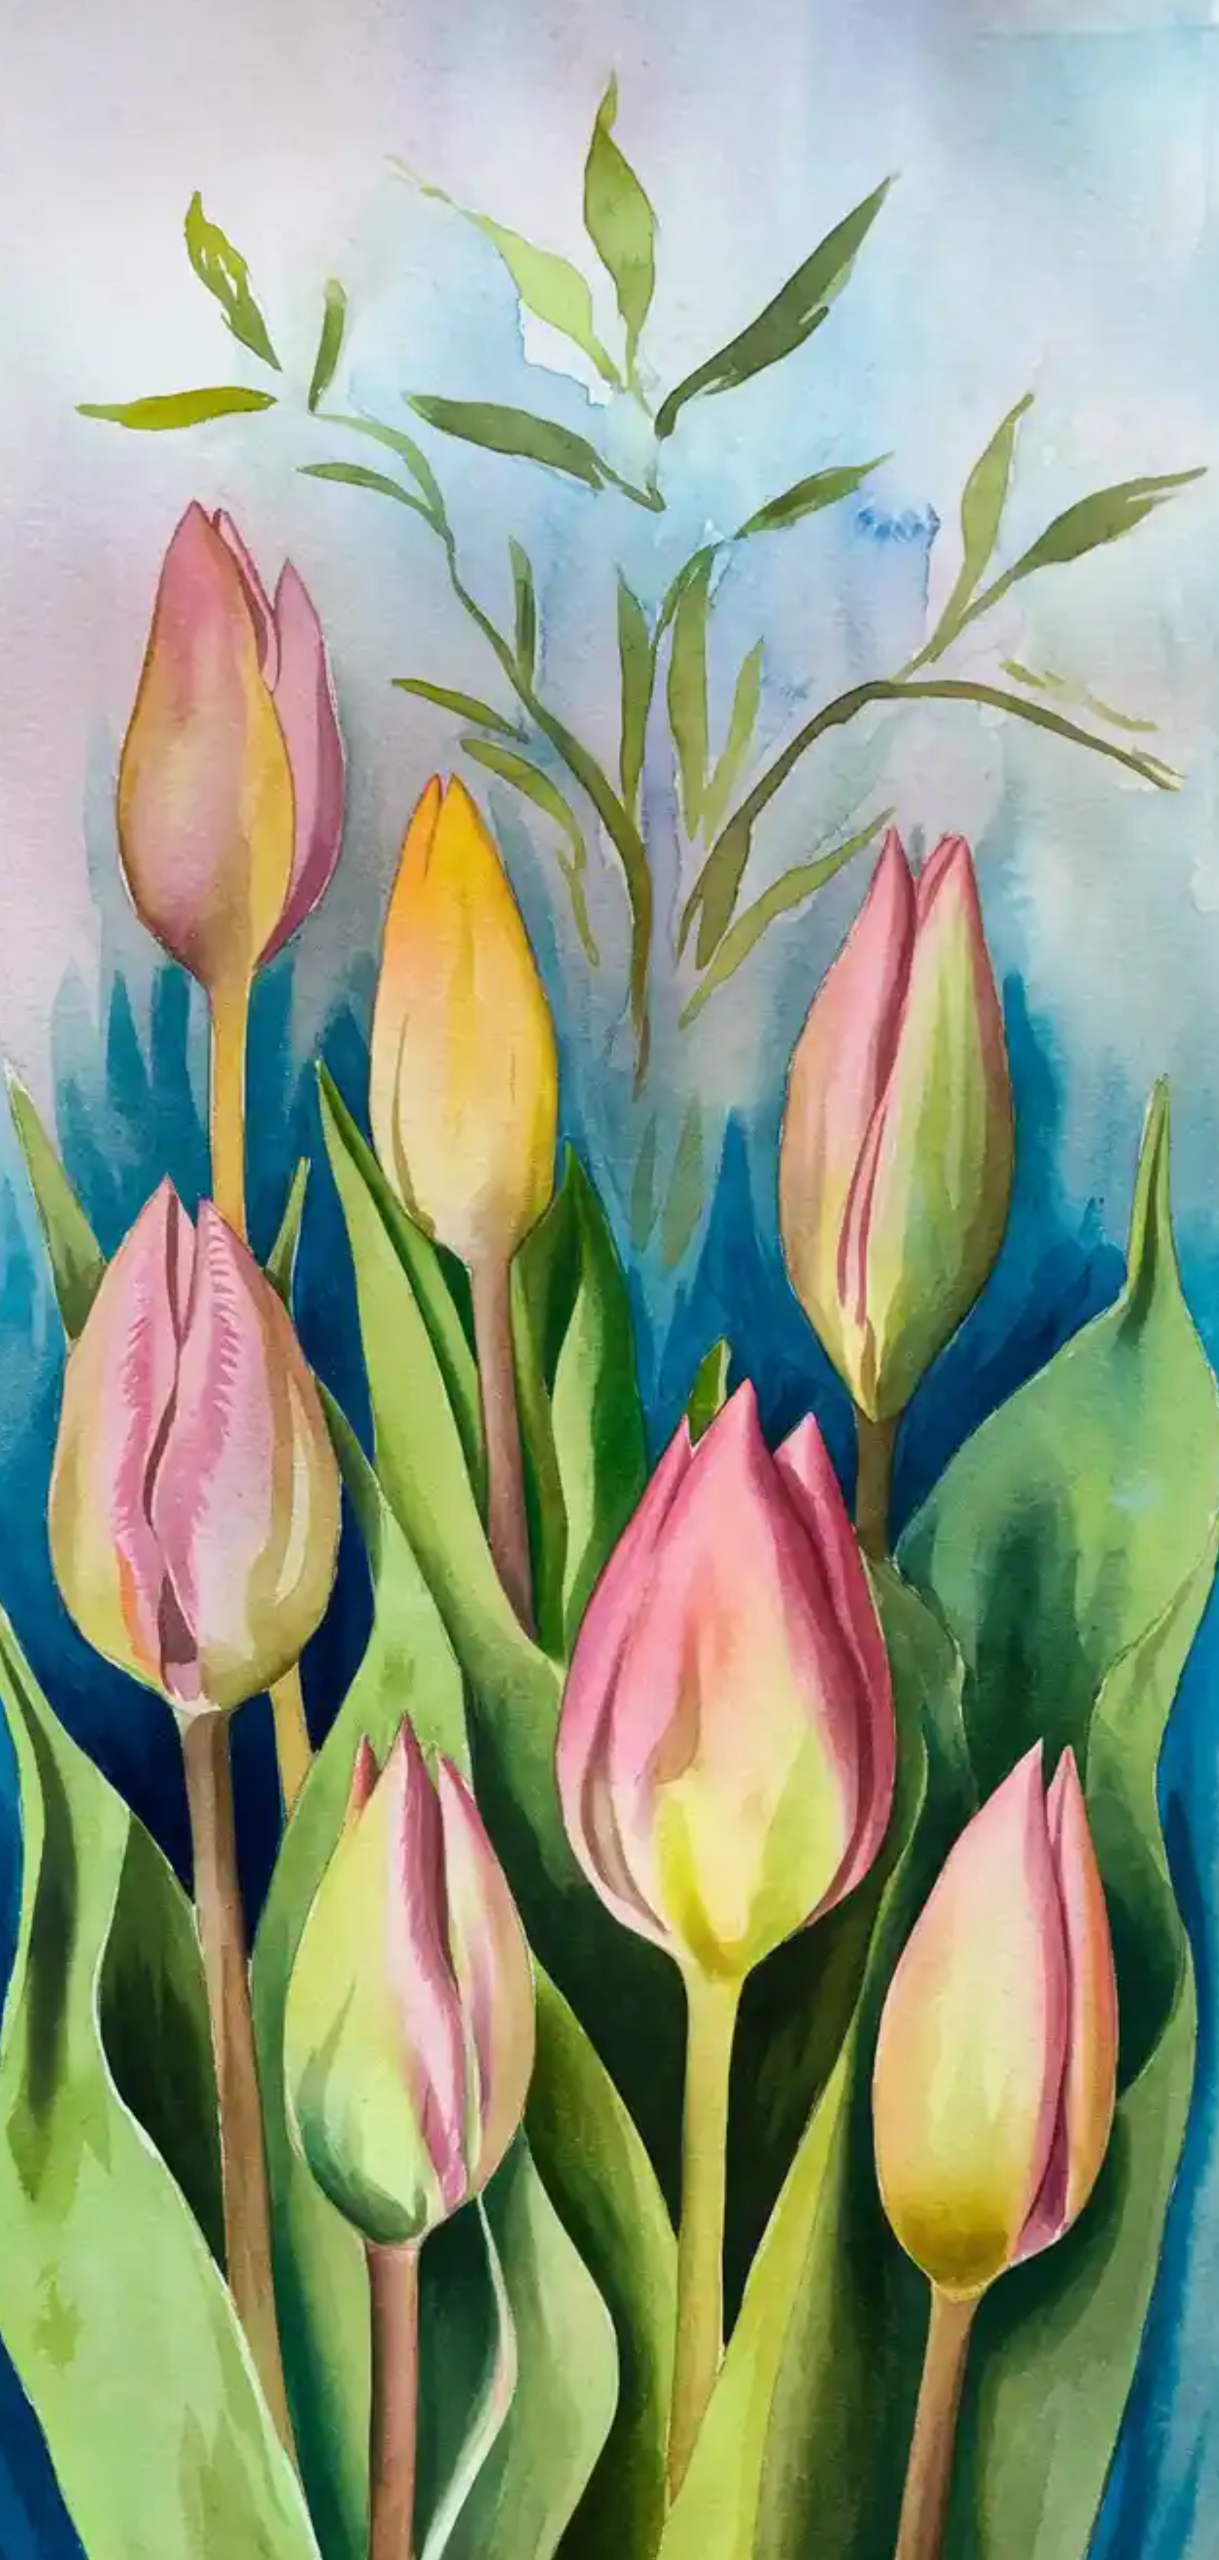
Materials:
- Size 4 mop brush
- Magenta, yellow, olive green
Steps:
- Create the tulip shape with a magenta wash.
- Drop yellow at the base while still wet.
- Paint the curved stem with olive green.
- Add long, parallel leaves with a single brush stroke.
Watercolor Flowers Tip: Avoid overworking; let colors blend naturally.
9. Poppy Flower (Bold Center Contrast)
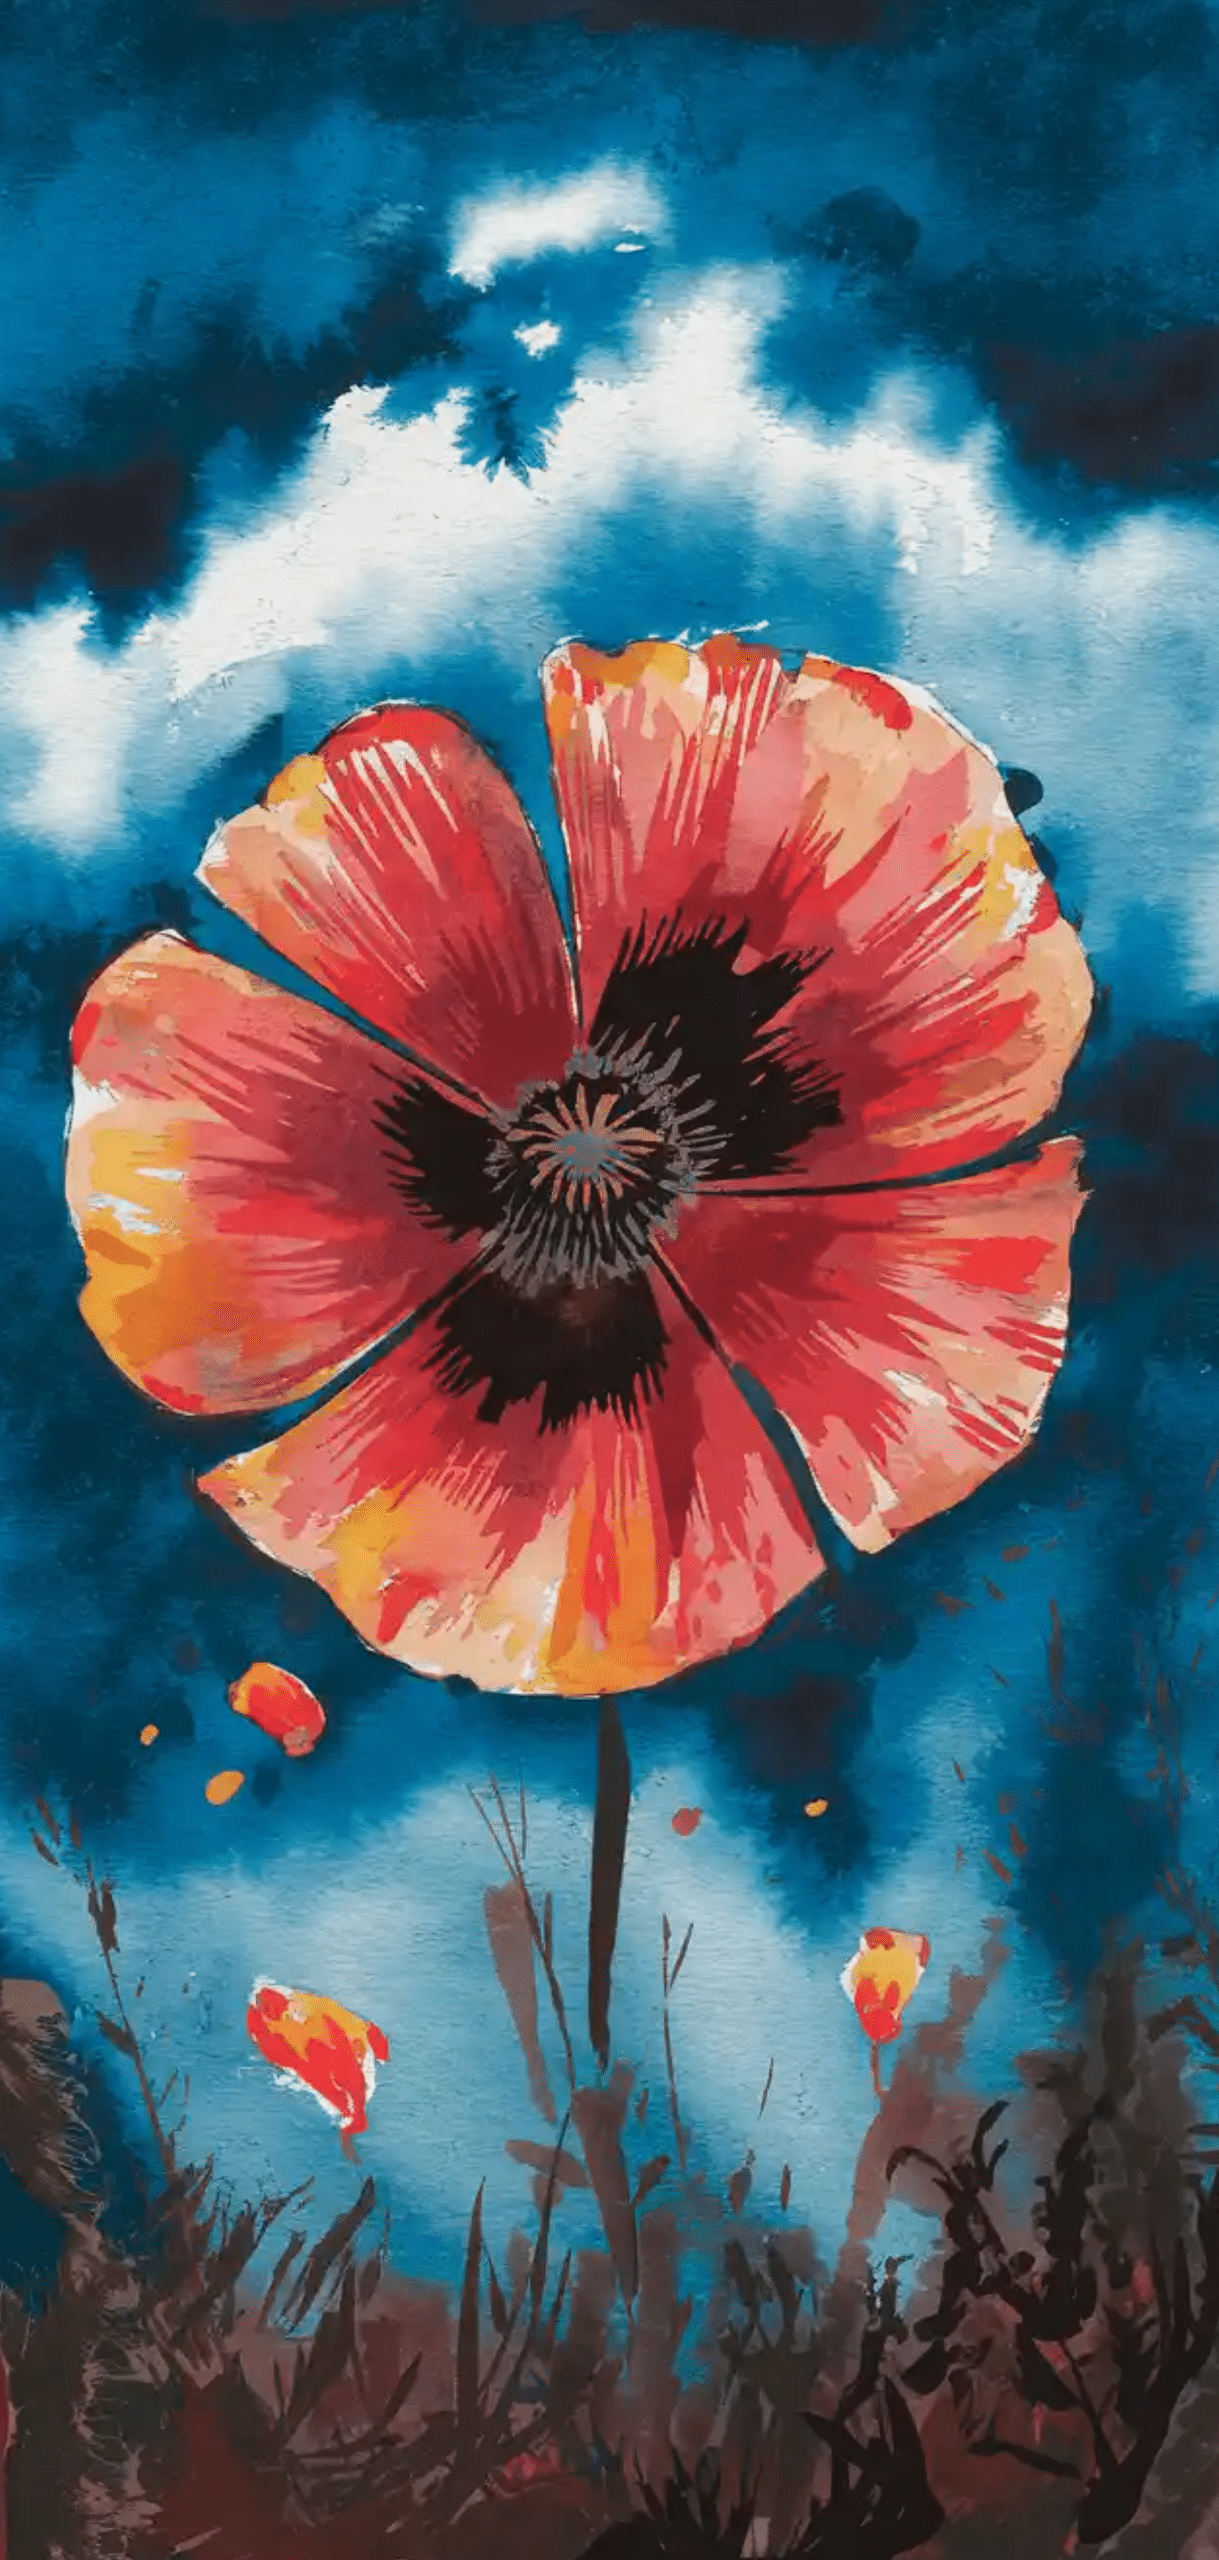
Materials:
- Size 6 and 1 brushes
- Cadmium red, black, sap green
Steps:
- Paint loose red petals with a slight overlap.
- Add a central black dot while the red is still damp.
- Use green to add a stem and bud.
- Enhance petal edges with a darker red.
Watercolor Flowers Tip: Tilt the paper to let black bleed naturally for softness.
8. Cherry Blossoms (Cluster Painting)
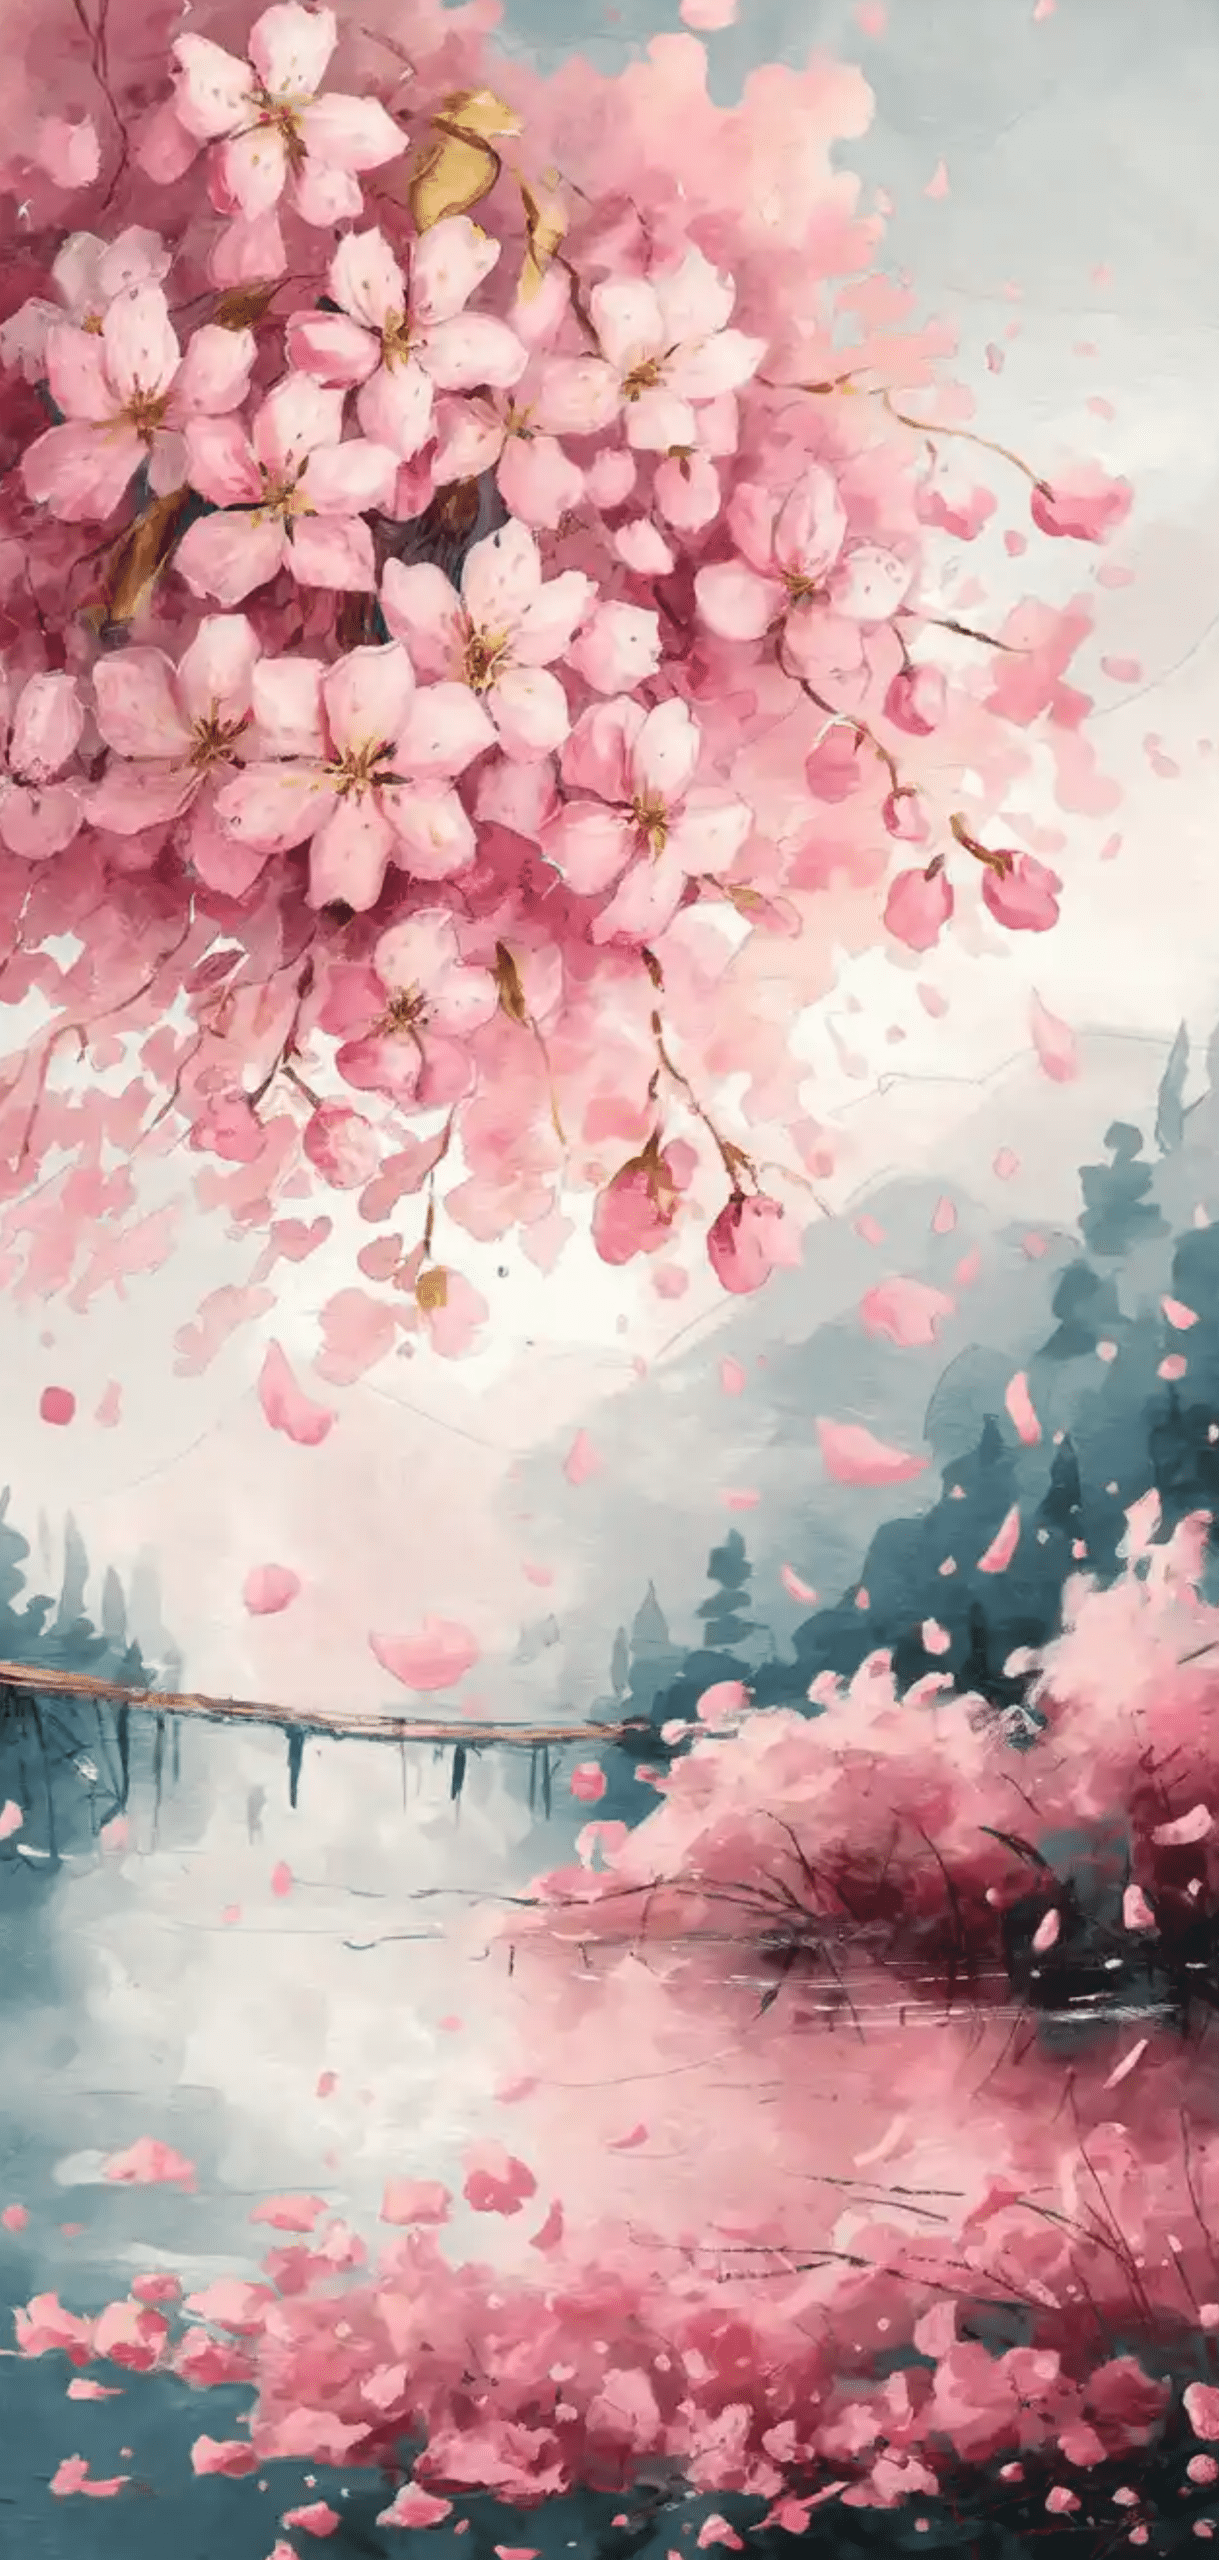
Materials:
- Size 2 brush
- Light pink, brown, and black
Steps:
- Paint several small 5-petal flowers in clusters.
- Use brown to paint thin branches underneath.
- Add dark centers and blend slightly.
- Paint buds with light pink.
Watercolor Flowers Tip: Use masking fluid to preserve negative space.
7. Hydrangeas (Shape Suggestion with Dots)
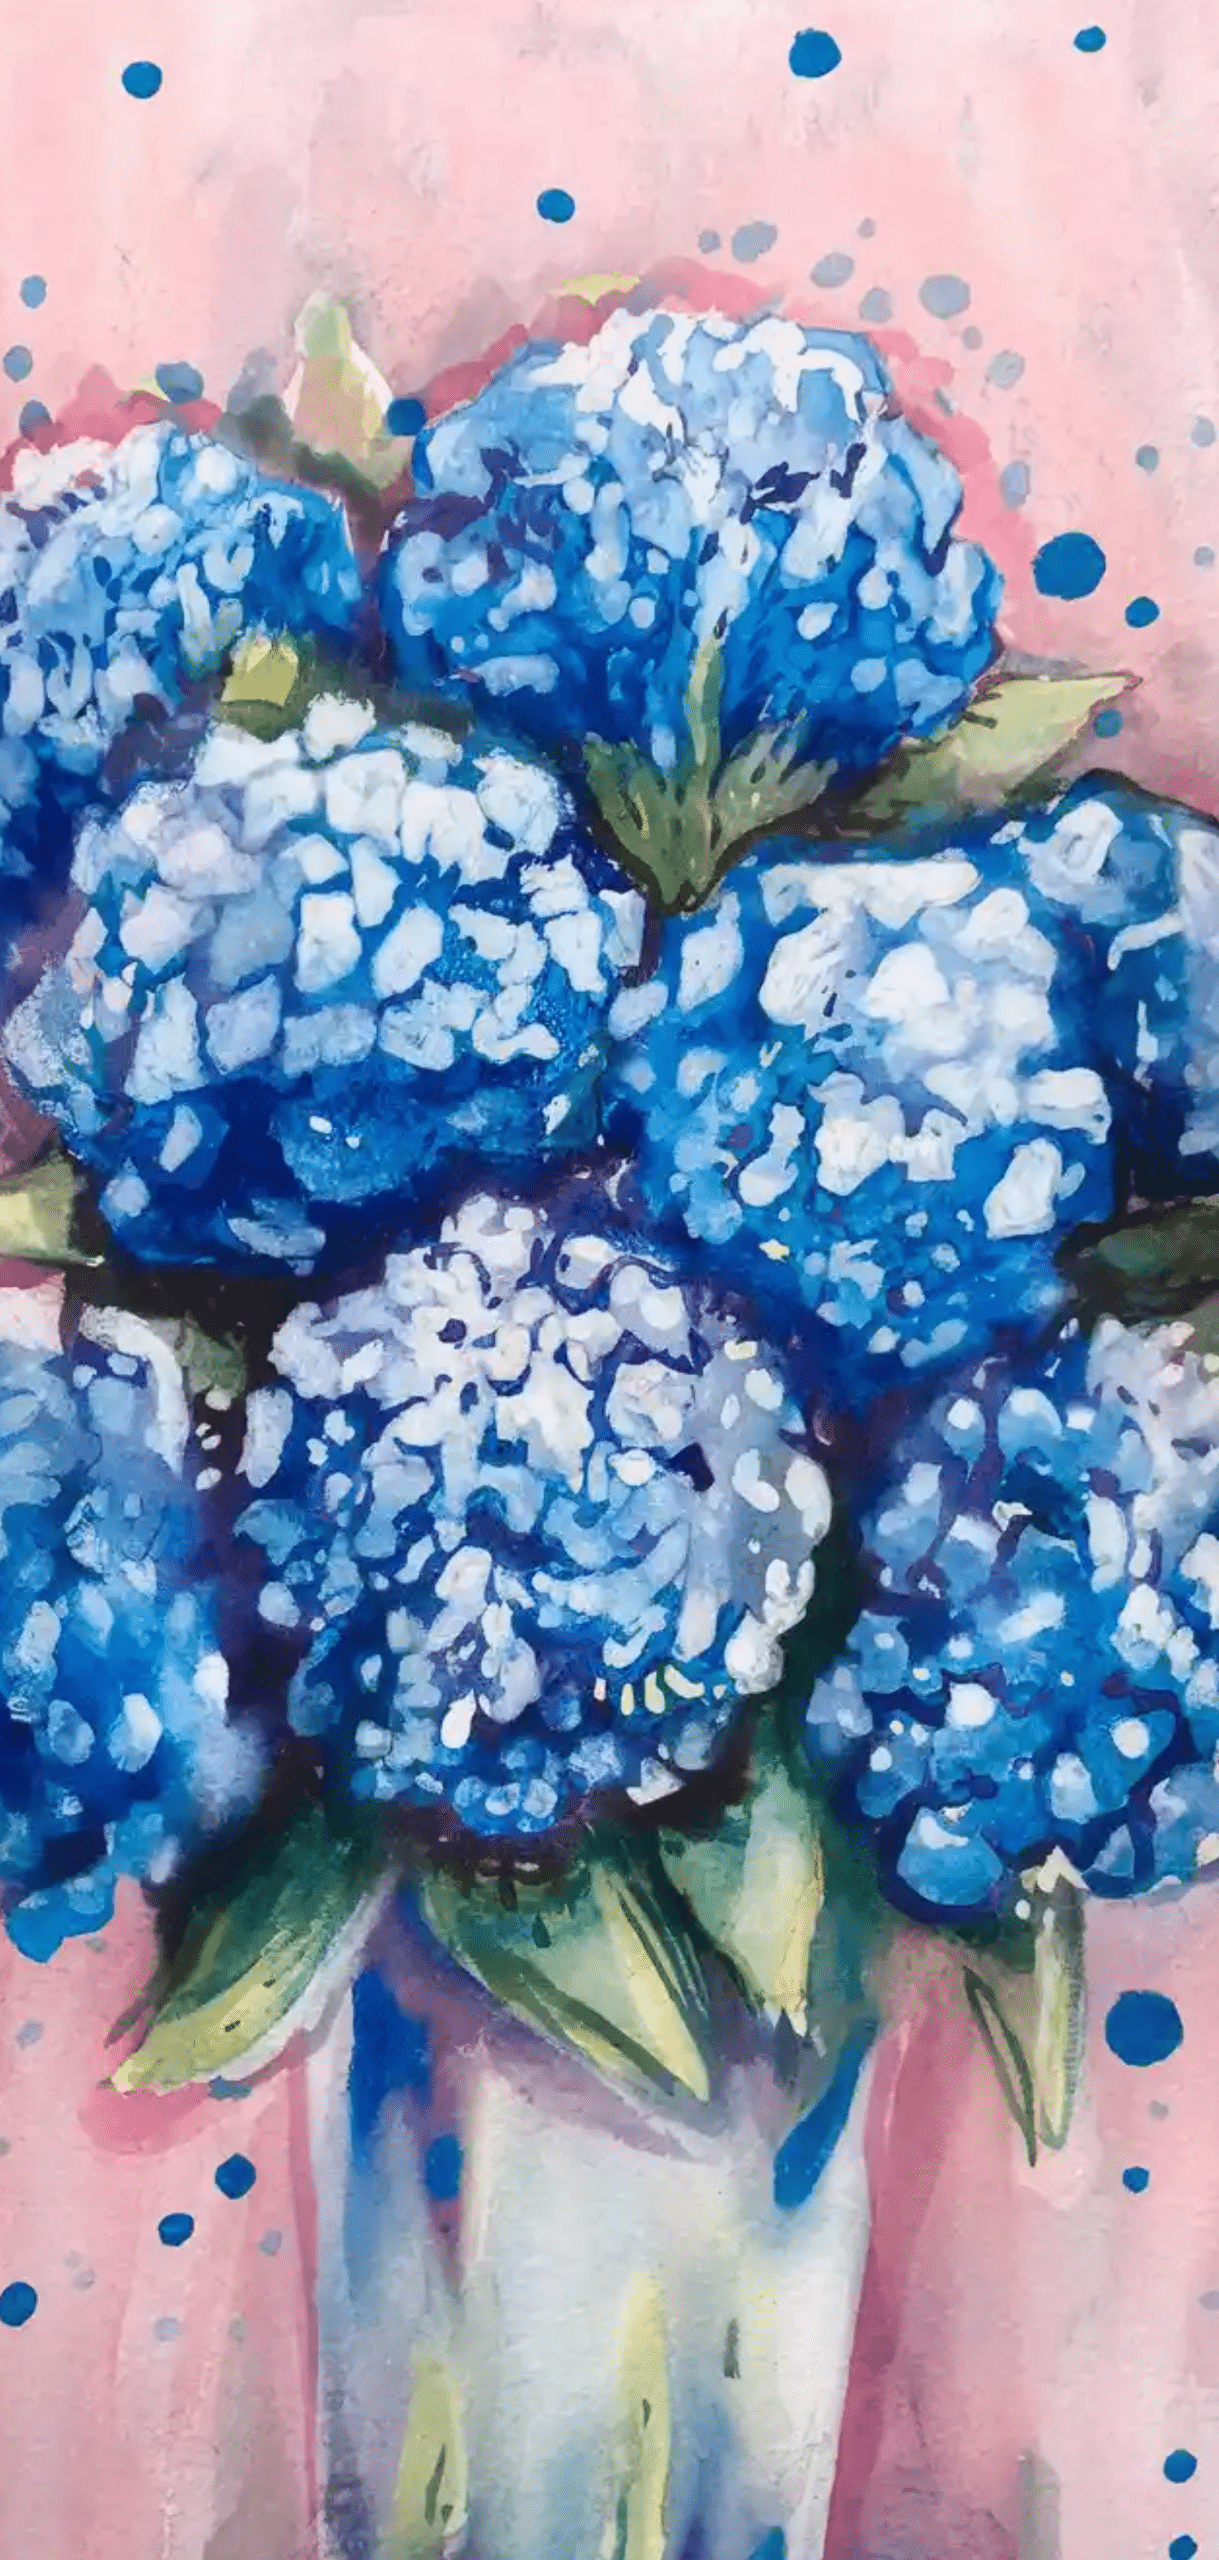
Materials:
- Size 1 and 4 brushes
- Blue, violet, green
Steps:
- Start with a loose ball shape in light blue.
- Dot small four-petal shapes randomly.
- Layer darker shades for depth.
- Add loose green leaves with a large brush.
Watercolor Flowers Tip: Keep the edges soft by using more water than paint.
6. Cosmos Flowers (Two-Tone Petal Gradient)
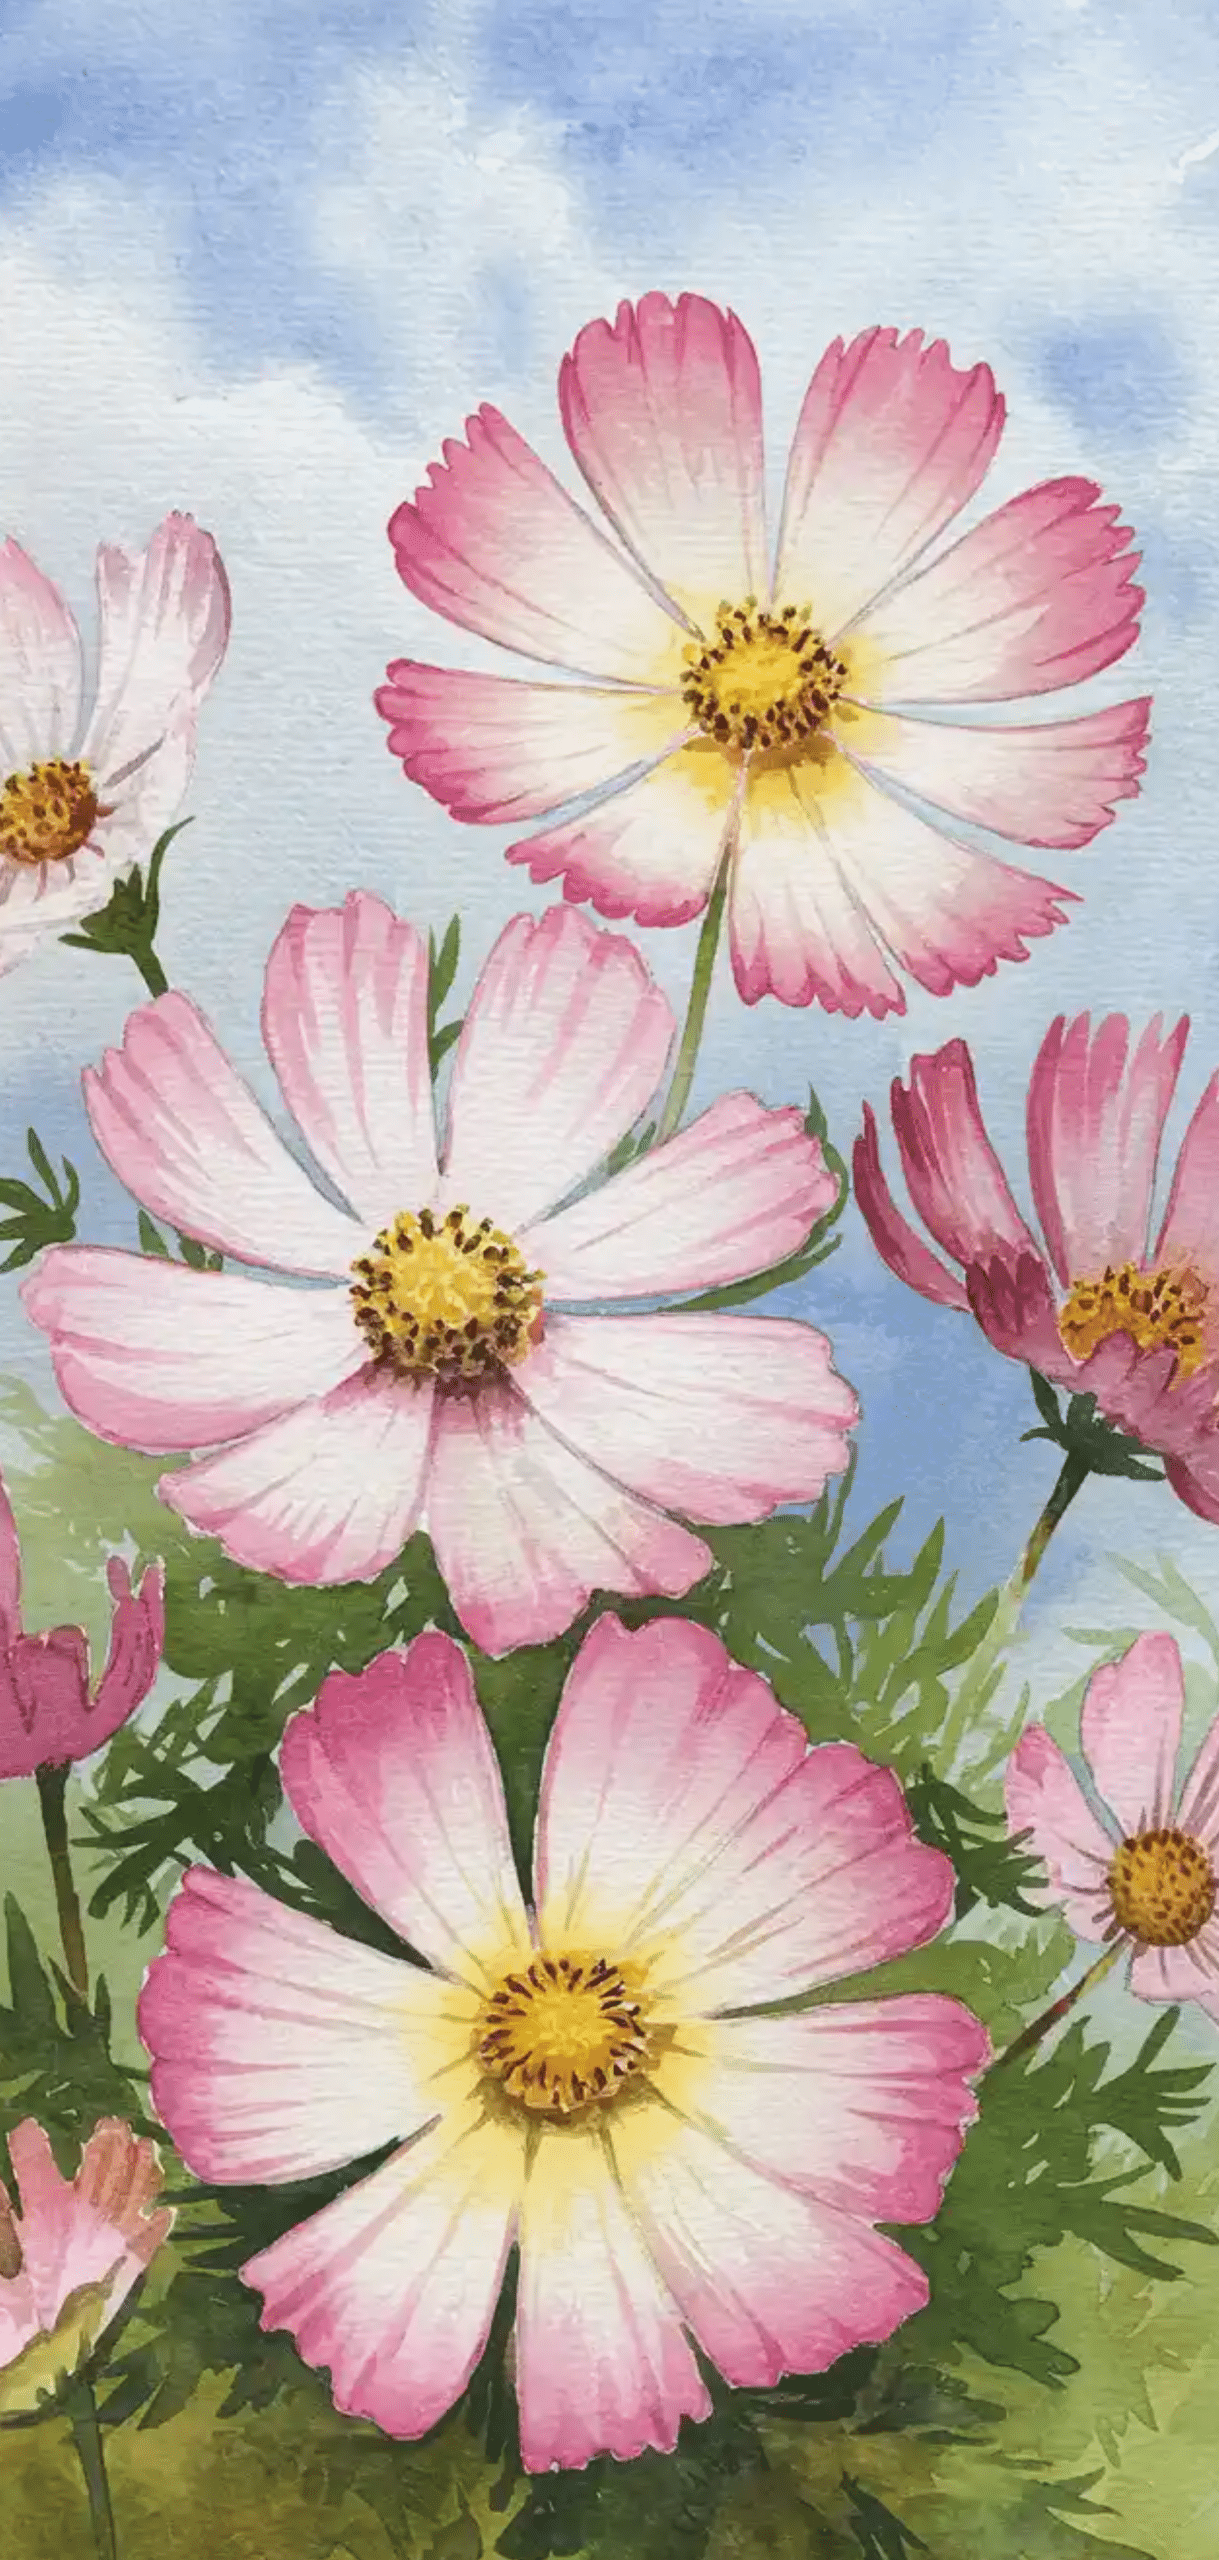
Materials:
- Size 6 brush
- Pink, red, yellow
Steps:
- Paint a circular yellow center.
- Use pink and red to form 8 petals around the center.
- Start from the tip inward for a gradient effect.
- Add soft green stems and fine leaves.
Watercolor Flowers Tip: Layer from light to dark and avoid muddying.
5. Morning Glory (Scroll Petal Formation)
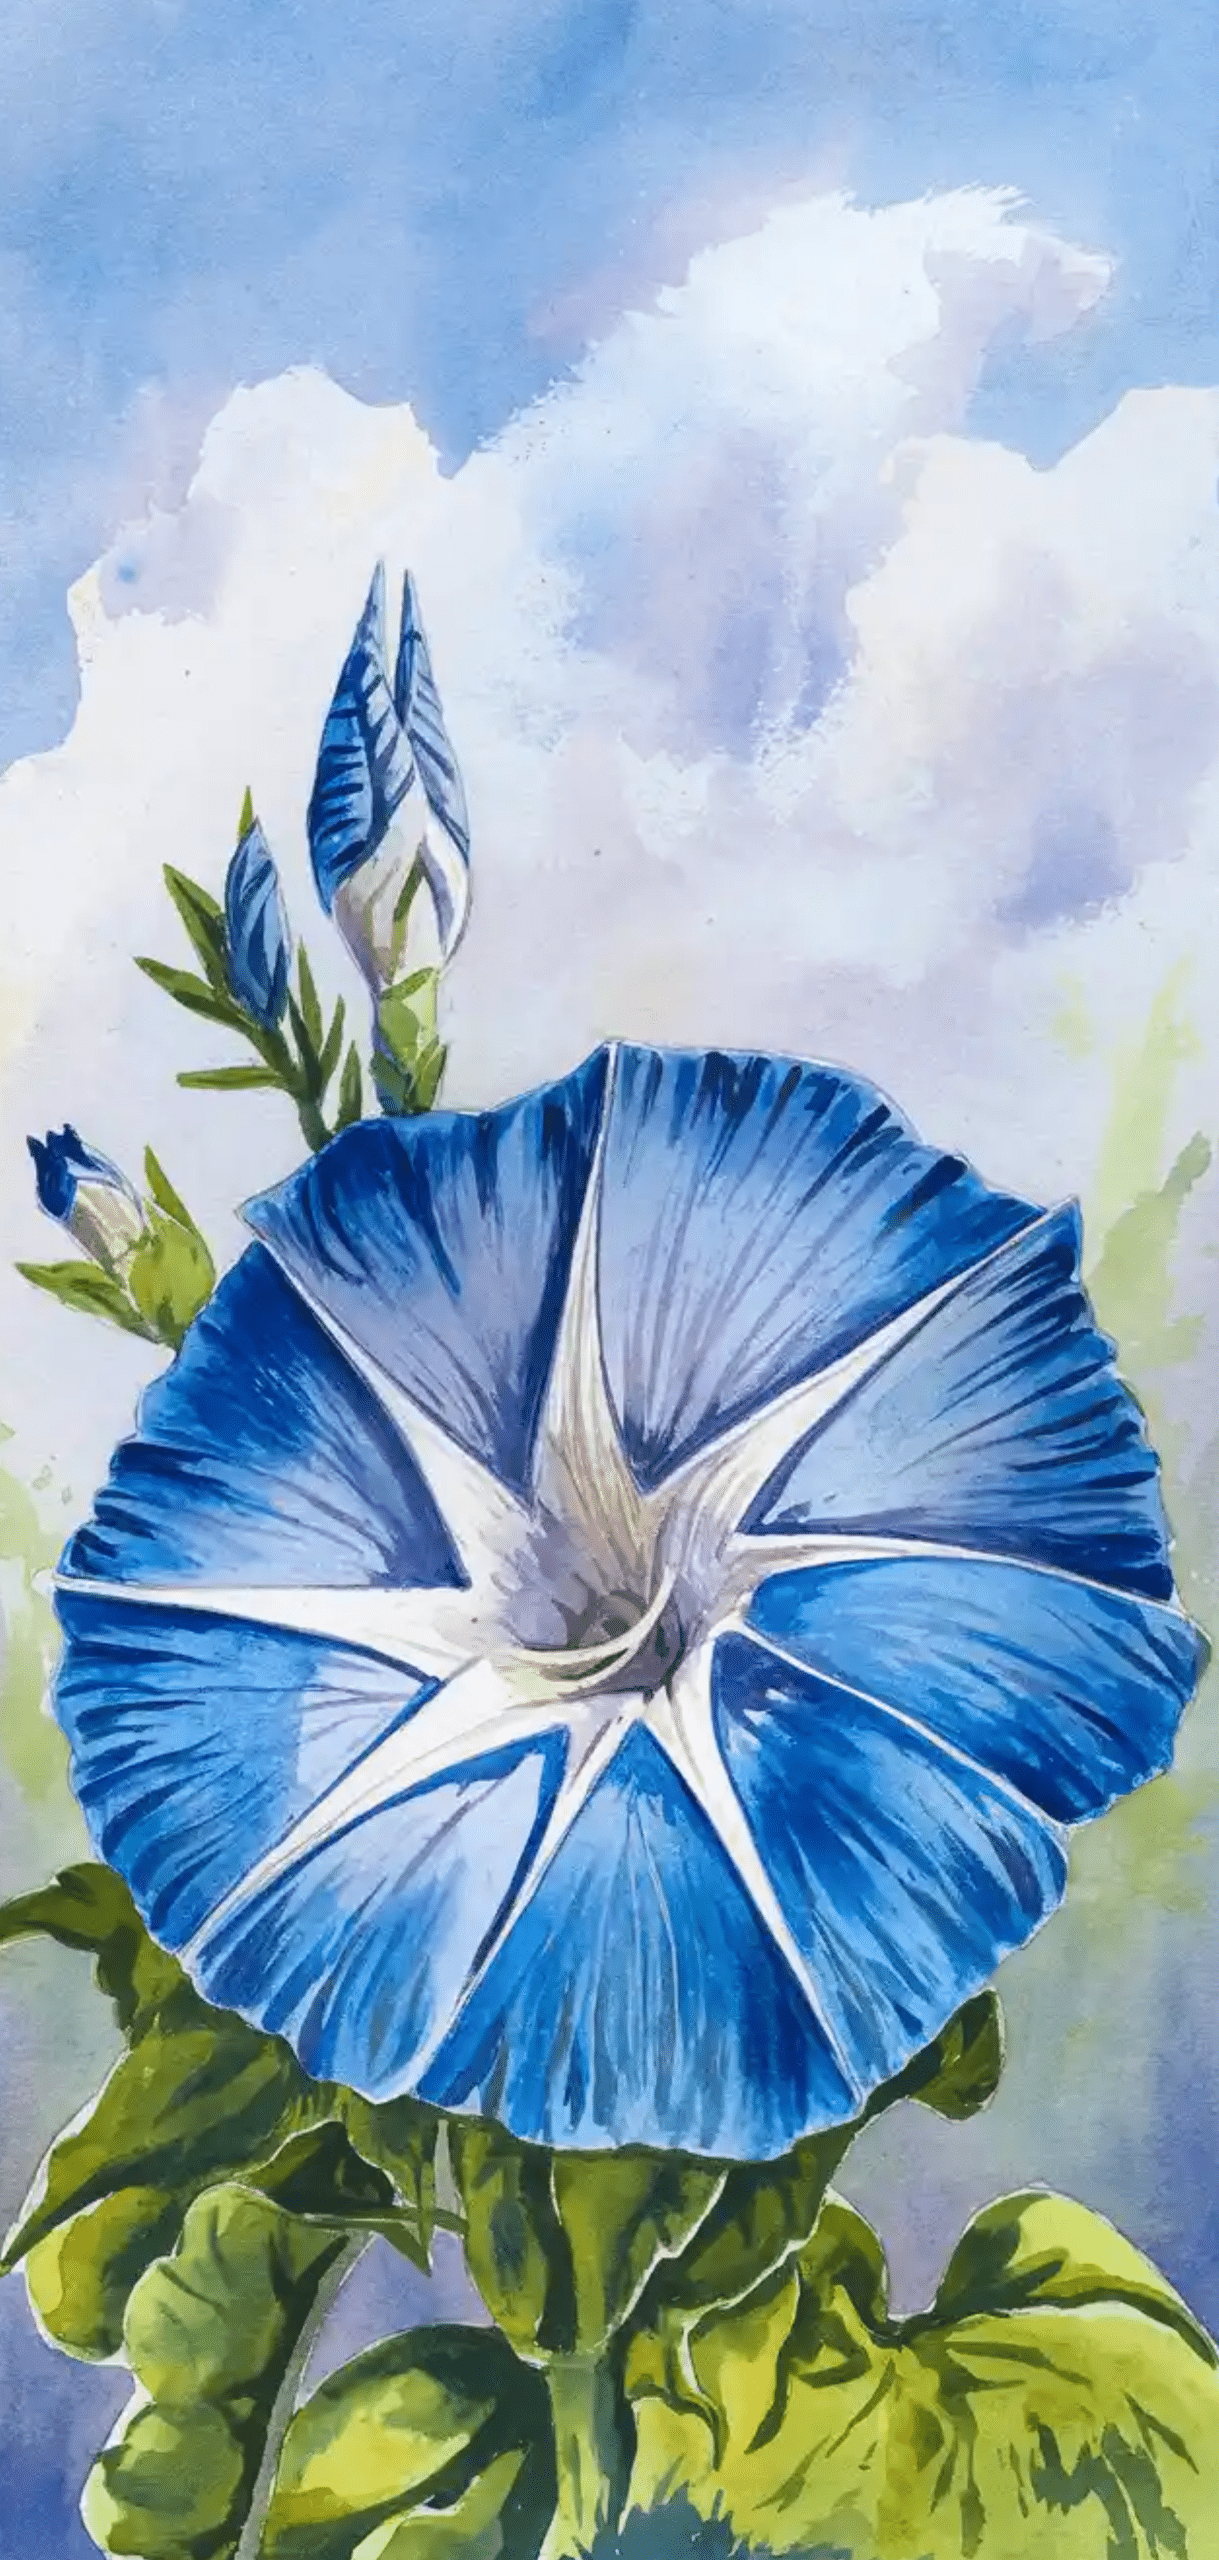
Materials:
- Size 4 brush
- Blue, purple, green
Steps:
- Paint trumpet-shaped blooms in blue.
- Add spiral centers with purple.
- Connect flowers with vine-like stems.
- Add heart-shaped leaves with wet-on-dry technique.
Watercolor Flowers Tip: Use a rigger brush for vines and curling tendrils.
4. Anemone Flower (Focus on Contrast)
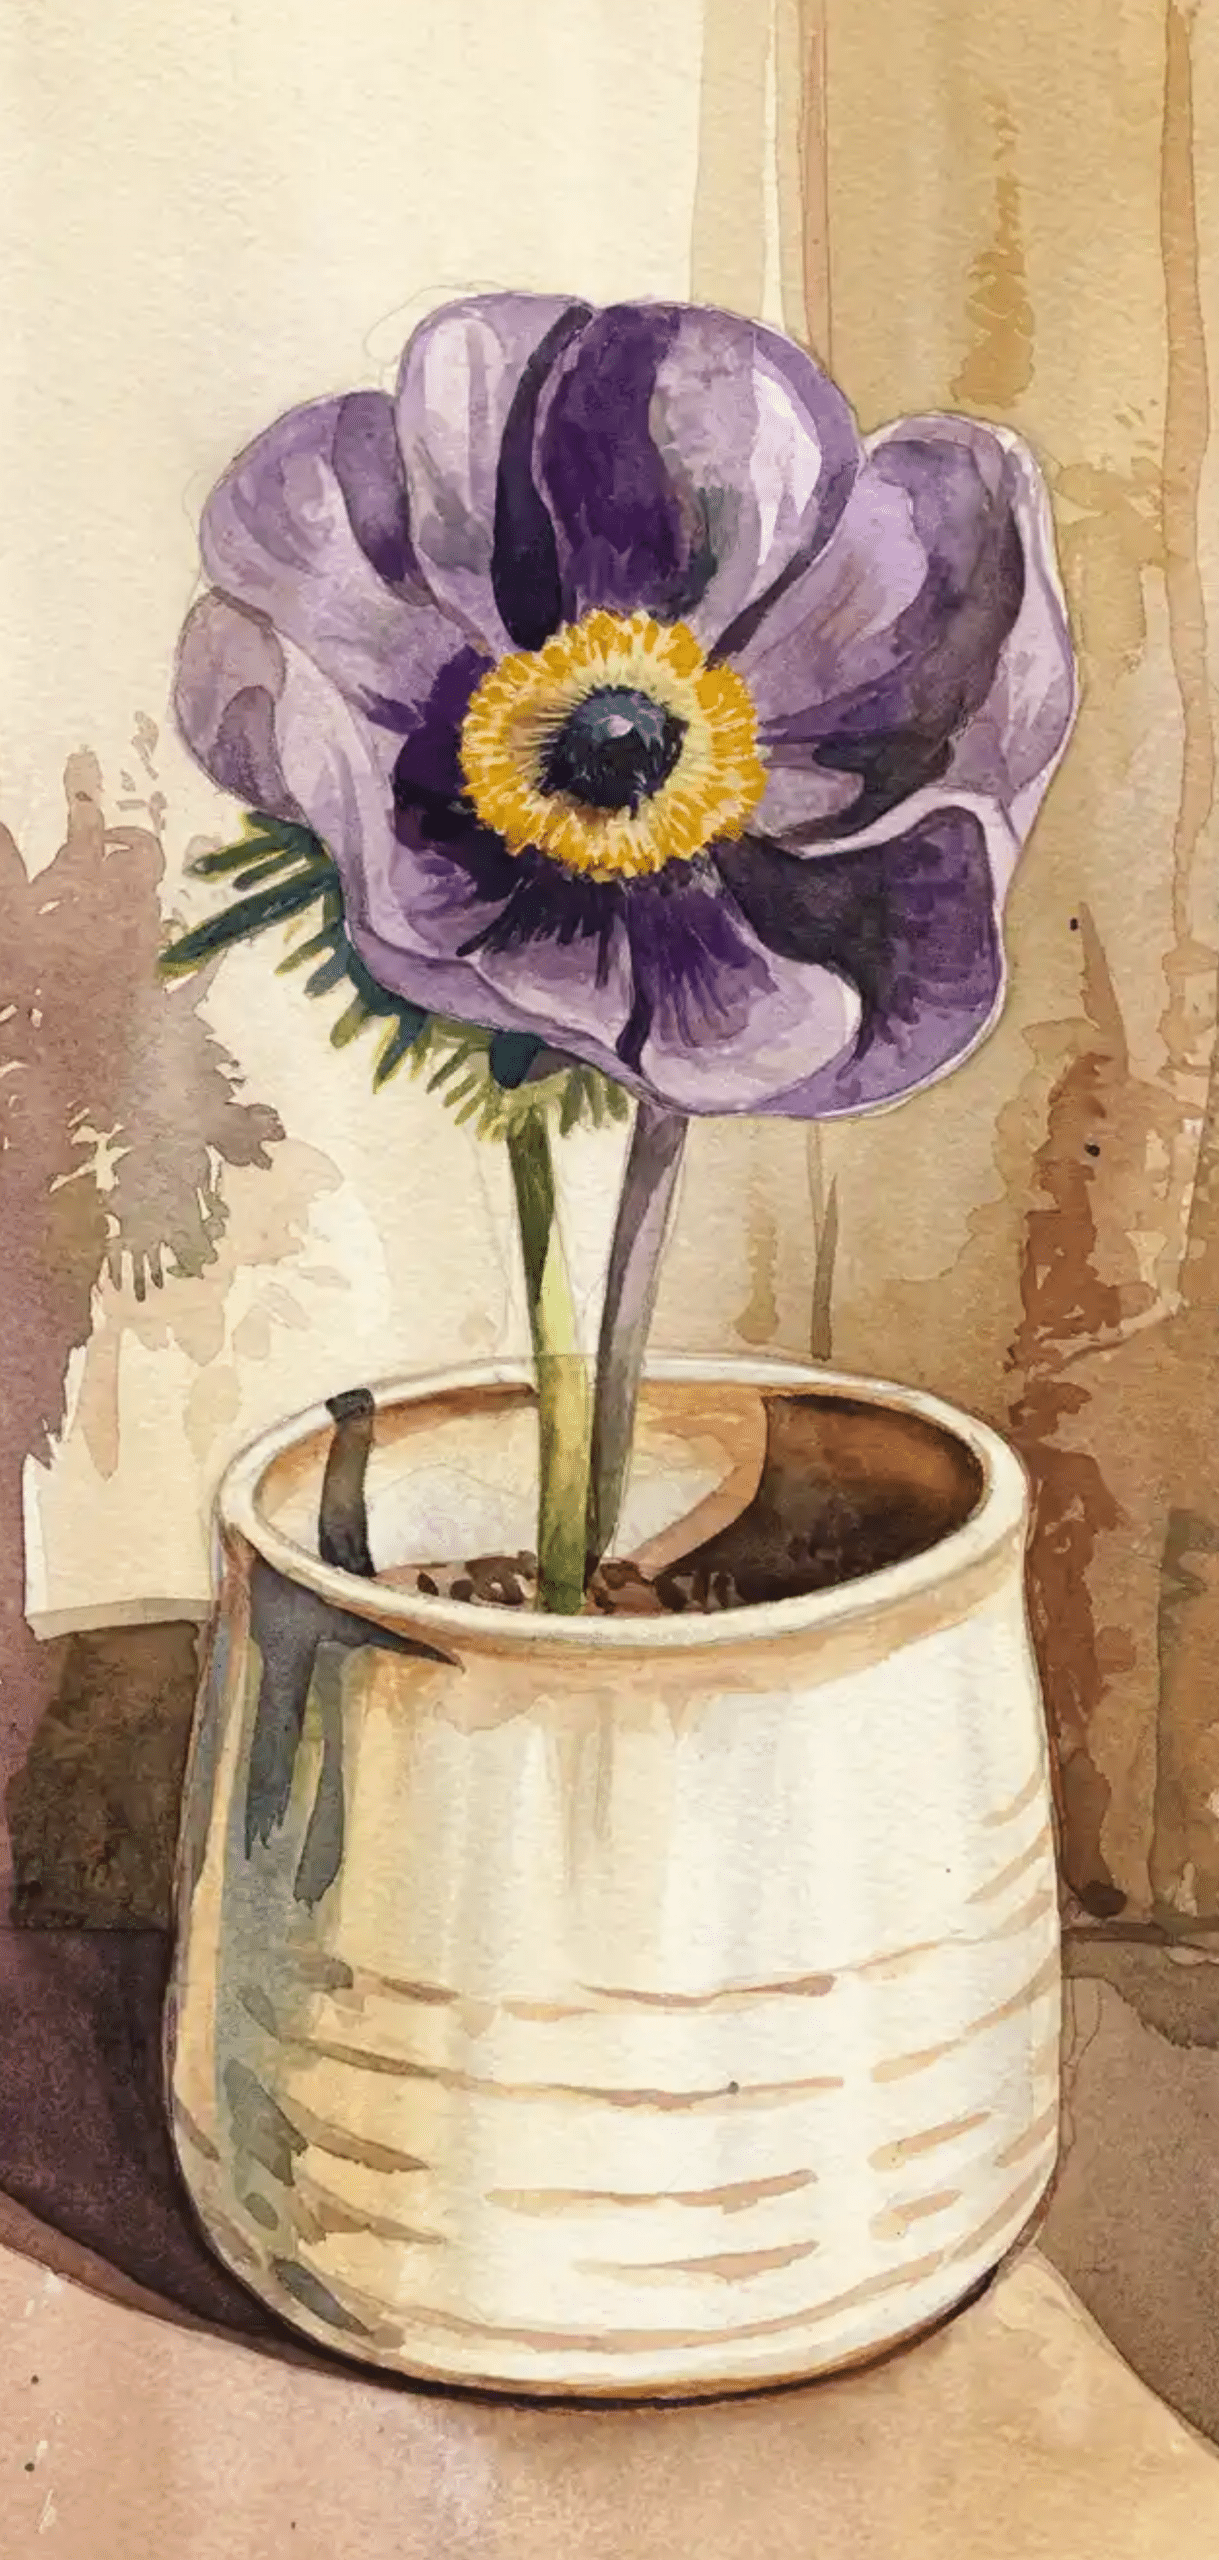
Materials:
- Size 6 brush
- White gouache, navy blue, violet
Steps:
- Paint wide, white petals.
- Use navy blue to form a detailed stamen center.
- Add hints of violet to petal base.
- Define shape with minimal outlines.
Watercolor Flowers Tip: Combine watercolor with gouache for stark white petals.
3. Wildflowers Field (Loose and Expressive)
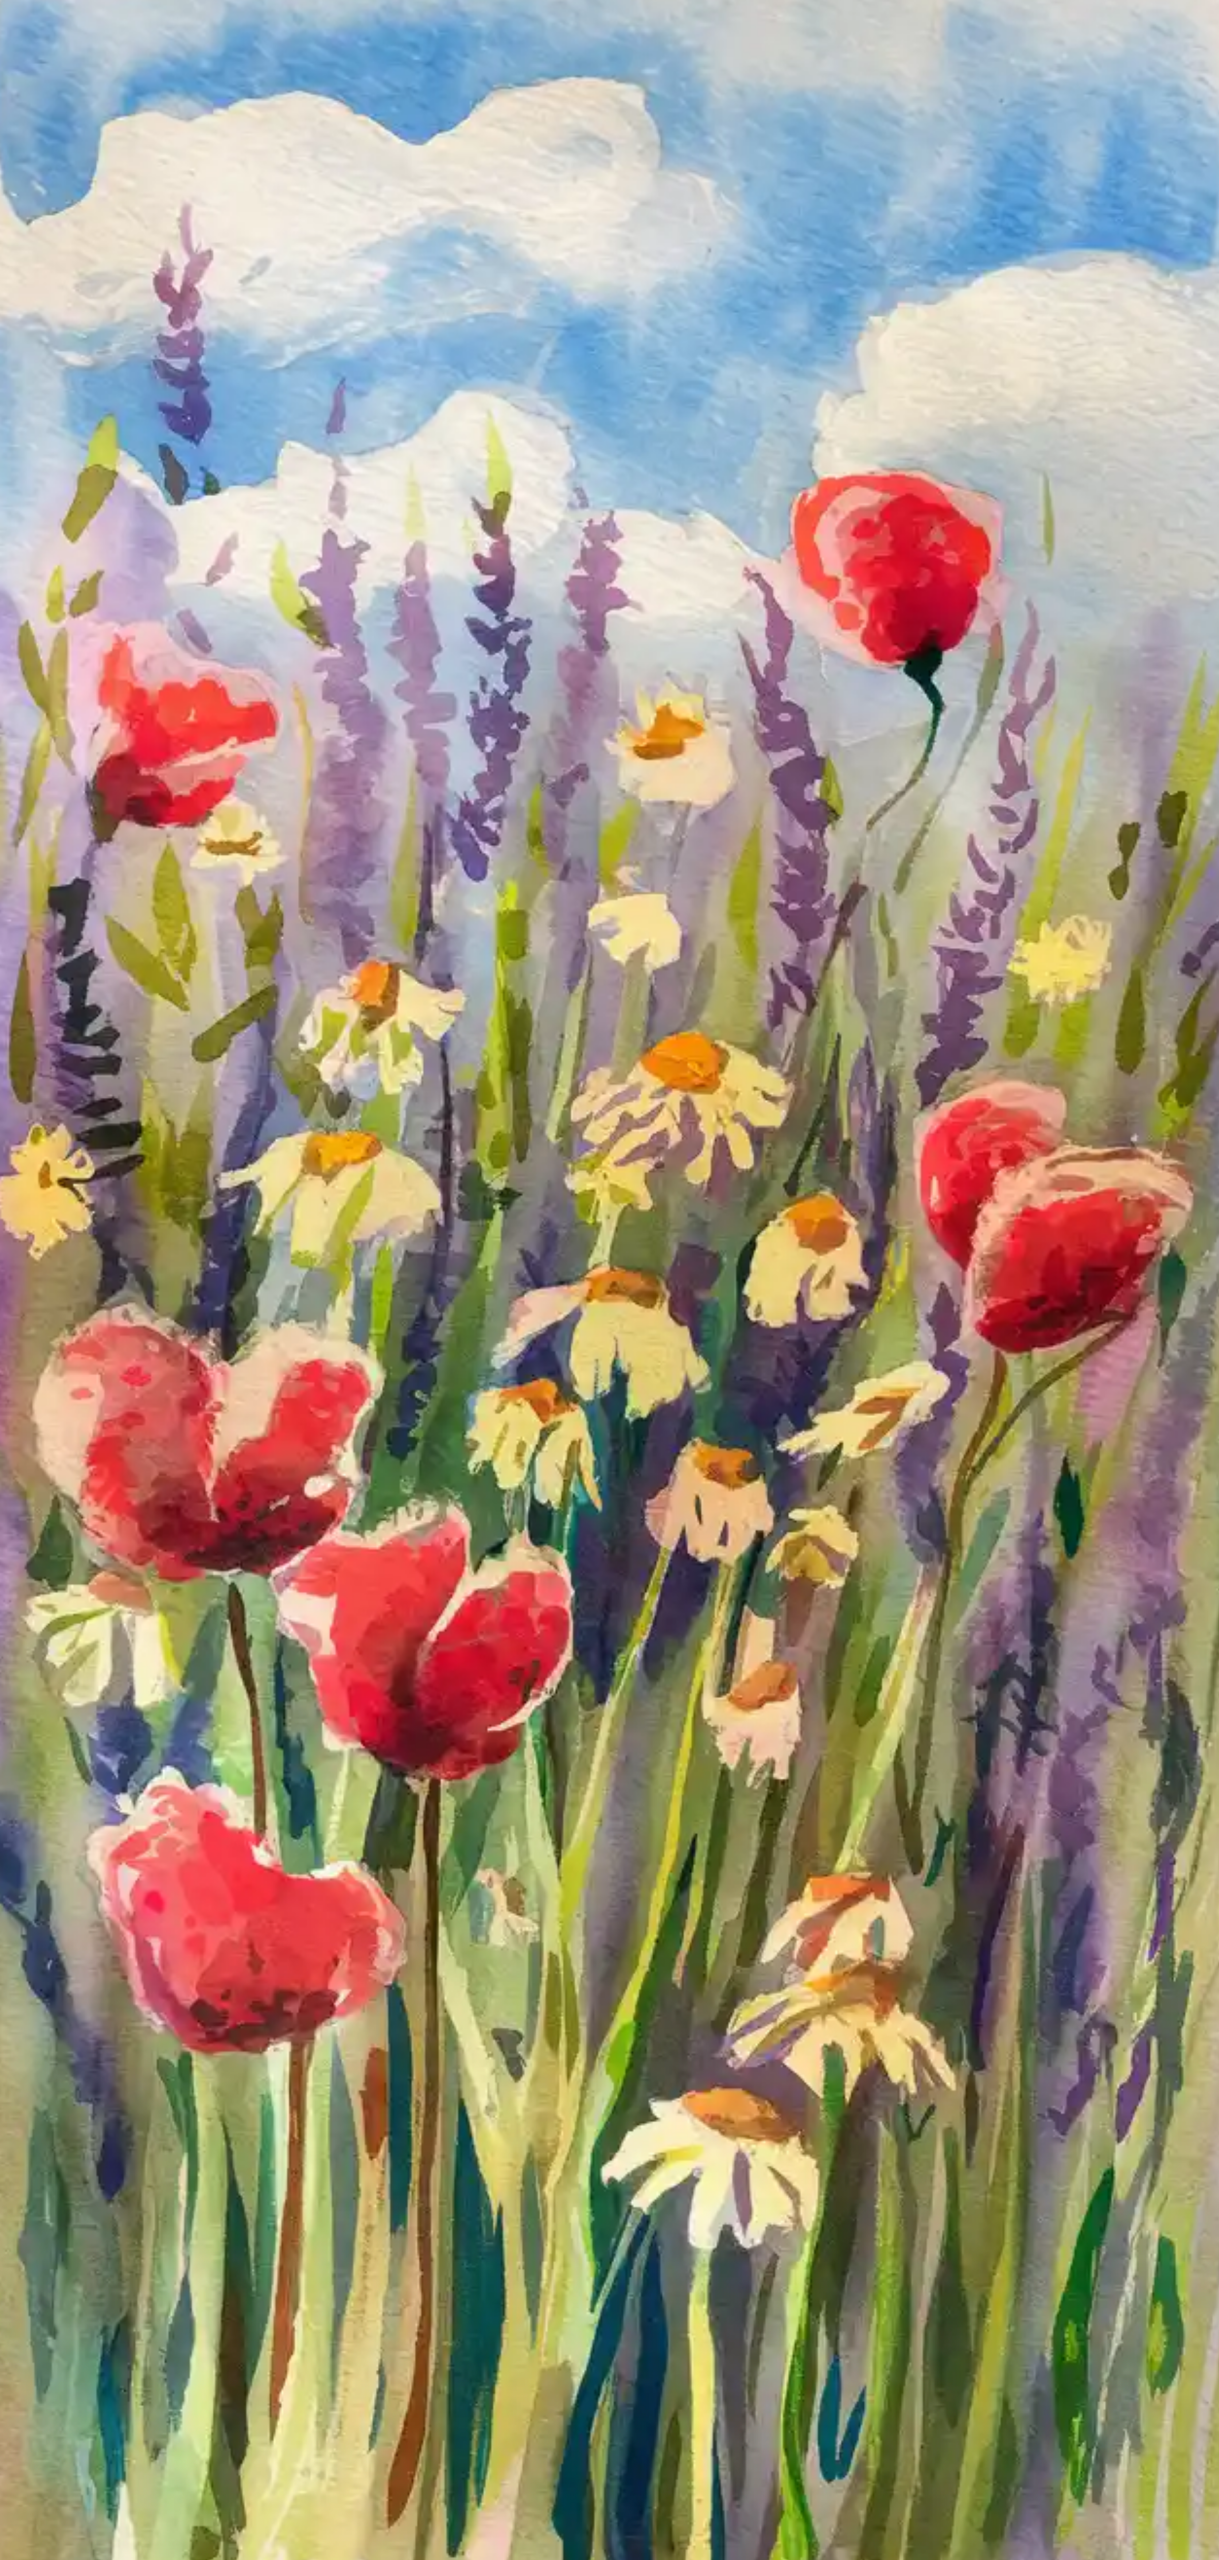
Materials:
- Size 6 mop brush
- Mixed yellows, oranges, purples, greens
Steps:
- Paint horizontal washes of greens for a field base.
- Dot in small floral shapes throughout.
- Add upward flicks for stems.
- Layer with varied colors for depth.
Watercolor Flowers Tip: Work quickly and loosely to retain spontaneity.
2. Camellia (Glazed Wash Technique)
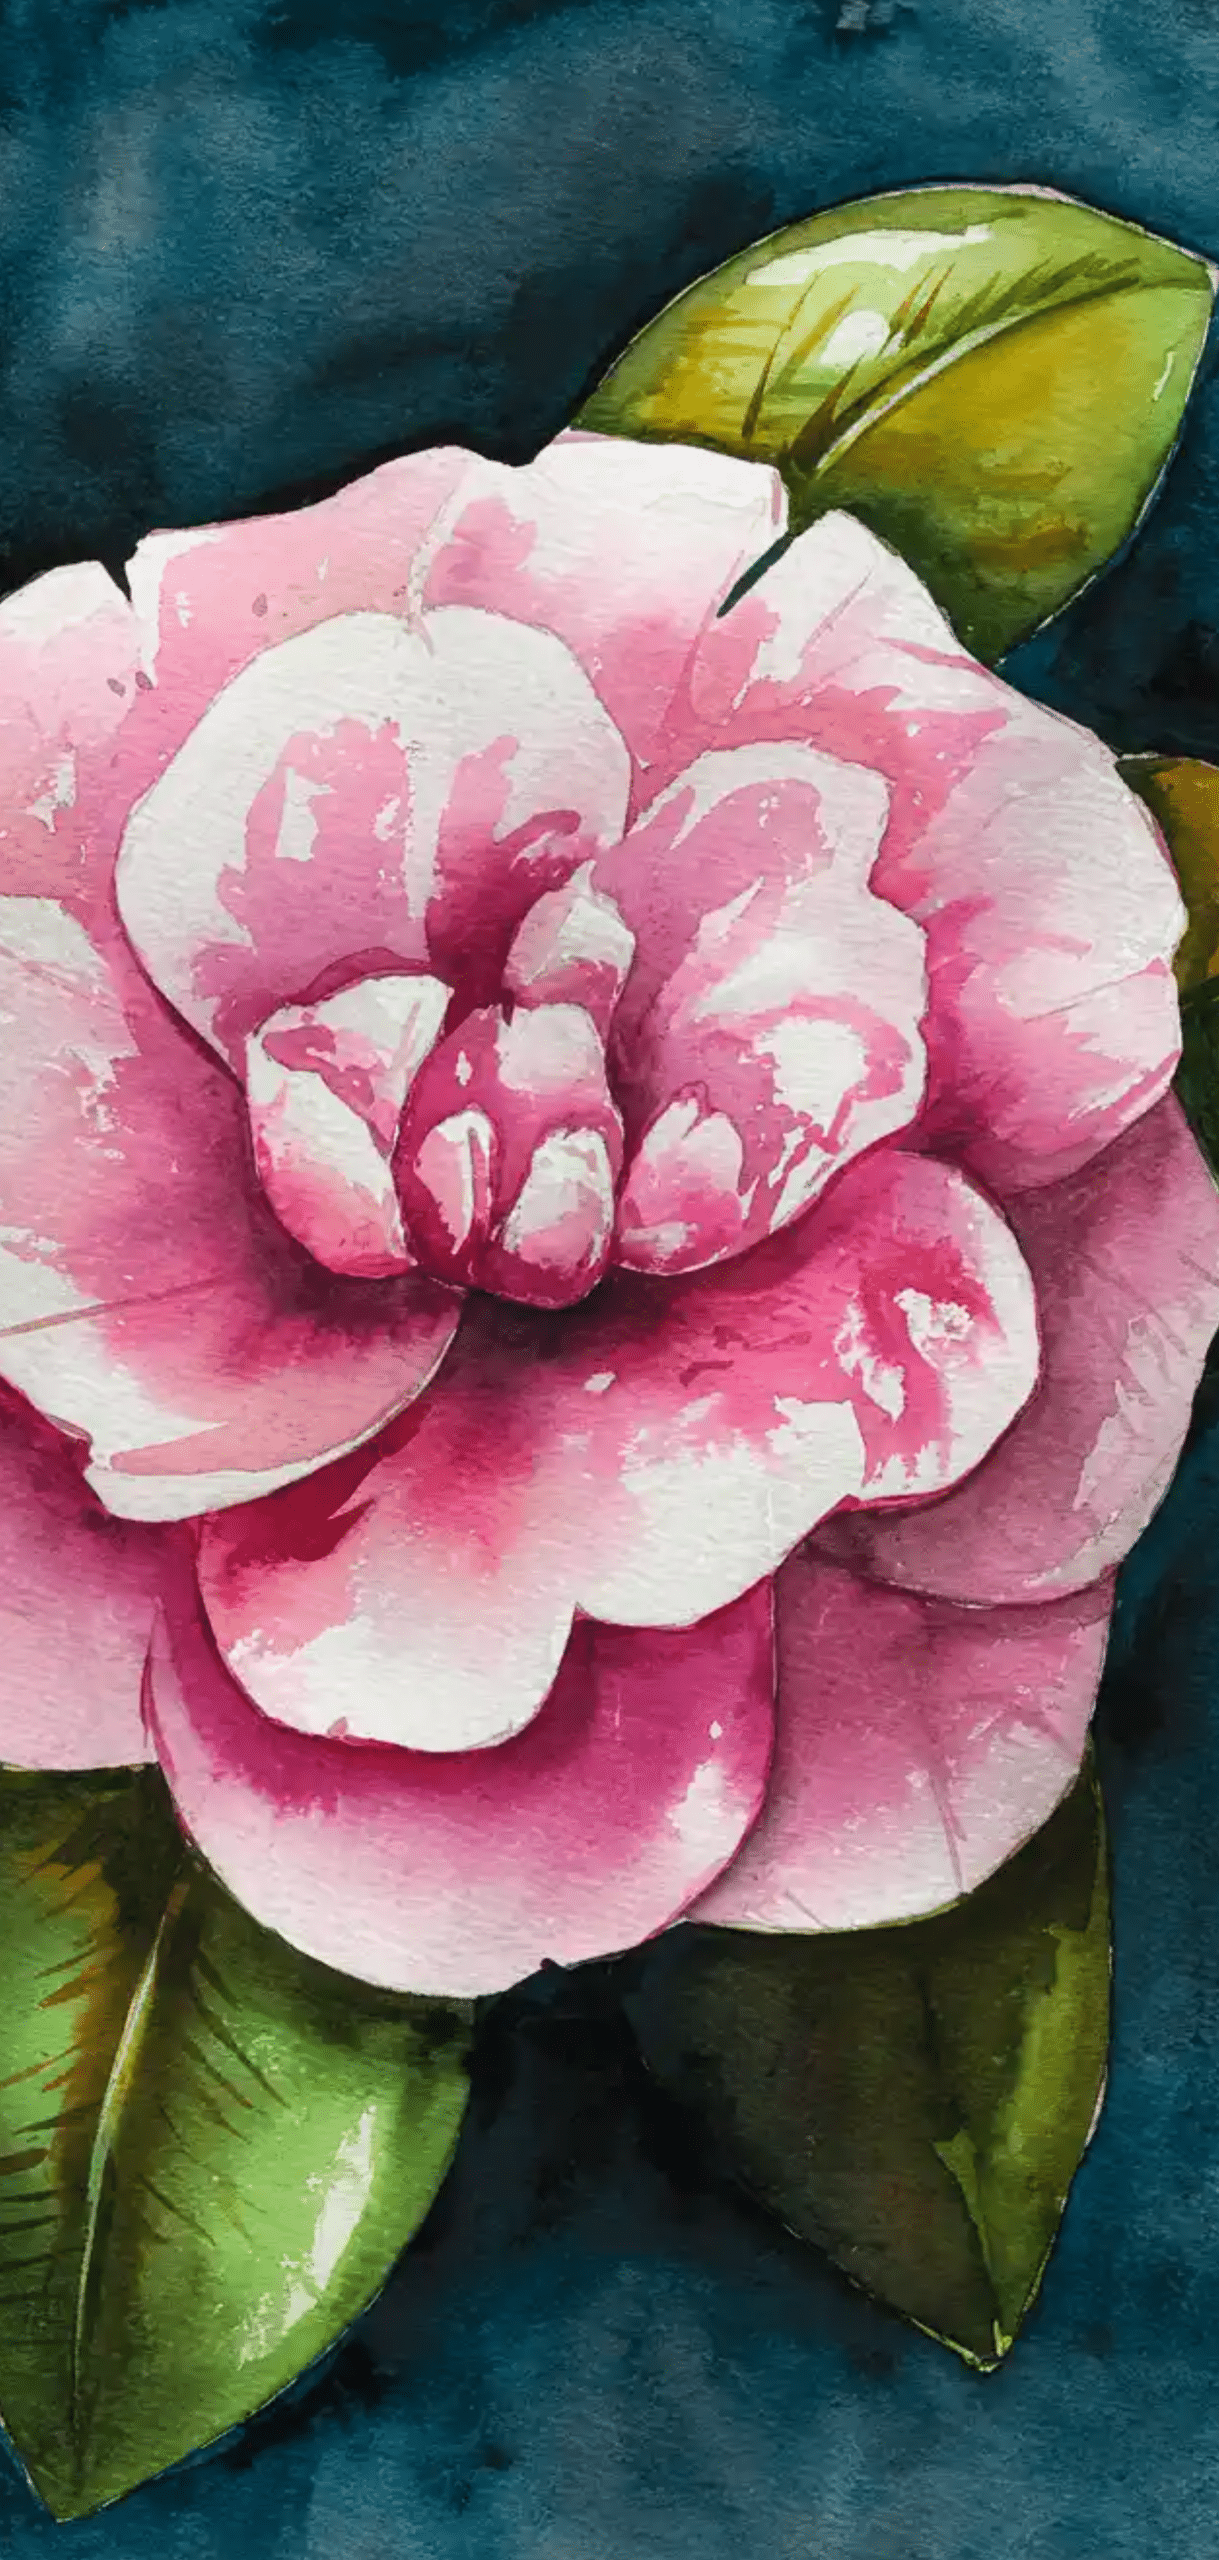
Materials:
- Size 4 brush
- Coral red, light pink, green
Steps:
- Paint the circular base with diluted pink.
- Add curved petals inward from the base.
- Use glazing to build rich color in the middle.
- Paint glossy leaves with deep green.
Watercolor Flowers Tip: Dry each layer fully before glazing again.
1. Freesia (Directional Petal Brushwork)
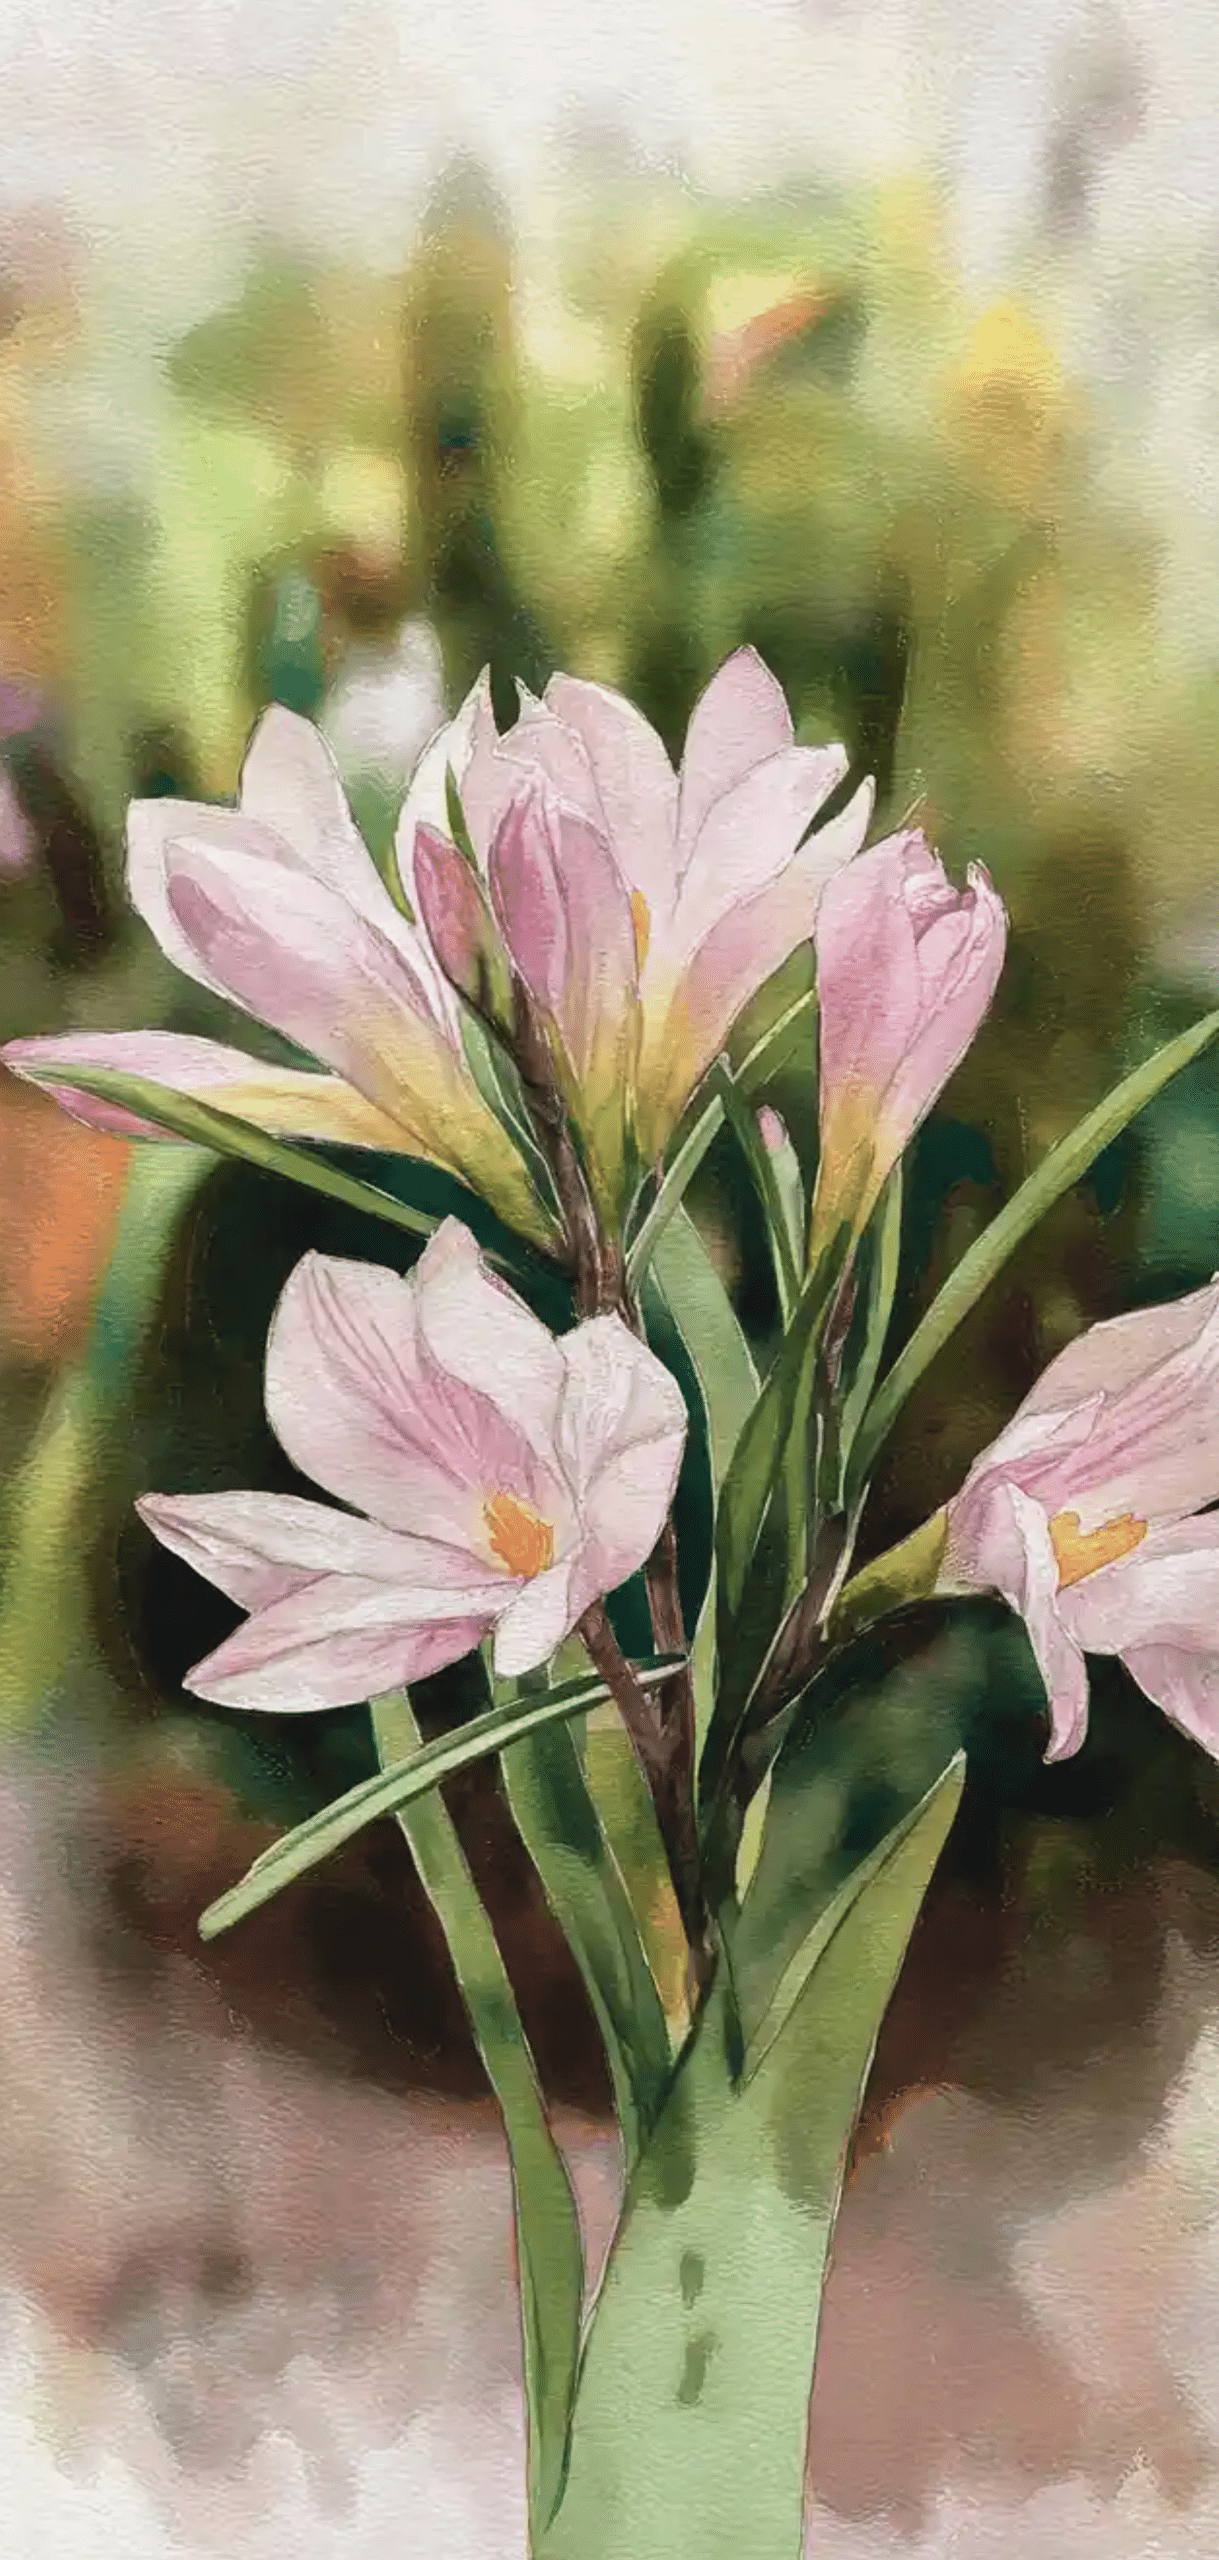
Materials:
- Size 2 and 4 brushes
- Yellow, orange, green
Steps:
- Paint a stalk with attached curved buds.
- Add one petal at a time, moving outward.
- Use yellow for the base and orange for the shadows.
- Connect with fine stems and blade-shaped leaves.
Pro Tip: Angle the brush to form narrow petal ends.
Conclusion
By following these tutorials and techniques, you’ll not only build foundational watercolor skills but also create a flourishing portfolio of stunning floral artwork.
Enjoyed this post?
Share the love with another mom!
Every share helps this little blog grow — thank you so much