Make sure to join my list for Weekly Tips and Recipes to Your Inbox
16 Perfect DIY Balloon Garland Ideas
A little note: Some images in this post may come from third-party sources and are shared purely to inspire you. All credit goes to their original creators. Visit our Image Credits Policy for more information.
I’ll be honest, my first attempt at making a balloon garland was a total mess. I thought it would be one of those quick DIY projects you knock out in an hour before guests arrive. But soon enough, I found myself tangled in balloons, glue dots stuck to my arms, and a floor covered with deflated pastel spheres.
I remember thinking, “How hard can it be?” Well, the truth is, balloon garlands take time, patience, and a few tricks that no one tells you until you’ve popped a dozen balloons and lost all feeling in your fingers.
I mention this because if you’ve ever felt that same frustration, you’re not alone. I’ve been there. And after a few trial-and-error attempts, I finally found the perfect way to create a stunning balloon garland that looks like a professional decorator did it.
Oh, and by the way, if you’re also into decorating ideas, I recently shared an article about 16 Inspiring Wall Panel Headboard Ideas that you might love.
When I was planning my daughter’s pastel rainbow birthday party, I decided to give the balloon garland another try, but this time, I came prepared.
I got myself a small electric balloon pump, a balloon-tying tool (the real MVP of the day), and an Amazon kit with different-sized balloons. I followed a tip from an online forum: tie two balloons together first, then twist clusters of three pairs (that’s six balloons total) before connecting them with long, uninflated animal balloons.
It sounded strange, but the result was magical. The garland looked lush, full, and organic, not sparse like my first attempt with those flimsy plastic strips. My fingers still ached by the end, but I was smiling this time. The whole thing took about two hours with my mom helping out, and we even had fun in the process.
The next day, when the guests arrived, the balloon garland was still holding perfectly bright, glossy, and picture-perfect. Everyone asked who I hired to do it! I laughed and told them, “Just me and a $20 kit.”
The best part? No helium needed, and it lasted for nearly a week. I learned that the secret to a great garland isn’t fancy equipment or expensive materials, it’s technique, patience, and a bit of creativity.
So, if you’re planning a birthday, shower, or celebration and you’re on the fence about making your own balloon garland, do it. Start early, take your time, and let the process surprise you. What began as my biggest party-planning headache turned into one of my favorite DIY memories.
What We're Exploring
- 01 16. Classic Ombre Balloon Garland
- 02 15. Rainbow Fiesta
- 03 14. Pastel Dream Garland
- 04 13. Metallic Elegance
- 05 12. Floral Balloon Garland
- 06 11. Confetti Burst
- 07 10. Tropical Vibes
- 08 9. Monochrome Chic
- 09 8. Black and White Statement
- 10 7. Birthday Blast
- 11 6. Winter Wonderland
- 12 5. Sunset Gradient
- 13 4. Garden Party Garland
- 14 3. Candyland Theme
- 15 2. Rustic Charm
- 16 1. Statement Ceiling Garland
- 17 Conclusion
16. Classic Ombre Balloon Garland
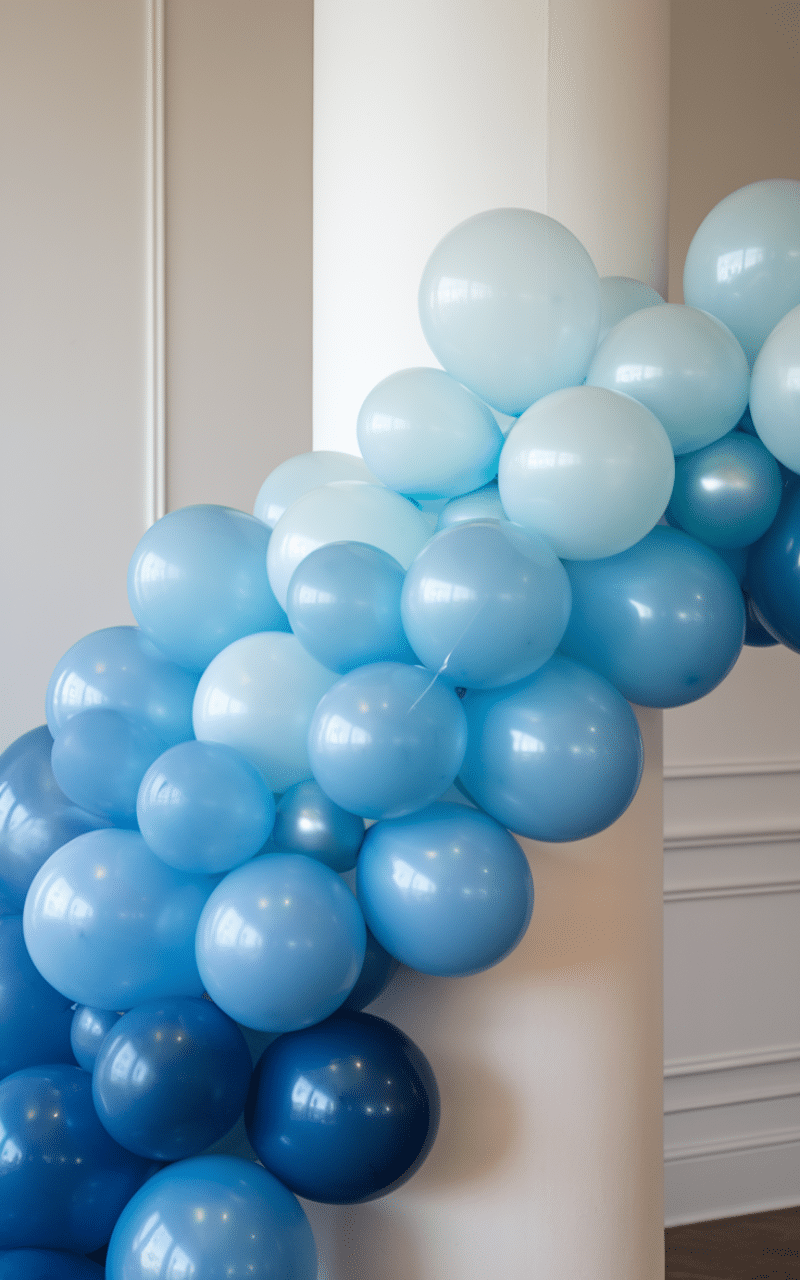
Blend balloons from light to dark shades of one color for an elegant ombre effect.
DIY Balloon Garland Tip: Use a balloon tape strip to keep balloons in place and ensure smooth transitions between shades.
15. Rainbow Fiesta
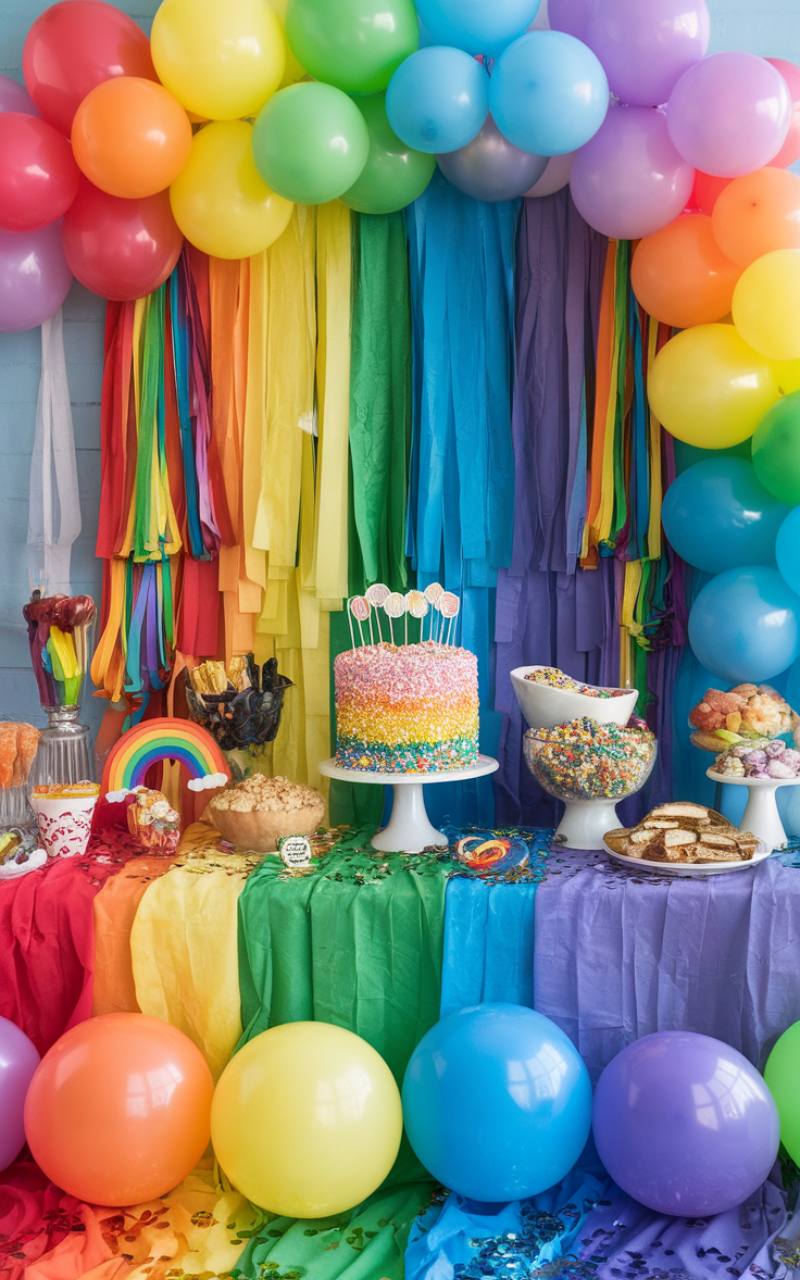
Incorporate all colors of the rainbow for a lively, cheerful backdrop.
DIY Balloon Garland Tip: Mix matte and metallic balloons for depth and dimension.
14. Pastel Dream Garland
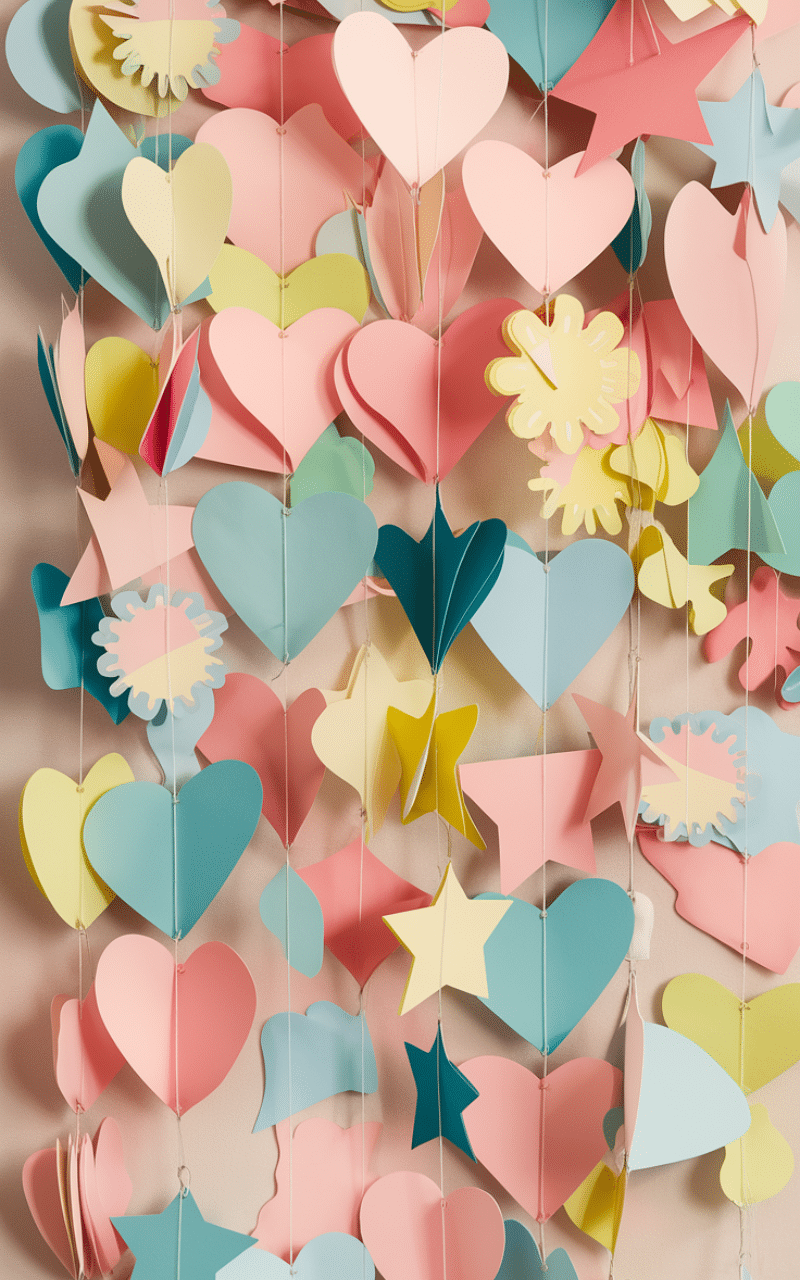
Use soft pastel tones for baby showers or spring celebrations.
DIY Balloon Garland Tip: Add small greenery sprigs between balloons for a natural, whimsical touch.
13. Metallic Elegance
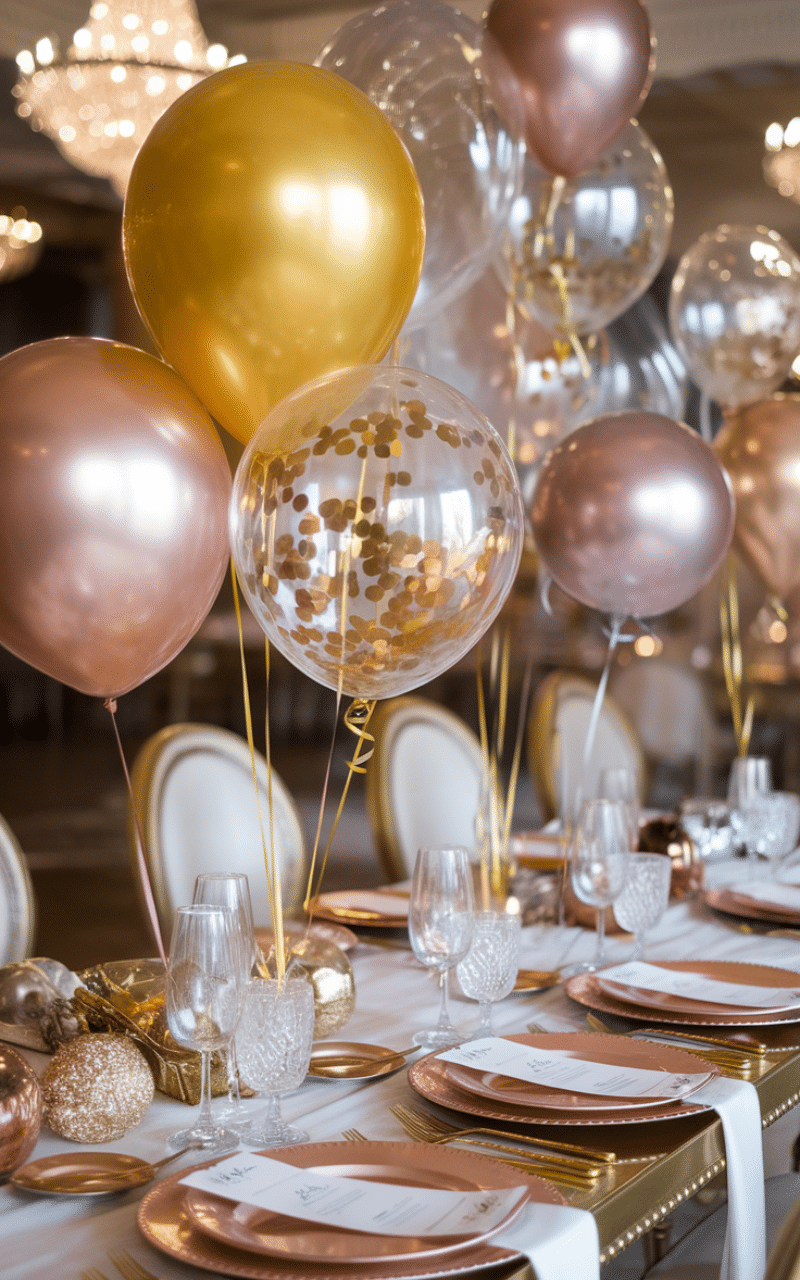
Combine gold, silver, and rose gold balloons for a luxurious event.
DIY Balloon Garland Tip: Use different balloon sizes to create visual interest and avoid a flat look.
12. Floral Balloon Garland
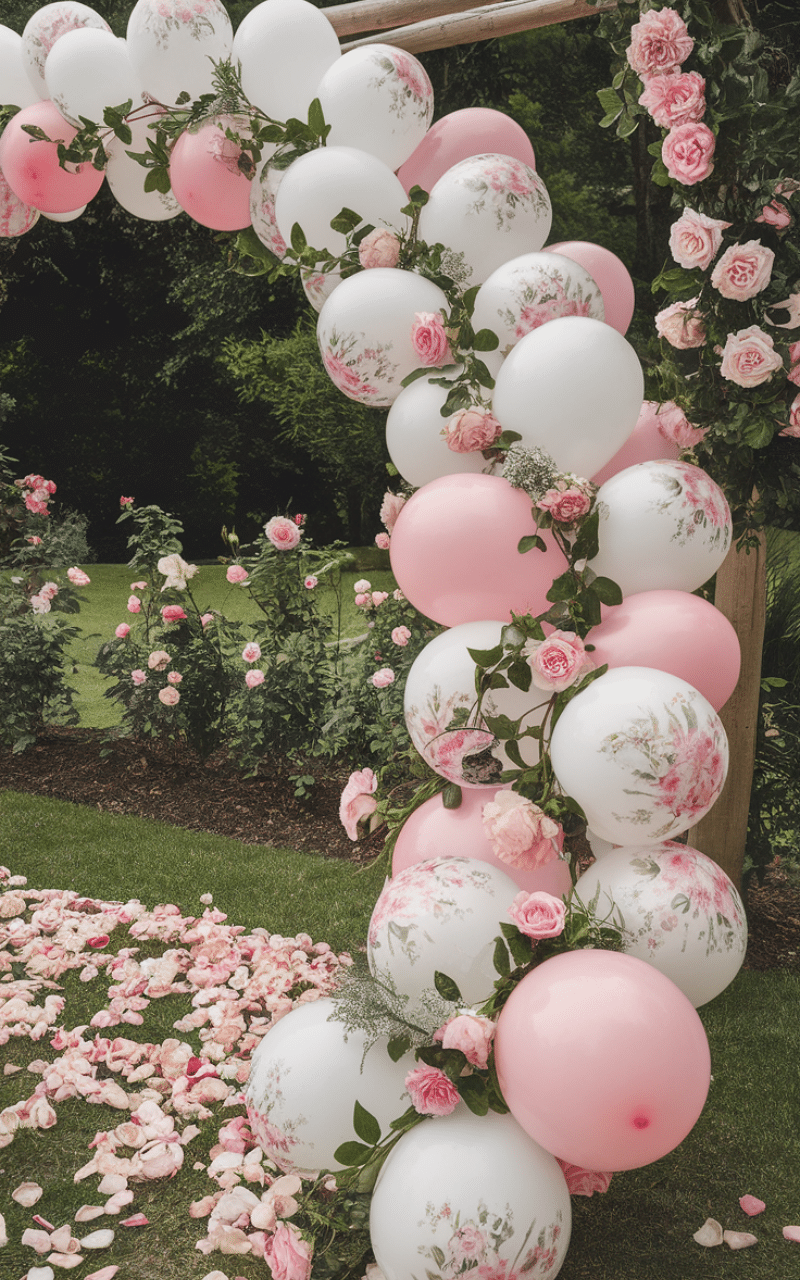
Attach silk or real flowers to your balloon garland for a romantic, garden-inspired aesthetic.
DIY Balloon Garland Tip: Secure flowers with floral wire or tape to prevent slipping.
11. Confetti Burst
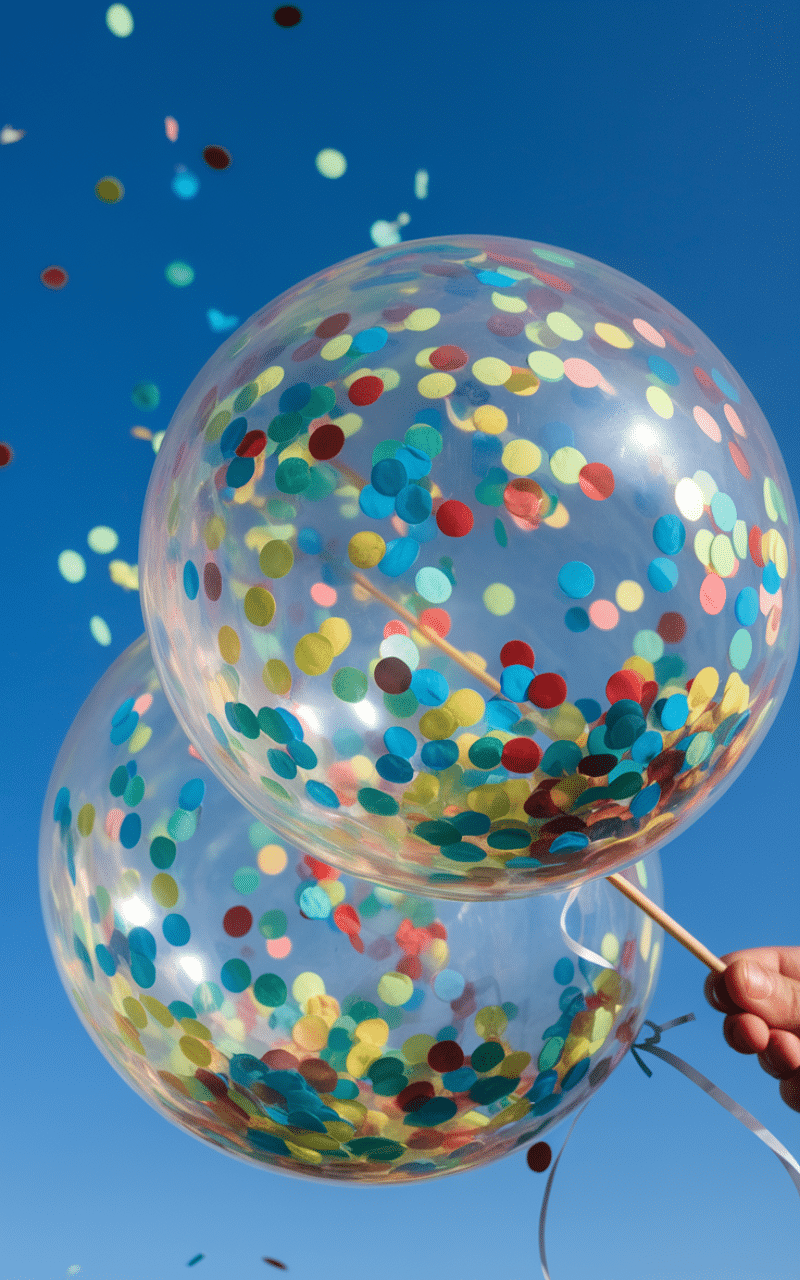
Include transparent balloons filled with confetti to add sparkle and fun.
DIY Balloon Garland Tip: Use a funnel to insert confetti and a balloon pump for consistent inflation.
10. Tropical Vibes
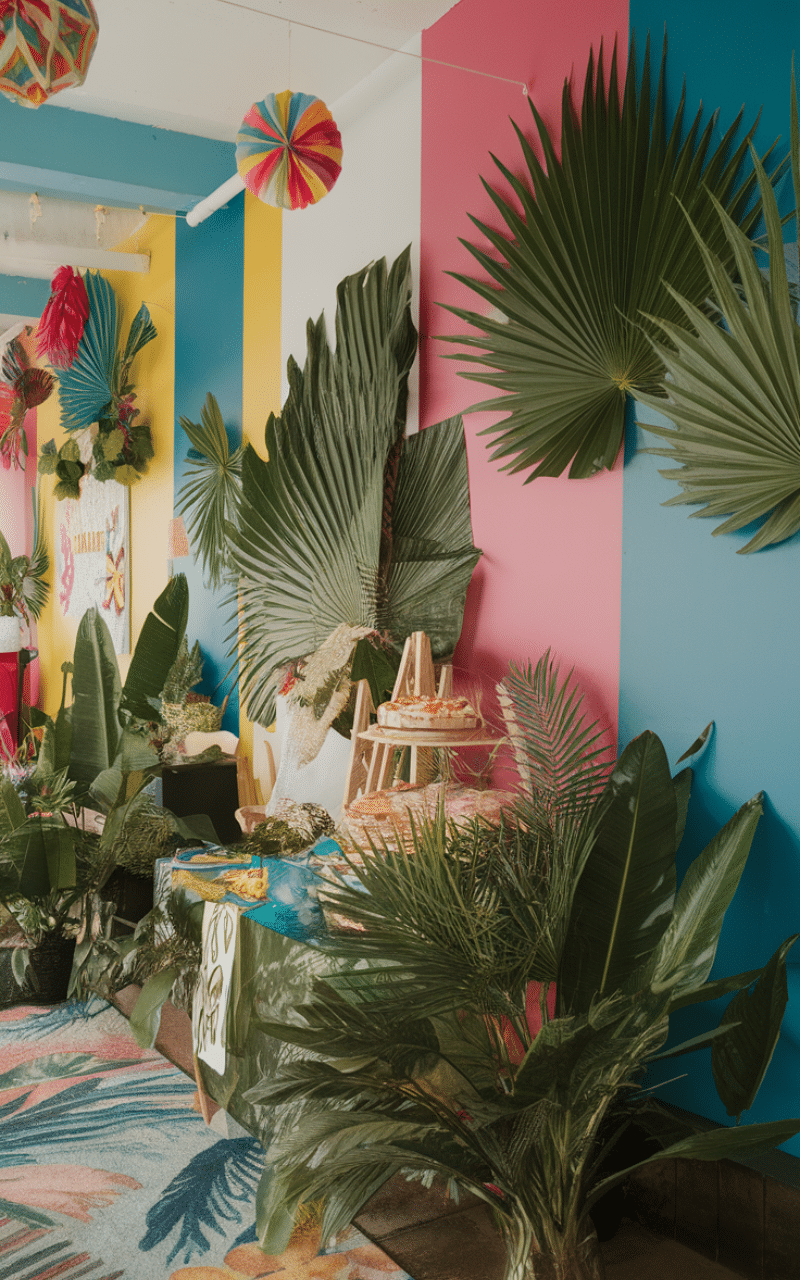
Incorporate palm leaves and bright tropical colors for a summer party vibe.
DIY Balloon Garland Tip: Attach lightweight leaves with clear tape to avoid weighing down the garland.
9. Monochrome Chic
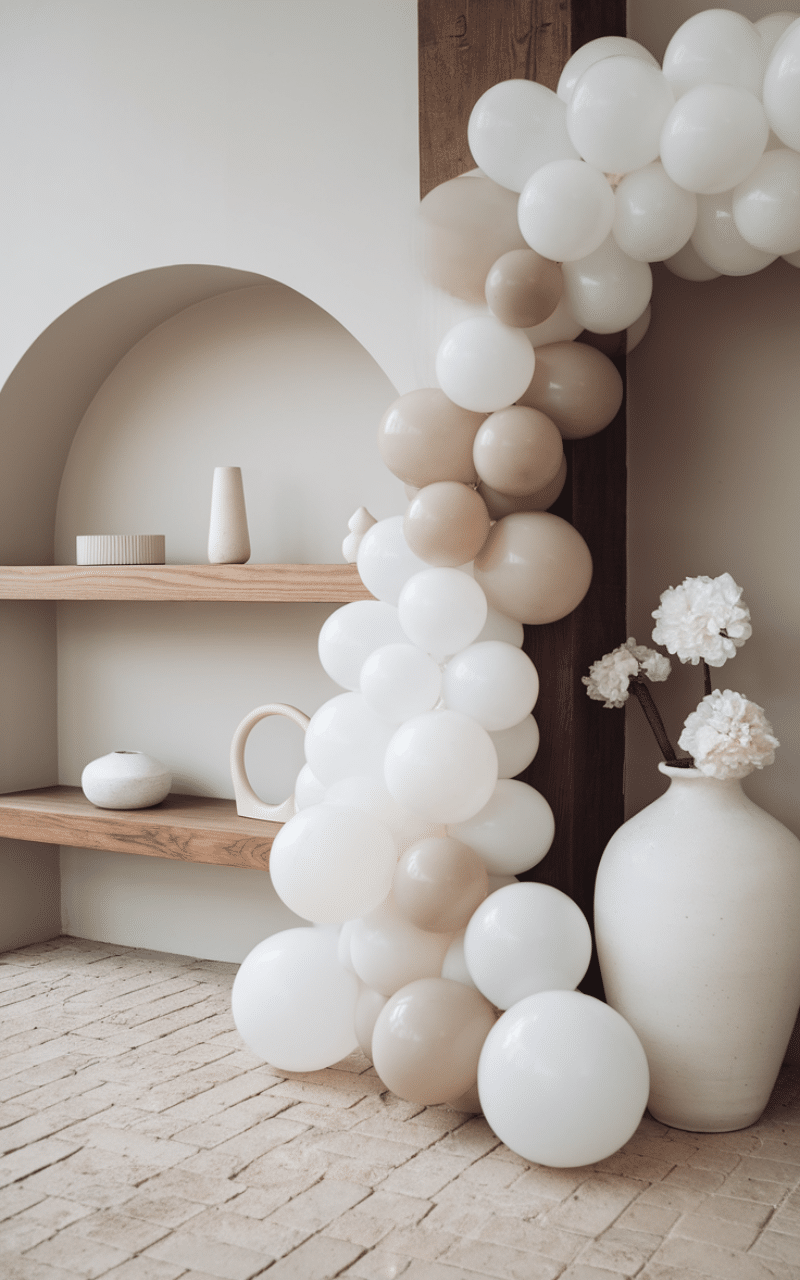
Choose a single color in varying shades for a modern, minimalist look.
DIY Balloon Garland Tip: Mix glossy and matte finishes to create texture within the monochrome palette.
8. Black and White Statement
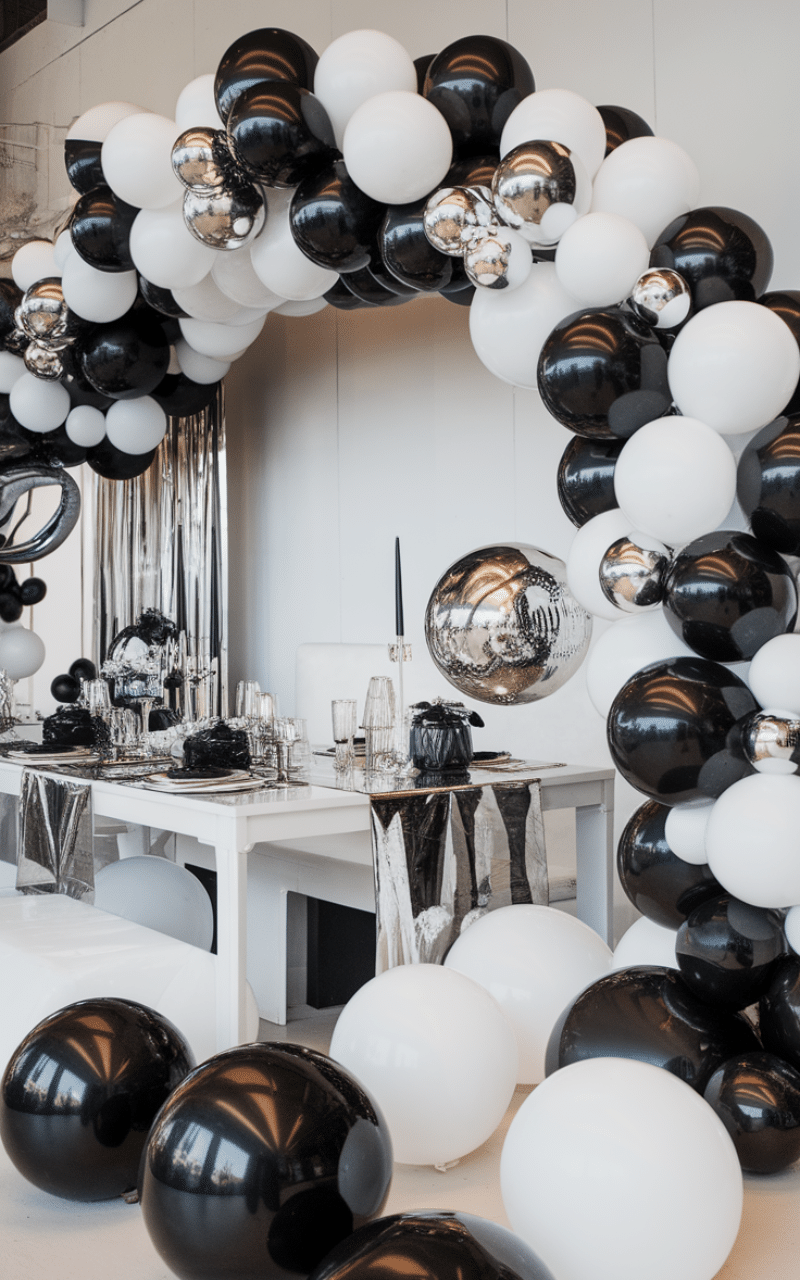
Perfect for elegant events, combine black, white, and a few metallic accents.
DIY Balloon Garland Tip: Use a flexible balloon strip to create curves and arches for a dynamic structure.
7. Birthday Blast
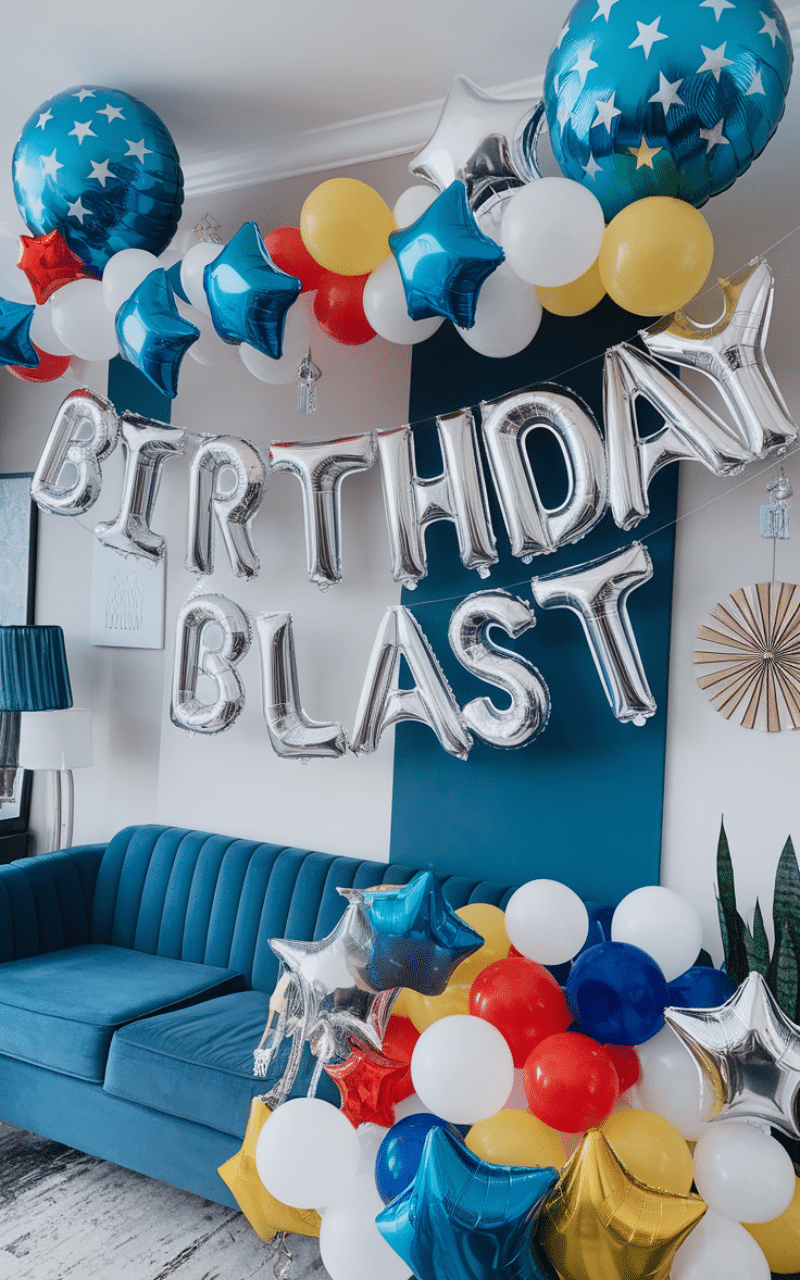
Create a playful garland with balloons shaped like stars, letters, and numbers.
DIY Balloon Garland Tip: Use small balloon clusters to fill gaps and create a fuller garland.
6. Winter Wonderland
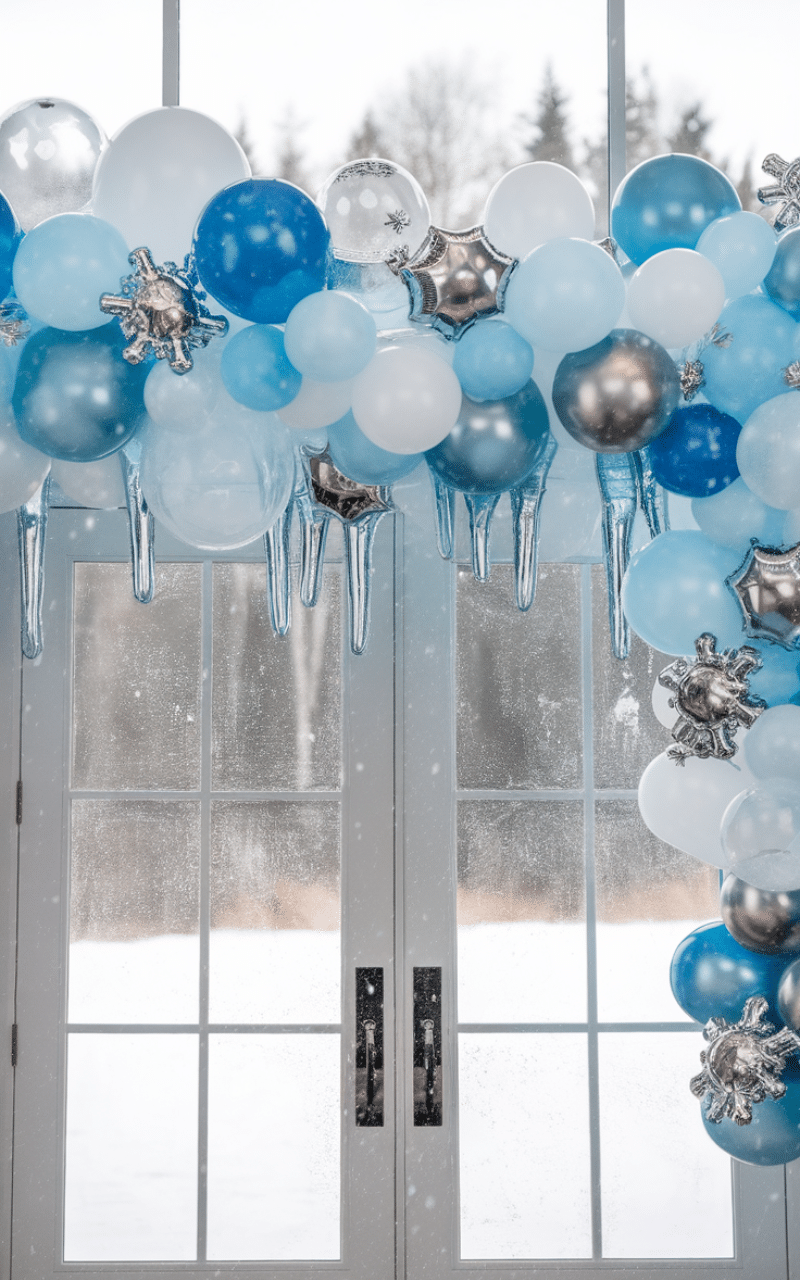
Combine icy blues, whites, and silver with snowflake accents for a winter theme.
DIY Balloon Garland Tip: Hang icicle or snowflake ornaments from the garland for added festivity.
5. Sunset Gradient
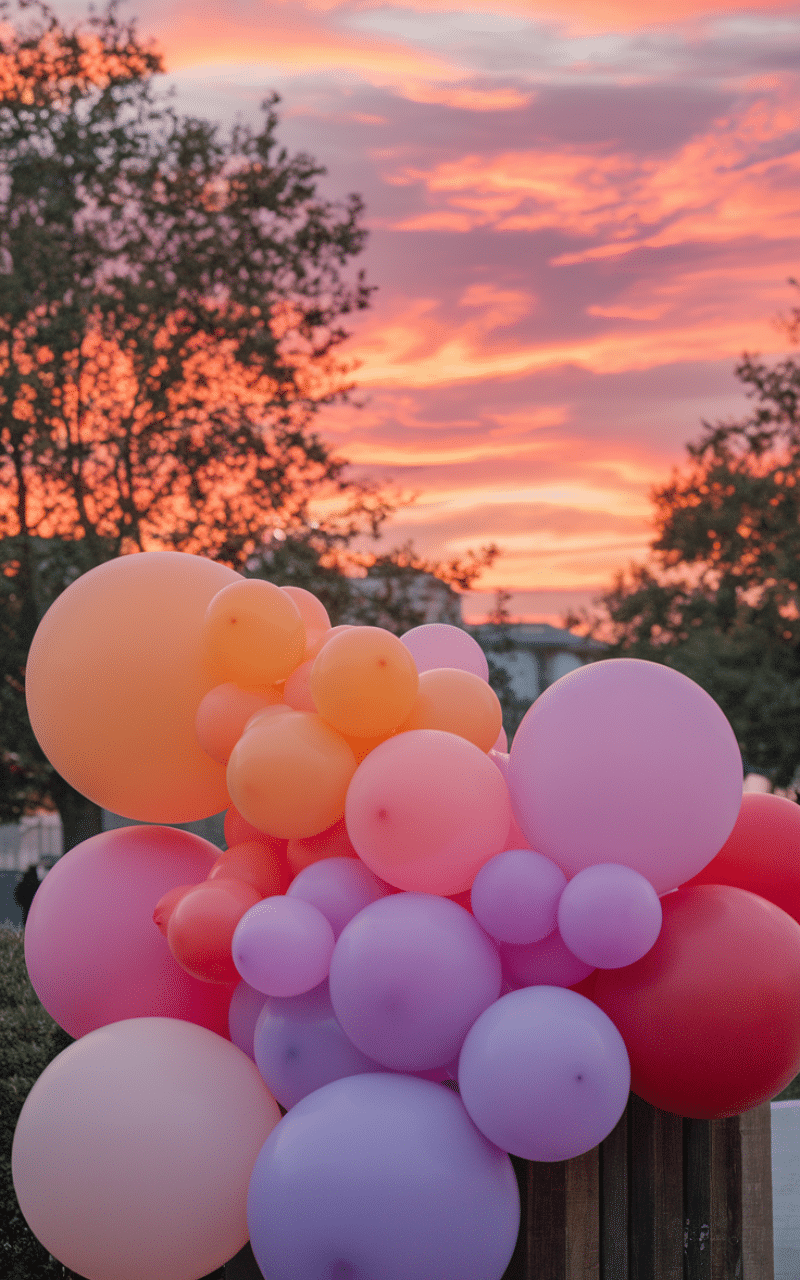
Use oranges, pinks, purples, and reds to mimic a sunset backdrop.
DIY Balloon Tip: Inflate balloons in varying sizes for a layered, natural gradient effect.
4. Garden Party Garland
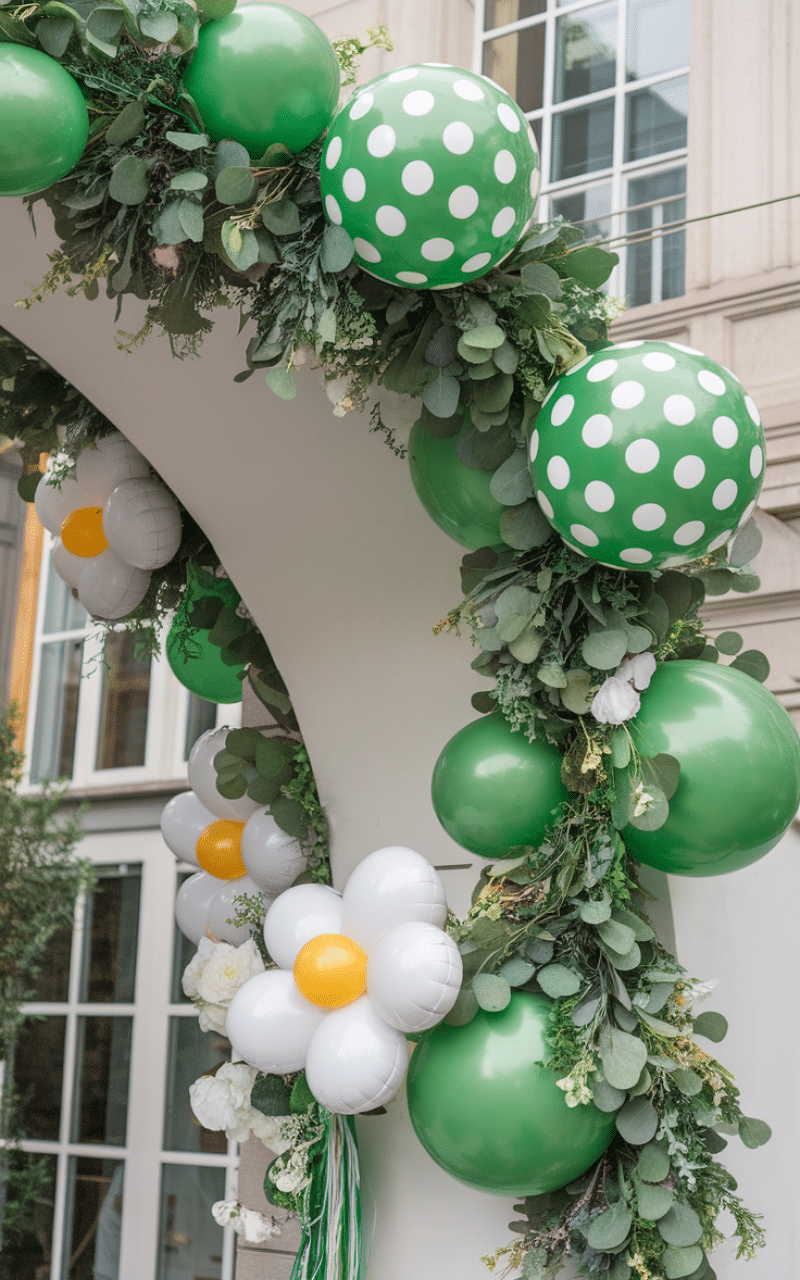
Incorporate greens and floral balloons to create a lush, garden-inspired installation.
DIY Balloon Tip: Use balloon glue dots to attach small florals or leaves seamlessly.
3. Candyland Theme
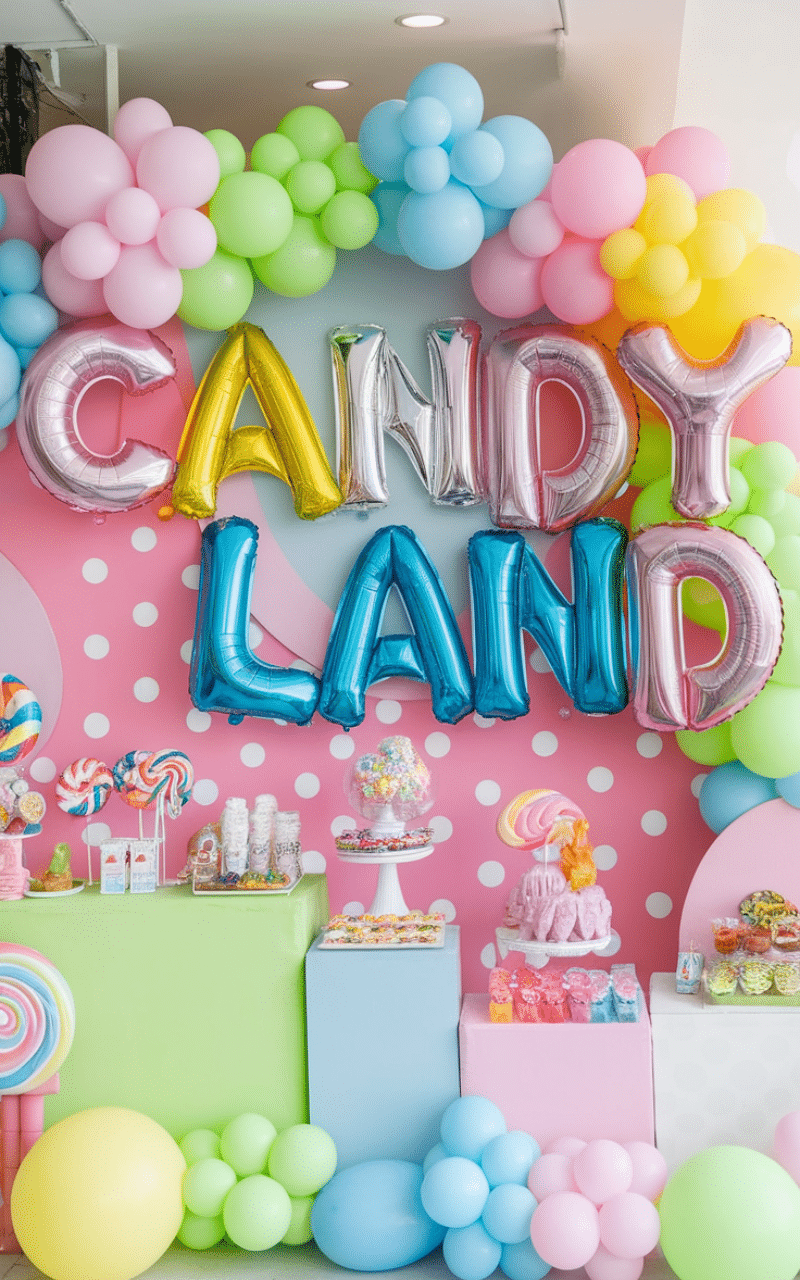
Use colorful pastel and neon balloons for a sweet, whimsical setup.
DIY Balloon Tip: Integrate lollipop or candy props for playful accents.
2. Rustic Charm
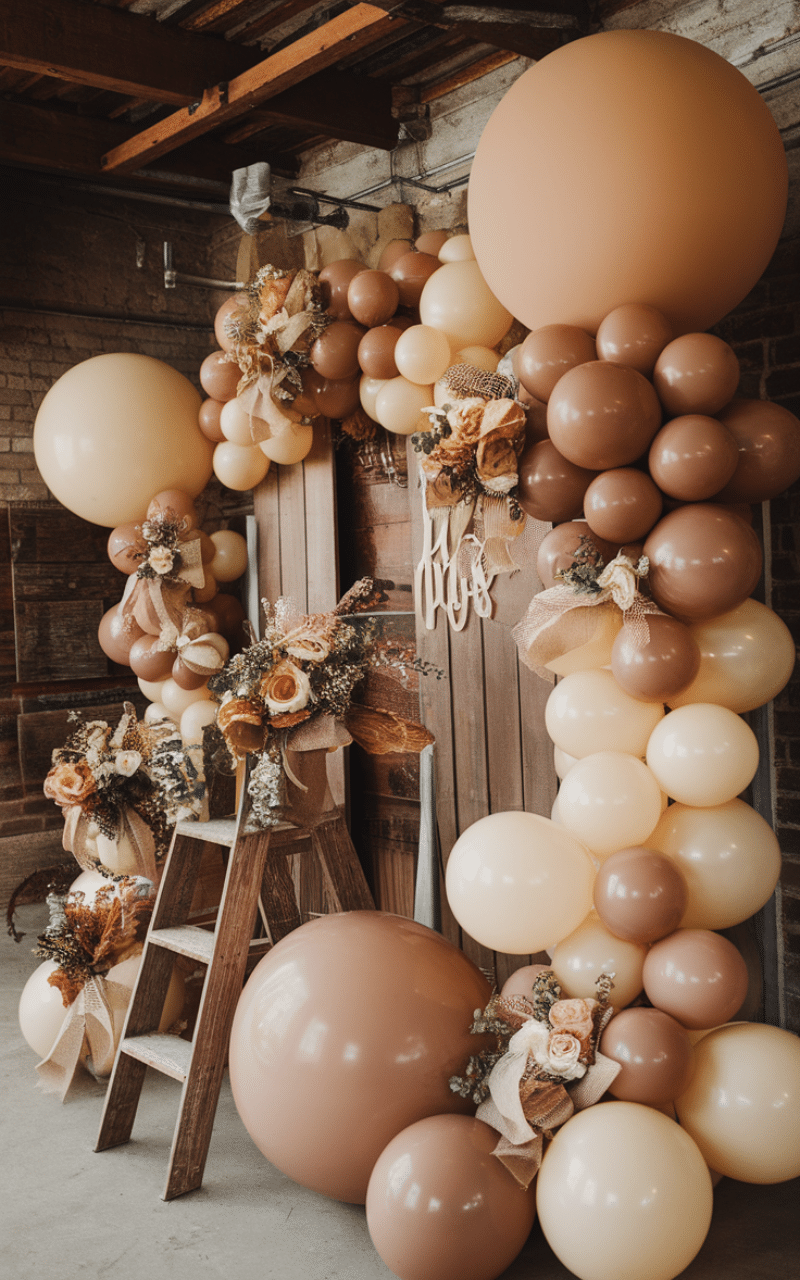
Use earth-toned balloons, burlap ribbons, and wooden accents for rustic events.
DIY Balloon Tip: Attach the garland to a wooden frame or arch for stability.
1. Statement Ceiling Garland
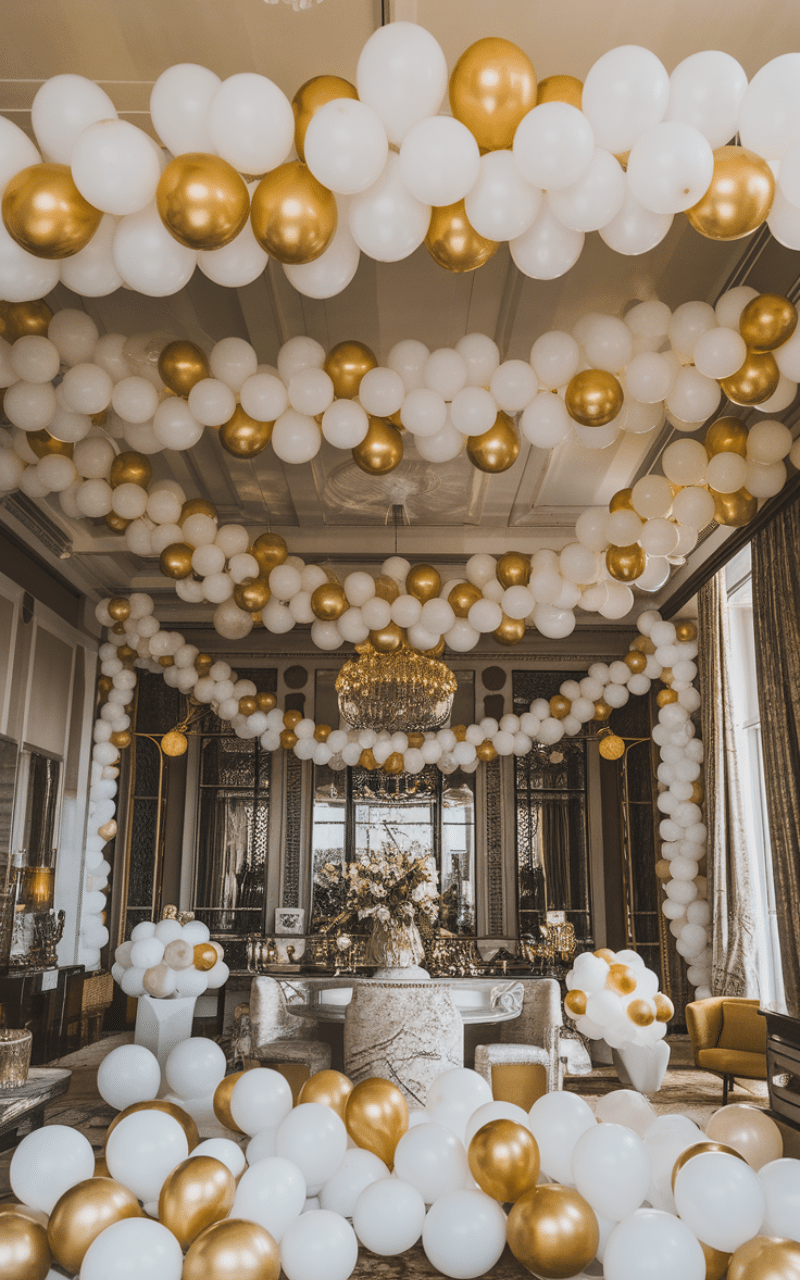
Create a dramatic effect by suspending the balloon garland across the ceiling for a grand installation.
DIY Balloon Tip: Use fishing line or transparent string to create floating effects without visible supports.
Conclusion
DIY balloon garlands offer endless possibilities to enhance any celebration. By mixing colors, sizes, textures, and themed accents, you can create personalized, visually stunning installations that captivate guests. Thoughtful placement, secure attachments, and creative layering ensure your balloon garlands are not only beautiful but also long-lasting for your event.
Enjoyed this post?
Share the love with another mom!
Every share helps this little blog grow — thank you so much