Make sure to join my list for Weekly Tips and Recipes to Your Inbox
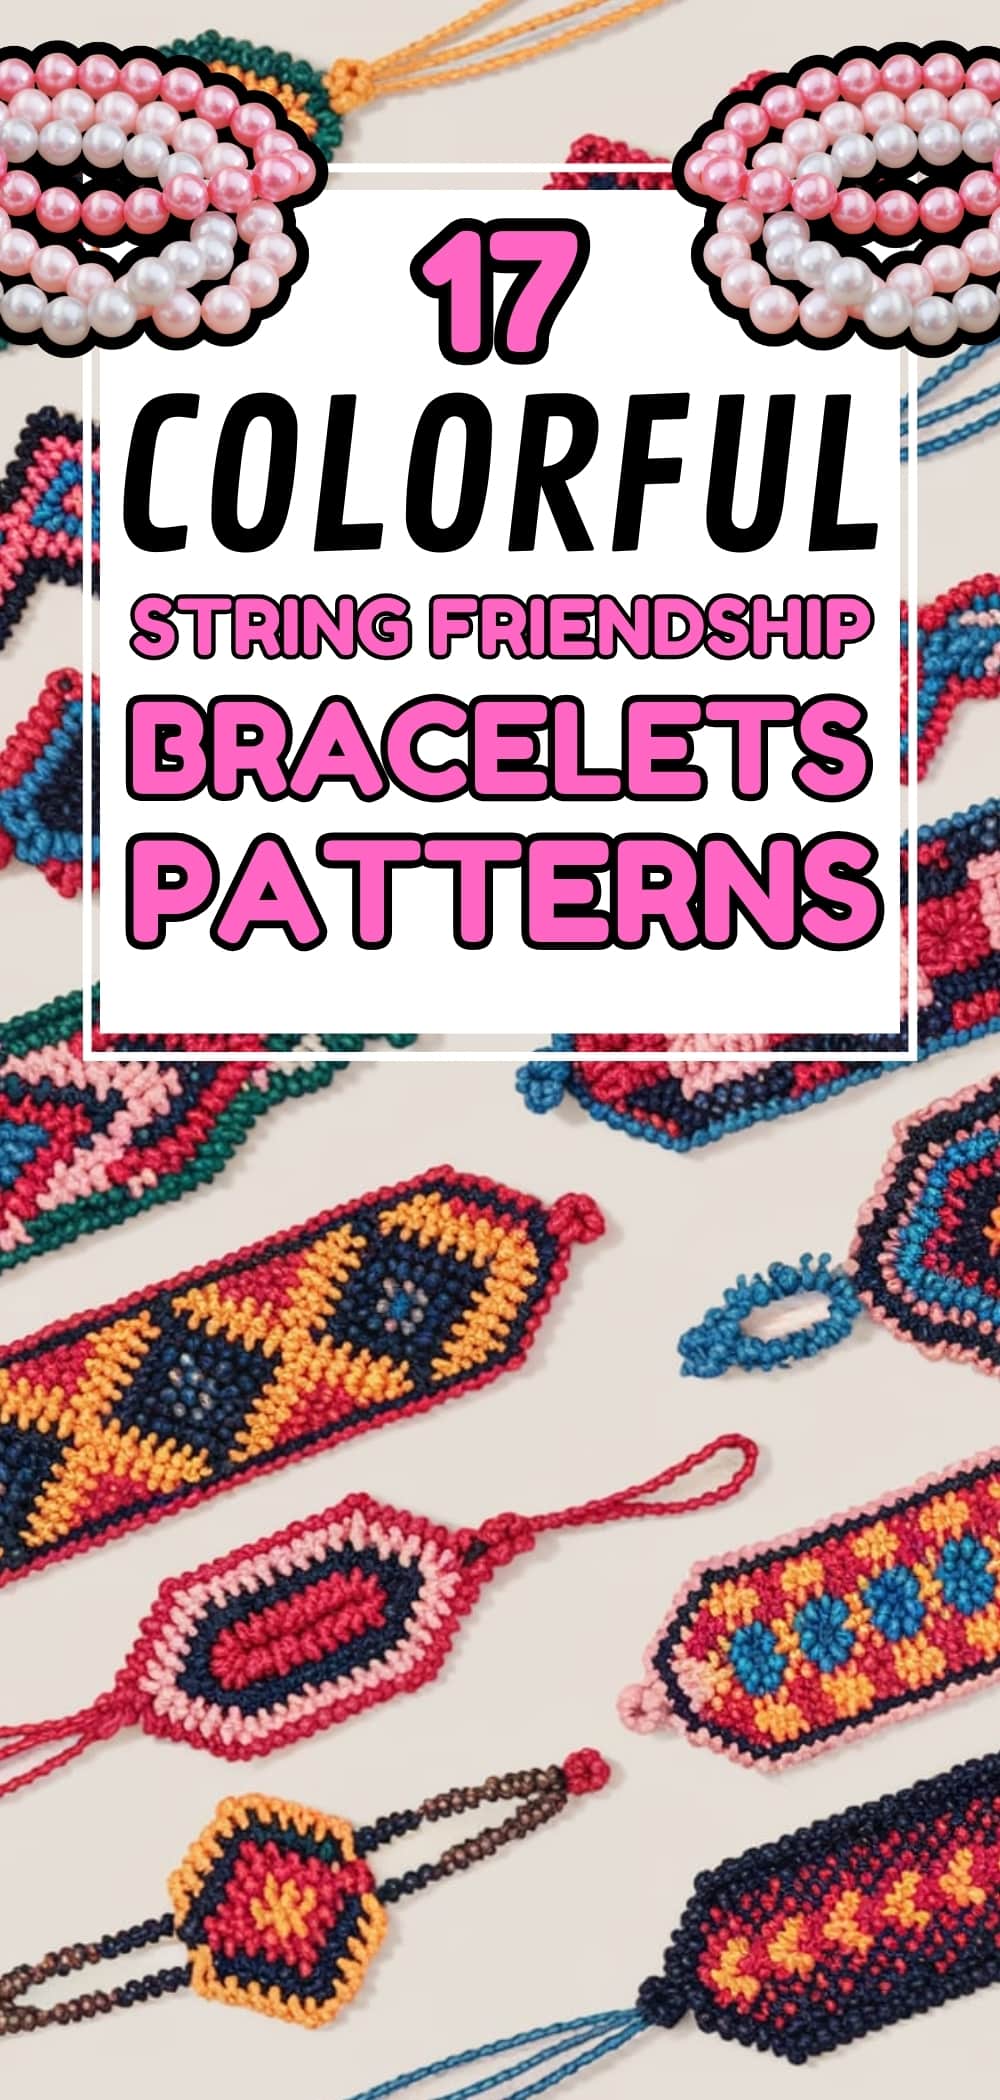
17 Colorful String Friendship Bracelets Patterns
A little note: Some images in this post may come from third-party sources and are shared purely to inspire you. All credit goes to their original creators. Visit our Image Credits Policy for more information.
After having such a fun and creative time making clay bracelets with my cousin for her birthday, I wanted to try something new but still hands-on, colorful, and personal. That is when I stumbled into the world of friendship bracelets. I thought I was prepared, but I quickly realized this craft came with its own challenges. One of them? Figuring out how to end a bracelet on a metal loop without slowly unraveling or seeming untidy. I had the design in mind, the pattern was perfect, but the finish? That part stumped me.
It turns out I wasn’t alone. Other crafters experimenting with friendship bracelets shared similar struggles. Some recommended looping the cords and securing them with half-hitch knots, others suggested using glue or even melting the ends with a lighter when working with nylon or paracord. I discovered that velvet tape can help protect the skin from itchy knots and that GS Hypo Cement is a slow-setting adhesive that allows you to work with it before it reinforces. These tricks were all like the pieces of a puzzle fitting together. The more I read, the more confident I felt. This was more than simply a bracelet; it was engineered, small, wearable, and beautiful in design.
The deeper I explored friendship bracelets, the more options opened up. There are alpha and normal patterns, patterns that mimic beadwork or pixel art, designs with palm trees and flowers, and even ones you can turn into bookmarks or send in letters. With every tip, whether it was segment knotting techniques, helpful apps to keep track of rows, or tutorials from BraceletBook and Masha Knots, I felt more inspired. I’m excited now not only to make my first string bracelet but to eventually knot my way into something bigger, like a horse breastcollar or even an art deco-style band.
What started with clay is becoming a whole new obsession, one knot at a time. So explore these 17 string friendship bracelet patterns with detailed tips to make it easy and fun. Learn to create vibrant, meaningful bracelets step by step.
What We're Exploring
- 01 Introduction to Friendship Bracelets
- 02 Benefits of Making Friendship Bracelets
- 03 Tools and Materials You’ll Need
- 04 Basic Knotting Techniques Explained
- 05 17 Friendship Bracelet Patterns
- 06 1. Candy Stripe Bracelet
- 07 2. Chevron Pattern Bracelet
- 08 3. Diamond Pattern
- 09 4. Fishtail Bracelet
- 10 5. Zig-Zag Bracelet
- 11 6. Heart Pattern Bracelet
- 12 7. Arrowhead Design
- 13 8. Braided Spiral Pattern
- 14 9. Alternating Knots Pattern
- 15 10. Aztec Pattern Bracelet
- 16 11. Ladder Bracelet
- 17 12. Feathered Chevron
- 18 13. Wave Pattern
- 19 15. Triple Strand Braid
- 20 16. Double Chevron Pattern
- 21 17. Infinity Loop Bracelet
- 22 Tips for a Perfect Finish
- 23 Creative Ideas for Gifting and Display
- 24 FAQs About Friendship Bracelets
- 25 Conclusion
Introduction to Friendship Bracelets
Friendship bracelets are more than just colorful accessories. They’re timeless tokens of love, trust, and connection shared between friends to symbolize a lasting bond. These bracelets, often made from embroidery floss or yarn, are crafted with knotting techniques that form striking patterns. Whether given on a birthday, during a farewell, or just because, a handmade friendship bracelet is always a heartfelt gift.
Benefits of Making Friendship Bracelets
Creating friendship bracelets is both therapeutic and rewarding. Some key benefits include:
- Mindfulness and Relaxation: Repetitive knotting movements promote focus and calm.
- Creativity Boost: Color combinations and pattern choices allow for artistic expression.
- Skill Development: Builds hand-eye coordination and fine motor skills.
- Budget-Friendly Gifting: Affordable yet meaningful presents for friends and family.
- Tradition and Culture: Deep roots in Native American and Central/South American traditions.
Tools and Materials You’ll Need
To get started, gather the following items:
| Tool/Material | Description |
| Embroidery Floss | Preferred for vibrant colors and smooth texture. |
| Scissors | Sharp pair for clean cuts. |
| Clipboard/Tape | Holds threads in place during knotting. |
| Ruler/Measuring Tape | To measure string lengths accurately. |
| Beads/Charms (optional) | For personalization and decorative accents. |
Tip: Cut strings about 30-40 inches each for most bracelets.
Basic Knotting Techniques Explained
Understanding knots is fundamental. These four basic knots form the base of nearly all patterns:
Forward Knot
Wrap the working string over and under the next string, pulling through the loop to the left. Repeat for a double knot.
Backward Knot
Same as the forward knot, but in the opposite direction—right to left.
Forward-Backward Knot
Start with a forward knot, then follow with a backward knot using the same strings.
Backward-Forward Knot
Begin with a backward knot, then make a forward knot. Great for shaping direction.
17 Friendship Bracelet Patterns
1. Candy Stripe Bracelet
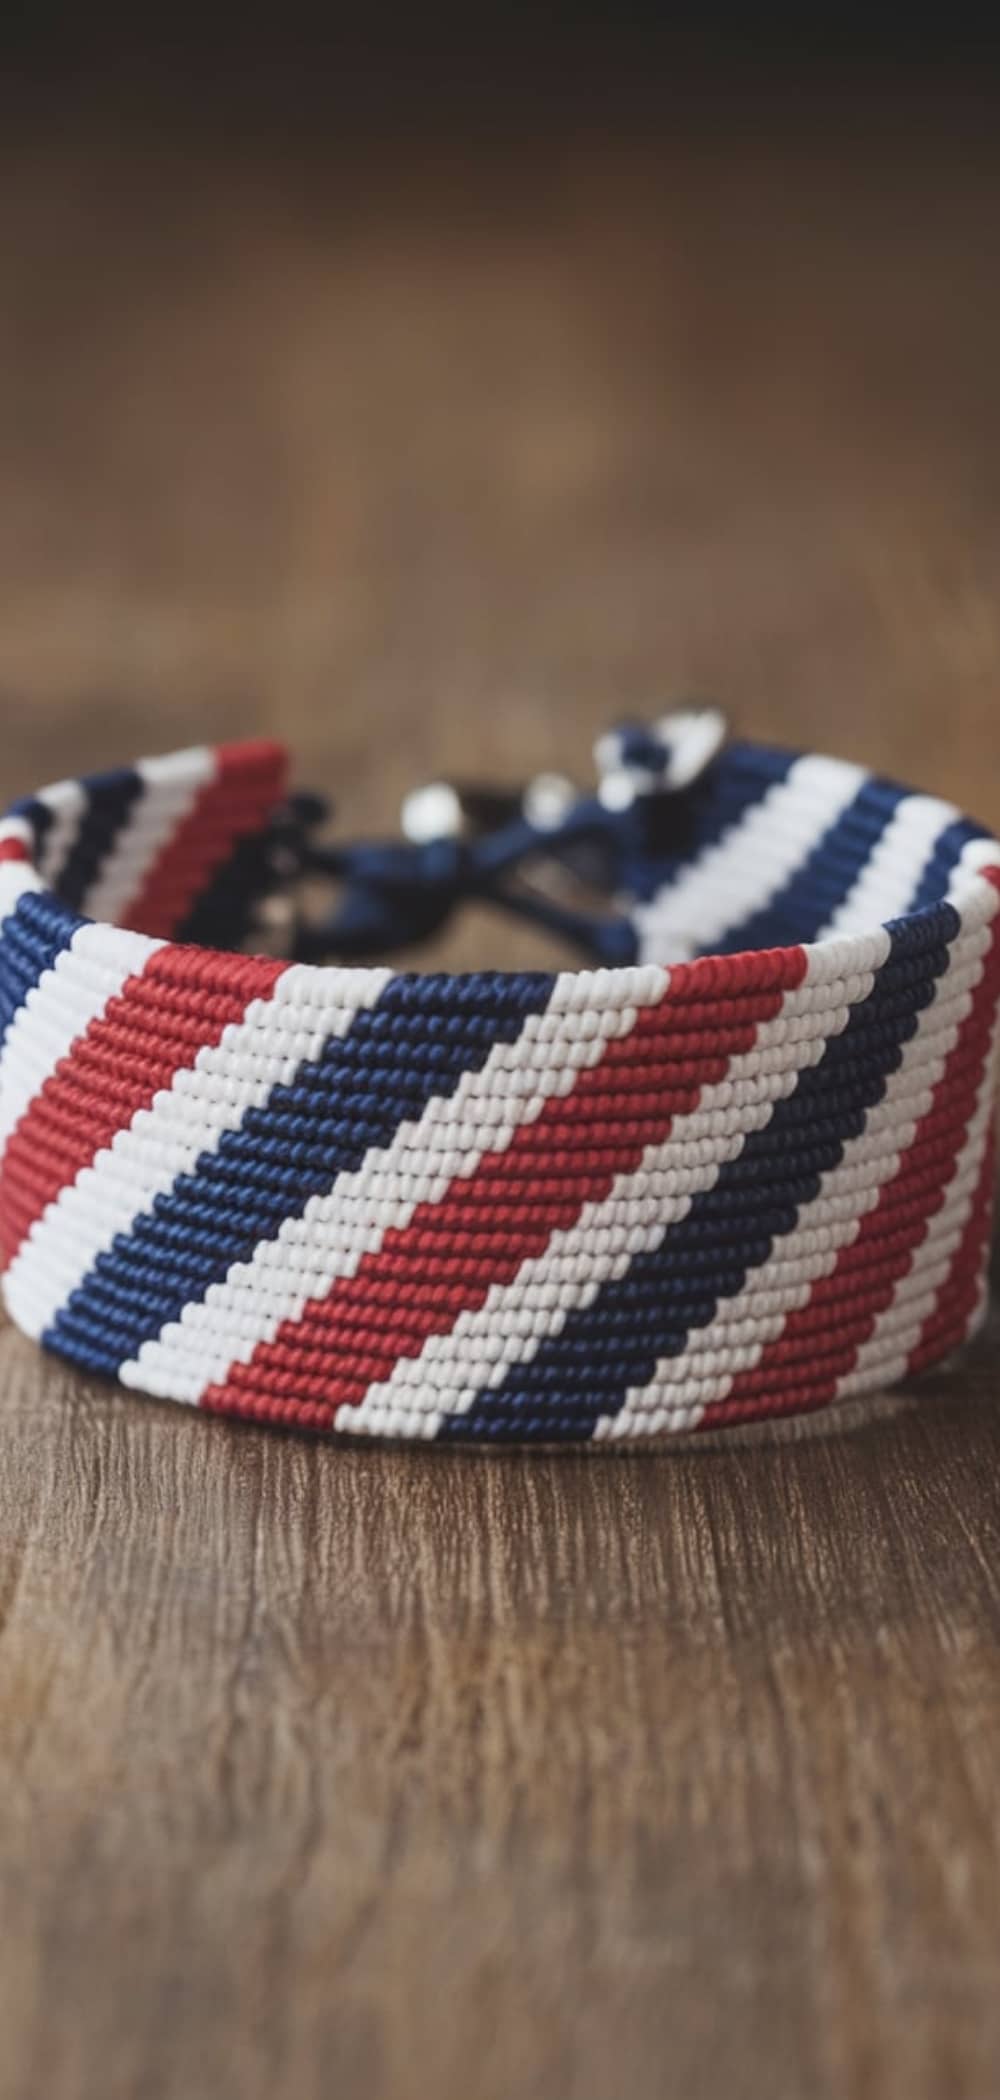
A beginner’s favorite. Repeating forward knots in a diagonal pattern makes a neat stripe effect. Use 4–6 different colors for a bold, vibrant look.
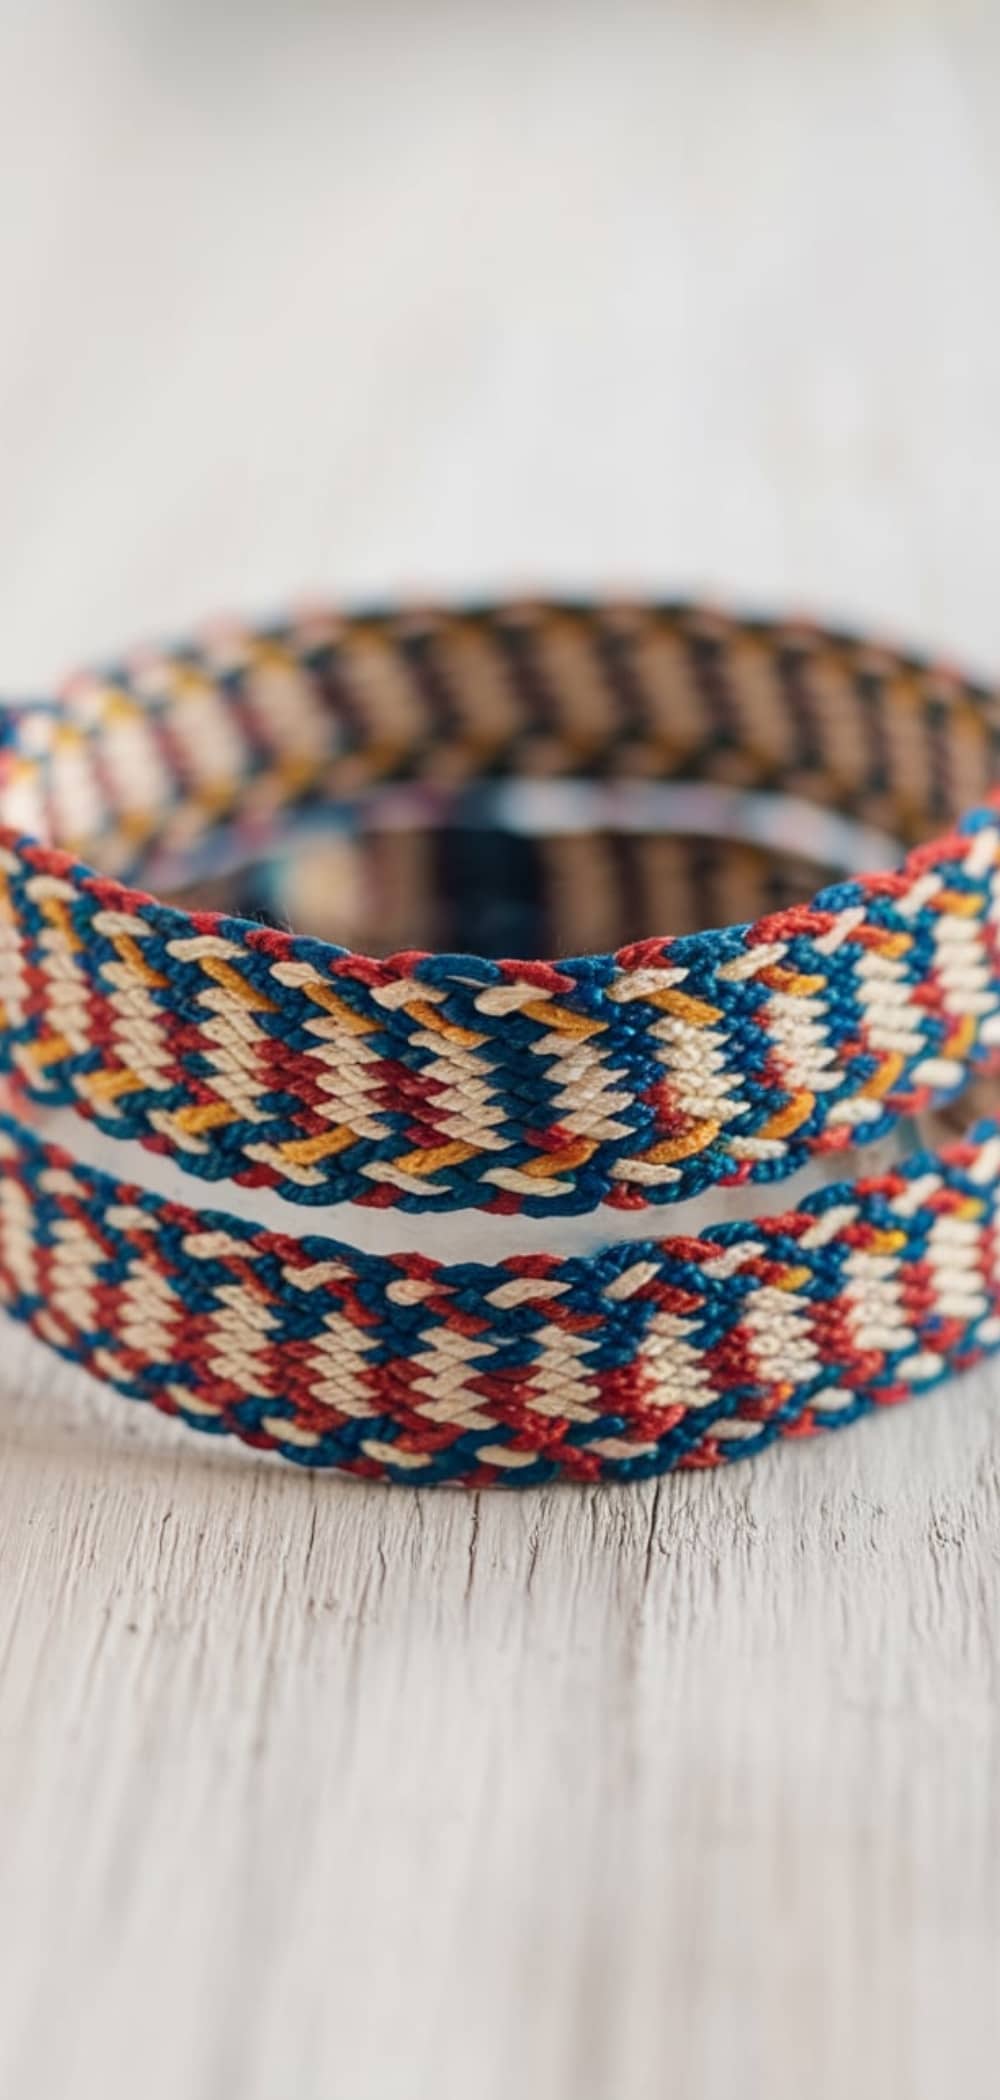
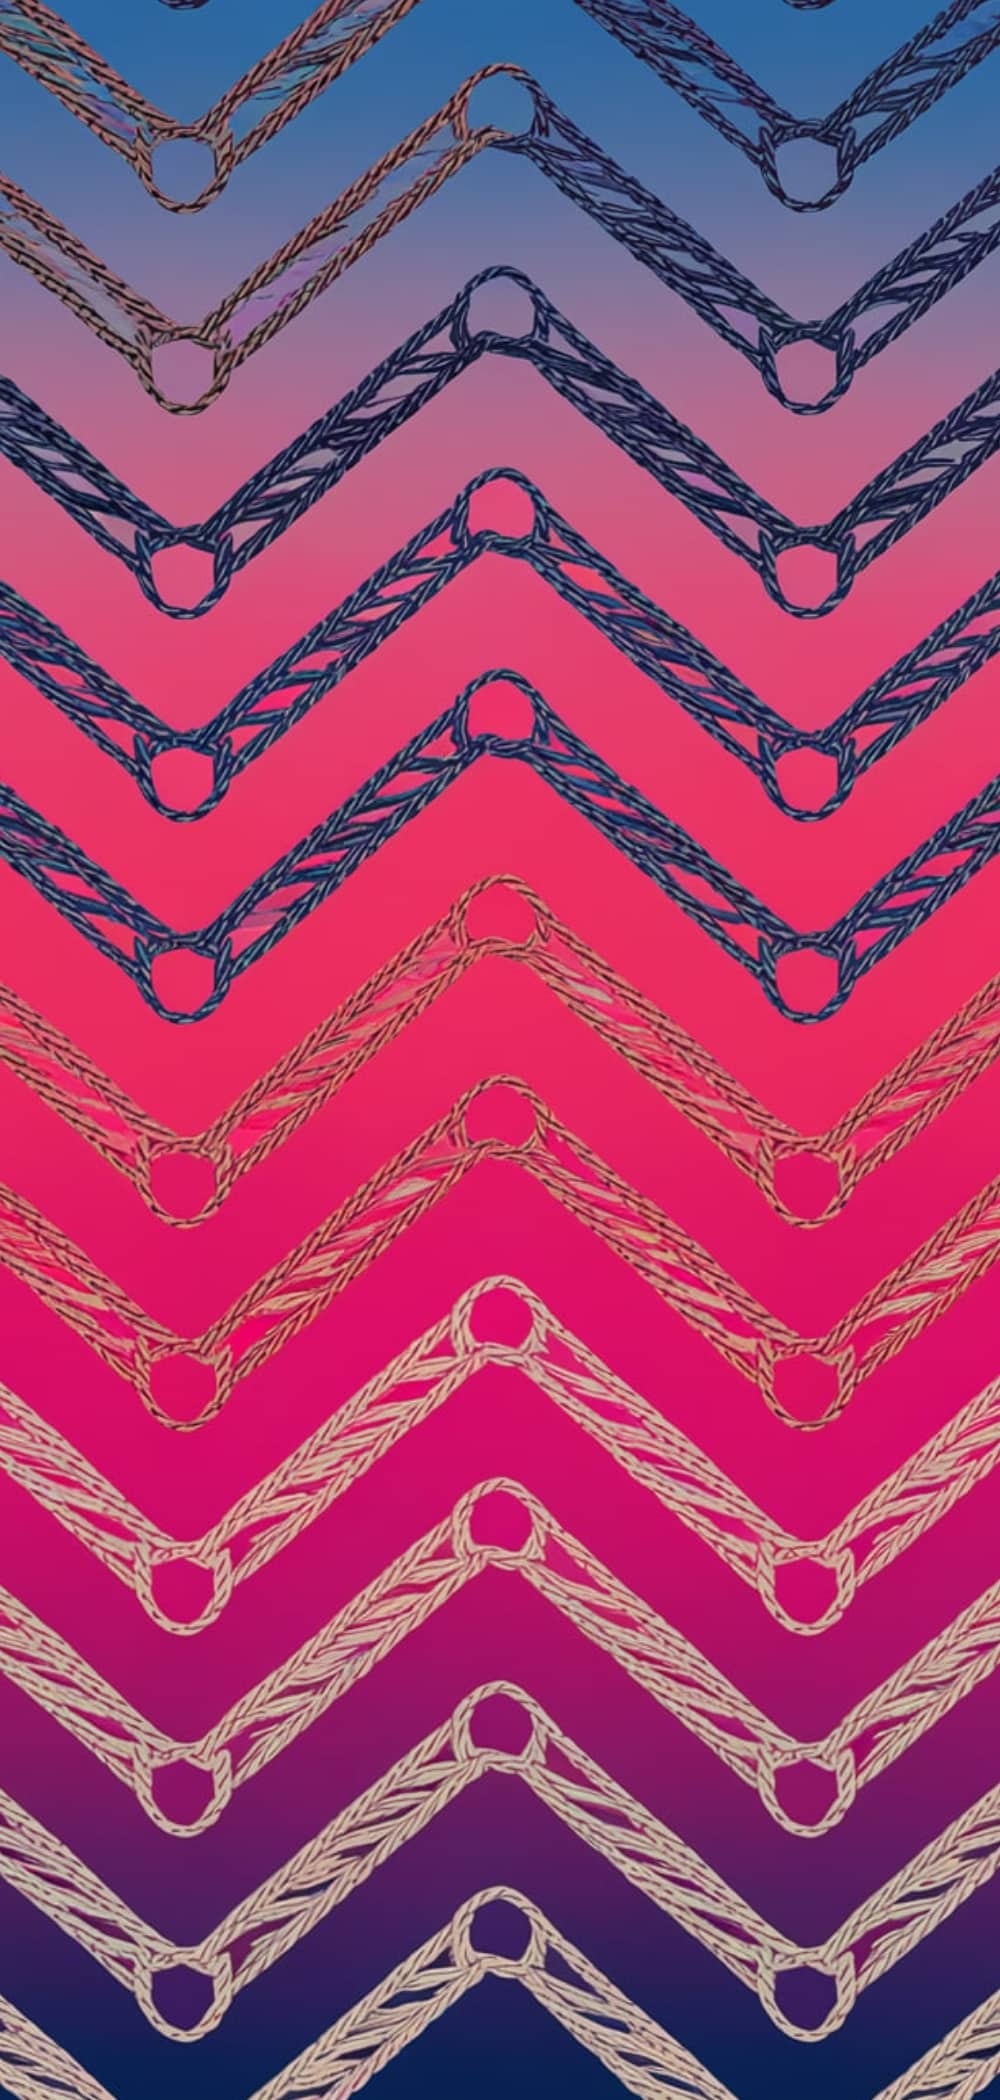
2. Chevron Pattern Bracelet
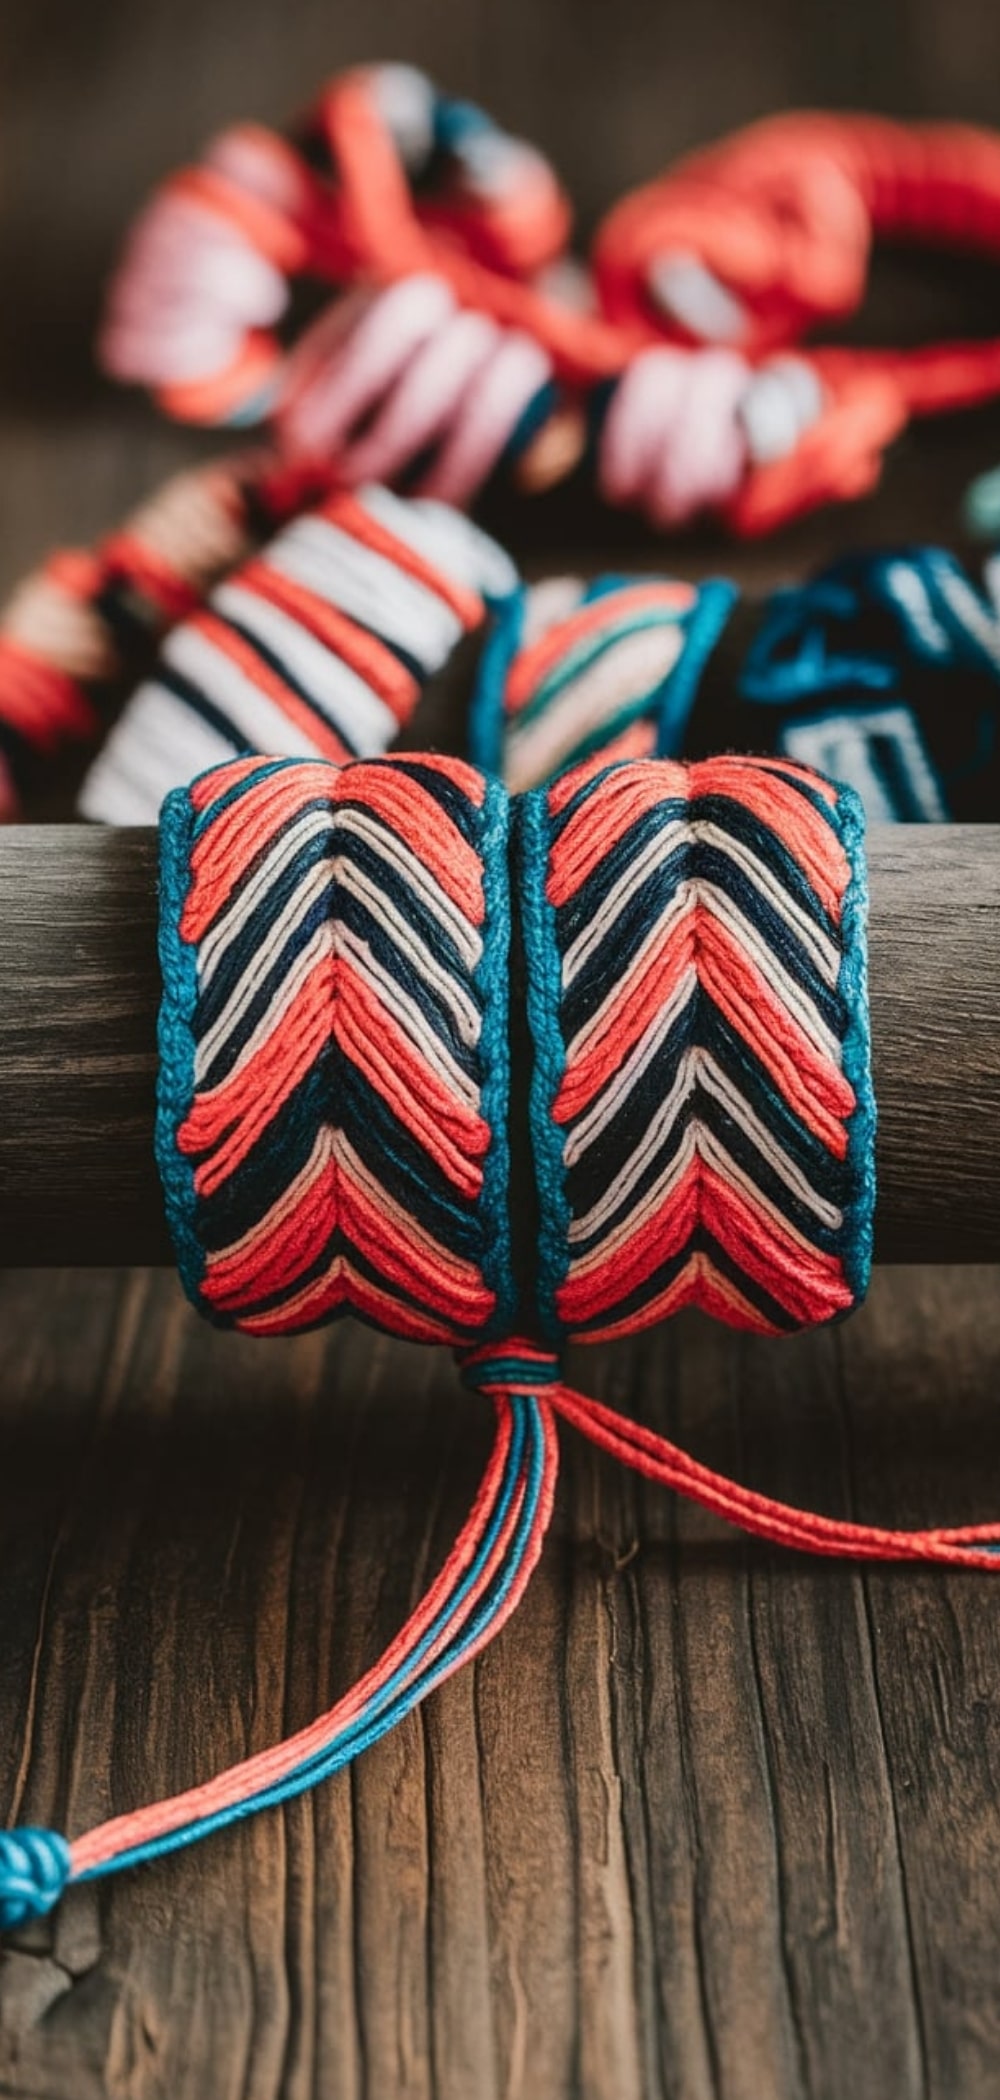
Create a “V” shape with alternating forward and backward knots. Mirror the design from both sides inward.
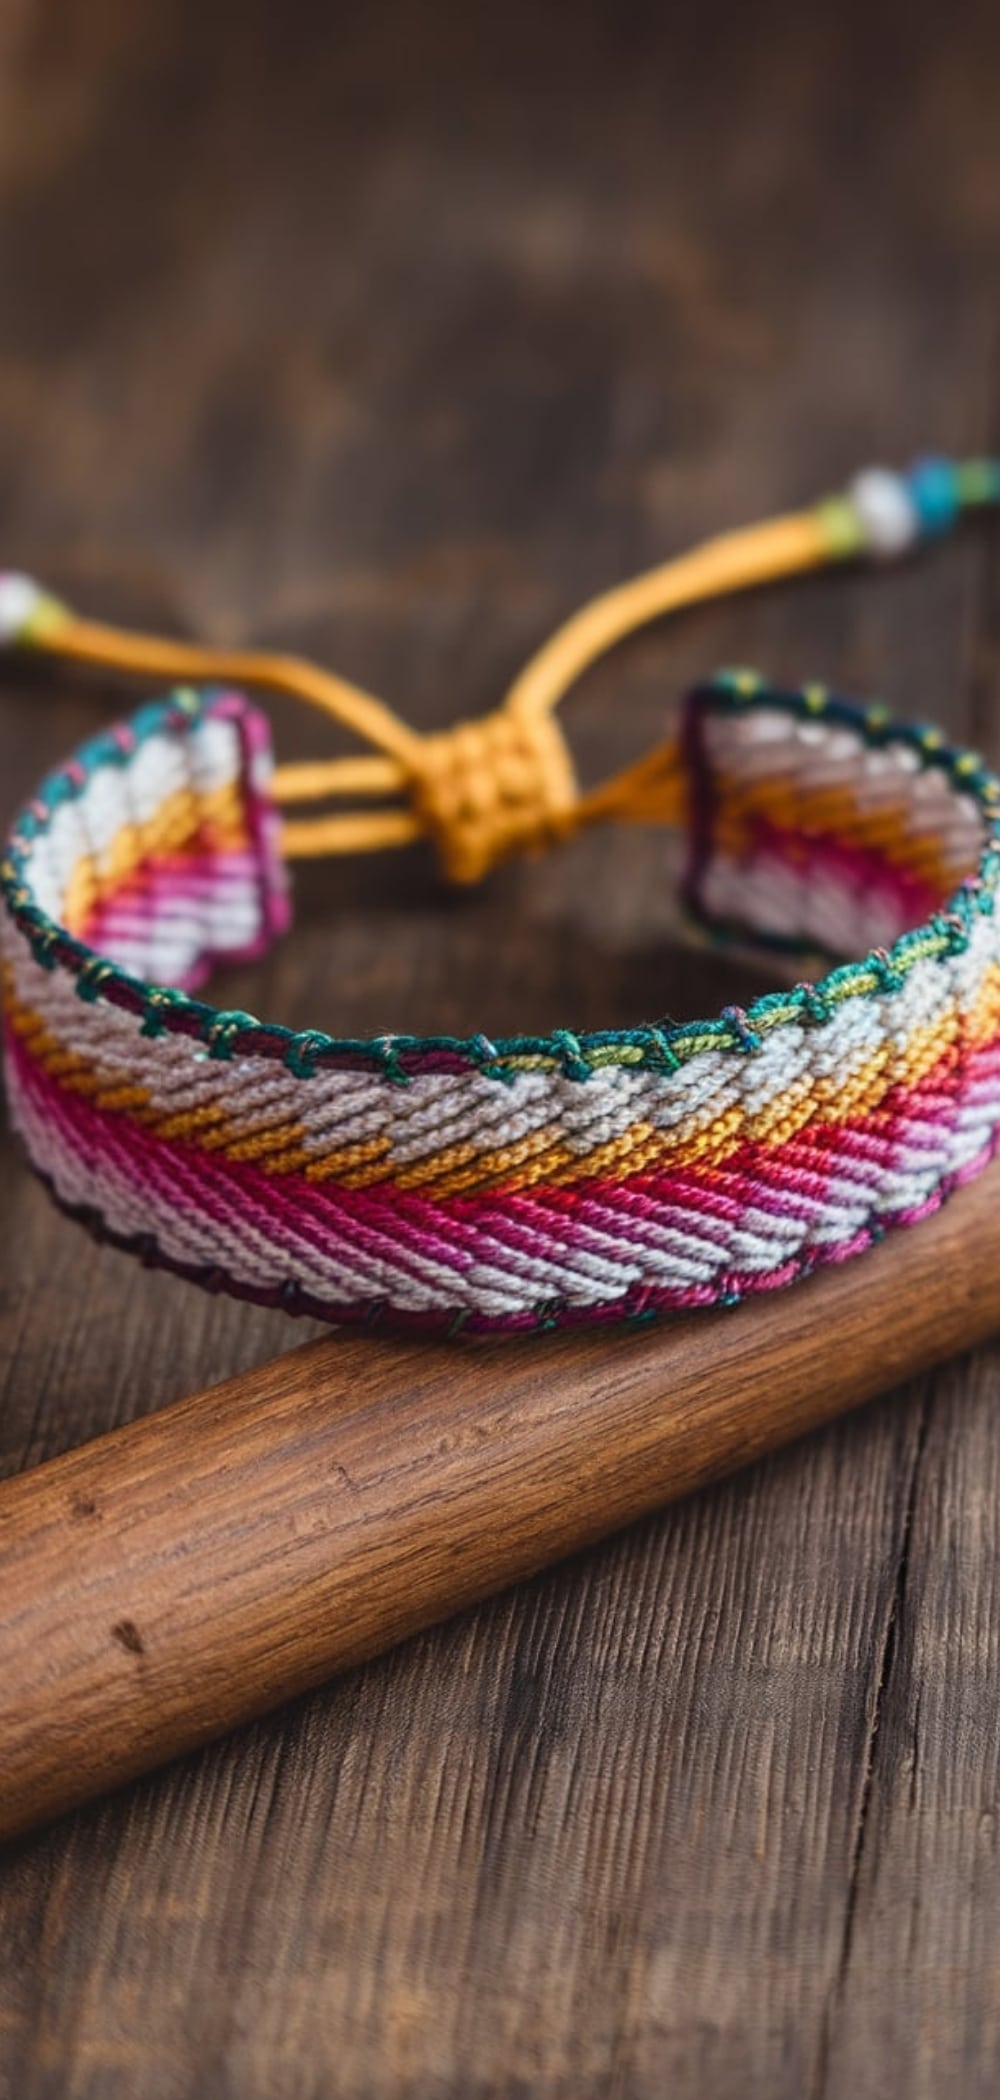
3. Diamond Pattern
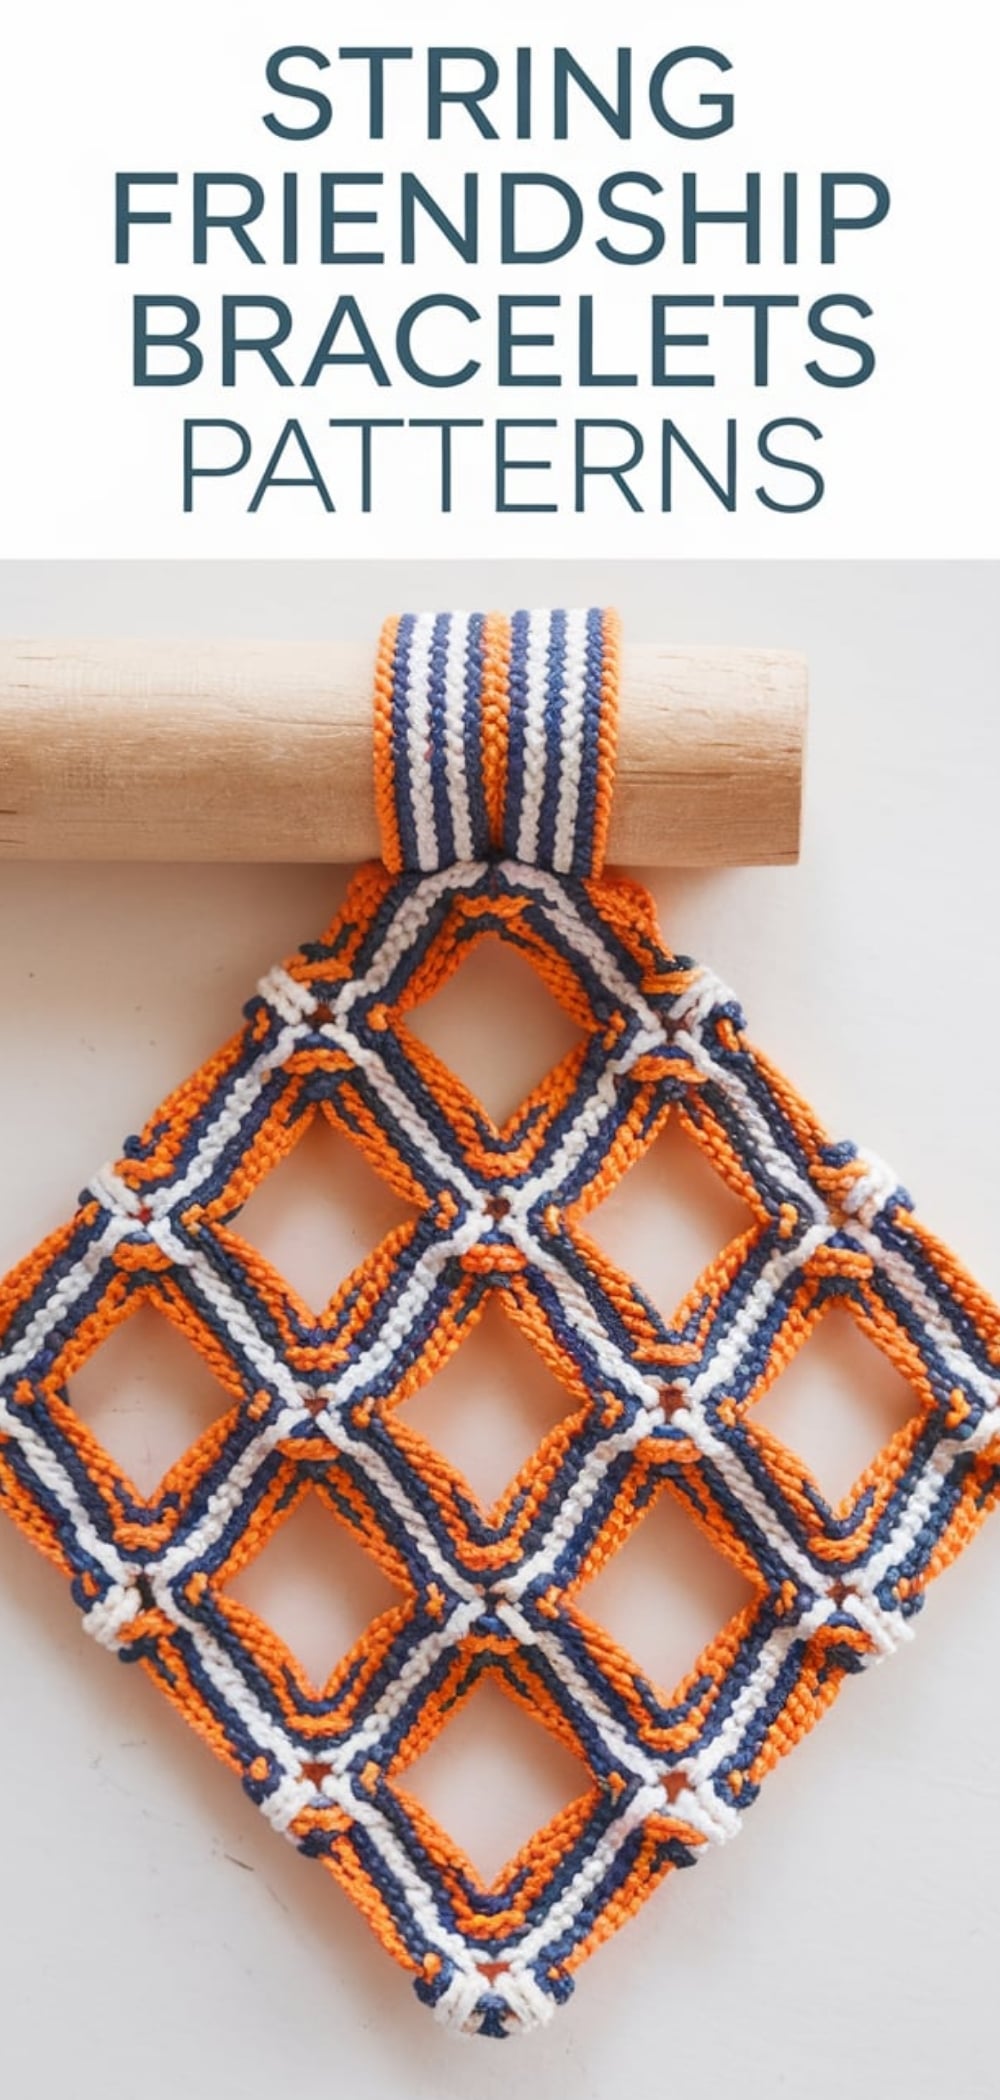
A stunning symmetrical design using forward-backward and backward-forward knots. Center alignment is key.
4. Fishtail Bracelet
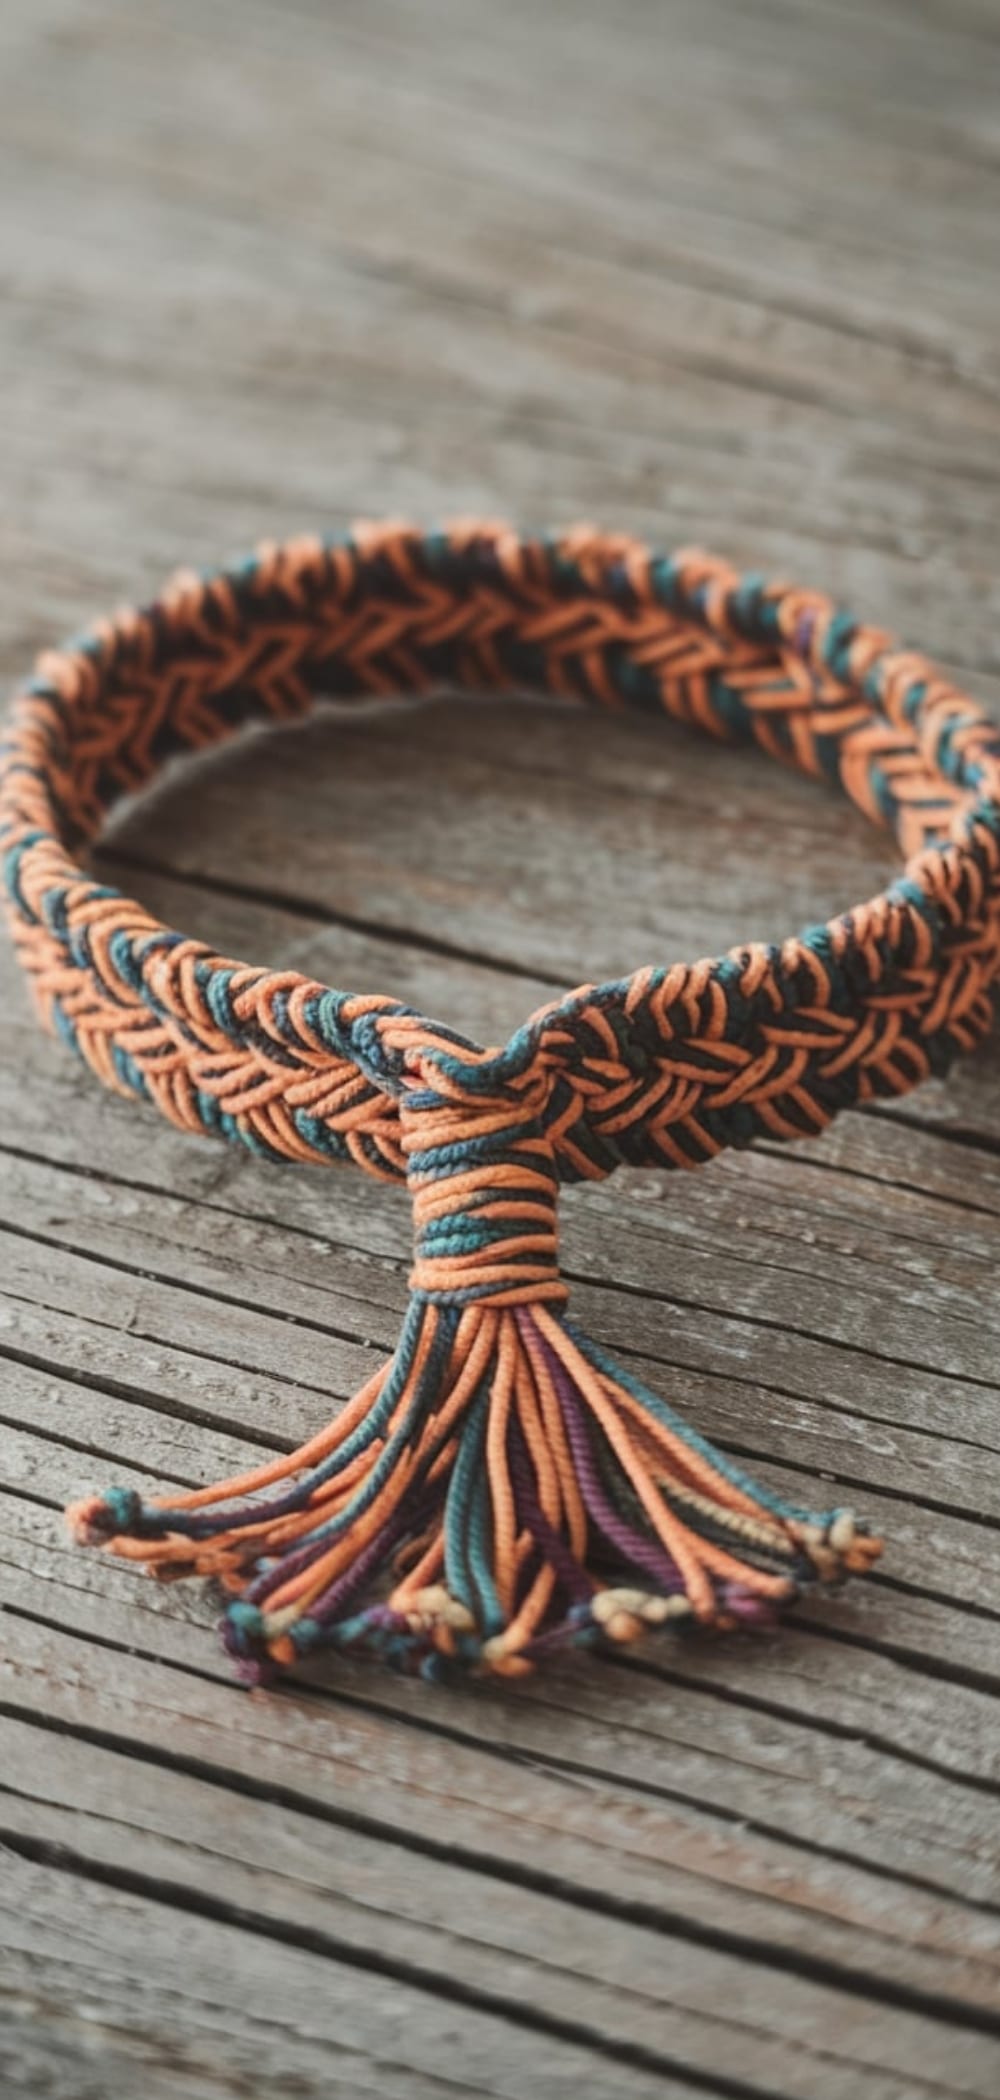
Braided using three groups of two strands. Cross outer strands inward, repeating for a uniform tail-like structure.
5. Zig-Zag Bracelet
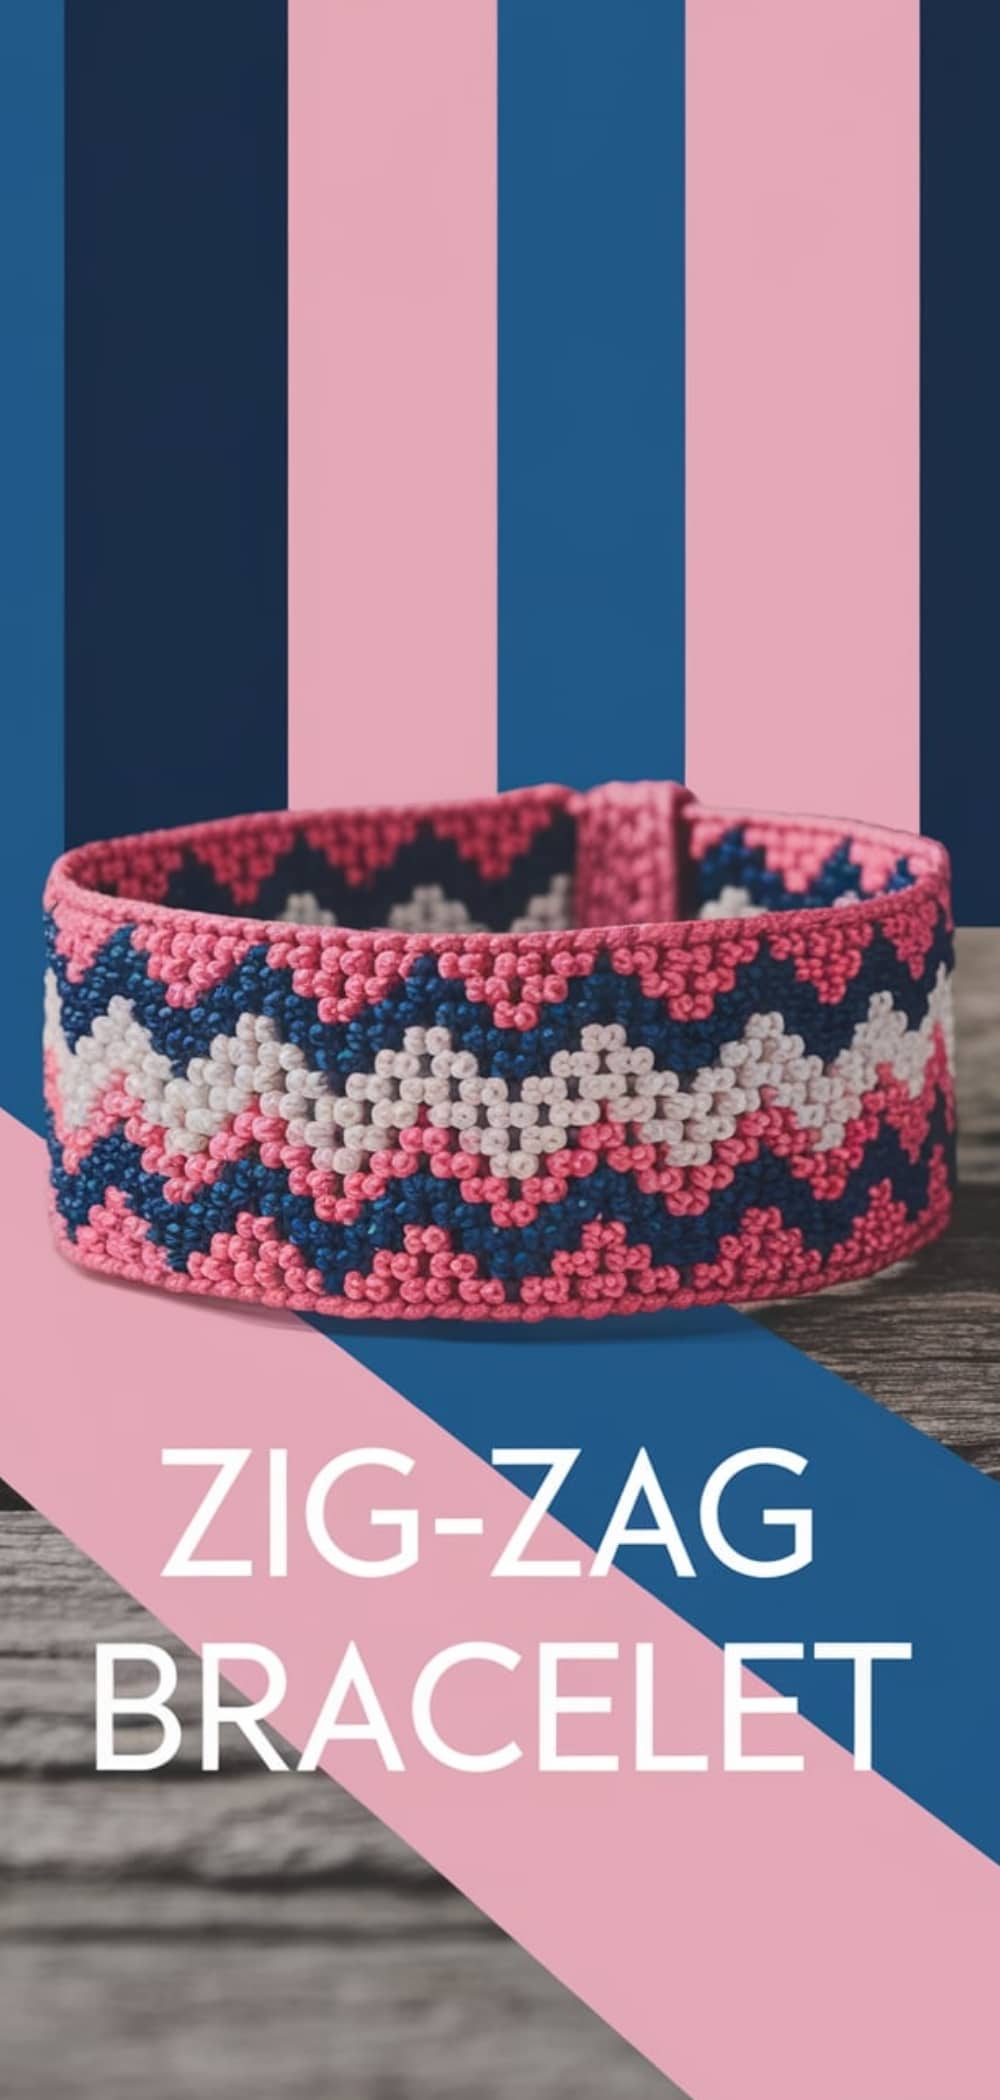
Achieve a zigzag line by alternating directions with each row. Pick contrasting colors for extra visual appeal.
6. Heart Pattern Bracelet
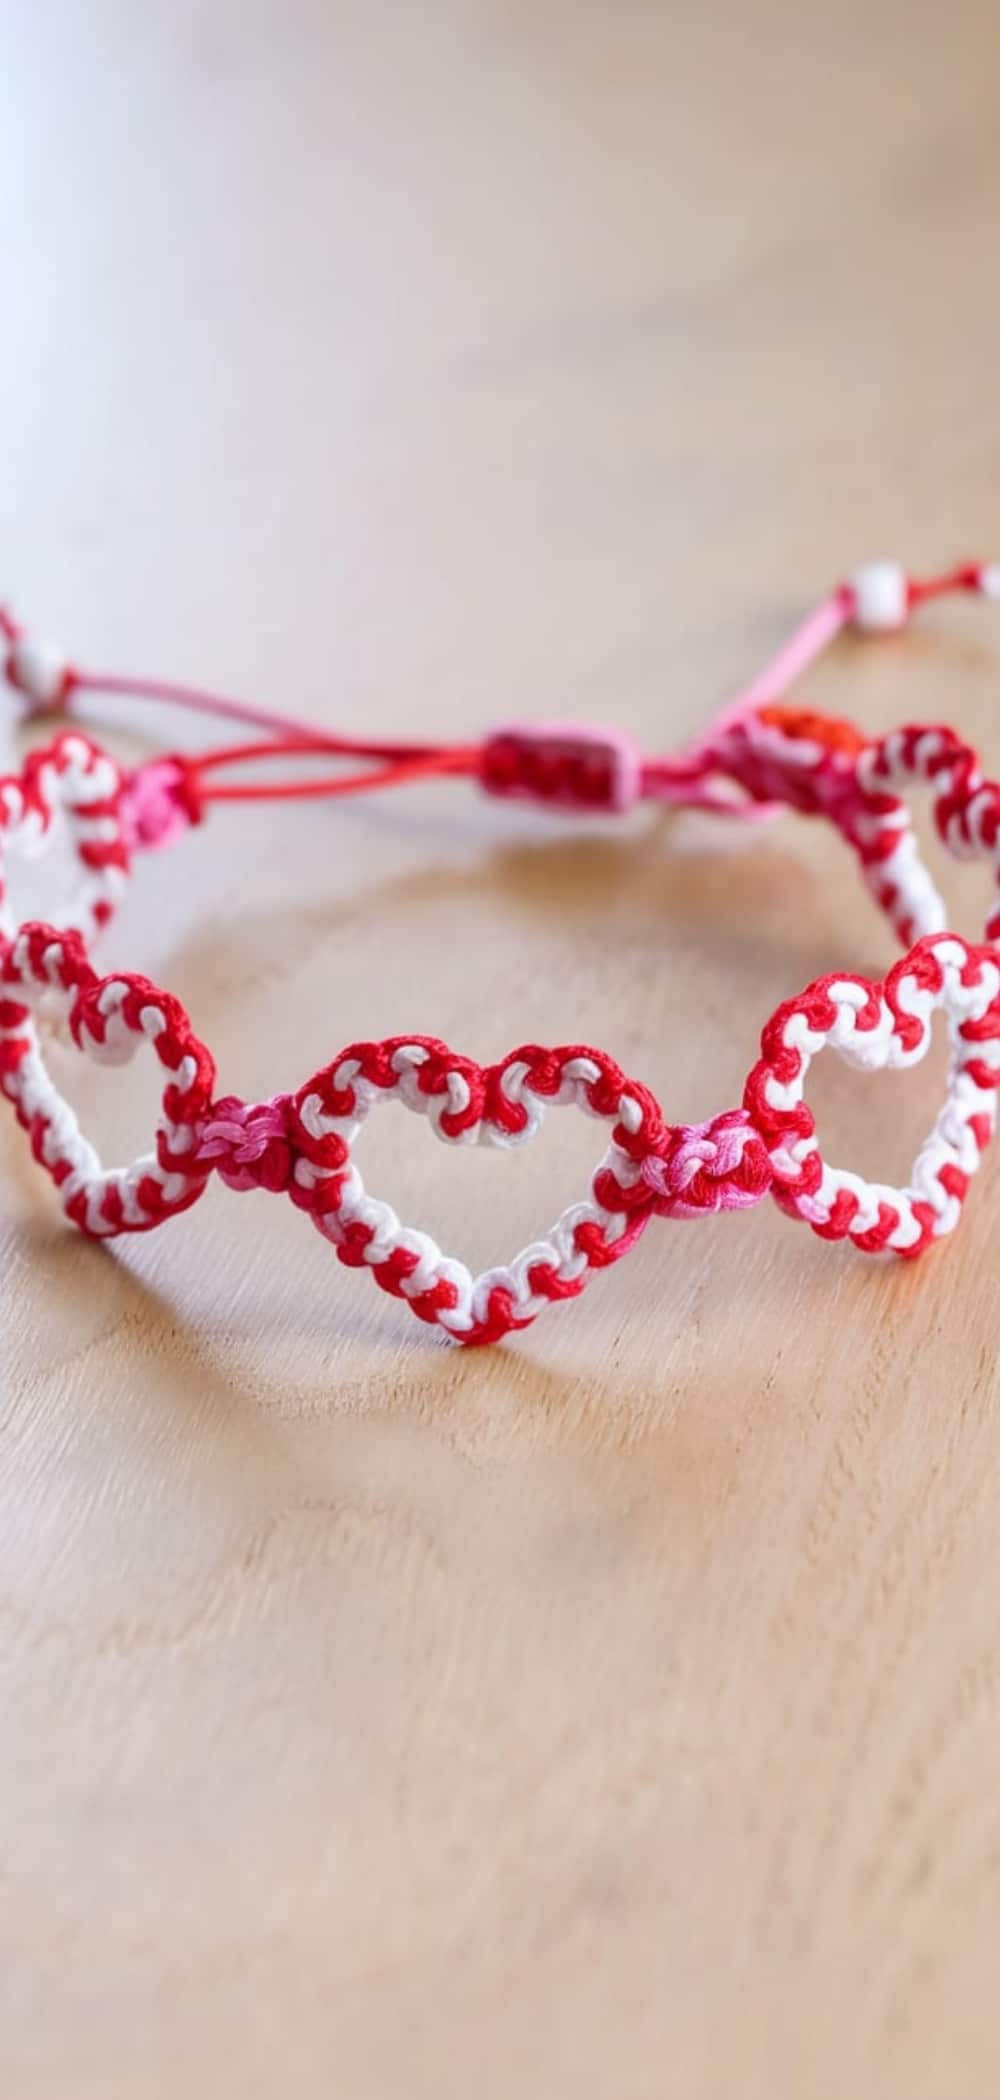
Pairs of knots form heart shapes. Use red or pink against white for a classic Valentine’s style.
7. Arrowhead Design
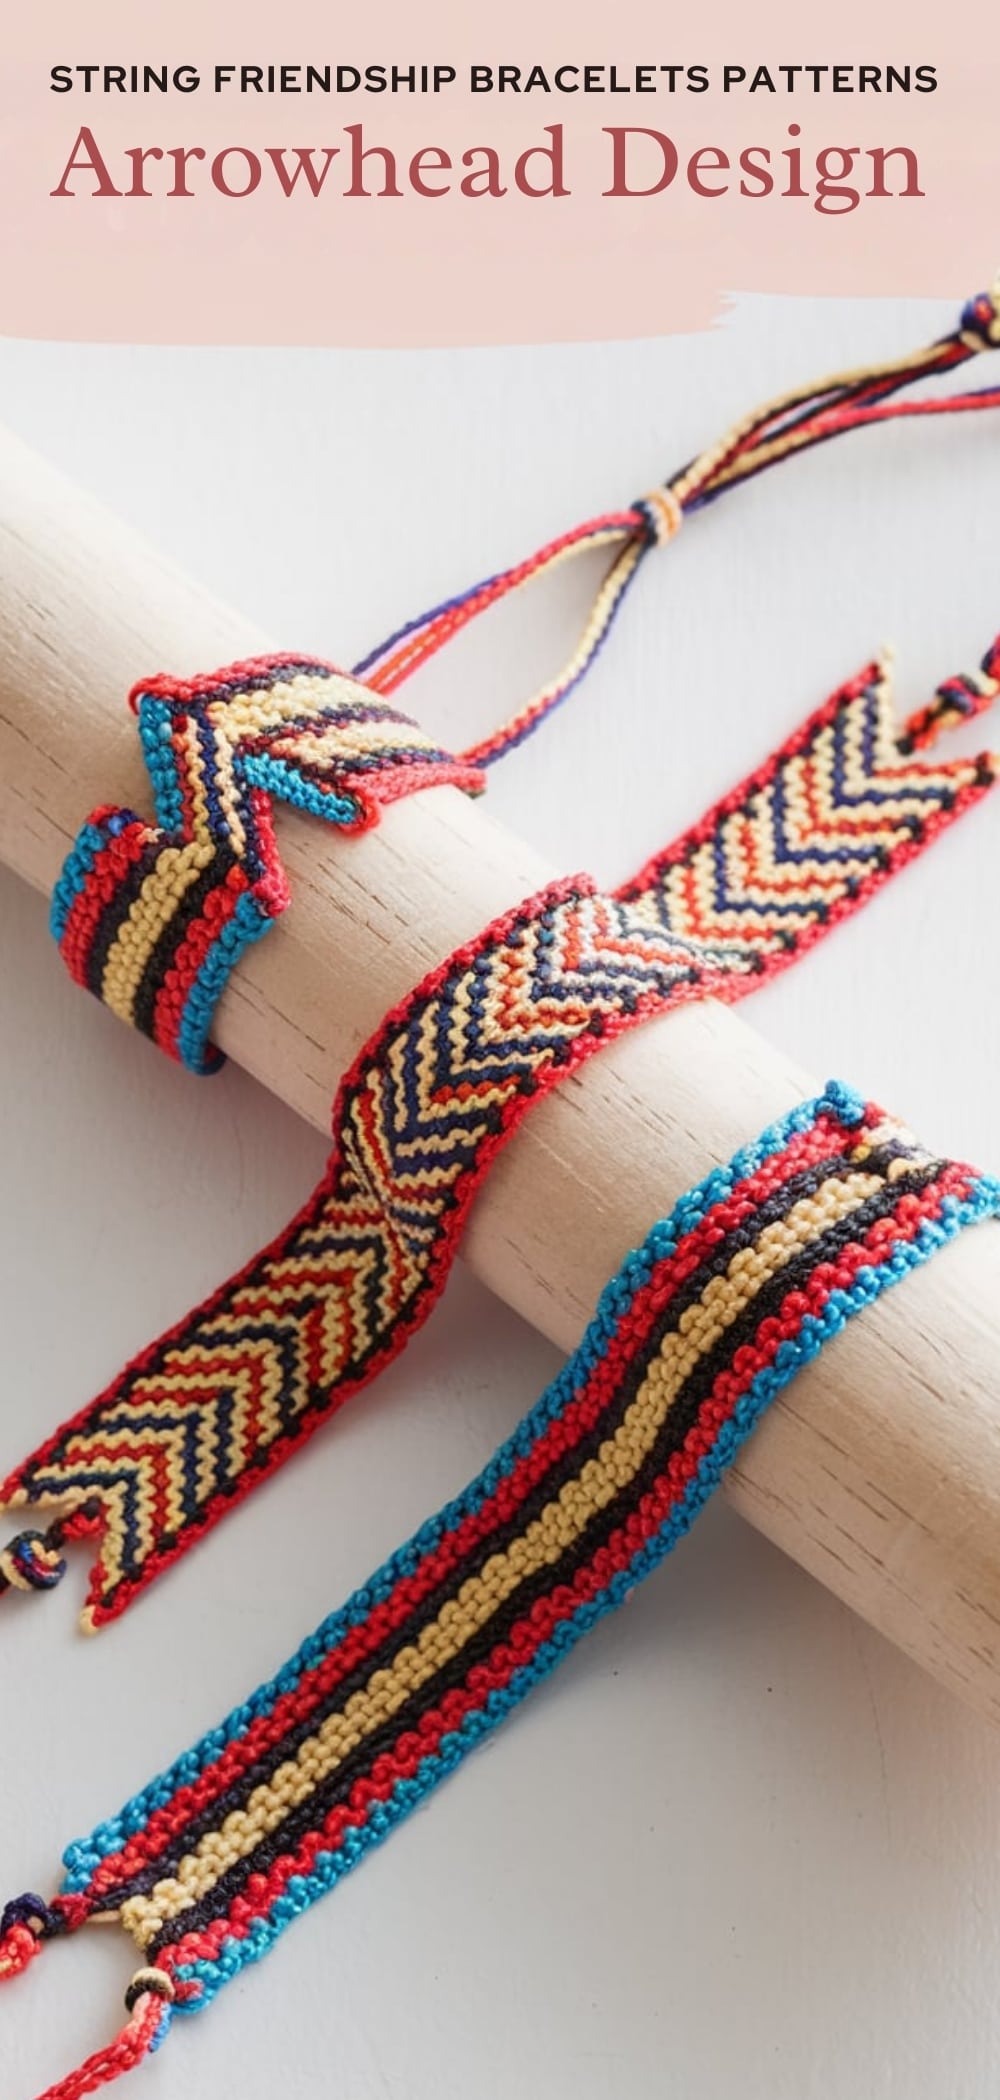
Similar to Chevron but ends in sharp arrow tips. Emphasize symmetry and tension consistency.
8. Braided Spiral Pattern
Make forward knots continuously on a single strand to achieve a curling spiral.
9. Alternating Knots Pattern
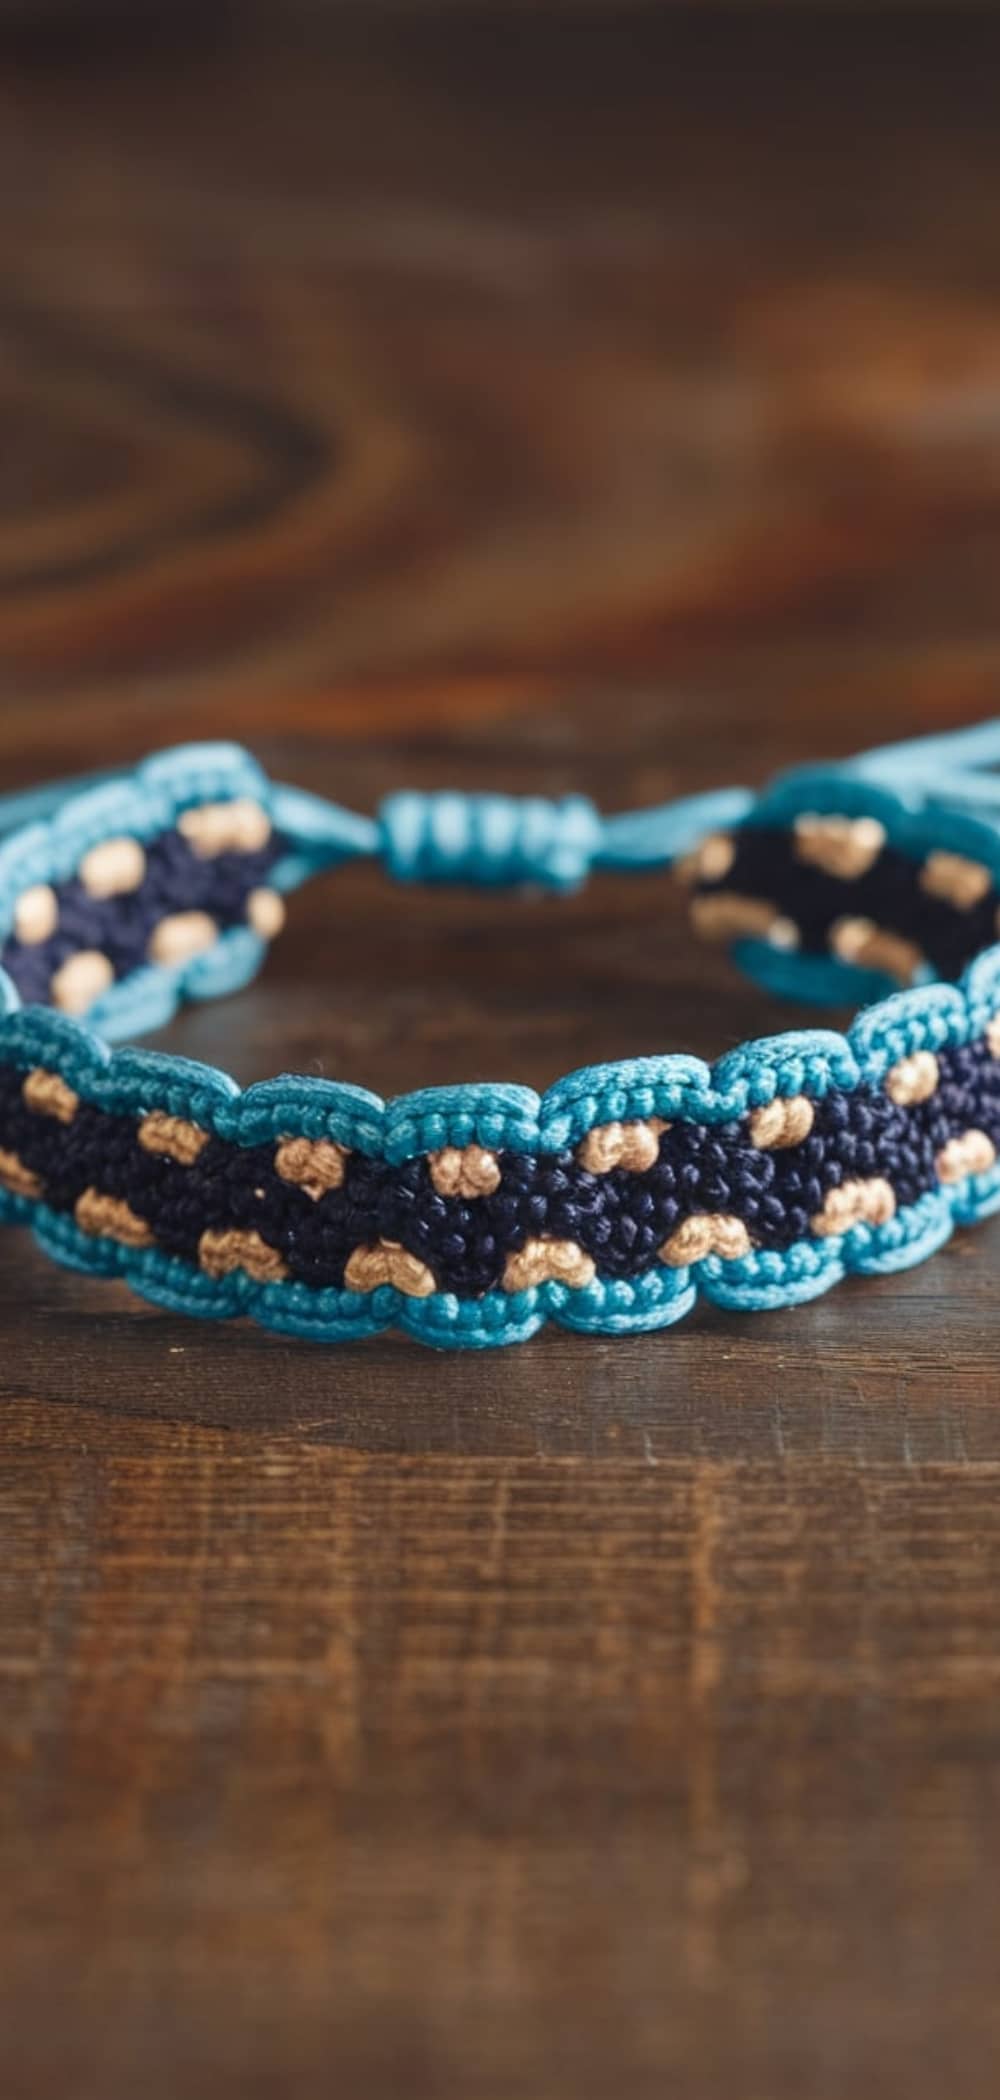
Alternate knot directions in each row for a unique woven appearance. Great for using two-tone color schemes.
10. Aztec Pattern Bracelet
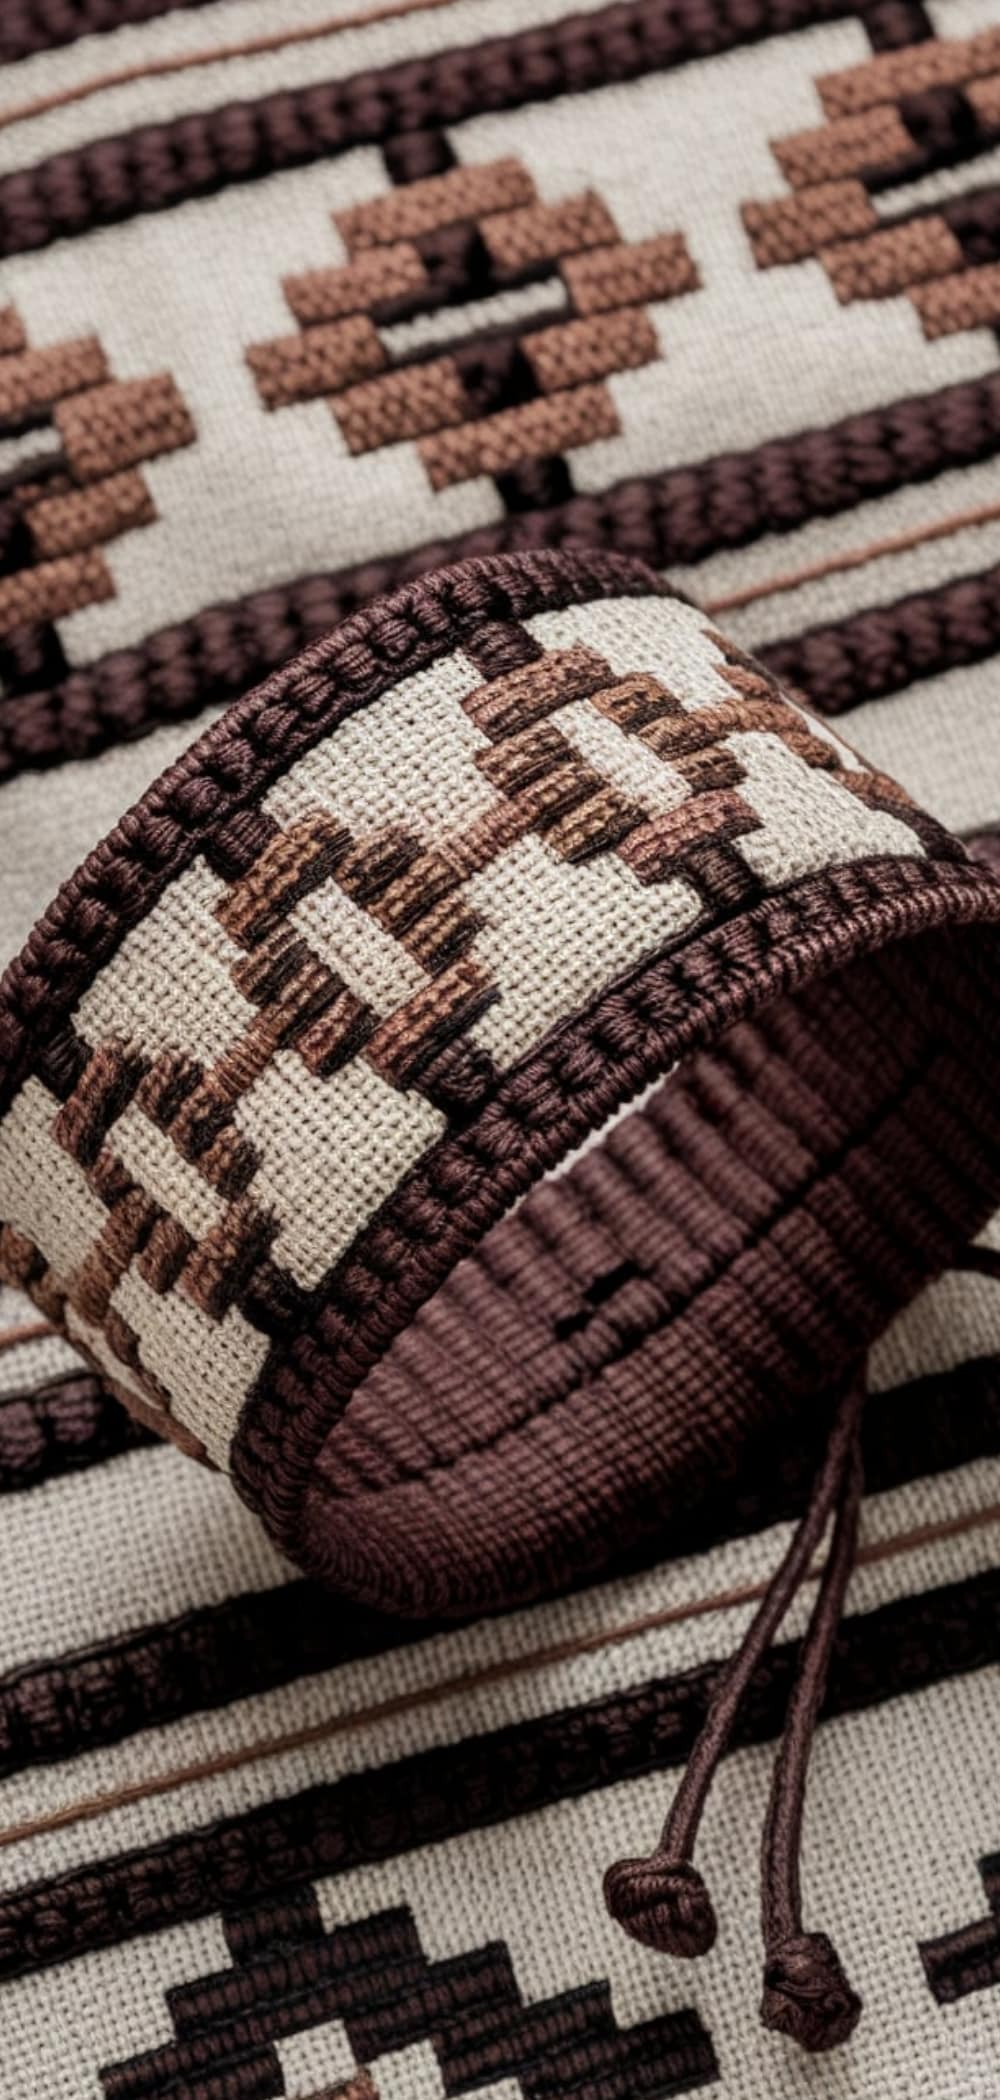
Inspired by tribal designs, combining diamonds, lines, and steps. Involves advanced knotting precision.
11. Ladder Bracelet
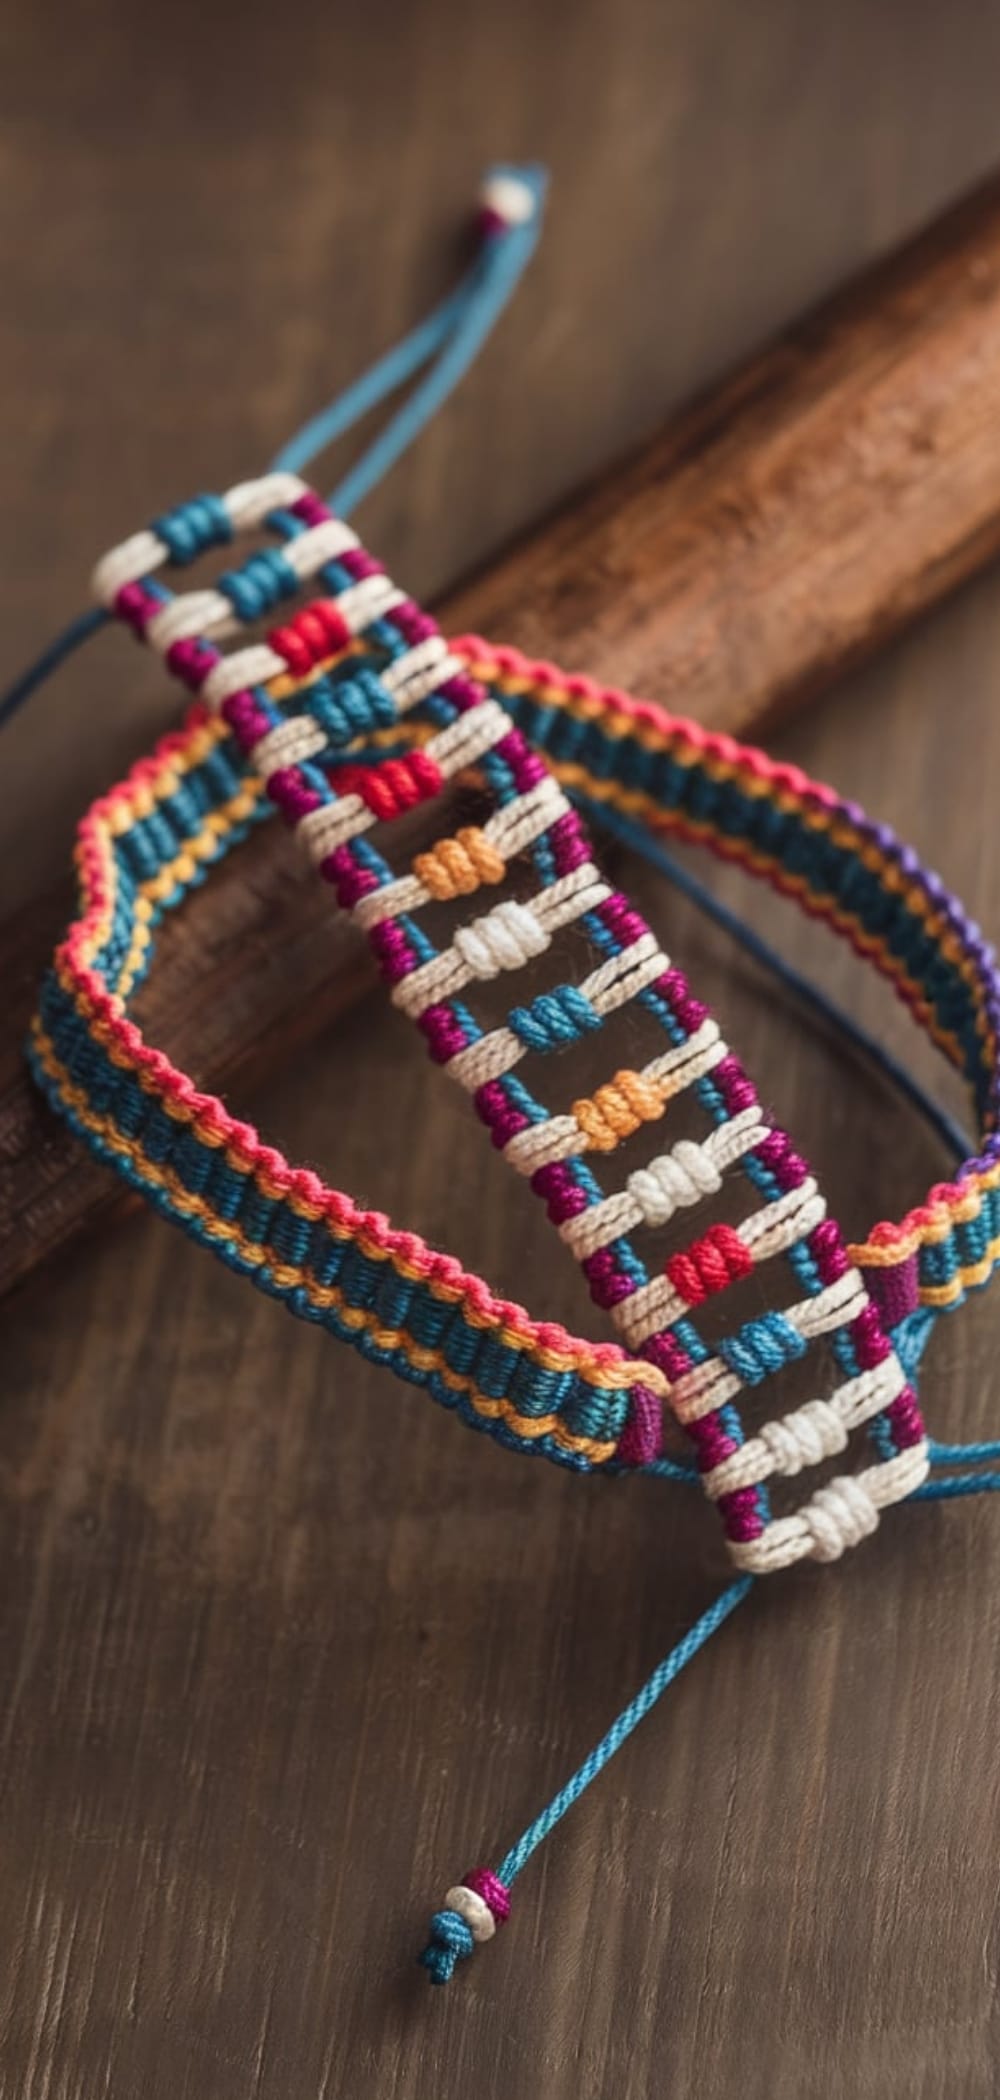
Strings crisscross the center, forming a ladder rung effect. Beads can be added for each rung.
12. Feathered Chevron
Blend multiple thread colors that change gradually. Great for an ombre or rainbow effect.
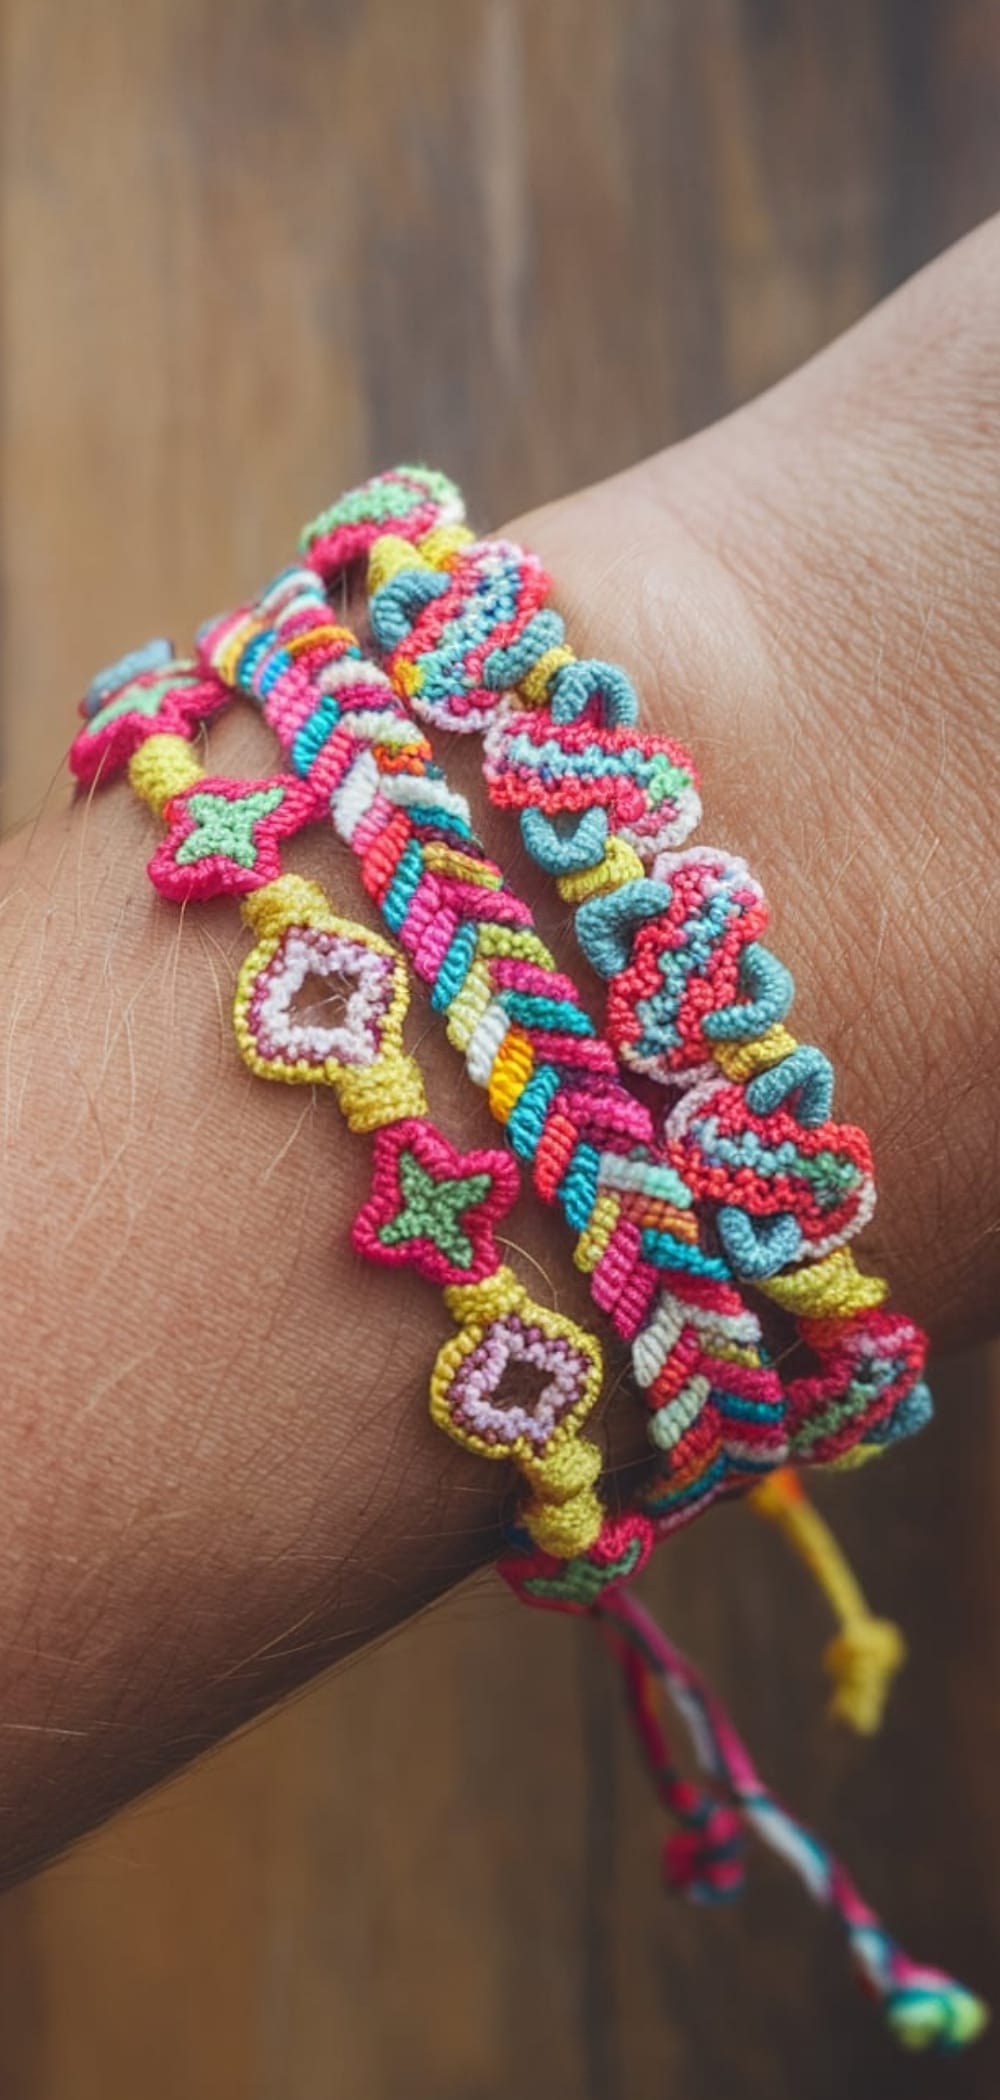
13. Wave Pattern
Curved flow created by adjusting knot angles. Works beautifully with 5+ colors.
15. Triple Strand Braid
Braid three mini friendship bracelets into one unified accessory.
16. Double Chevron Pattern
Stack two chevron patterns together, either in contrasting or gradient hues.
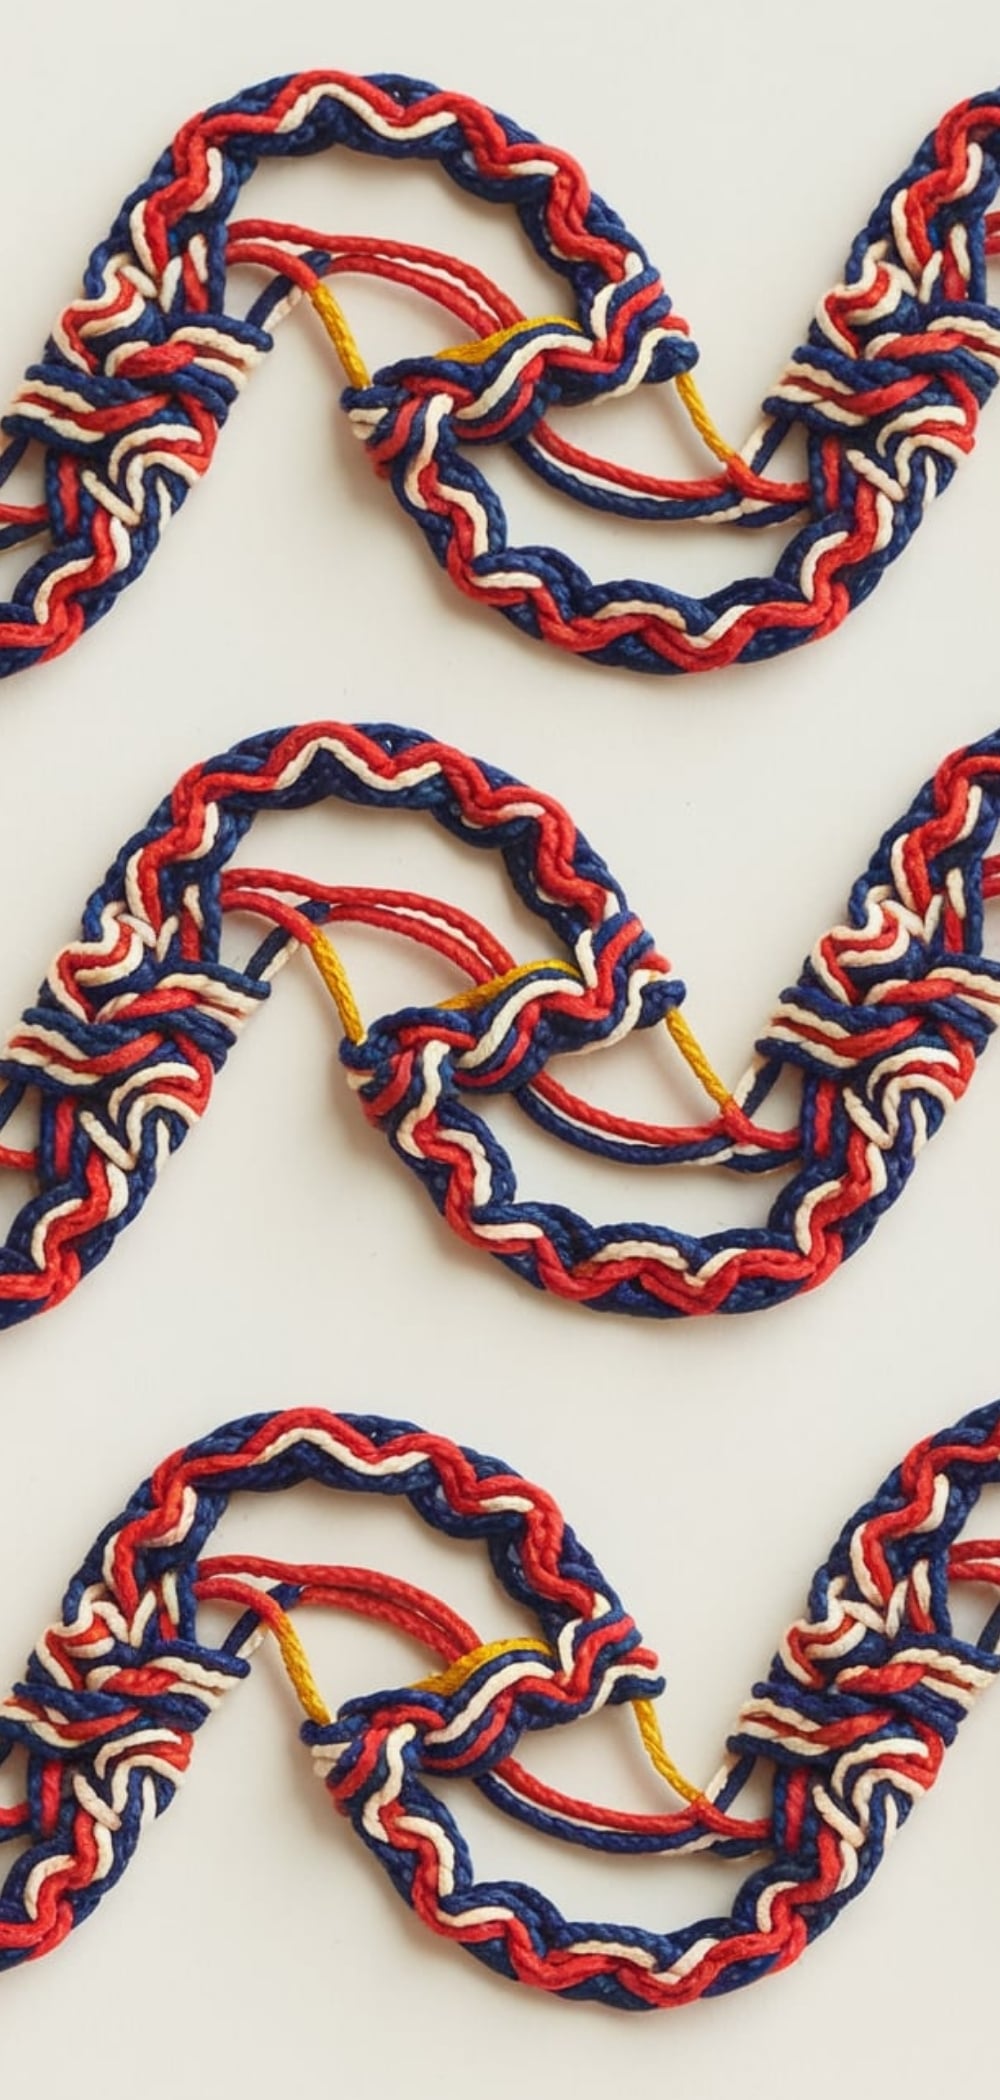
17. Infinity Loop Bracelet
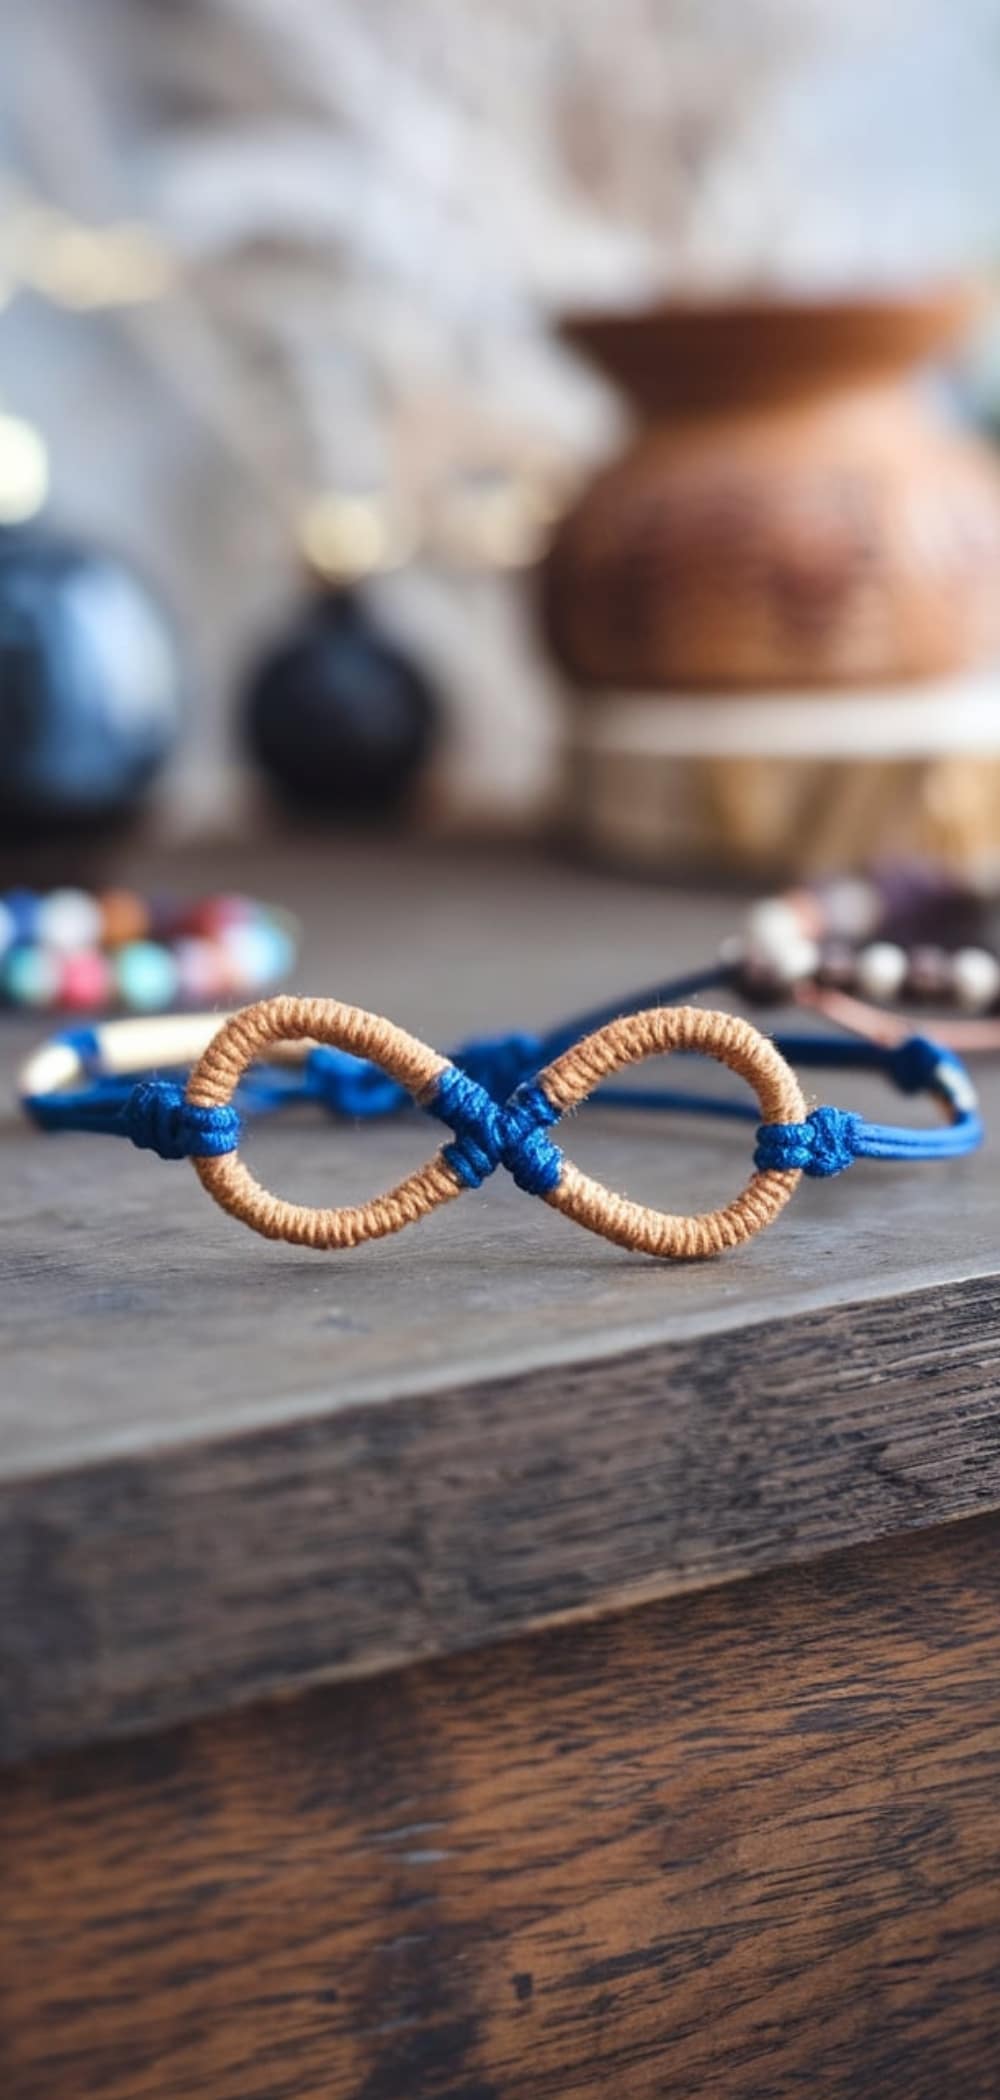
Start and end in a closed loop for a bracelet that slips on easily. Symbolizes eternal friendship.
Tips for a Perfect Finish
- Knot tightly and evenly to maintain shape.
- Use fabric glue or nail polish at the ends to seal the knots.
- Clip or tie-off ends neatly with beads or a braided tail.
- Measure before starting to avoid short strings.
- Practice knot consistency on scrap threads.
Creative Ideas for Gifting and Display
- Gift Sets: Bundle 2–3 bracelets in a custom envelope.
- Display Cards: Pin bracelets on cardstock with quotes.
- Friendship Kits: Add extra threads and instructions.
- Keychains or Anklets: Repurpose patterns for variety.
- Charity Events: Sell or gift them at school or local events.
FAQs About Friendship Bracelets
1. How long should I cut my string?
Usually 30–40 inches per string. Add more length for complex patterns.
2. Can I wash friendship bracelets?
Yes, but hand-wash gently in cold water and lay flat to dry.
3. How do I keep the bracelet from unraveling?
Seal the ends with glue or clear nail polish and knot securely.
4. Are friendship bracelets waterproof?
Not always. Use synthetic thread for more water resistance.
5. What’s the easiest pattern for beginners?
The candy stripe pattern is best for starters.
6. Can I use yarn or thread instead of floss?
Yes, but embroidery floss works best for durability and smooth knots.
Conclusion
Friendship bracelets are more than a nostalgic craft—they’re heartfelt, wearable art. Whether you’re weaving your first chevron or mastering intricate Aztec designs, each bracelet carries meaning and care. Perfect your technique, experiment with styles, and share the joy with your closest friends. Happy knotting!
Enjoyed this post?
Share the love with another mom!
Every share helps this little blog grow — thank you so much


[…] winner? A girly crafts classic: stretchy bead bracelets made with clay and seed beads. Minimal setup, but endless design options! Then there was the […]