
Make sure to join my list for Weekly Tips and Recipes to Your Inbox
17 Essential Hand Embroidery Stitches Every Beginner Must Learn

A little note: Some images in this post may come from third-party sources and are shared purely to inspire you. All credit goes to their original creators. Visit our Image Credits Policy for more information.
When I first stumbled into the world of needlework, I was in the middle of finishing up a fun, crafty article about 3D Perler Bead Patterns. It got me thinking, why not try something tactile, colorful, and calming like embroidery?
But I immediately hit a wall: there were so many embroidery stitches, and I didn’t even know where to begin. Just the idea of threading the needle seemed overwhelming. I wanted a hobby that used my hands, let me slow down, and didn’t cost a fortune, but without a clear place to start, it was intimidating.
I asked questions online and quickly realized I wasn’t alone. Many beginners, just like me, didn’t know whether to start with kits or freestyle patterns, what thread or needle to buy, or how to even hold the hoop properly.
Everyone was posting these perfect, polished pieces while I was still trying to figure out how to do a simple backstitch. But thanks to a few kind community members, I got some great advice: start with a simple sampler, practice core embroidery stitches like the backstitch, stem stitch, and French knot, and keep your hoop fabric tight like a drum.
Since then, embroidery has become one of my favorite mindful hobbies. It helped me slow down and celebrate progress over perfection my little family. Learning just a handful of embroidery stitches gave me the confidence to try more detailed patterns and even improvise designs of my own.
Now, I give handmade embroidered gifts and decorate little corners of my home with tiny floral hoops. So if you’re standing at the start of this creative journey, wondering how to begin, grab a hoop, some thread, and remember: the joy is in the stitching, not just the final picture.
What We're Exploring
- 01 17. Running Stitch – The Foundation Stitch
- 02 16. Backstitch – For Clean, Continuous Lines
- 03 15. Stem Stitch – Great for Curved Lines
- 04 14. Split Stitch – Textured and Tight
- 05 13. Chain Stitch – Linked Loops
- 06 12. Lazy Daisy Stitch – For Petals and Leaves
- 07 11. French Knot – Dimensional Dot Work
- 08 10. Satin Stitch – Smooth Fill Technique
- 09 9. Long and Short Stitch – For Shading Effects
- 10 8. Feather Stitch – Light and Decorative
- 11 7. Herringbone Stitch – Crossed Pattern Texture
- 12 6. Fly Stitch – For Leaves and Borders
- 13 5. Couching Stitch – Secure Fancy Threads
- 14 4. Bullion Knot – Textured, Rolled Knots
- 15 3. Straight Stitch – The Most Versatile
- 16 2. Buttonhole (Blanket) Stitch – Decorative Edge Work
- 17 1. Seed Stitch – Scattered Detail Texture
- 18 Conclusion
17. Running Stitch – The Foundation Stitch
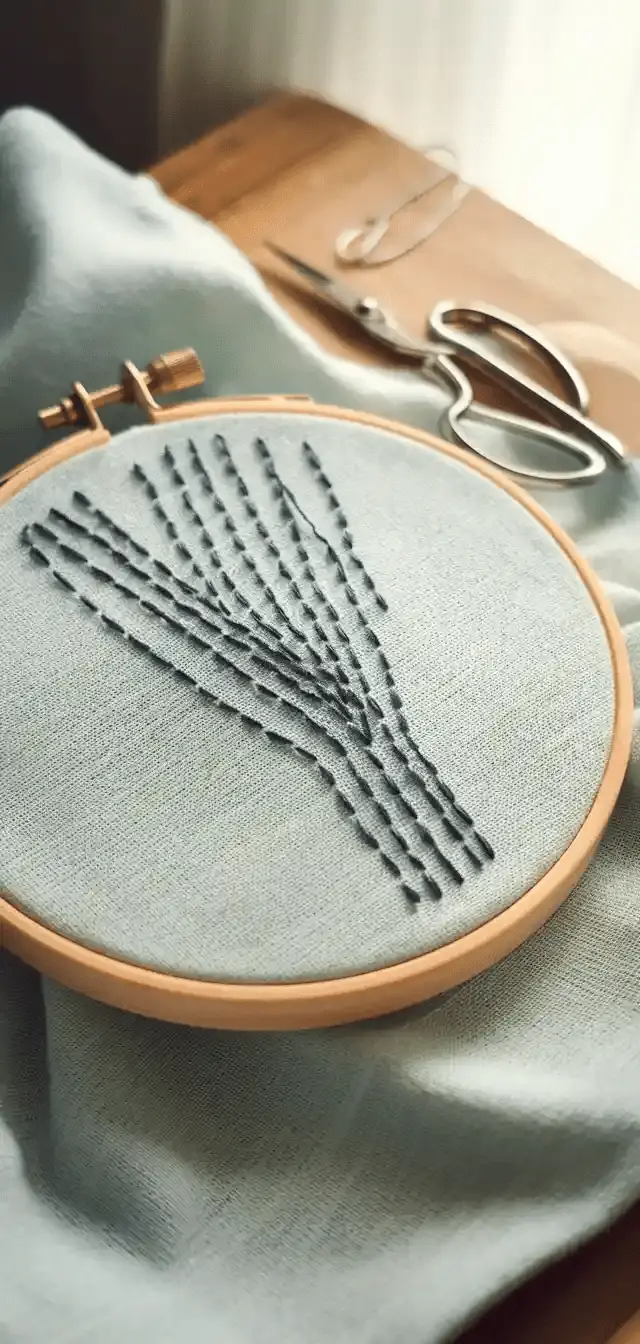
This stitch is often the first learned due to its simplicity.
How to:
- Bring the needle up through the fabric.
- Insert it back down a short distance away.
- Repeat with even spaces.
Embroidery Stitches Tip:
Maintain consistent stitch length for a polished appearance. Ideal for borders and outlining.
16. Backstitch – For Clean, Continuous Lines
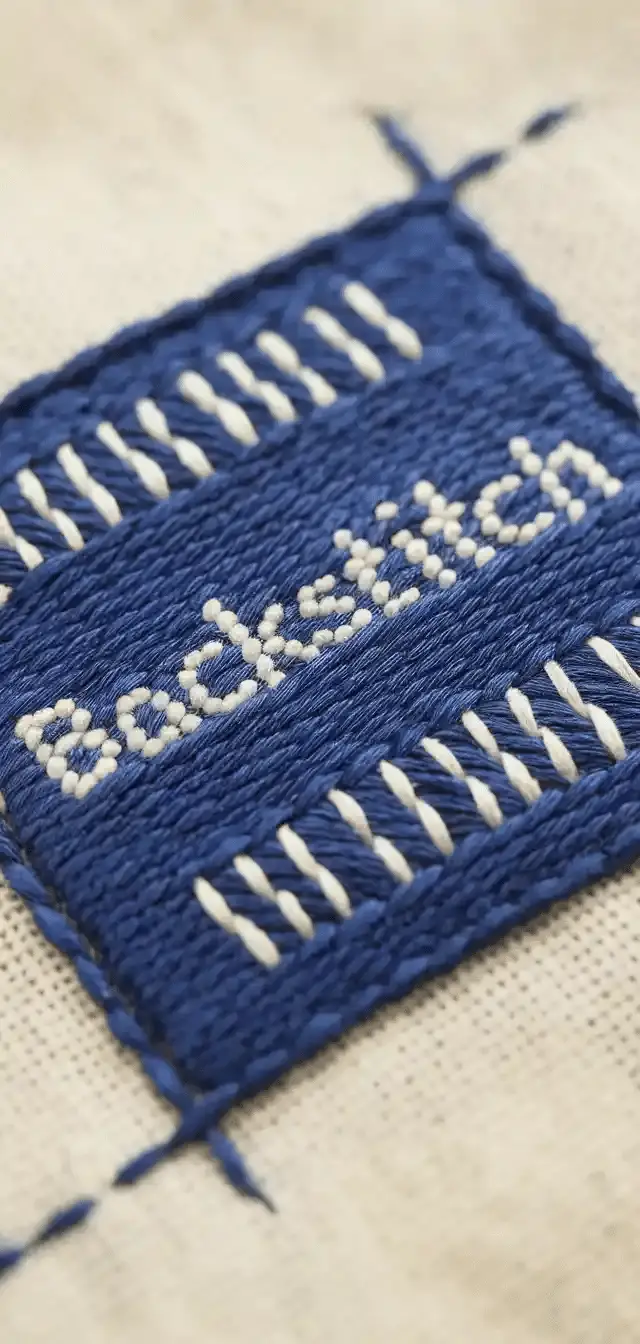
Backstitch offers a solid outline and is excellent for lettering.
Embroidery Stitches Instructions:
- Bring the needle up at point A.
- Go down at point B.
- Bring the needle up at point C (ahead).
- Insert it back at point A.
Use Case:
Perfect for text, outlines, and detailed line work.
15. Stem Stitch – Great for Curved Lines
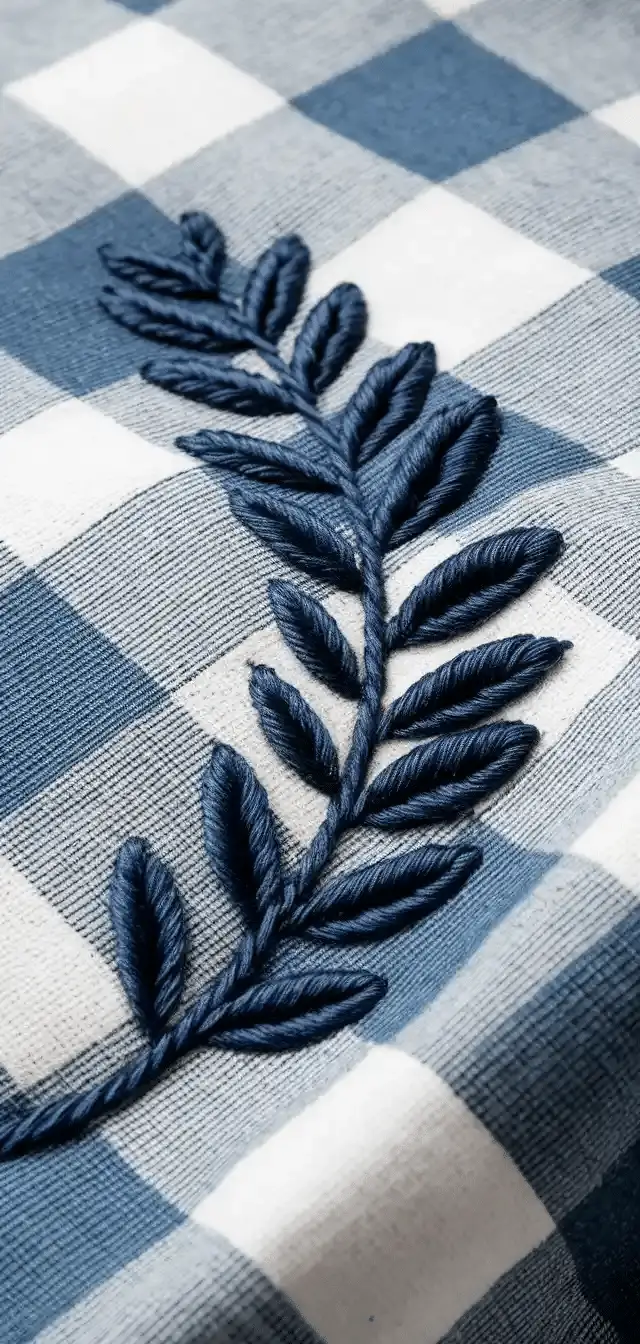
Often used in floral and vine patterns.
Method:
- Stitch forward on the line.
- Bring the needle up halfway back through the previous stitch.
- Repeat, keeping the thread consistently on one side.
14. Split Stitch – Textured and Tight
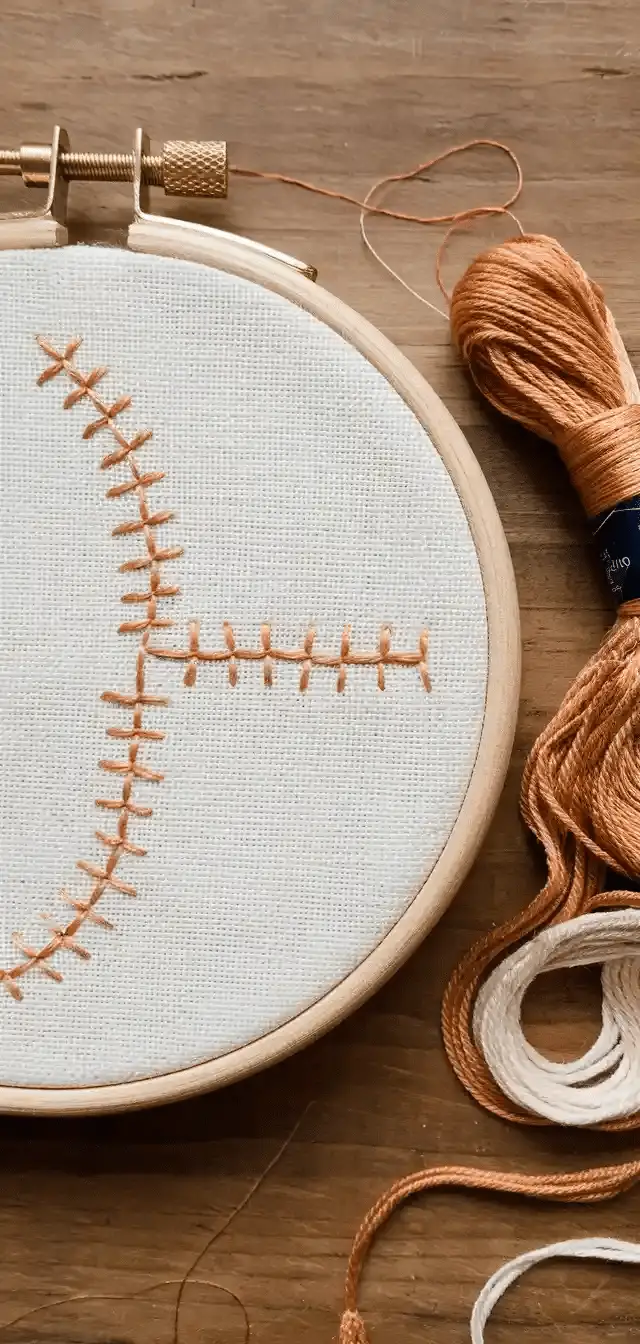
Provides a rope-like effect.
Embroidery Stitches Steps:
- Make a small straight stitch.
- Bring the needle up through the middle of the previous stitch.
- Continue along the line.
Best For:
Bold outlines, borders, and thick stems.
13. Chain Stitch – Linked Loops
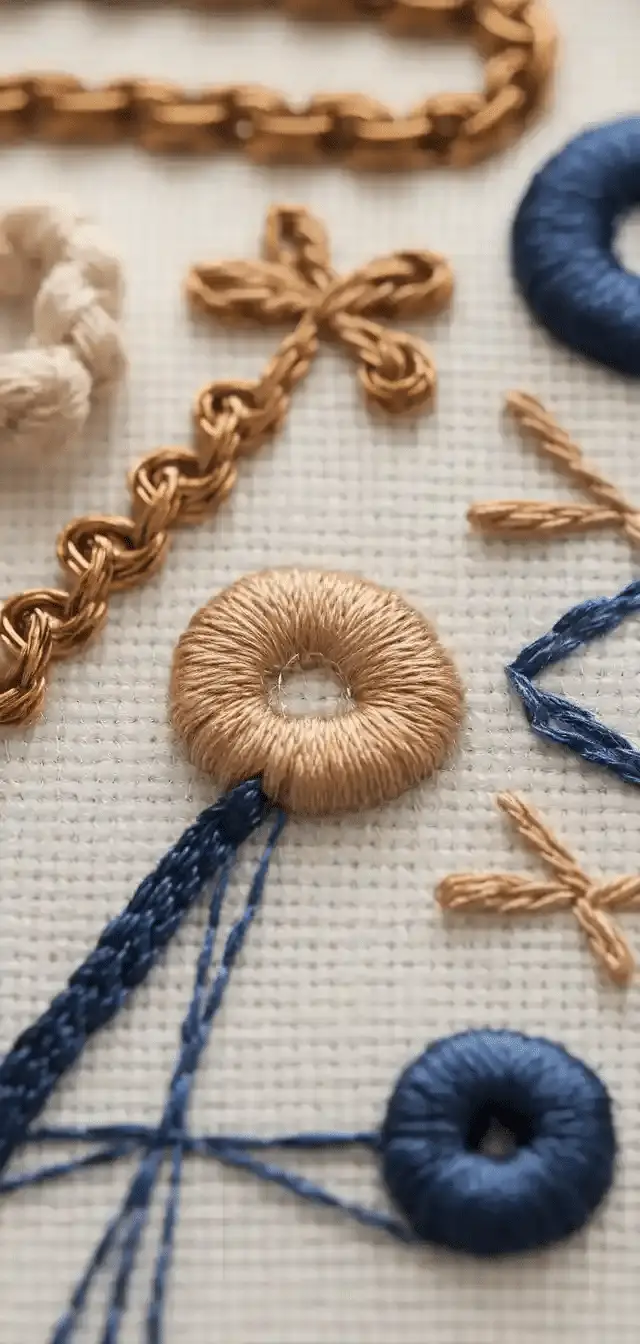
Creates a series of loops linked together.
Embroidery Stitches Technique:
- Pull the thread up.
- Insert the needle close to the same hole.
- Bring it up a short distance away, catching the loop underneath.
12. Lazy Daisy Stitch – For Petals and Leaves
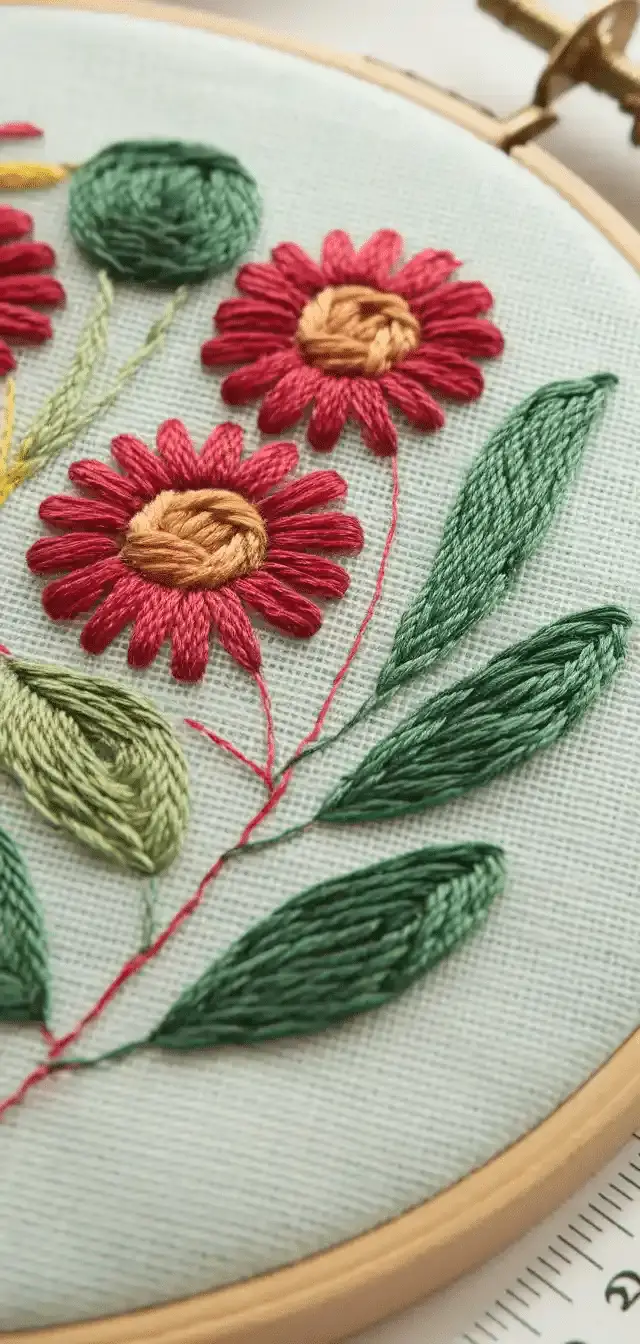
A variation of the chain stitch.
Process:
- Pull the thread up.
- Form a loop and anchor with a small straight stitch.
- Repeat in a circular pattern for flowers.
11. French Knot – Dimensional Dot Work
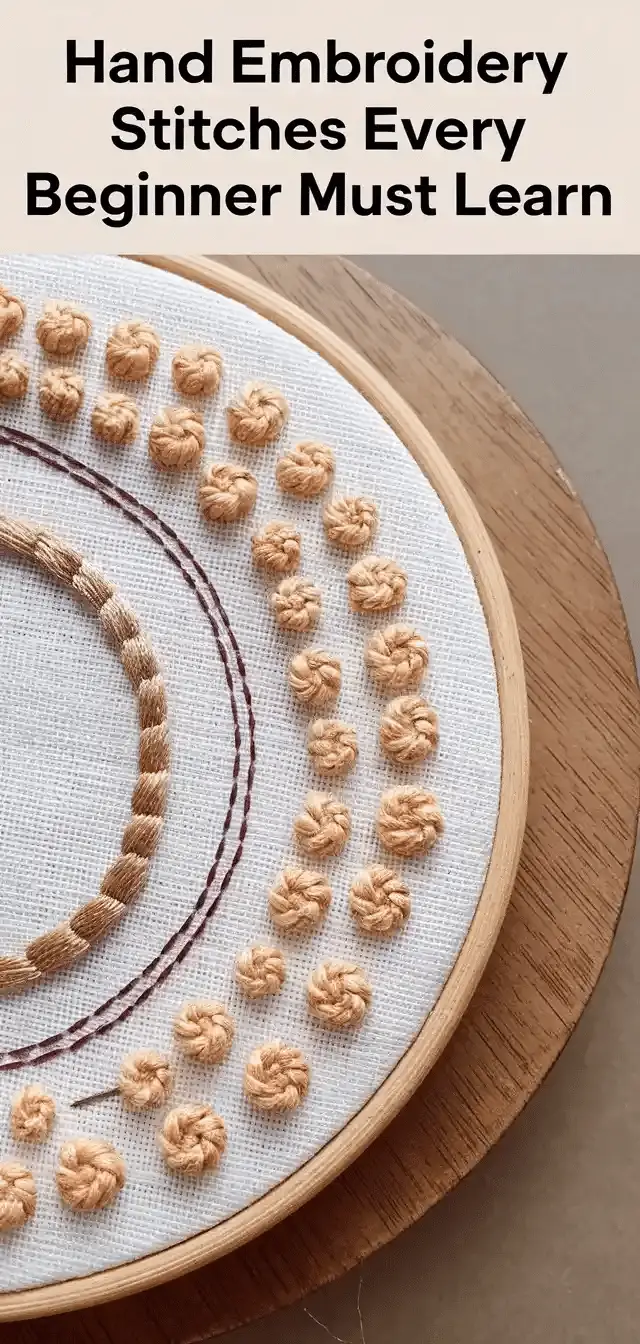
Adds texture and volume.
Steps:
- Pull the thread up.
- Wrap the thread around the needle twice.
- Insert the needle near the original hole while keeping tension.
Embroidery Stitches Tip:
Hold the thread taut while inserting to avoid sloppy knots.
10. Satin Stitch – Smooth Fill Technique
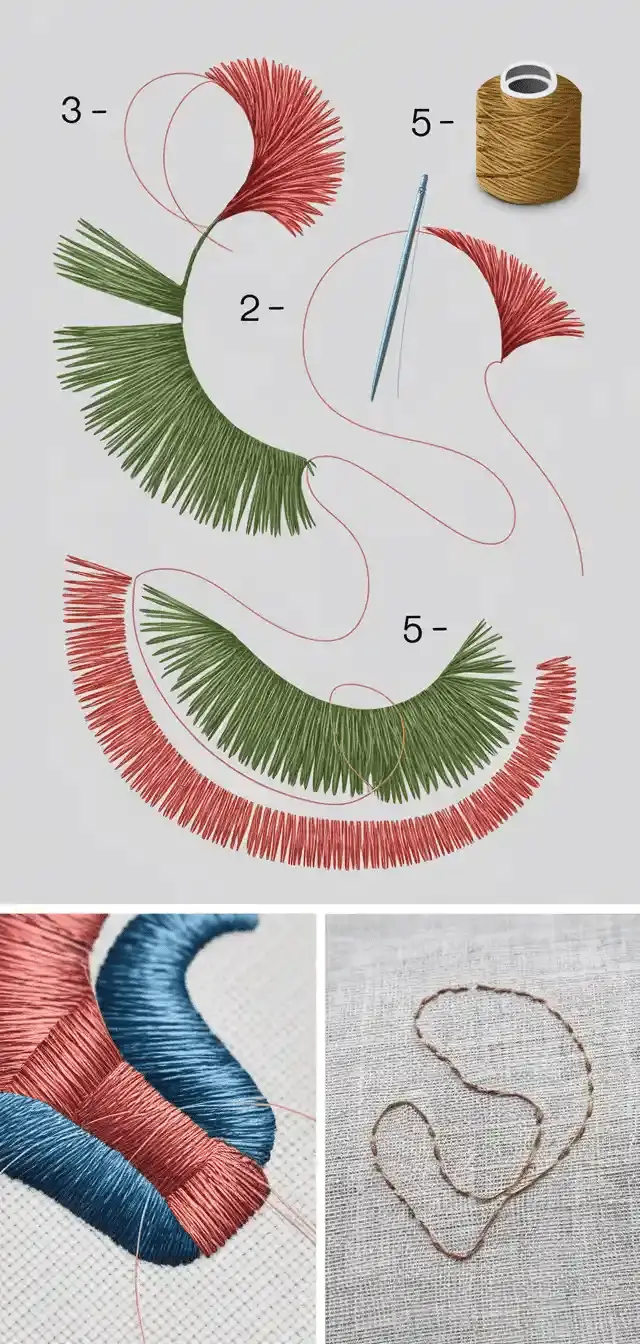
Used to fill shapes with a solid color.
Instructions:
- Work side-by-side straight stitches inside a defined outline.
- Keep tension even and stitches closely packed.
9. Long and Short Stitch – For Shading Effects
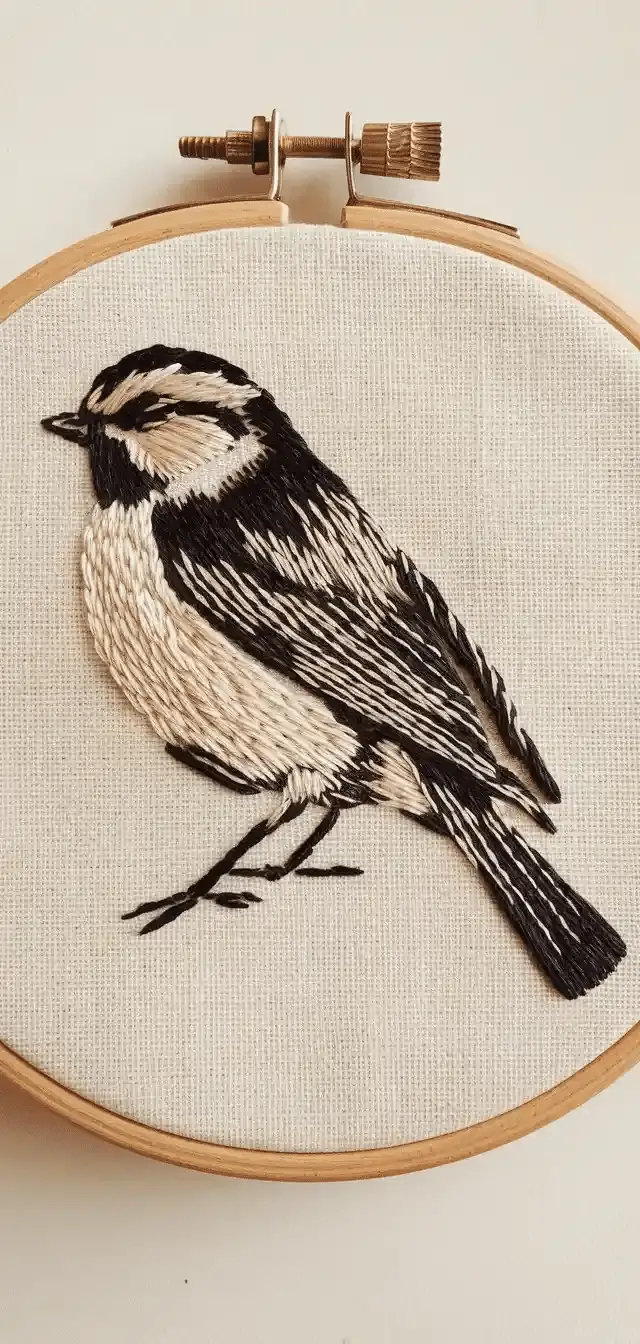
Perfect for realistic fills and gradients.
How to:
- Alternate long and short stitches to blend colors.
- Vary lengths subtly for smoother transitions.
8. Feather Stitch – Light and Decorative
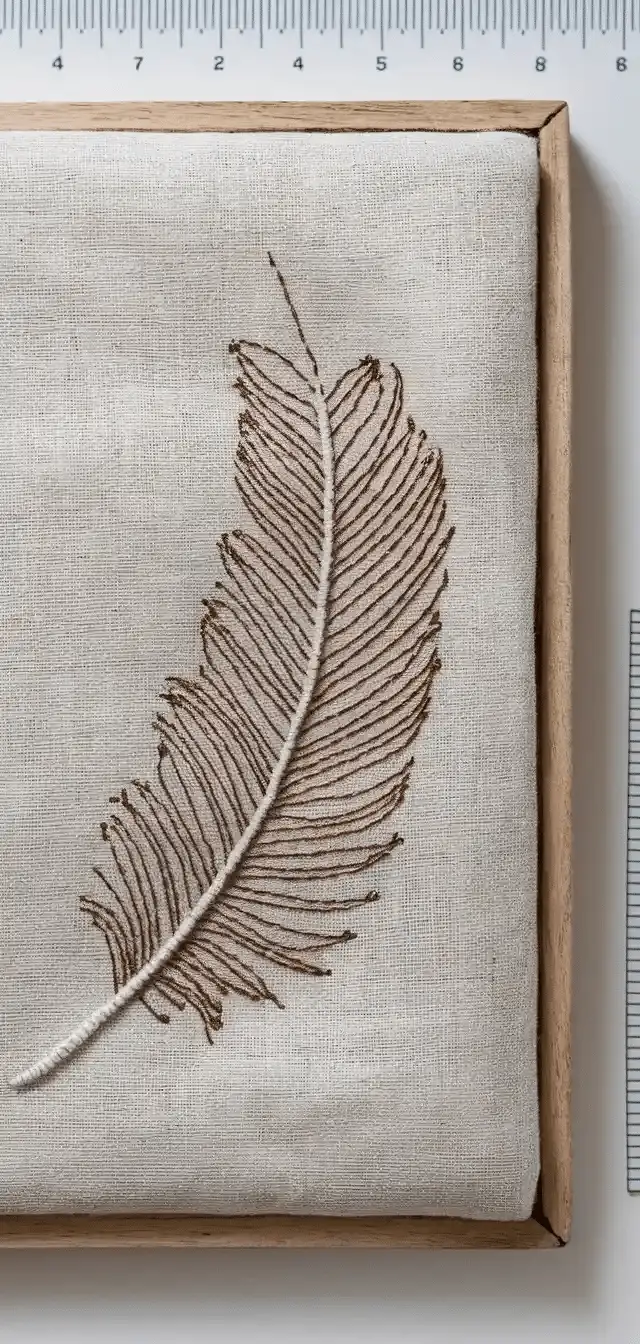
Often used in borders or vines.
Method:
- Work in a zigzag pattern.
- Loop thread under each stitch in alternating directions.
7. Herringbone Stitch – Crossed Pattern Texture
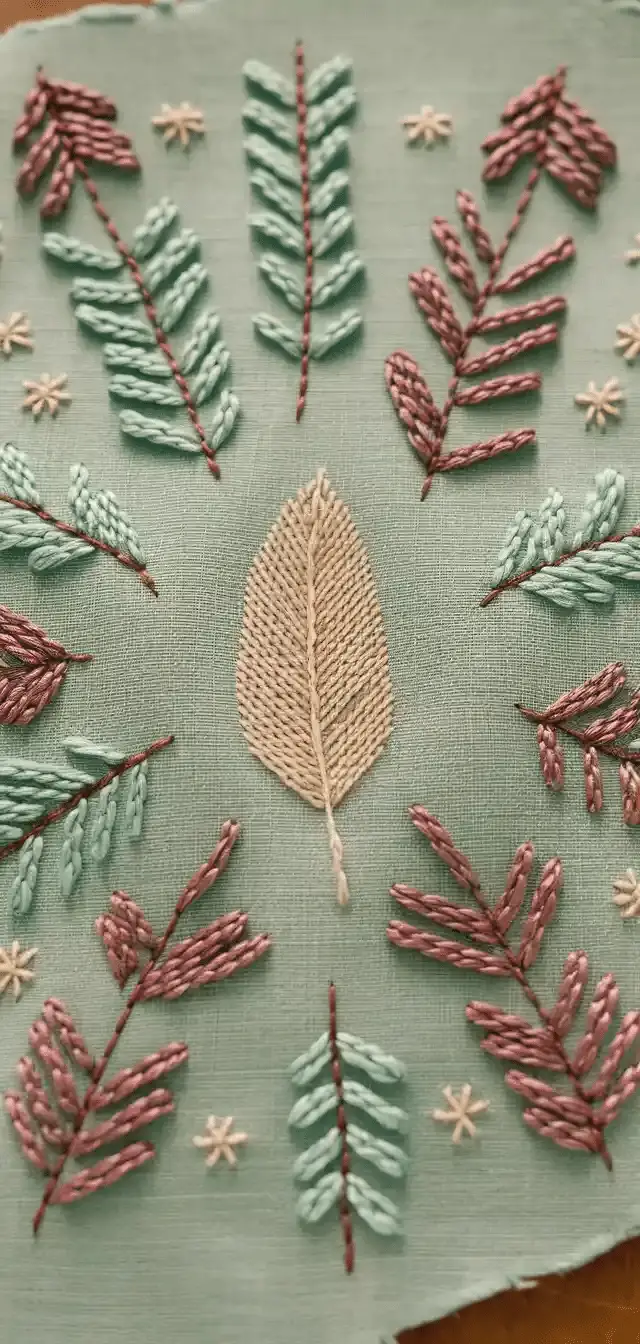
Decorative and durable.
Embroidery Stitches Technique:
- Make a diagonal stitch.
- Cross over with another stitch in the opposite direction.
- Repeat in a rhythm for a woven effect.
6. Fly Stitch – For Leaves and Borders
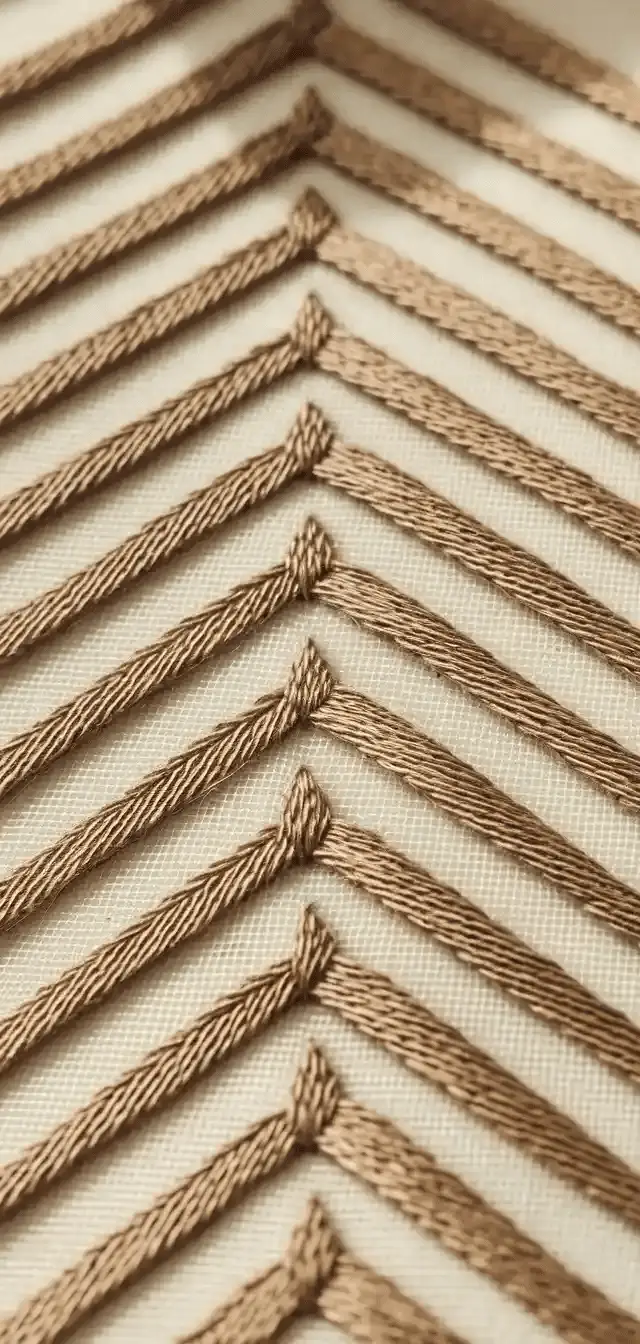
V-shaped stitch with a tie-down.
Steps:
- Bring needle up and loop thread down forming a “V”.
- Anchor the point with a small straight stitch.
5. Couching Stitch – Secure Fancy Threads
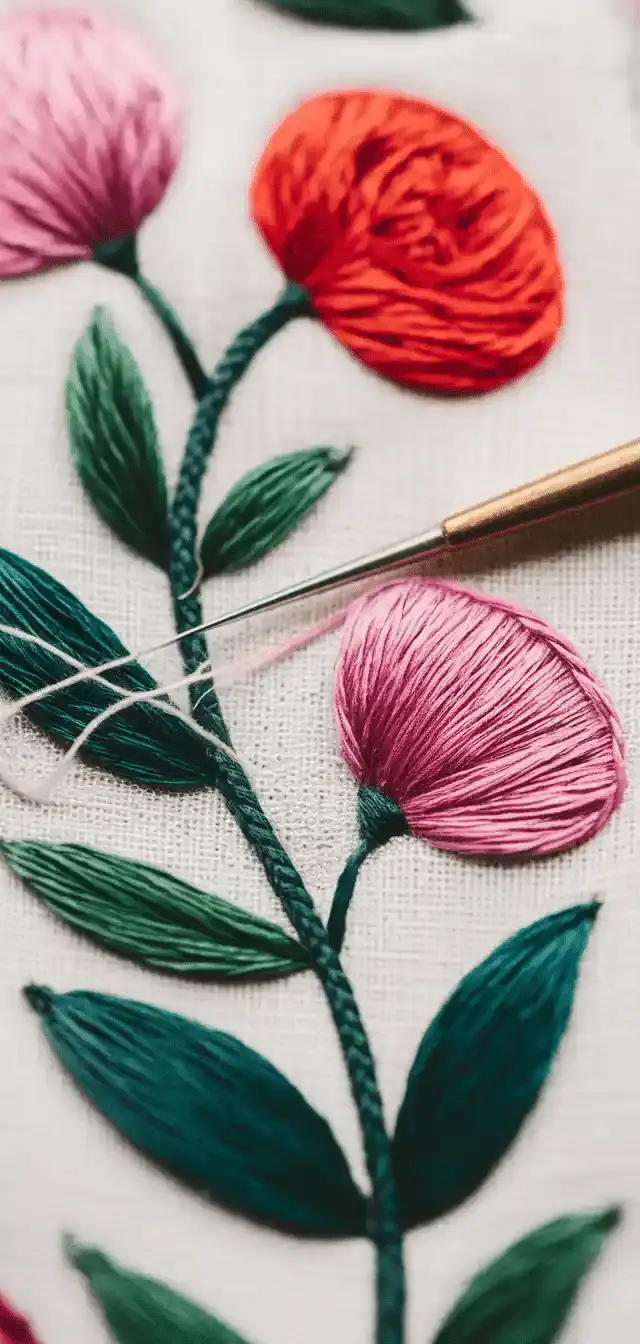
Great for metallic or thick threads.
Instructions:
- Lay down a base thread.
- Stitch small anchors over it at intervals to hold it in place.
4. Bullion Knot – Textured, Rolled Knots
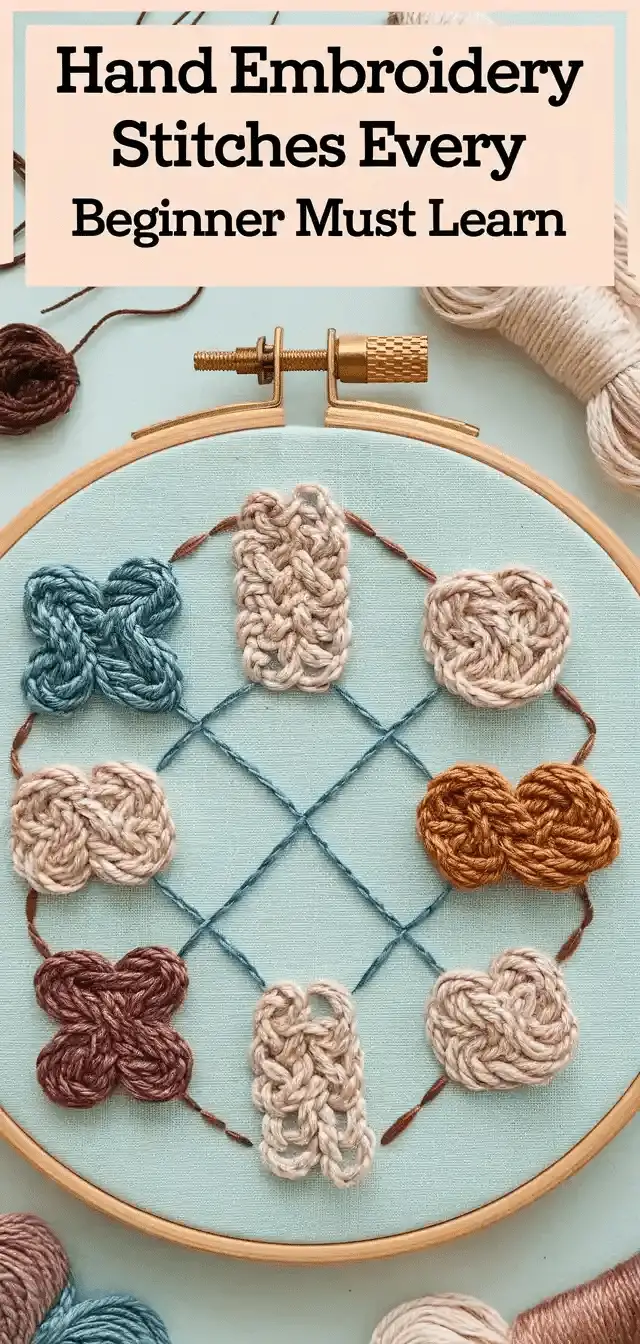
Often seen in rose petals.
Method:
- Wrap the thread multiple times around the needle.
- Carefully pull through without tangling.
- Insert to anchor.
3. Straight Stitch – The Most Versatile
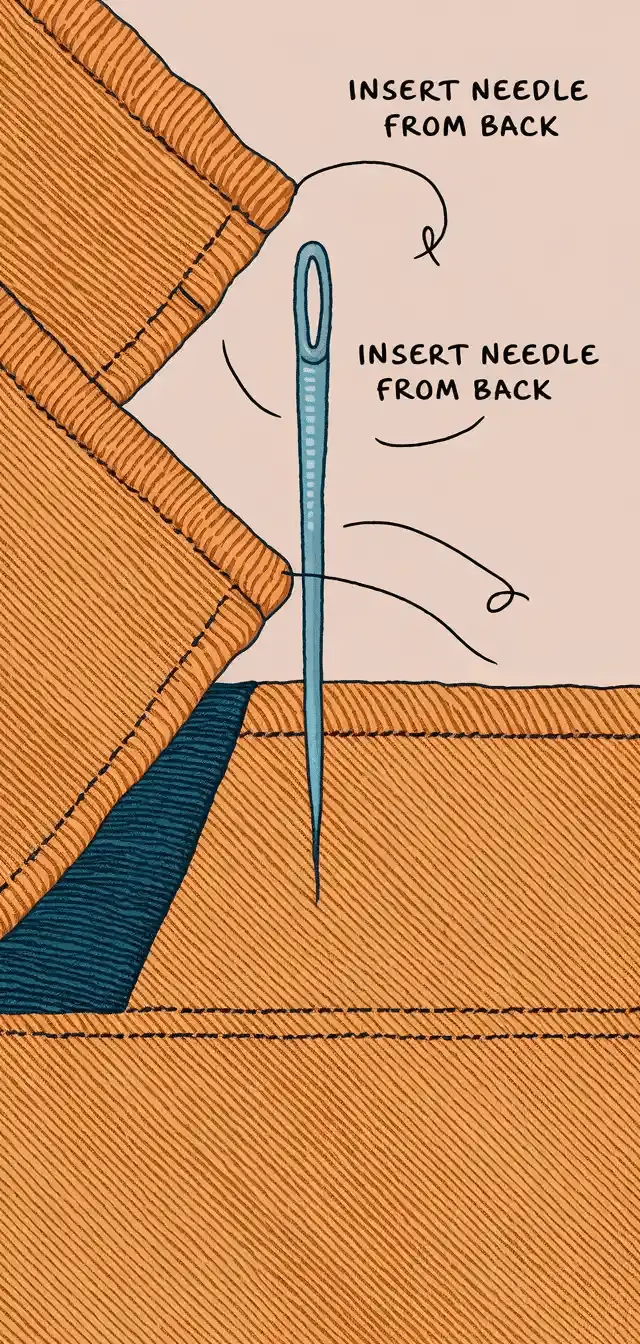
Used in countless ways.
Use:
- Random directions for texture.
- Radiating from a center for sunbursts or flower centers.
2. Buttonhole (Blanket) Stitch – Decorative Edge Work
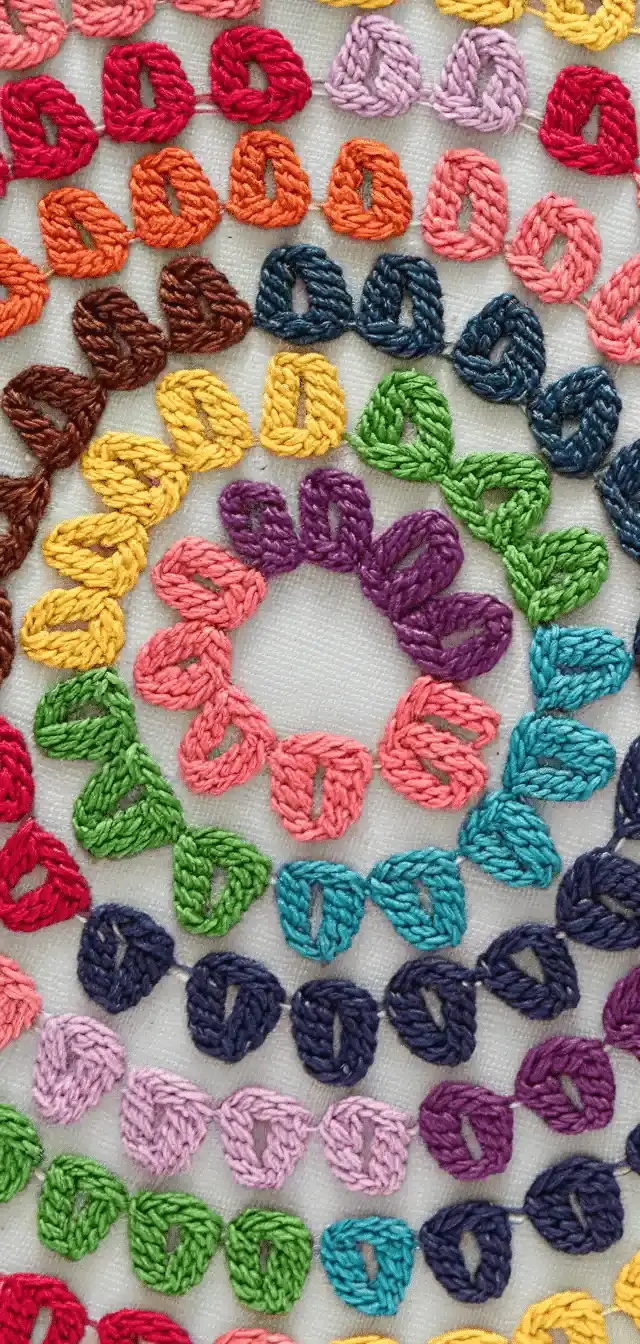
Classic edge finish.
Process:
- Pull the needle through.
- Catch the loop and anchor it with the next stitch along the edge.
1. Seed Stitch – Scattered Detail Texture
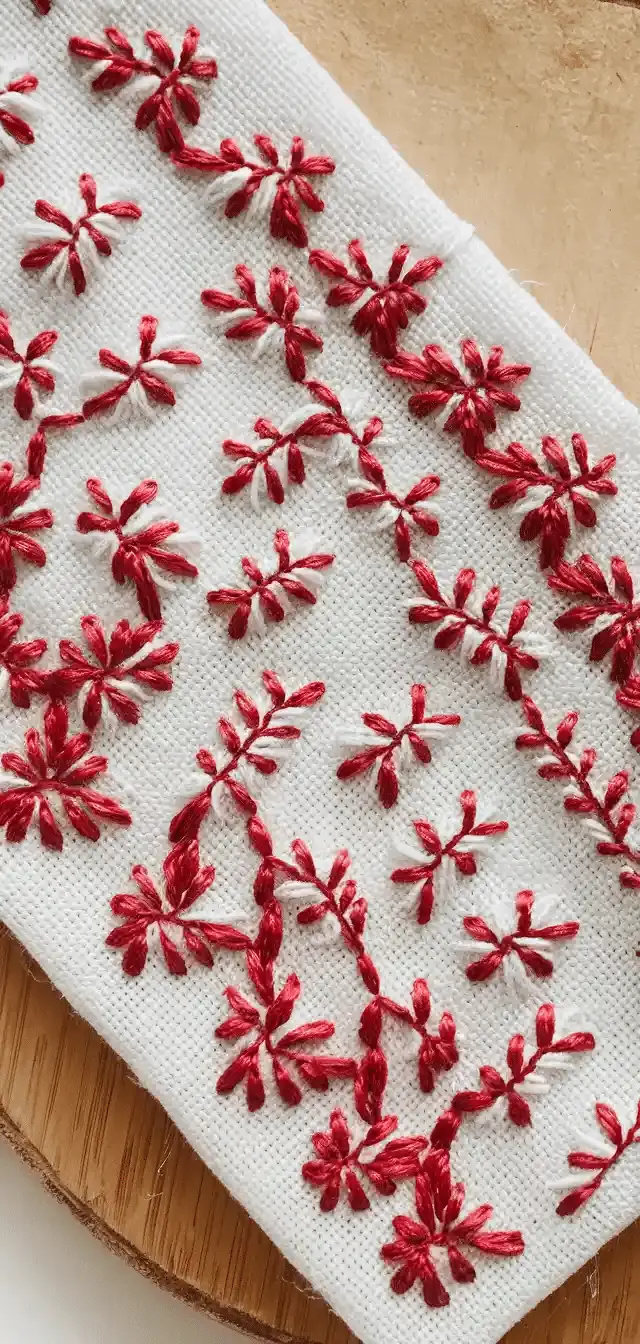
Filler stitch for backgrounds.
Technique:
- Place tiny straight stitches randomly across the fabric.
- Vary the direction slightly for a natural effect.
Conclusion
Learning these 17 hand embroidery stitches equips beginners with a diverse set of tools for any project, from delicate florals to bold patterns. Consistent practice and attention to detail will quickly turn foundational skills into advanced artistry. Begin with one or two stitches, build muscle memory, and combine them to design stunning hand embroidery pieces with confidence.
Enjoyed this post?
Share the love with another mom!
Every share helps this little blog grow — thank you so much





[…] you’ve ever asked the same question, you’re not alone. Luckily, I have a full blog post titled Hand Embroidery Stitches Every Beginner Must Learn, which covers all the foundational techniques, and yes, beaded embroidery absolutely […]