Make sure to join my list for Weekly Tips and Recipes to Your Inbox
18 Easy Tips for a Winning Science Project Display Board
A little note: Some images in this post may come from third-party sources and are shared purely to inspire you. All credit goes to their original creators. Visit our Image Credits Policy for more information.
Science Project Display Board was the first challenge that hit me when I looked back at all those moments when things went wrong before they ever went right.
I even mentioned that I have an article about Organic Modern Living Room, but nothing prepared me for that sinking feeling of standing in front of a messy project board, wondering why it didn’t look anything like what I imagined.
I remembered how it felt in third grade when winning meant pizza, skipping class, and feeling unstoppable, yet the board itself was always the hardest part because it could make or break the whole project
The struggle always came with the pressure. One year, the board was too big because my dad built it from scratch, and the teacher had to cut it down just to make it fit. Another year, I watched classmates get stressed when they had two other projects due at the same time and still had to make their Science Project Display Board look perfect.
Sometimes the story wasn’t even happy, like the girl who won with me once and carried a pain none of us knew. Every project felt like its own memory, its own drama, and its own reminder that school wasn’t just about learning but surviving the chaos that came with deadlines, candy experiments, homemade boards, and those silent hopes of winning again
The solution finally came when I realized that a Science Project Display Board wins not because it is big or fancy, but because it tells a clear story. Start with one strong idea in the center, let each panel guide the viewer like a journey, keep colors simple, and make sure everything is readable from a distance.
When the board becomes a story instead of a collage of papers, the pressure lifts. You walk into the gym on science fair day, set up your project, step back, and feel that quiet confidence again. That is when you know your board is doing the talking for you, and you have finally found the easy way to turn chaos into something that actually wins
What We're Exploring
- 01 18. Use a Catchy and Clear Title
- 02 17. Stick to One Main Font Family
- 03 16. Use High-Contrast Colors for Text
- 04 15. Mount All Text on Paper
- 05 14. Organize Information Logically
- 06 13. Visually Separate the Sections
- 07 12. Include a Detailed Materials List
- 08 11. Clearly State Your Hypothesis
- 09 10. Show Step-by-Step Procedure Photos
- 10 9. Utilize Graphs and Charts for Results
- 11 8. Provide a Detailed Abstract
- 12 7. Include a “Further Research” Section
- 13 6. Hand-Drawn Diagrams for Clarity
- 14 5. Use Numbers and Bullets Consistently
- 15 4. Keep Body Text Concise
- 16 3. Emphasize the Conclusion
- 17 2. Include Your Photo and Contact Info
- 18 1. Proofread and Double Check Everything
- 19 Conclusion
18. Use a Catchy and Clear Title
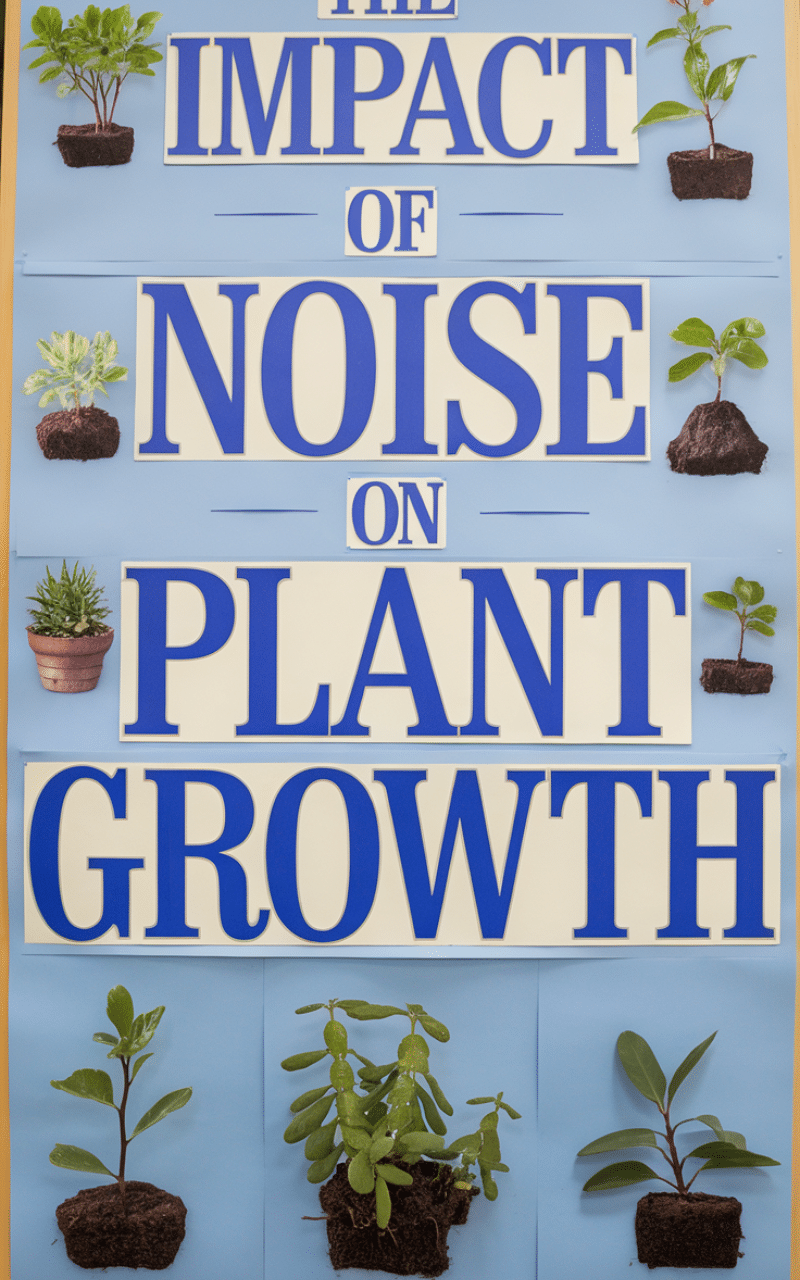
Start your Science Project Display Board with a title that is both attention-grabbing and clearly states your project’s main topic because the title is the very first thing judges and visitors will read so it needs to be engaging enough to make them want to learn more about your work thus choose a bold font that is easily readable from several feet away and place the title prominently at the very top center of the board so using creative language or a question format can intrigue the reader immediately encouraging deeper investigation into your findings.
17. Stick to One Main Font Family
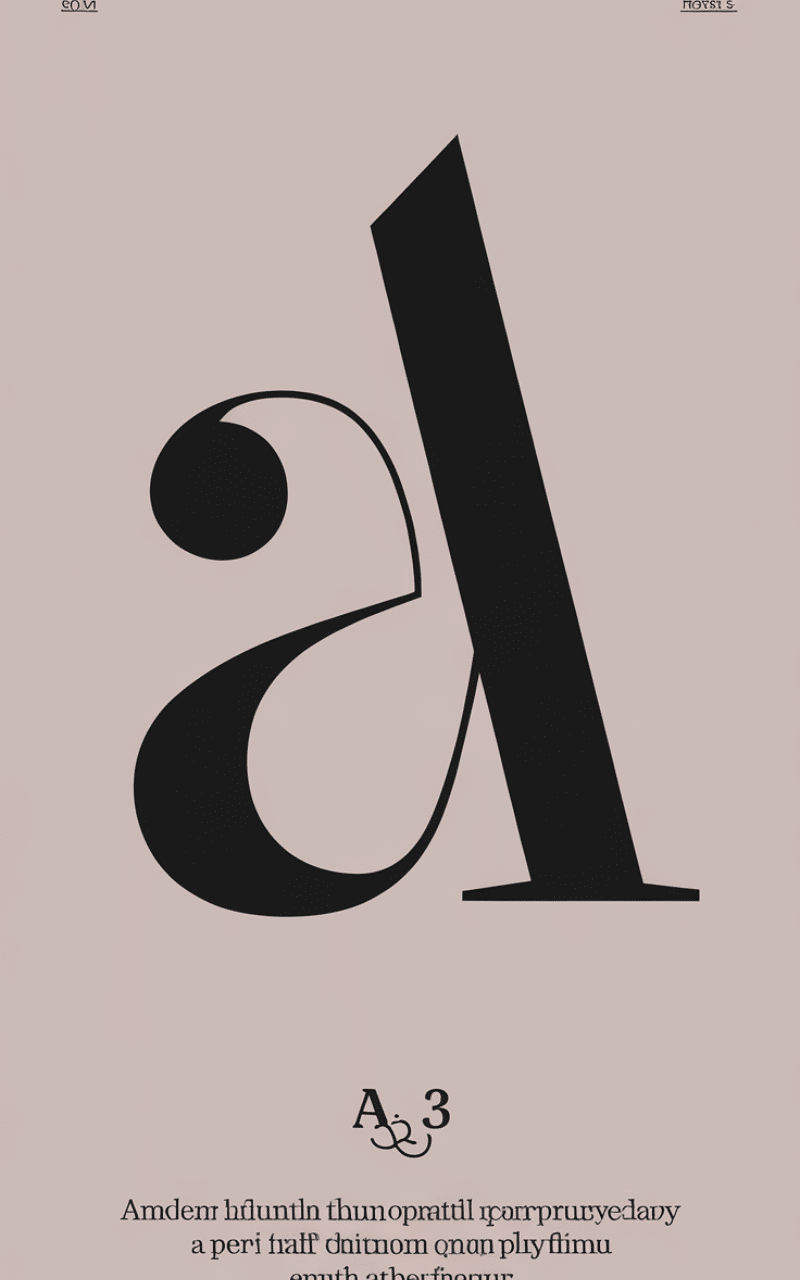
Select one easy-to-read font family like Arial or Times New Roman for all the text on your Science Project Display Board because maintaining font consistency across all sections ensures a professional uniform look that is easy on the eyes so use different sizes or bolding within that family to distinguish between headings subheadings and body text rather than switching to completely different styles thus this commitment to visual uniformity helps the judges focus on your scientific content not on deciphering chaotic typography so simplicity in font choice always translates to better clarity and readability.
16. Use High-Contrast Colors for Text

Ensure that the color of your text sharply contrasts with the background color of the paper or board it is printed on because high contrast dramatically improves readability especially under various lighting conditions at the science fair so using black text on a white or light-colored background is usually the best and safest option thus this attention to basic legibility is absolutely vital for ensuring every person can easily read your entire Science Project Display Board so avoid printing light-colored text on dark backgrounds unless you are certain the font size is very large and bold.
15. Mount All Text on Paper
Do not glue or tape printed sheets directly onto the cardboard of your Science Project Display Board instead mount each section onto a border of colored construction paper or cardstock because this simple technique creates a clean visually appealing border that makes each section stand out so the colored border adds a subtle professional framing effect and separates the information blocks neatly thus this extra step in mounting provides a polished finished look to your overall presentation so choose a border color that complements your main display board color scheme thoughtfully.
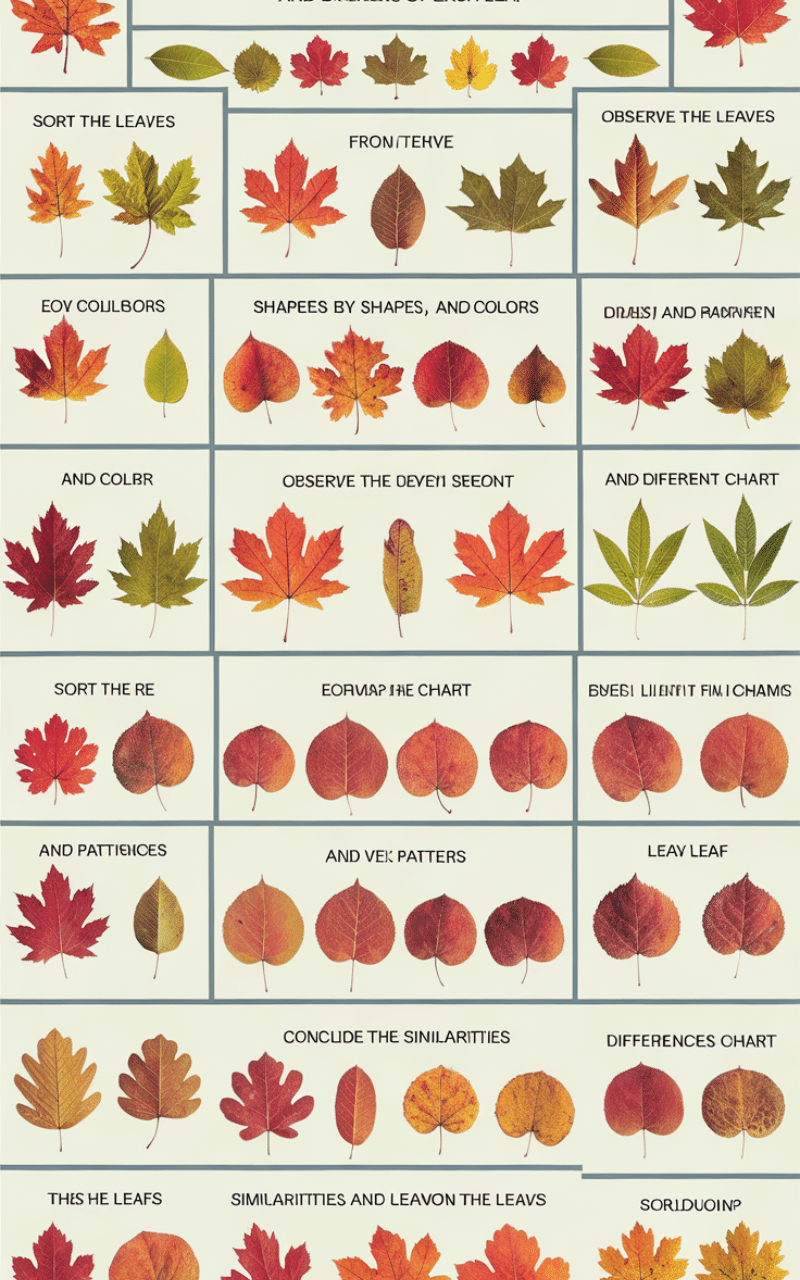
14. Organize Information Logically
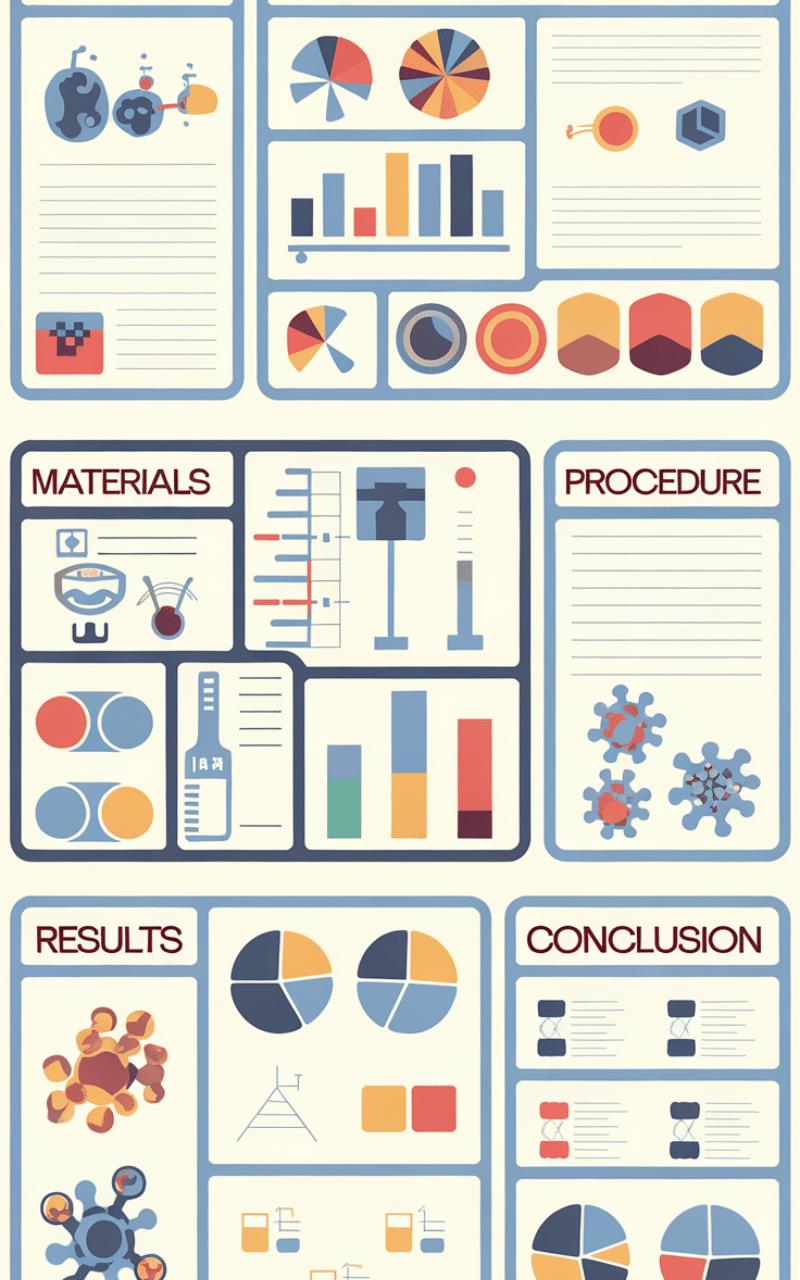
Structure your project information following the standard scientific method layout including sections for the Abstract Introduction Hypothesis Materials Procedure Results and Conclusion because a logical flow ensures judges can easily follow your experimental process from start to finish so organizing the sections in clear columns or panels across the board directs the viewer’s eye along a predefined path thus this commitment to scientific structure is non-negotiable for a strong Science Project Display Board that demonstrates a clear understanding of scientific inquiry so use clear headings for every single section to aid navigation.
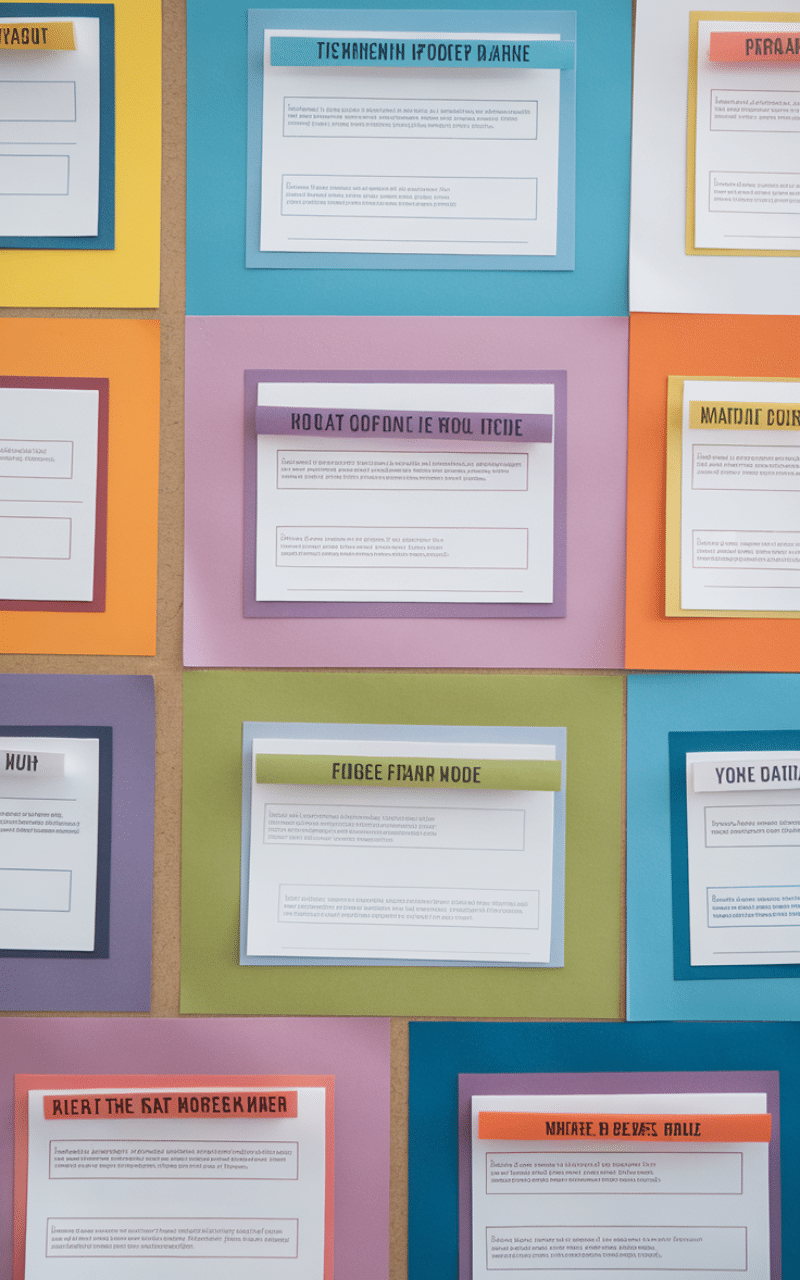
13. Visually Separate the Sections
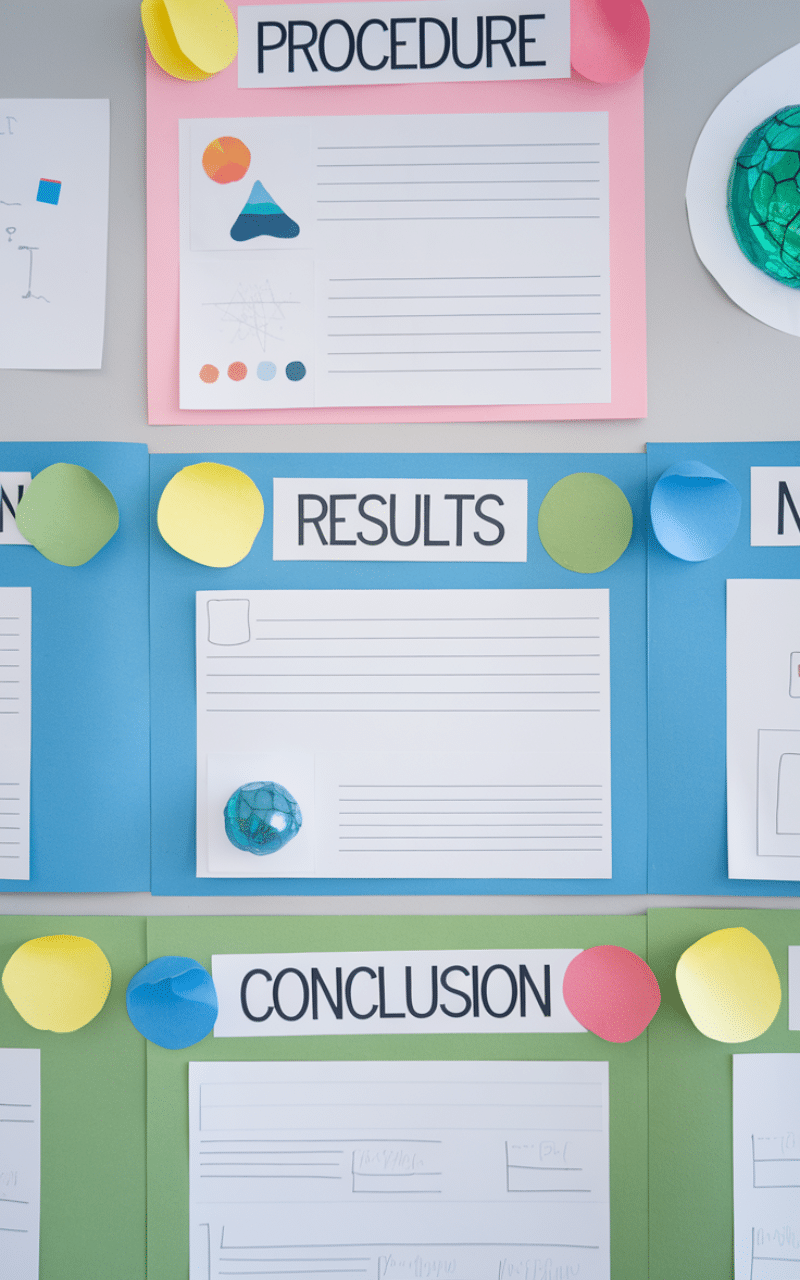
Use different colored paper borders or subtle background shades to visually distinguish between the major sections of your project like separating the Procedure from the Results because clear visual partitioning helps break up large amounts of text making the board feel less overwhelming to read so color coding the sections can also reinforce the logical flow of the scientific method for the viewer thus this intentional use of color and space is a great way to make your Science Project Display Board instantly scannable and easy to digest so ensure the chosen colors complement each other and do not clash jarringly.
12. Include a Detailed Materials List
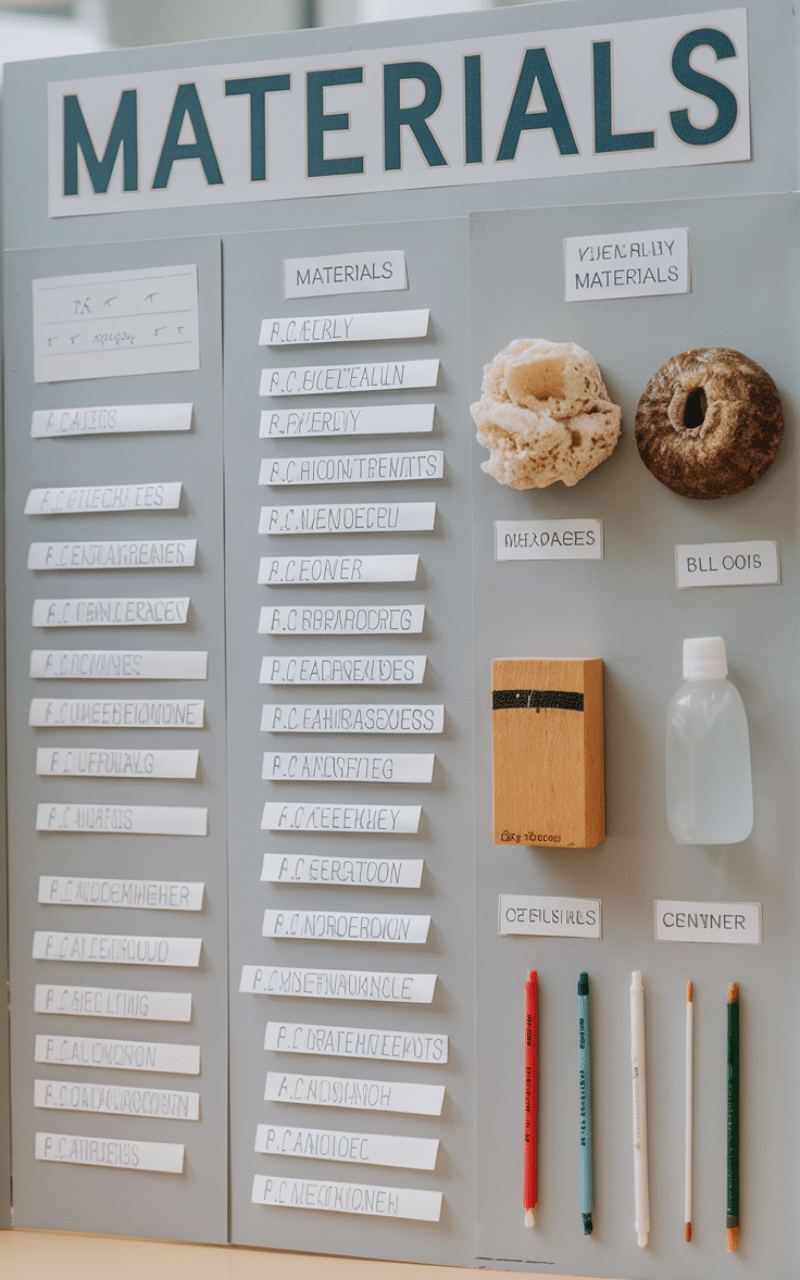
Dedicate a specific section of your Science Project Display Board to a clear detailed list of all the materials and equipment you used in your experiment because clearly documenting your resources shows that you were thorough and prepared during the experimental phase so you can use bullet points or a numbered list to keep this information neat and easy to reference thus this transparency about your resources is essential for demonstrating the replicability and validity of your entire project so adding a small photo of the key materials next to the list can also be a helpful visual aid.
11. Clearly State Your Hypothesis
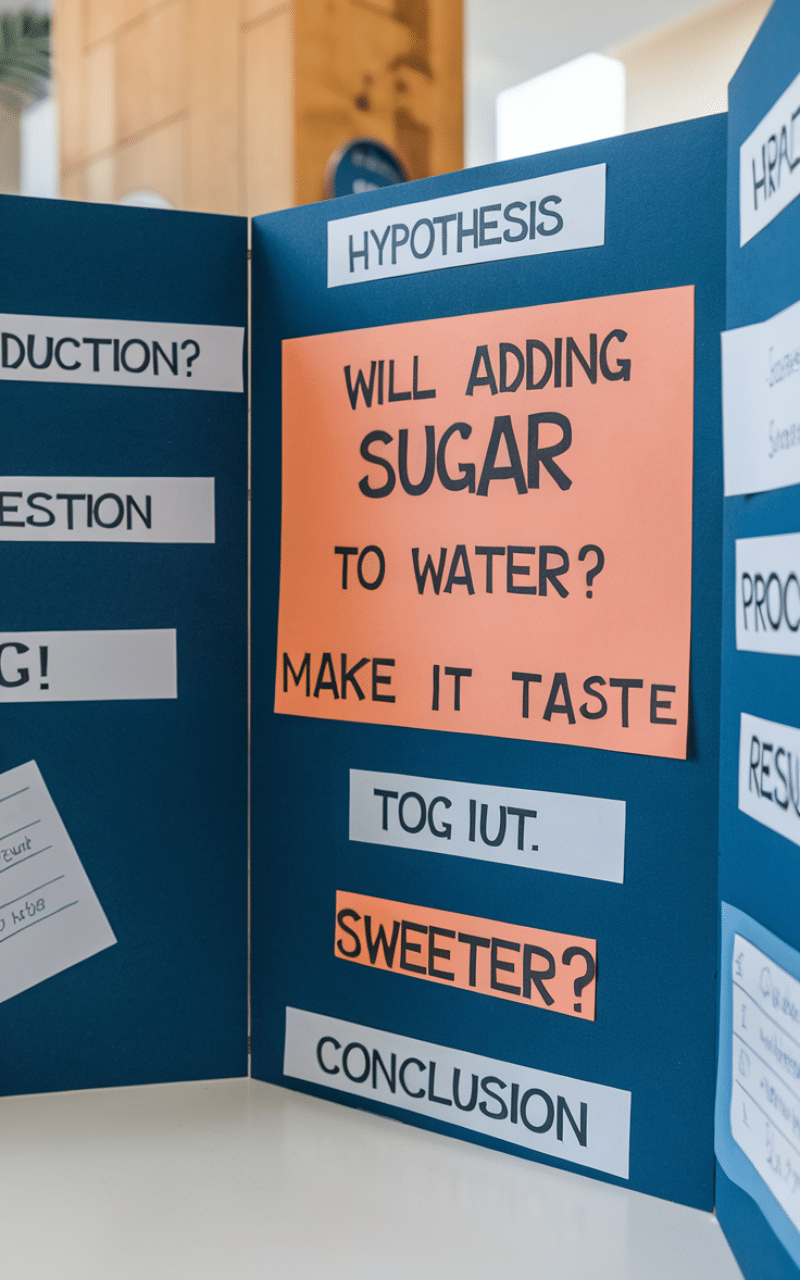
Give your original hypothesis its own clearly labeled spot on the Science Project Display Board and state it explicitly and concisely because the hypothesis is the core of your scientific question and judges need to see exactly what you set out to test so the placement should be early in the flow immediately following the Introduction or Question section thus this prominent display of your prediction allows the judges to quickly understand the driving force behind your research so use a slightly larger or bolder font for the hypothesis statement itself to draw attention to it.
10. Show Step-by-Step Procedure Photos

Include small labeled photographs showing the crucial steps of your experimental procedure because visual documentation adds credibility and helps judges visualize exactly how you conducted your test so you can arrange these photos in a logical sequence next to or within the written Procedure section thus this pictorial guide is much more engaging than text alone making your Science Project Display Board instantly more informative and interesting so ensure all photos are clear high-resolution and properly trimmed for a neat presentation.
9. Utilize Graphs and Charts for Results
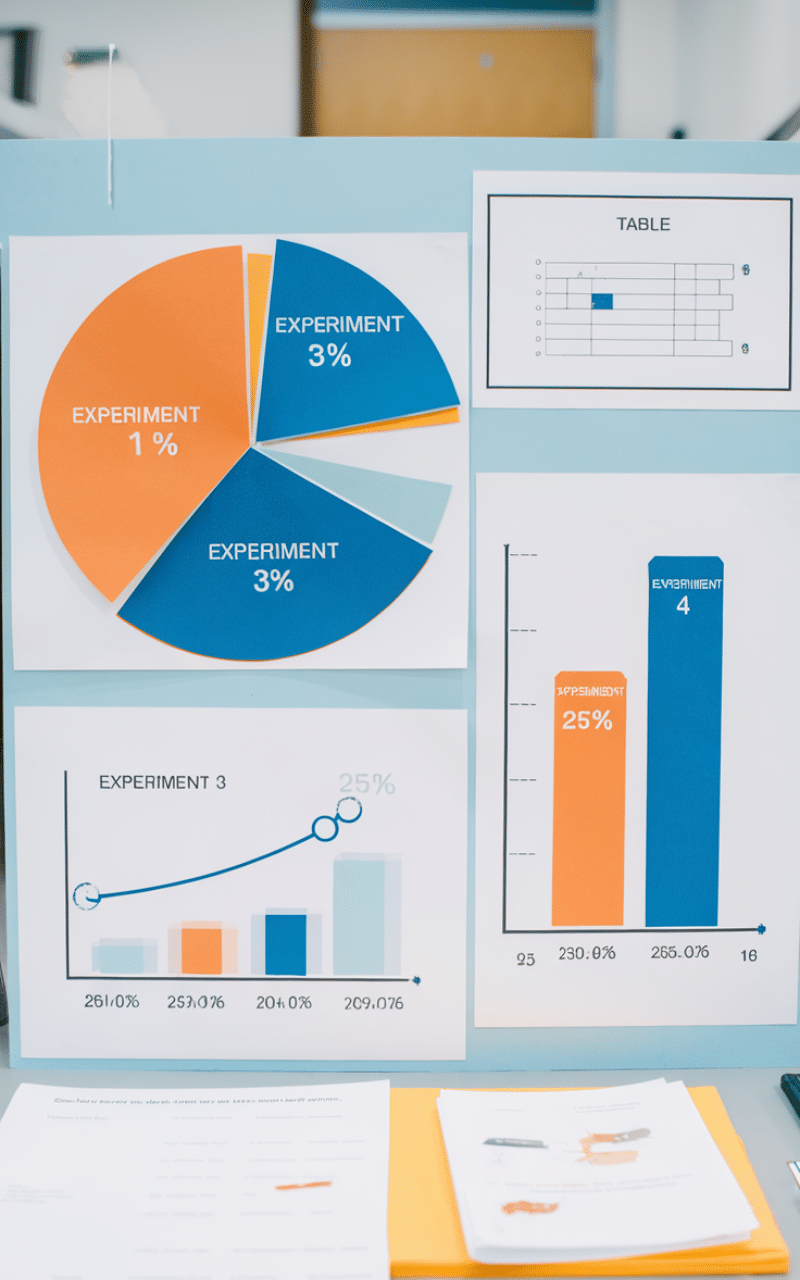
Present all your numerical data and results using clearly labeled graphs charts and tables rather than long paragraphs of text because visual data representation is the most effective way to communicate complex patterns and findings quickly so a bar graph pie chart or line graph can immediately reveal the outcome of your experiment thus this clear visual summary is crucial for making the data on your Science Project Display Board understandable and impactful so ensure your axes are properly labeled including units and that your graph title clearly states what the graph represents.
8. Provide a Detailed Abstract
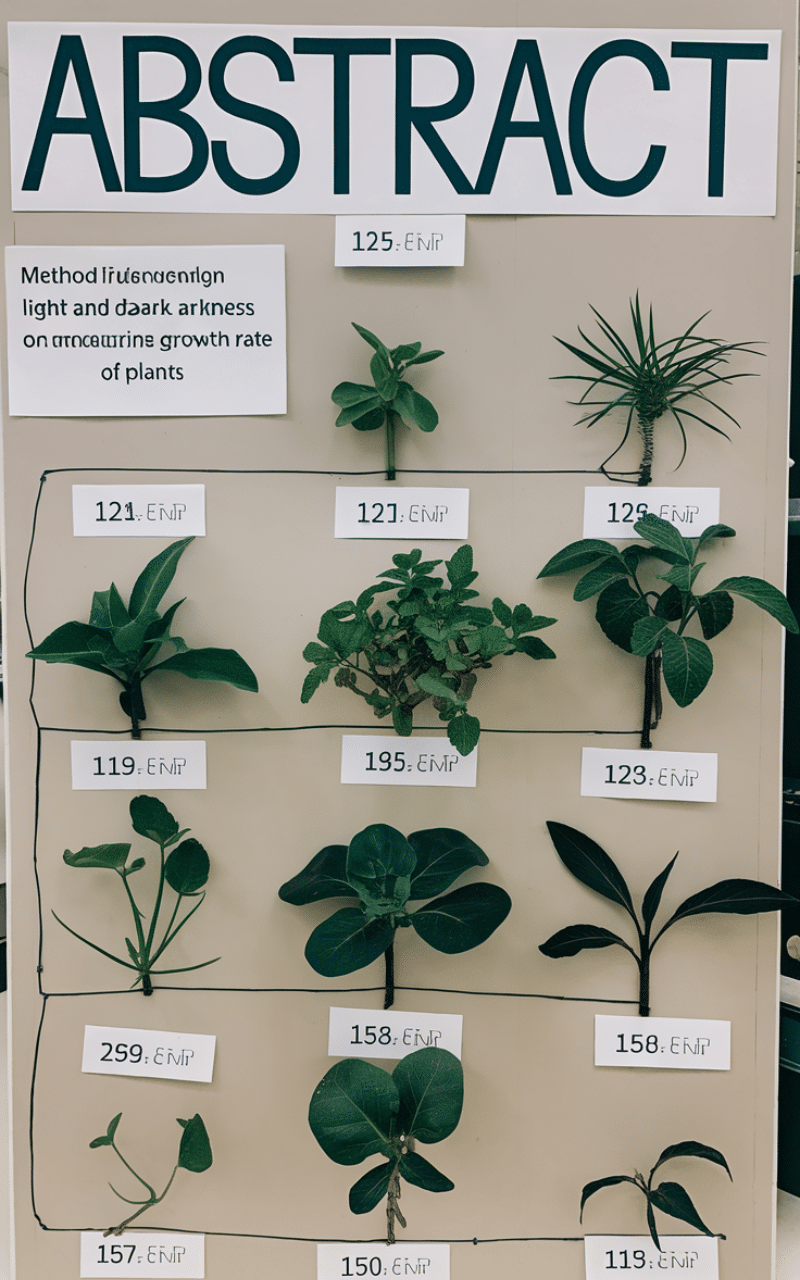
Include a concise but comprehensive abstract section usually placed right at the beginning of the central panel because the abstract serves as a brief overview summarizing the project’s purpose method results and conclusion in just a few sentences so this allows busy judges to quickly grasp the entire scope of your work before diving into the details thus this summary is a necessary tool for communicating the core of your research on your Science Project Display Board so limit the length to no more than 200 words keeping it focused and highly informative.
7. Include a “Further Research” Section
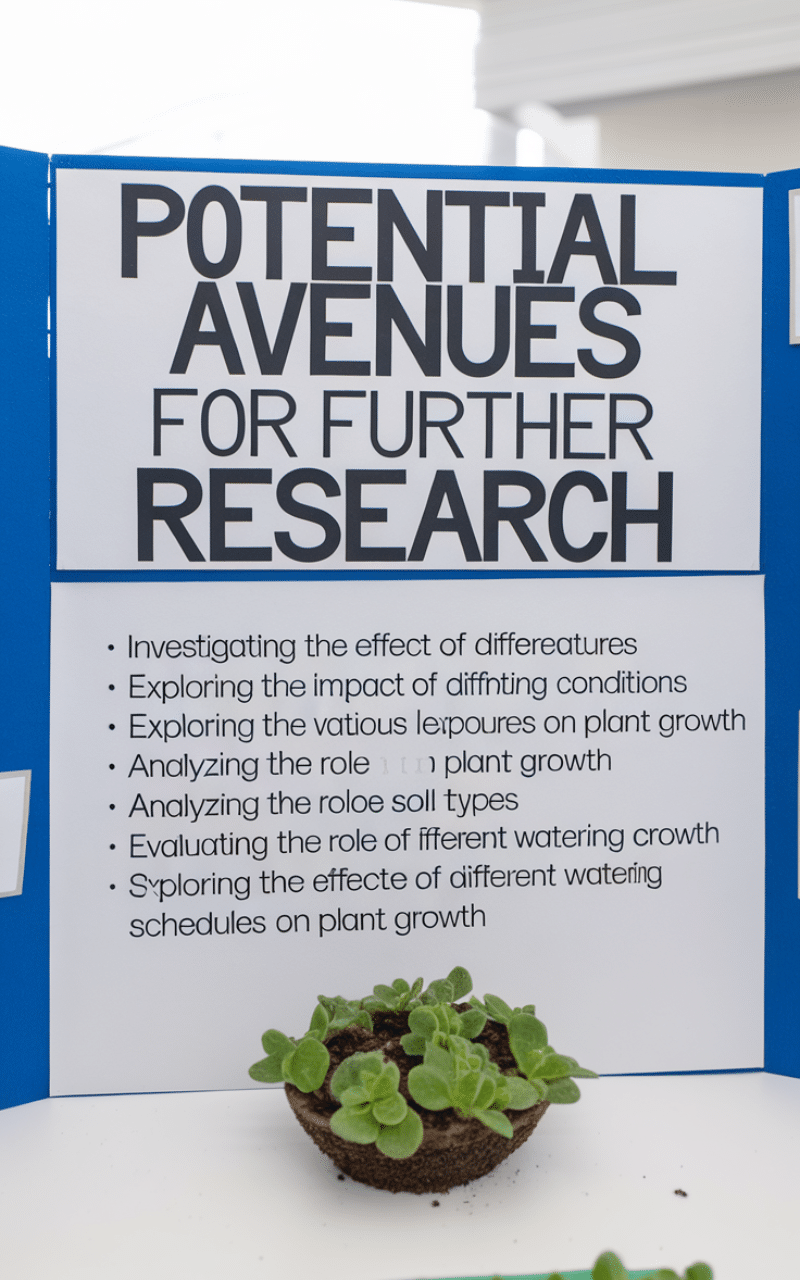
Dedicate a small section of your Science Project Display Board to discussing potential avenues for further research or future experiments because this demonstrates that you understand the limitations of your current study and that you are thinking critically about the broader implications of your findings so acknowledging what you would do differently or next shows intellectual maturity and scientific foresight thus this forward-thinking element is highly valued by judges looking for genuine scientific engagement so list specific questions or variations you would explore next in a bulleted list format.
6. Hand-Drawn Diagrams for Clarity
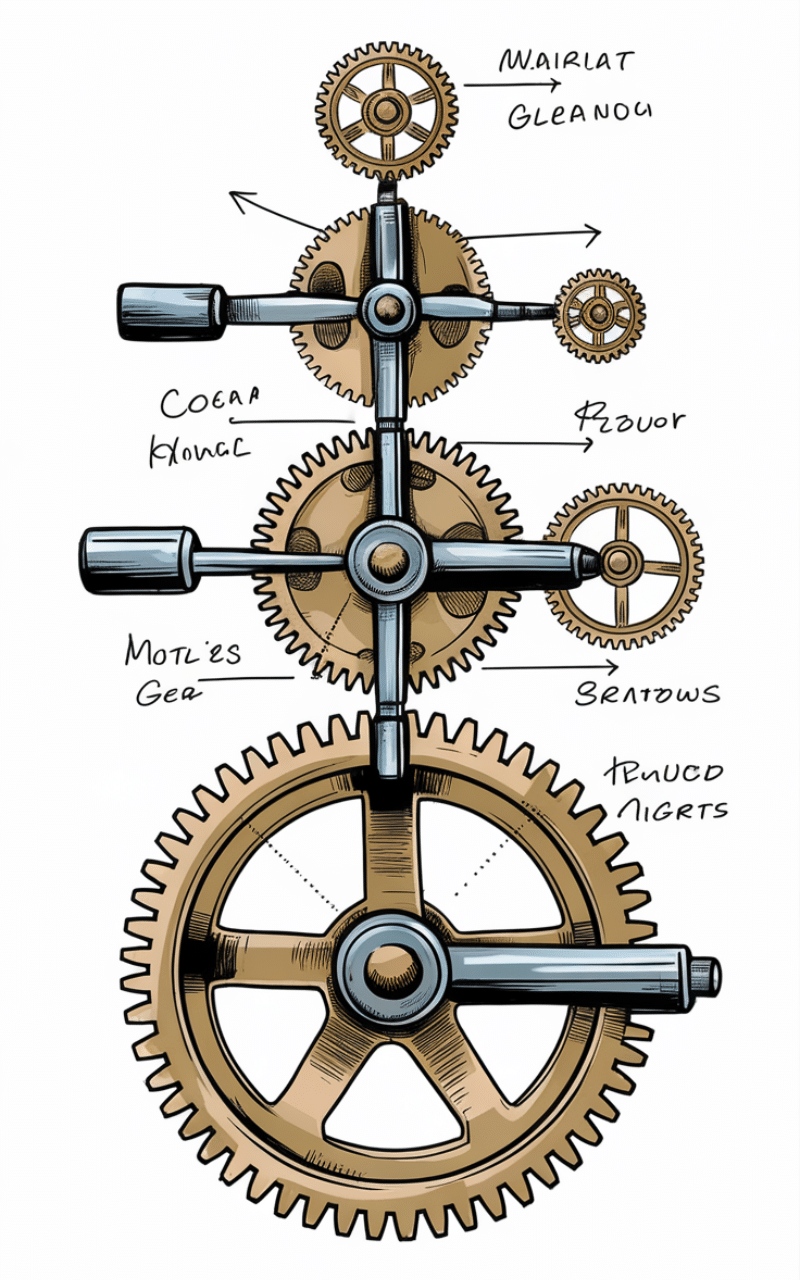
If your experiment involves complex mechanisms or biological processes include neat hand-drawn and labeled diagrams because sometimes a simple drawing is clearer and more intuitive than a photograph or a dense description of an internal system so these diagrams should be clean accurately labeled and drawn with precision to convey technical information effectively thus this artistic yet scientific touch can greatly enhance the clarity of your Science Project Display Board particularly for complex subjects so use arrows and call-outs to explain the function of each part of your diagram clearly.
5. Use Numbers and Bullets Consistently
Employ numbered lists for your Procedure steps and bullet points for your Materials and key conclusions consistently throughout the board because using these simple formatting tools breaks up the text and makes lists of items or steps easy to follow sequentially so numbered lists guide the reader through a process while bullet points highlight key takeaways thus this commitment to structured formatting is essential for ensuring maximum clarity on your busy Science Project Display Board so avoid dense walls of text by breaking long paragraphs into shorter bulleted sections where possible.
4. Keep Body Text Concise
Write the explanatory paragraphs for your Introduction and Conclusion as concisely as possible avoiding overly technical jargon or unnecessary lengthy sentences because judges need to quickly extract the core information and long paragraphs are often skipped or scanned minimally so use strong topic sentences and stick strictly to conveying the necessary scientific narrative thus this discipline in writing is crucial for making sure your main points on the Science Project Display Board are actually read and understood so aim for a reading level that is appropriate for your age group but always clear and precise.
3. Emphasize the Conclusion
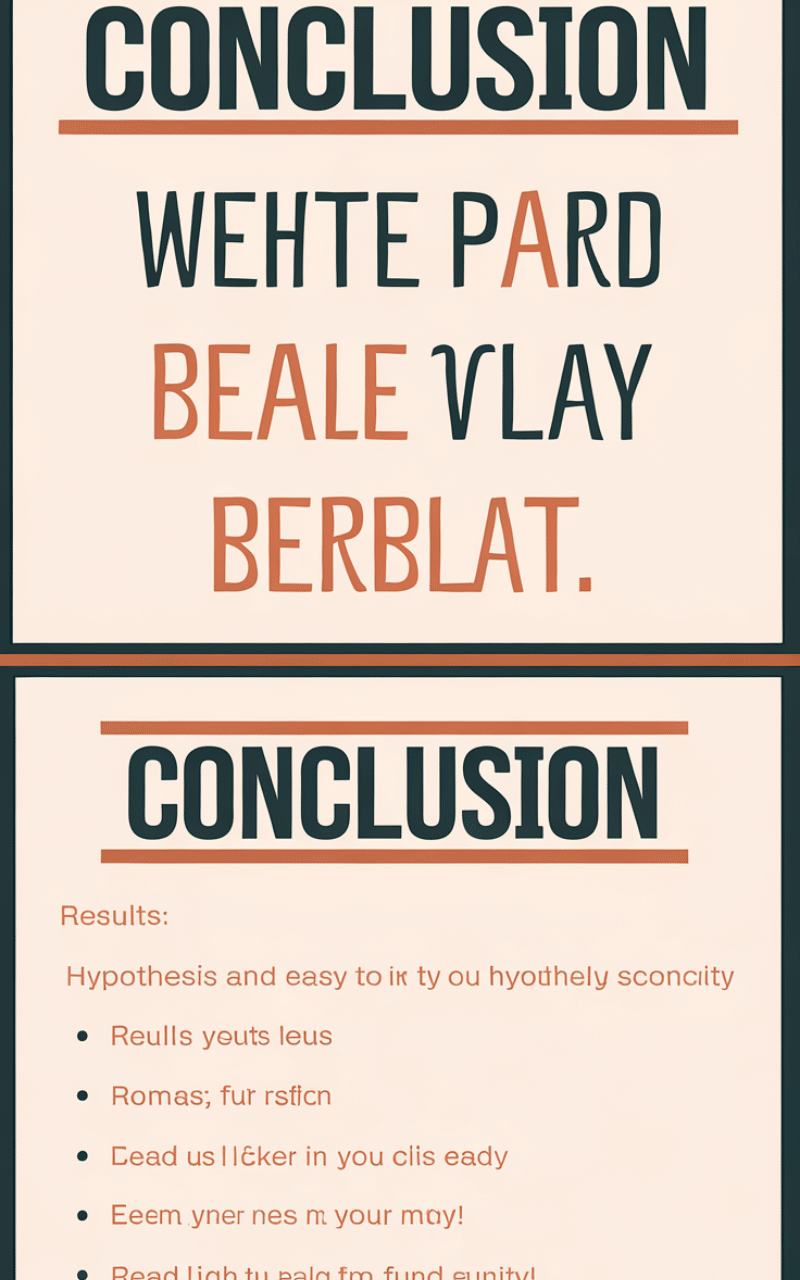
Make your conclusion section stand out visually using a slightly different background color a bold border or placing it at the very bottom center of the board because the conclusion is the culmination of your entire project and should be easy for the judges to find and read so clearly restate your hypothesis and explain whether your results supported or refuted it concisely thus this final summary is absolutely critical as it provides the ultimate answer demonstrated by your Science Project Display Board so list your key findings that led to the conclusion in one final set of bullet points for clarity.
2. Include Your Photo and Contact Info
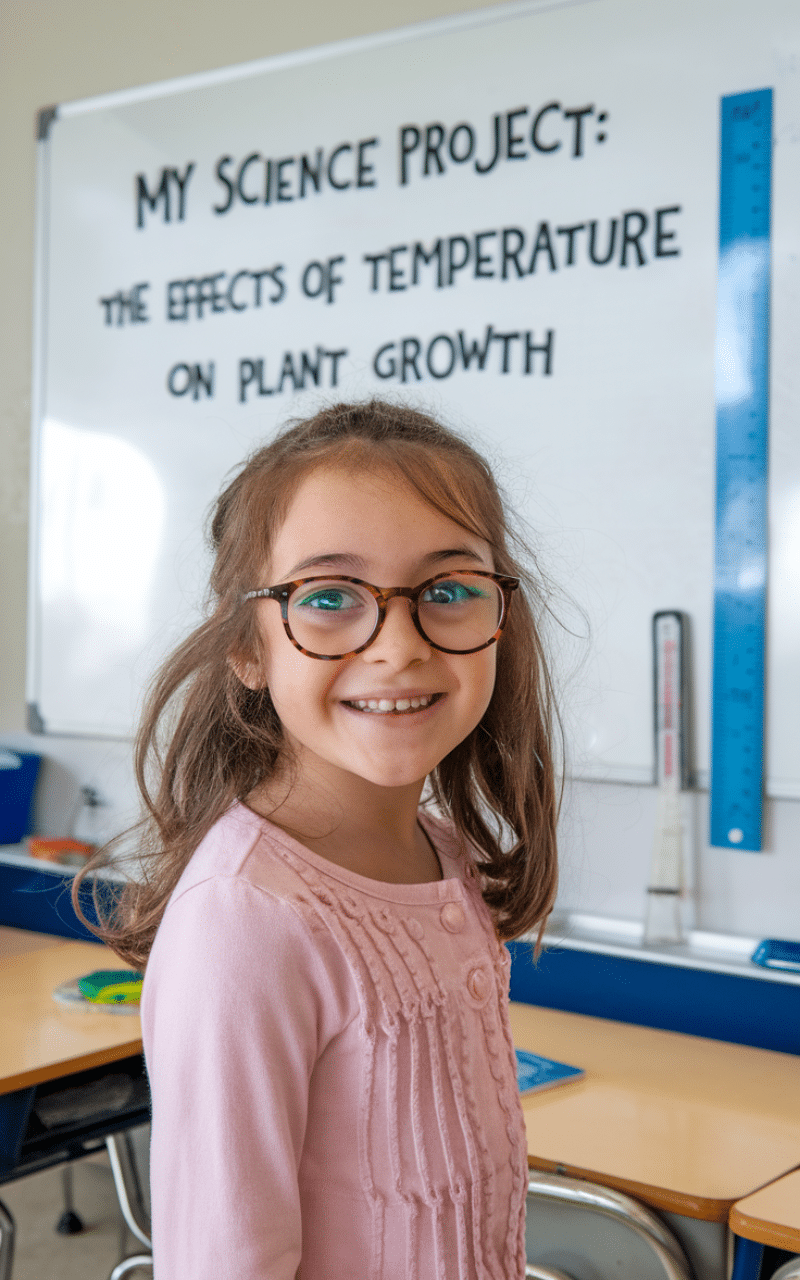
Dedicate a small corner typically the bottom right to a clear photo of yourself and your basic contact information like your name school and grade level because personalization adds a human element to the project and allows the judges to easily reference your identity so the photo should be professional and welcoming adding a friendly face to the science thus this small personal touch helps your Science Project Display Board stand out in a sea of projects so ensure the photo is small and neatly bordered so it doesn’t distract from the main content.
1. Proofread and Double Check Everything
Read every single piece of text on your Science Project Display Board multiple times checking for any spelling errors grammatical mistakes or numerical inconsistencies because a perfectly organized board can be undermined instantly by careless mistakes that suggest a lack of attention to detail so asking a parent or teacher to proofread the entire board as a final check is highly recommended thus this final meticulous review ensures your presentation is polished professional and reflects the quality of your scientific effort so correct any misaligned photos or sloppy glue marks during this final check.
Conclusion
Creating an exceptional Science Project Display Board is a fusion of scientific integrity and sharp visual communication because by meticulously applying these design and organizational tips you can transform a simple cardboard sheet into a powerful narrative tool that clearly and compellingly showcases your entire research journey thus the effort you put into presentation is a demonstration of your respect for your own work and the scientific process so start gathering your colored paper and rulers today and please consider subscribing to my blog for more detailed décor guides and inspiration for your next home project.
Enjoyed this post?
Share the love with another mom!
Every share helps this little blog grow — thank you so much