Make sure to join my list for Weekly Tips and Recipes to Your Inbox
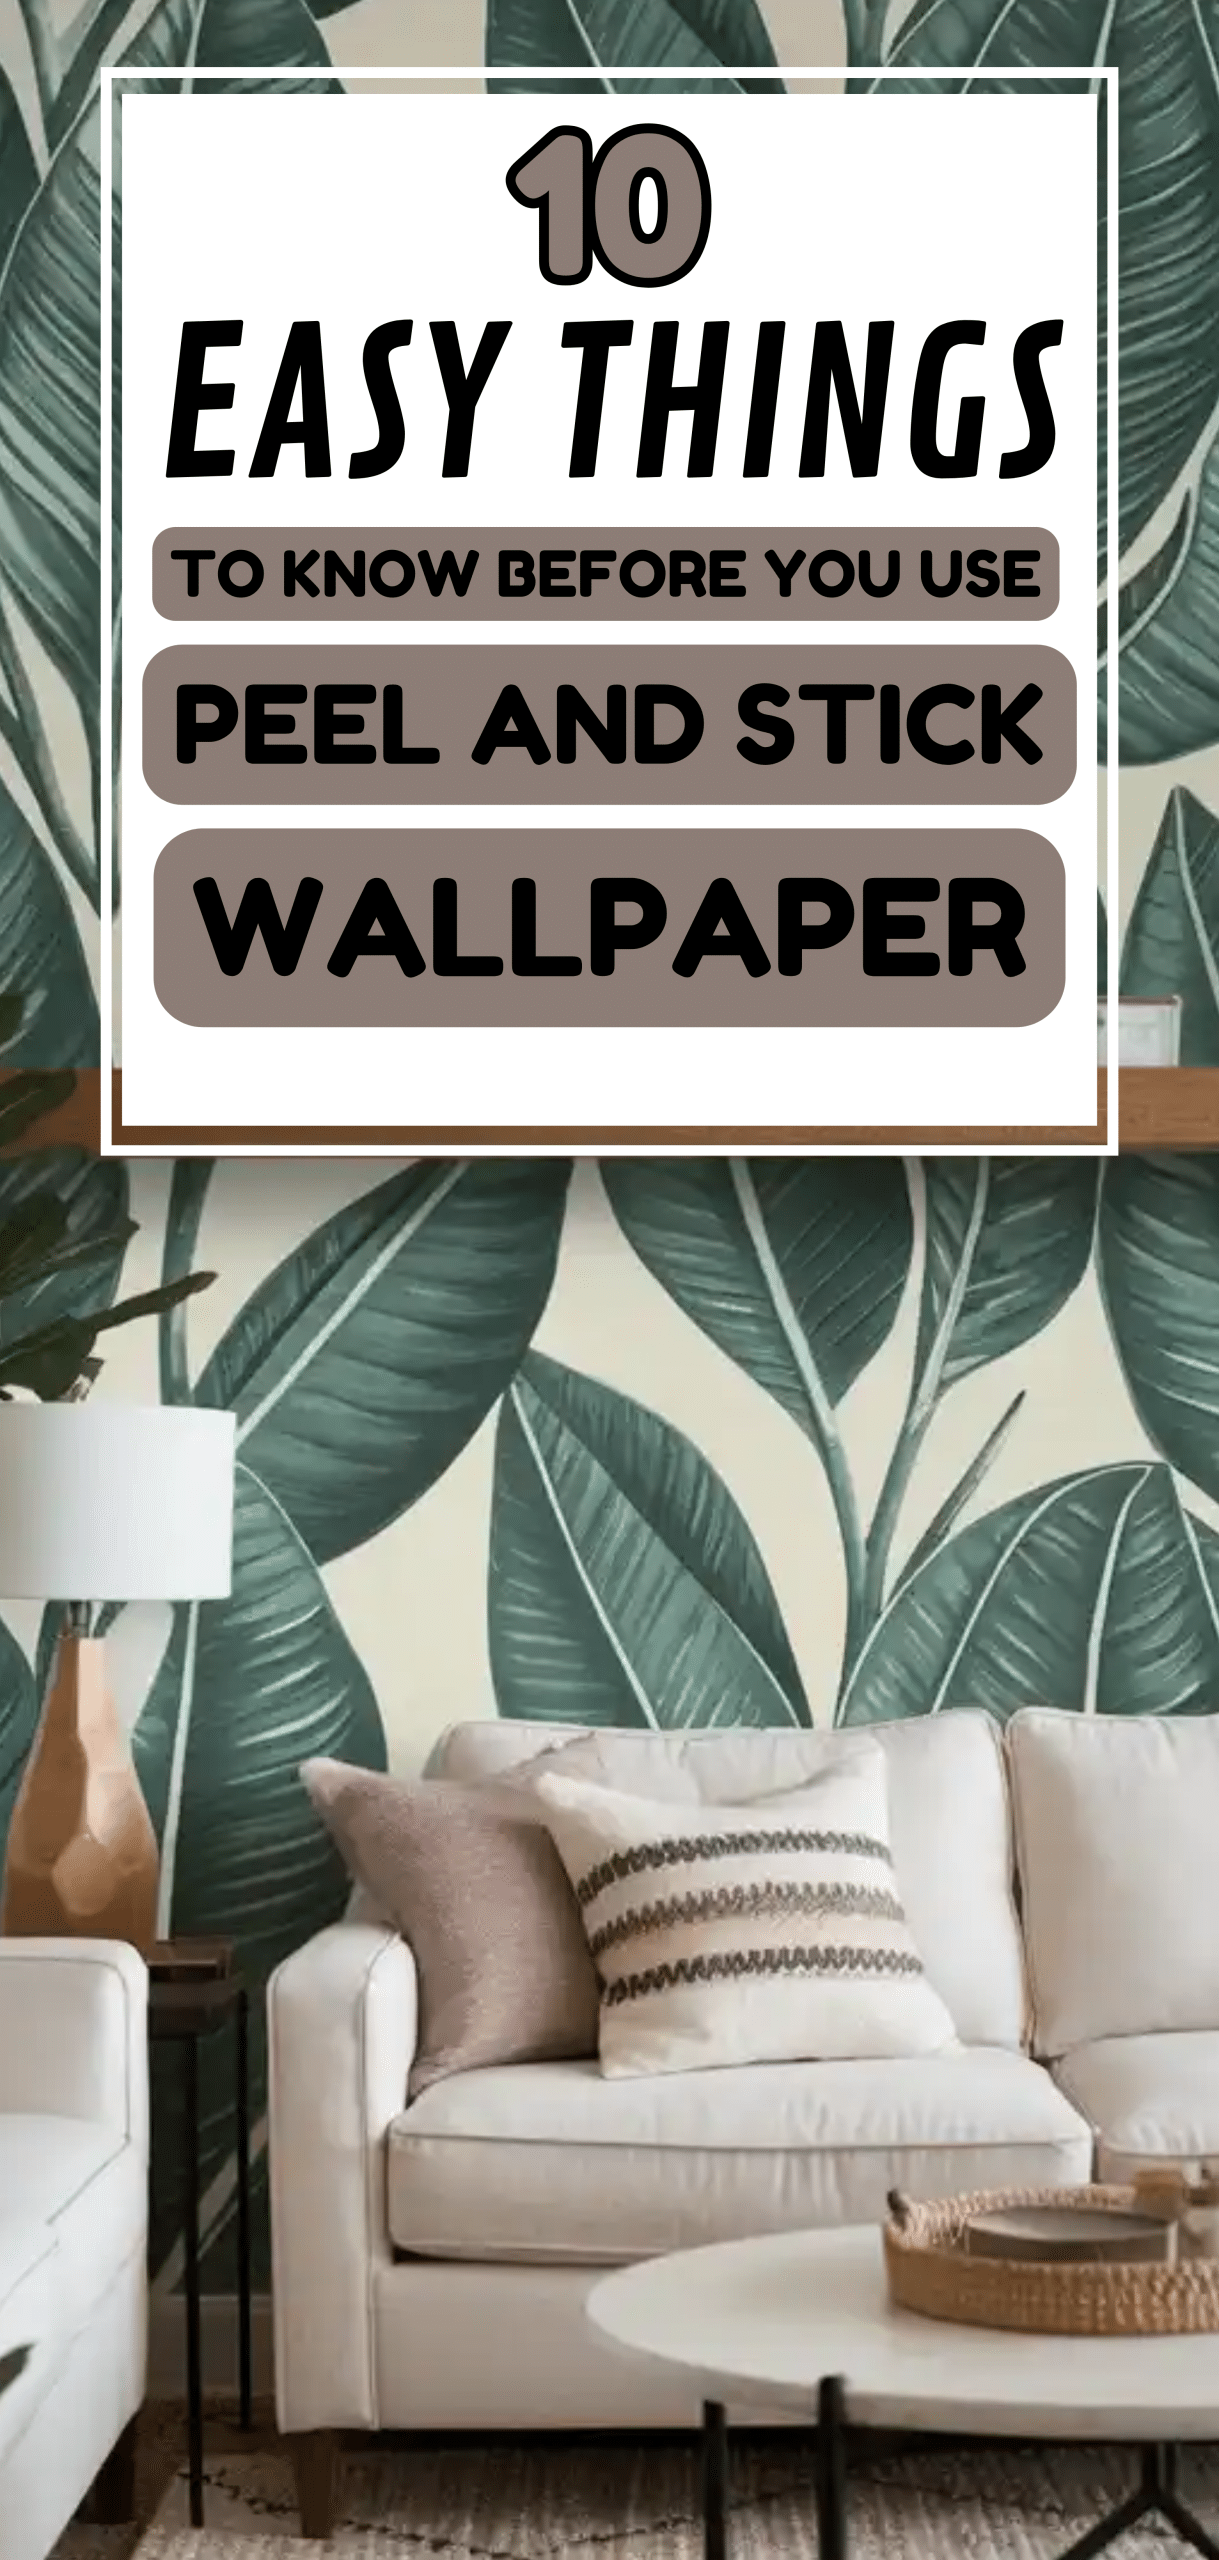
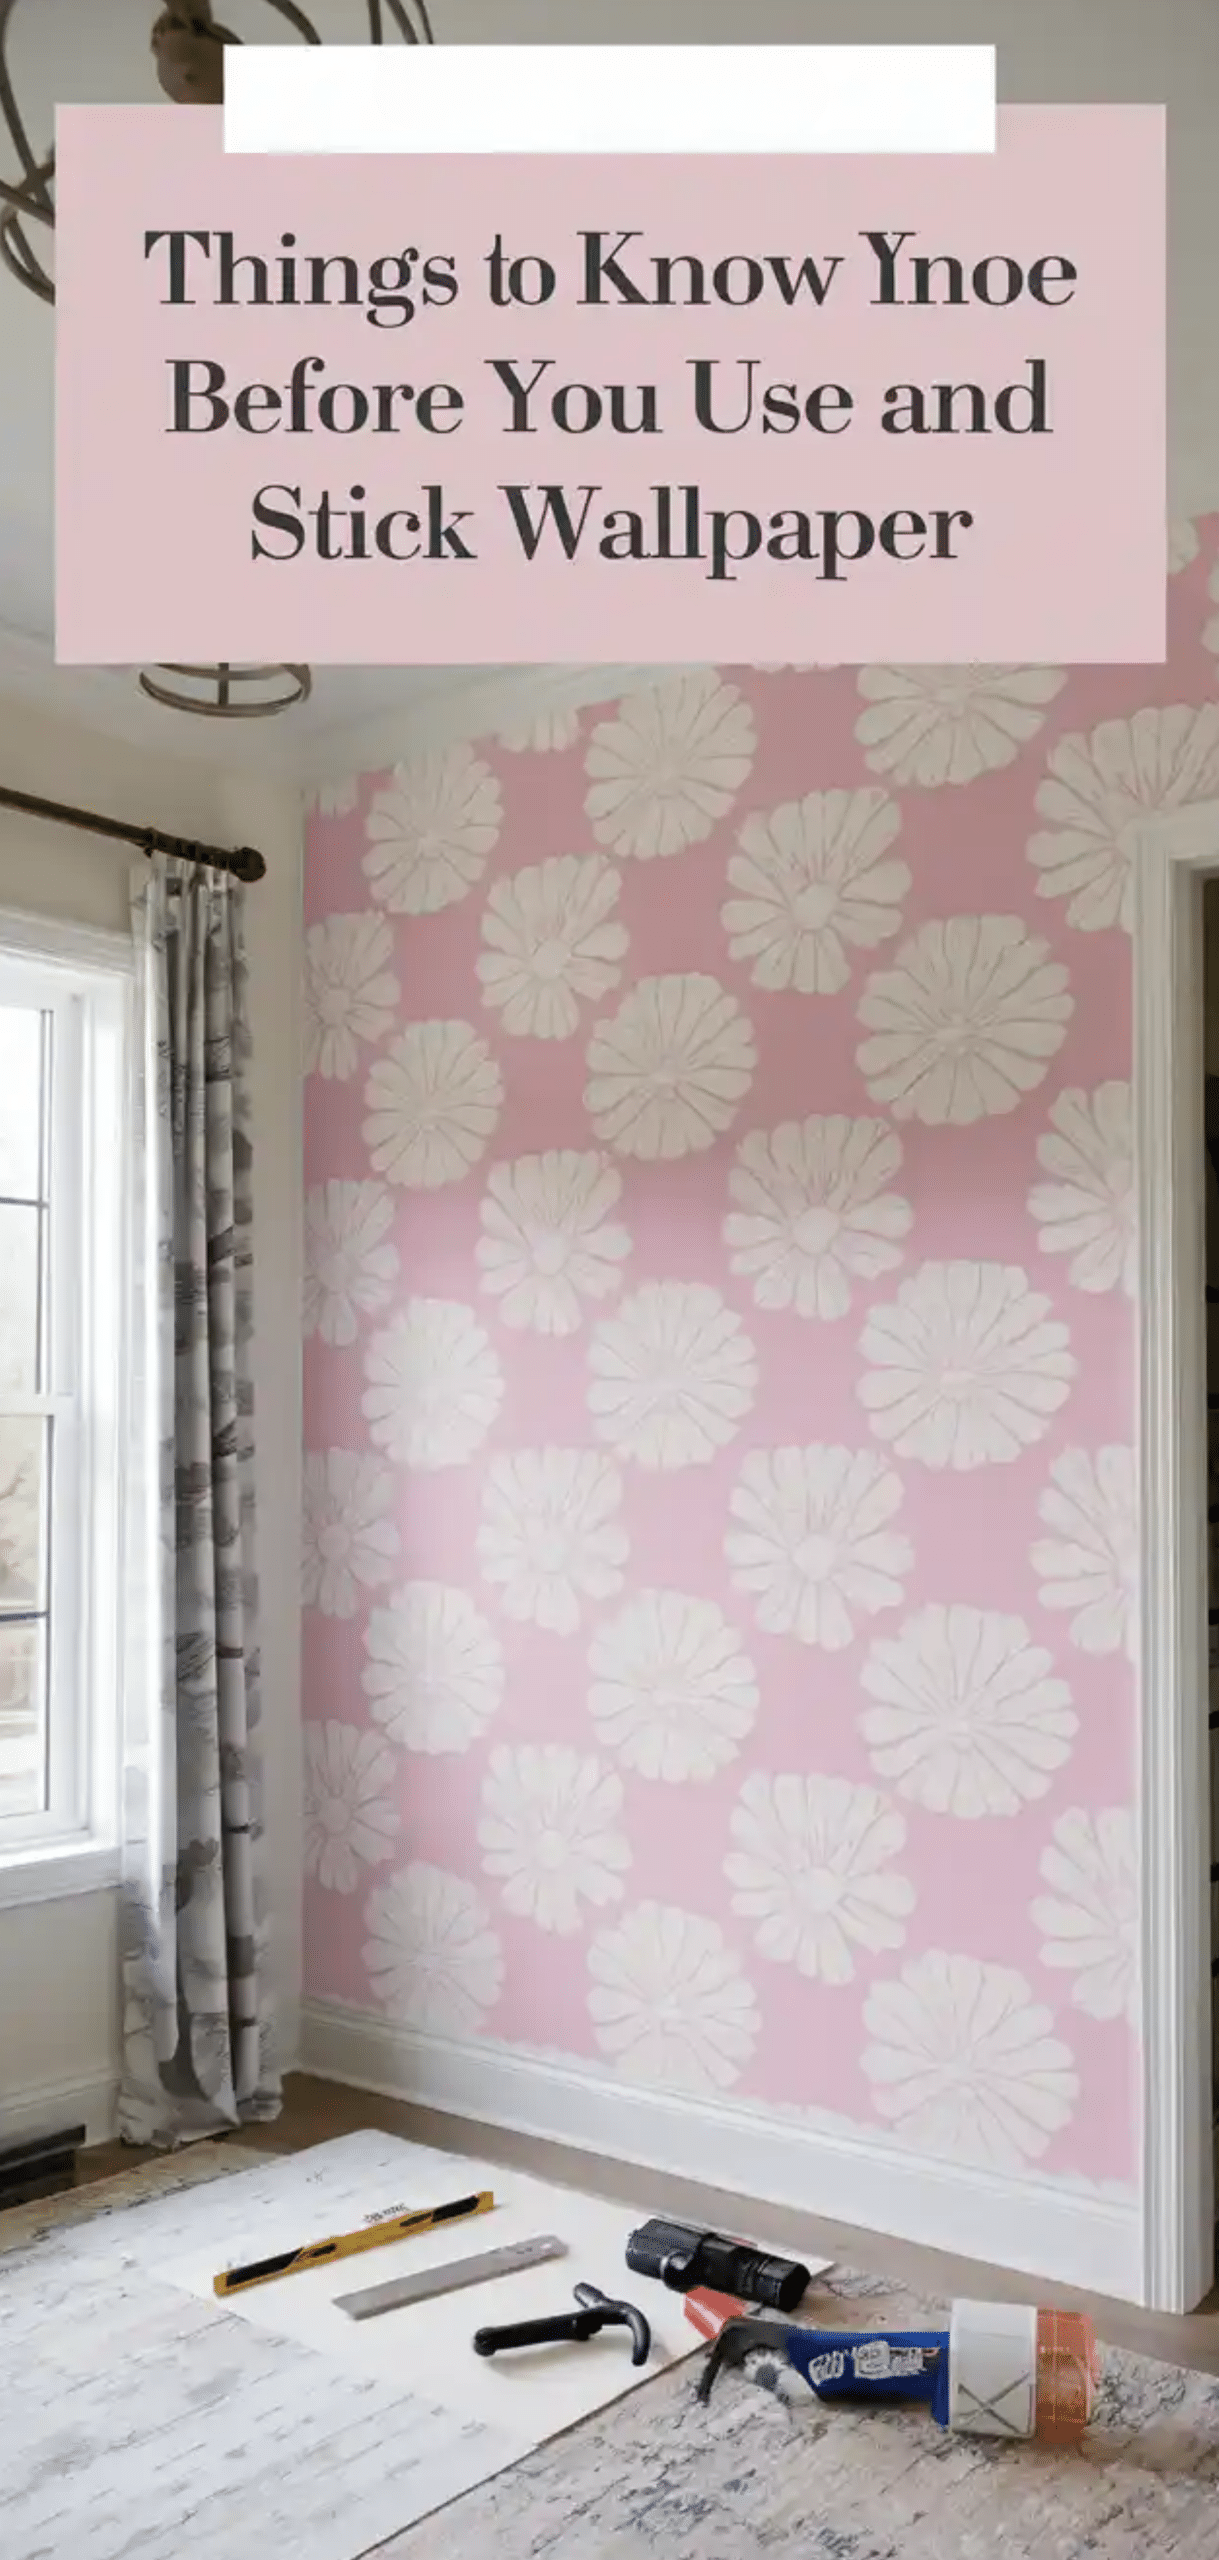
10 Easy Things to Know Before You Use Peel and Stick Wallpaper
A little note: Some images in this post may come from third-party sources and are shared purely to inspire you. All credit goes to their original creators. Visit our Image Credits Policy for more information.
When I first decided to redecorate my bedroom, I had one vision in mind: a peel and stick wallpaper that would perfectly match my posters on the wall. I imagined it would be quick and fun like putting up a giant sticker for grown-ups.
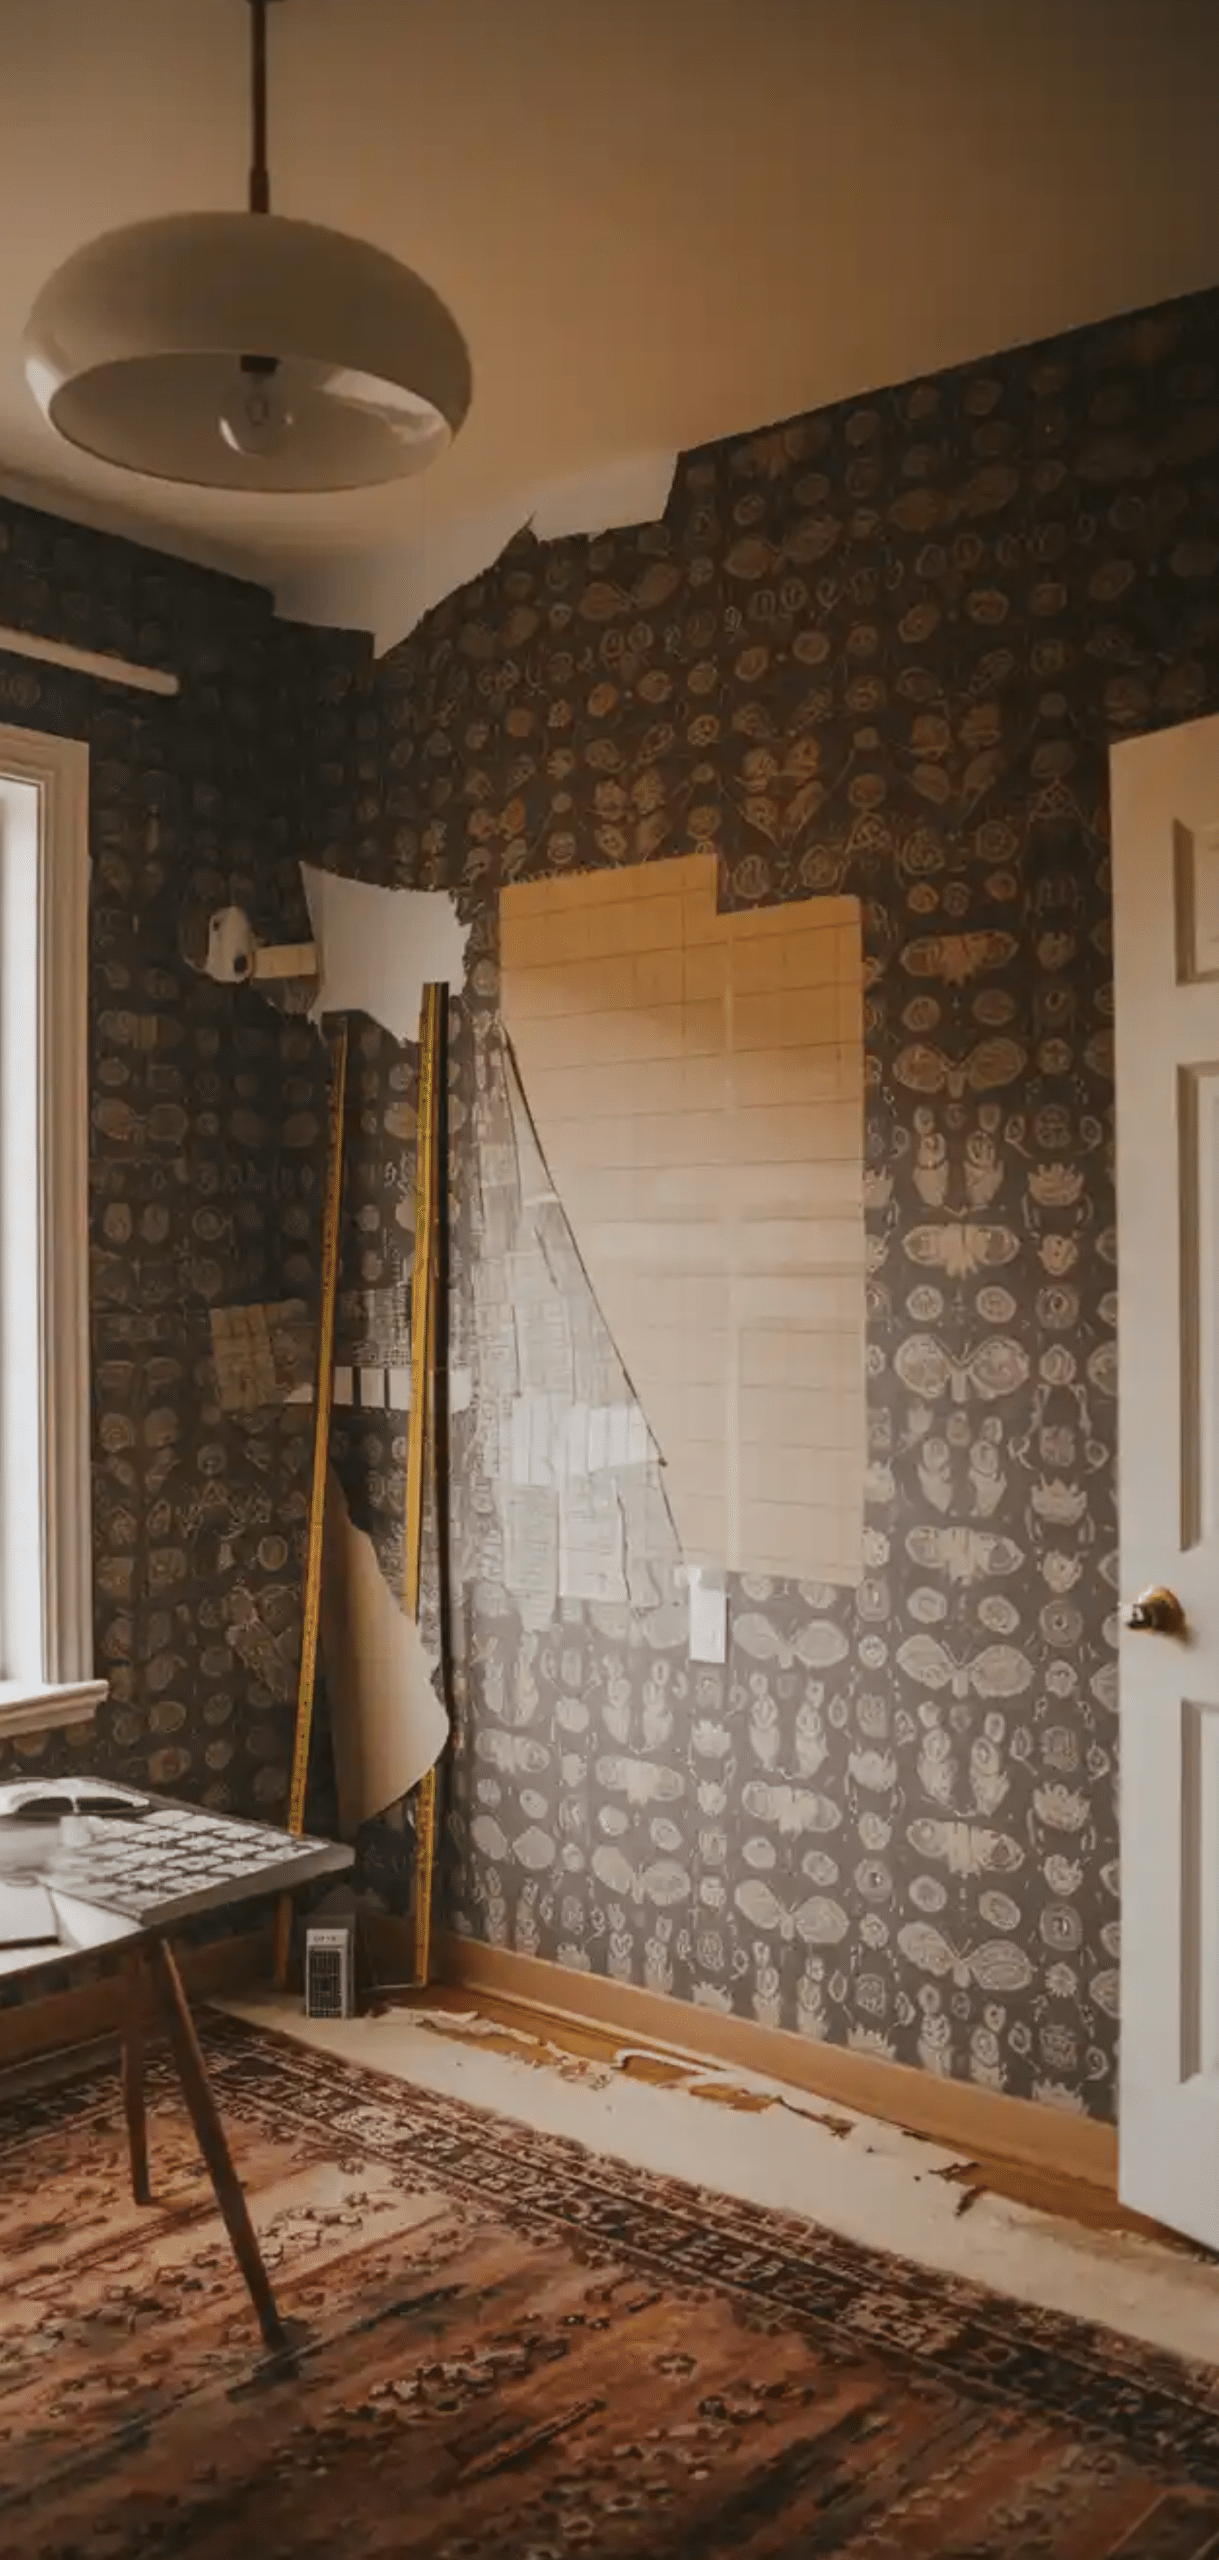
But the reality was less “Pinterest dream” and more “sticky nightmare.” The wallpaper clung to itself like it had separation anxiety, tore in spots, and refused to line up no matter how many times I repositioned it. By the end of the first hour, I was tangled in wallpaper like a fly in a spider’s web.
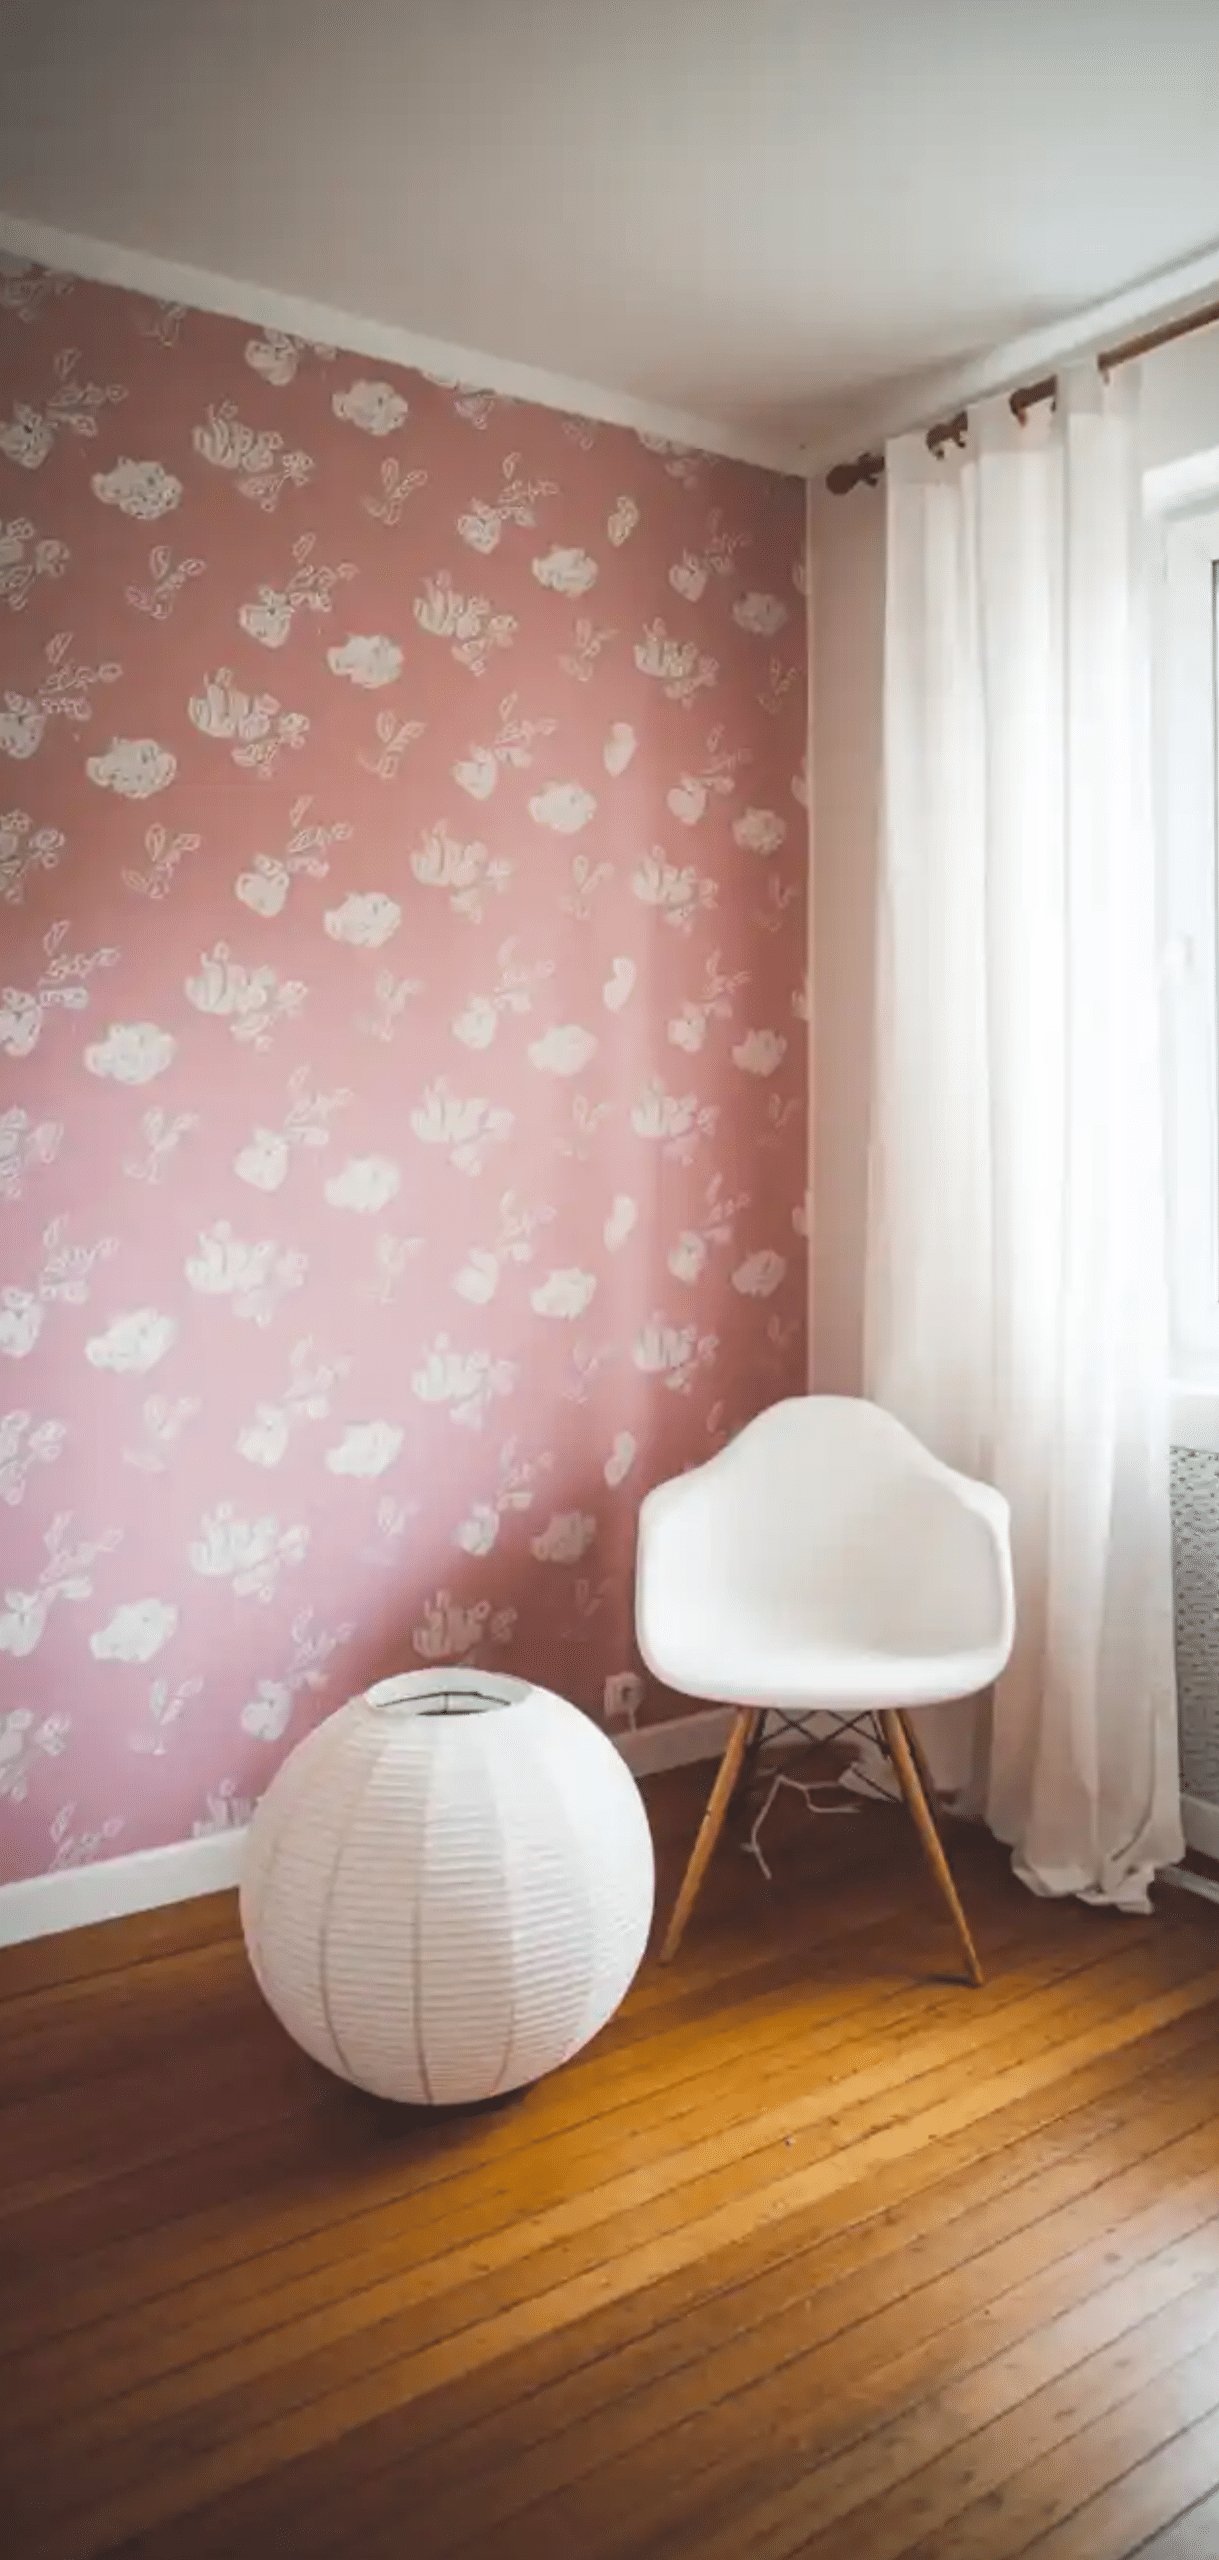
After nearly giving up (and seriously considering painting over everything instead), I learned the trick: patience, preparation, and an extra set of hands. I started small, with just one accent wall, and made sure the surface was smooth, clean, and dry before I began.
Instead of peeling the entire backing off at once, I worked in short sections, smoothing with a squeegee as I went. The difference was night and day; the pattern lined up beautifully, no bubbling, and no drama.
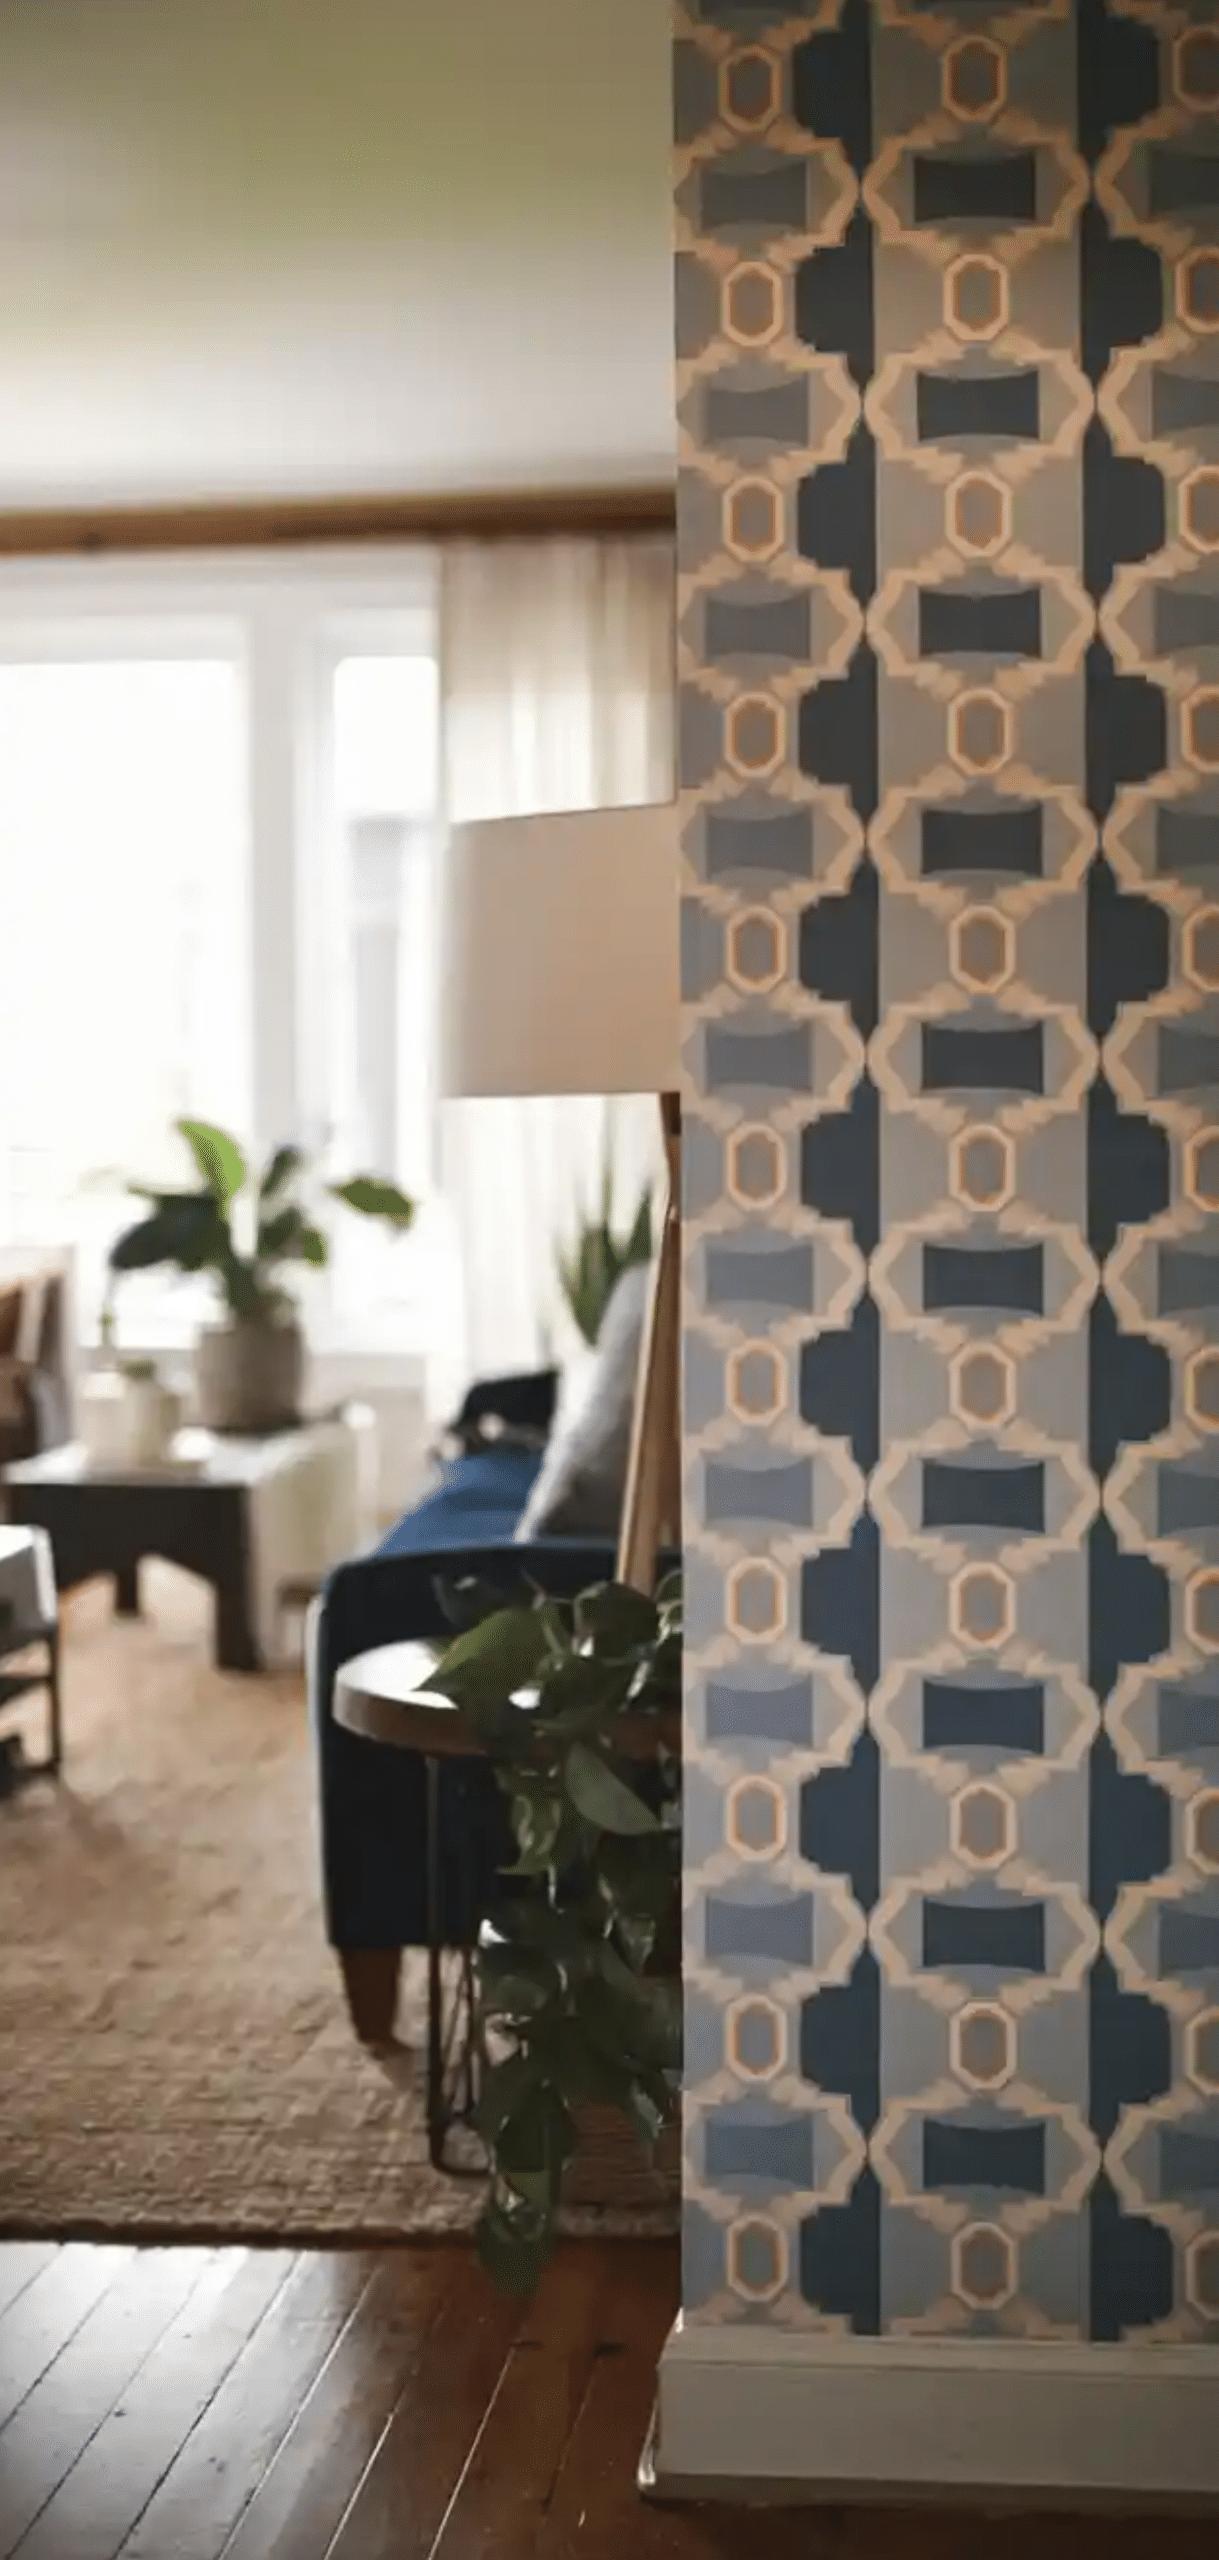
Now my bedroom wall is exactly as I envisioned it, with the peel and stick wallpaper adding texture and color that ties my posters together perfectly. The best part was when I wanted to change my mind or swap the posters, I could remove them in minutes without damaging my bedroom wall.
What started as a sticky disaster ended as a decor victory, and I finally learned how to make peel and stick work for me, not against me.
We present a comprehensive, expertly crafted guide in formal “we” form to equip you with ten essential factors before embarking on your peel-and-stick wallpaper project. Each section offers actionable insights to ensure your outcome is refined, enduring, and beautifully executed.
What We're Exploring
- 01 10. Surface Preparation and Paint Curing
- 02 9. Choosing the Right Wallpaper for Your Space
- 03 8. Room Conditions & Compatibility
- 04 7. Measure Carefully and Order Extra
- 05 6. Room Temperature & Acclimation
- 06 5. Gather Essential Tools
- 07 4. Collaborative Installation & Alignment Strategy
- 08 3. Bubble Management & Smooth Application
- 09 2. Durability & Lifespan Expectations
- 10 1. Removal and Future Updates
- 11 Conclusion
10. Surface Preparation and Paint Curing
Ensuring walls are spotless, dry, and smooth is paramount. A well-prepared surface, free of dust, grease, or texture irregularities, provides optimal adhesion and prevents bubbles.
Avoid recently painted surfaces; allow fresh paint to cure fully, typically two weeks, before application.
Peel and Stick Wallpaper Tip: Use satin, eggshell, or semi-gloss finishes instead of matte or flat paints, which may damage the paint upon removal.
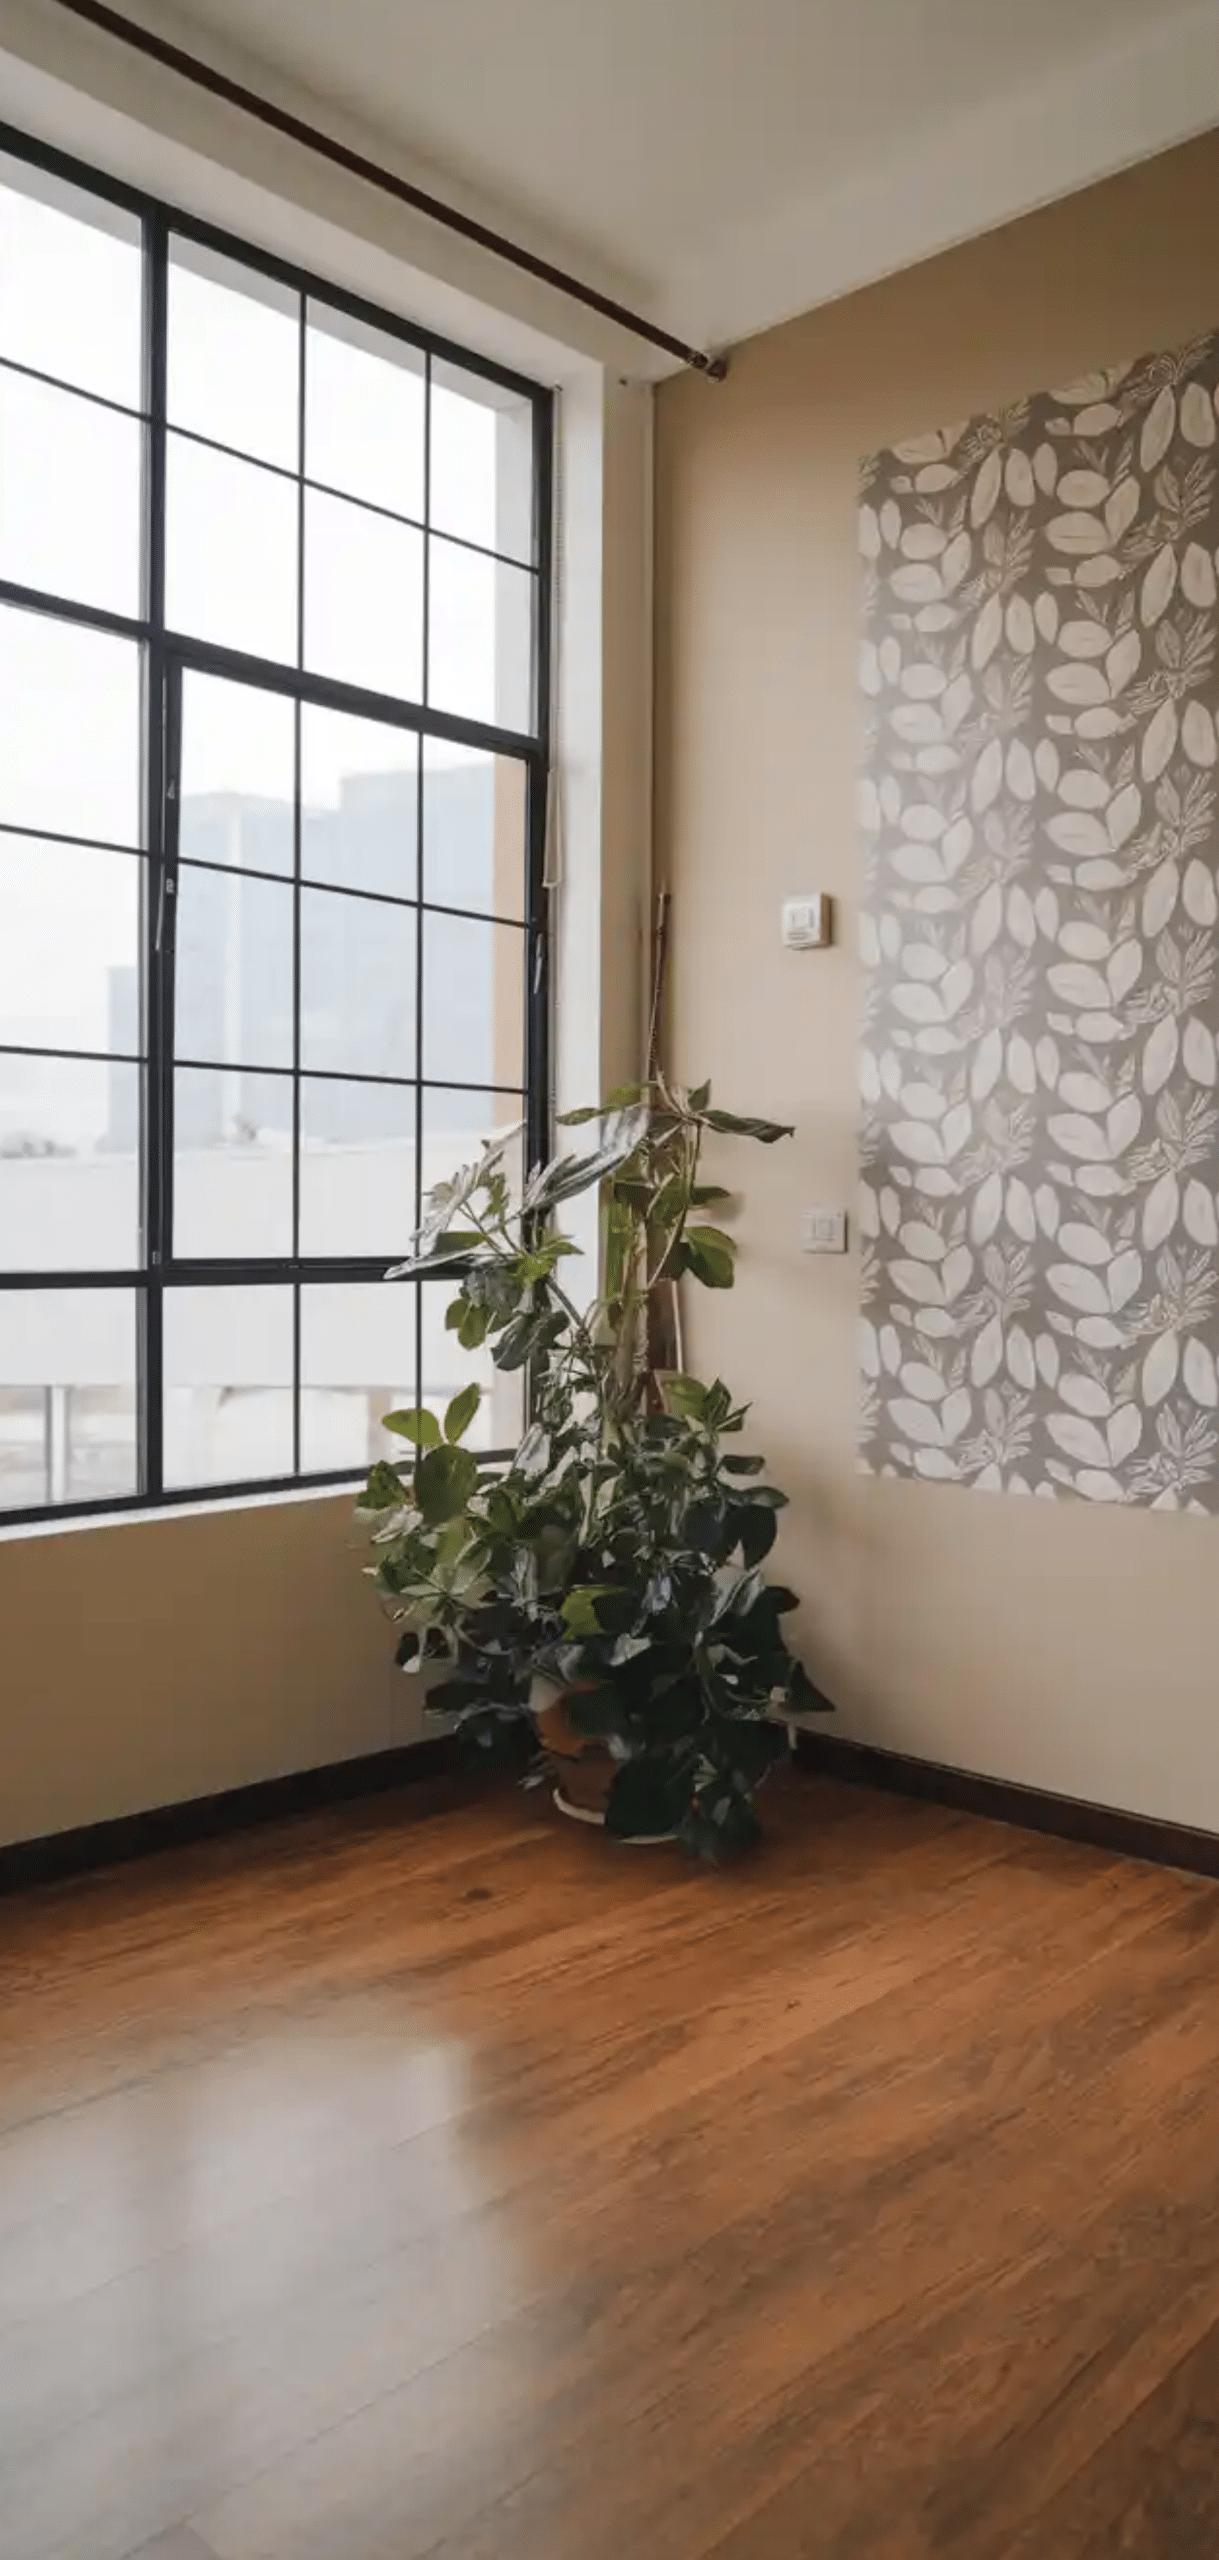
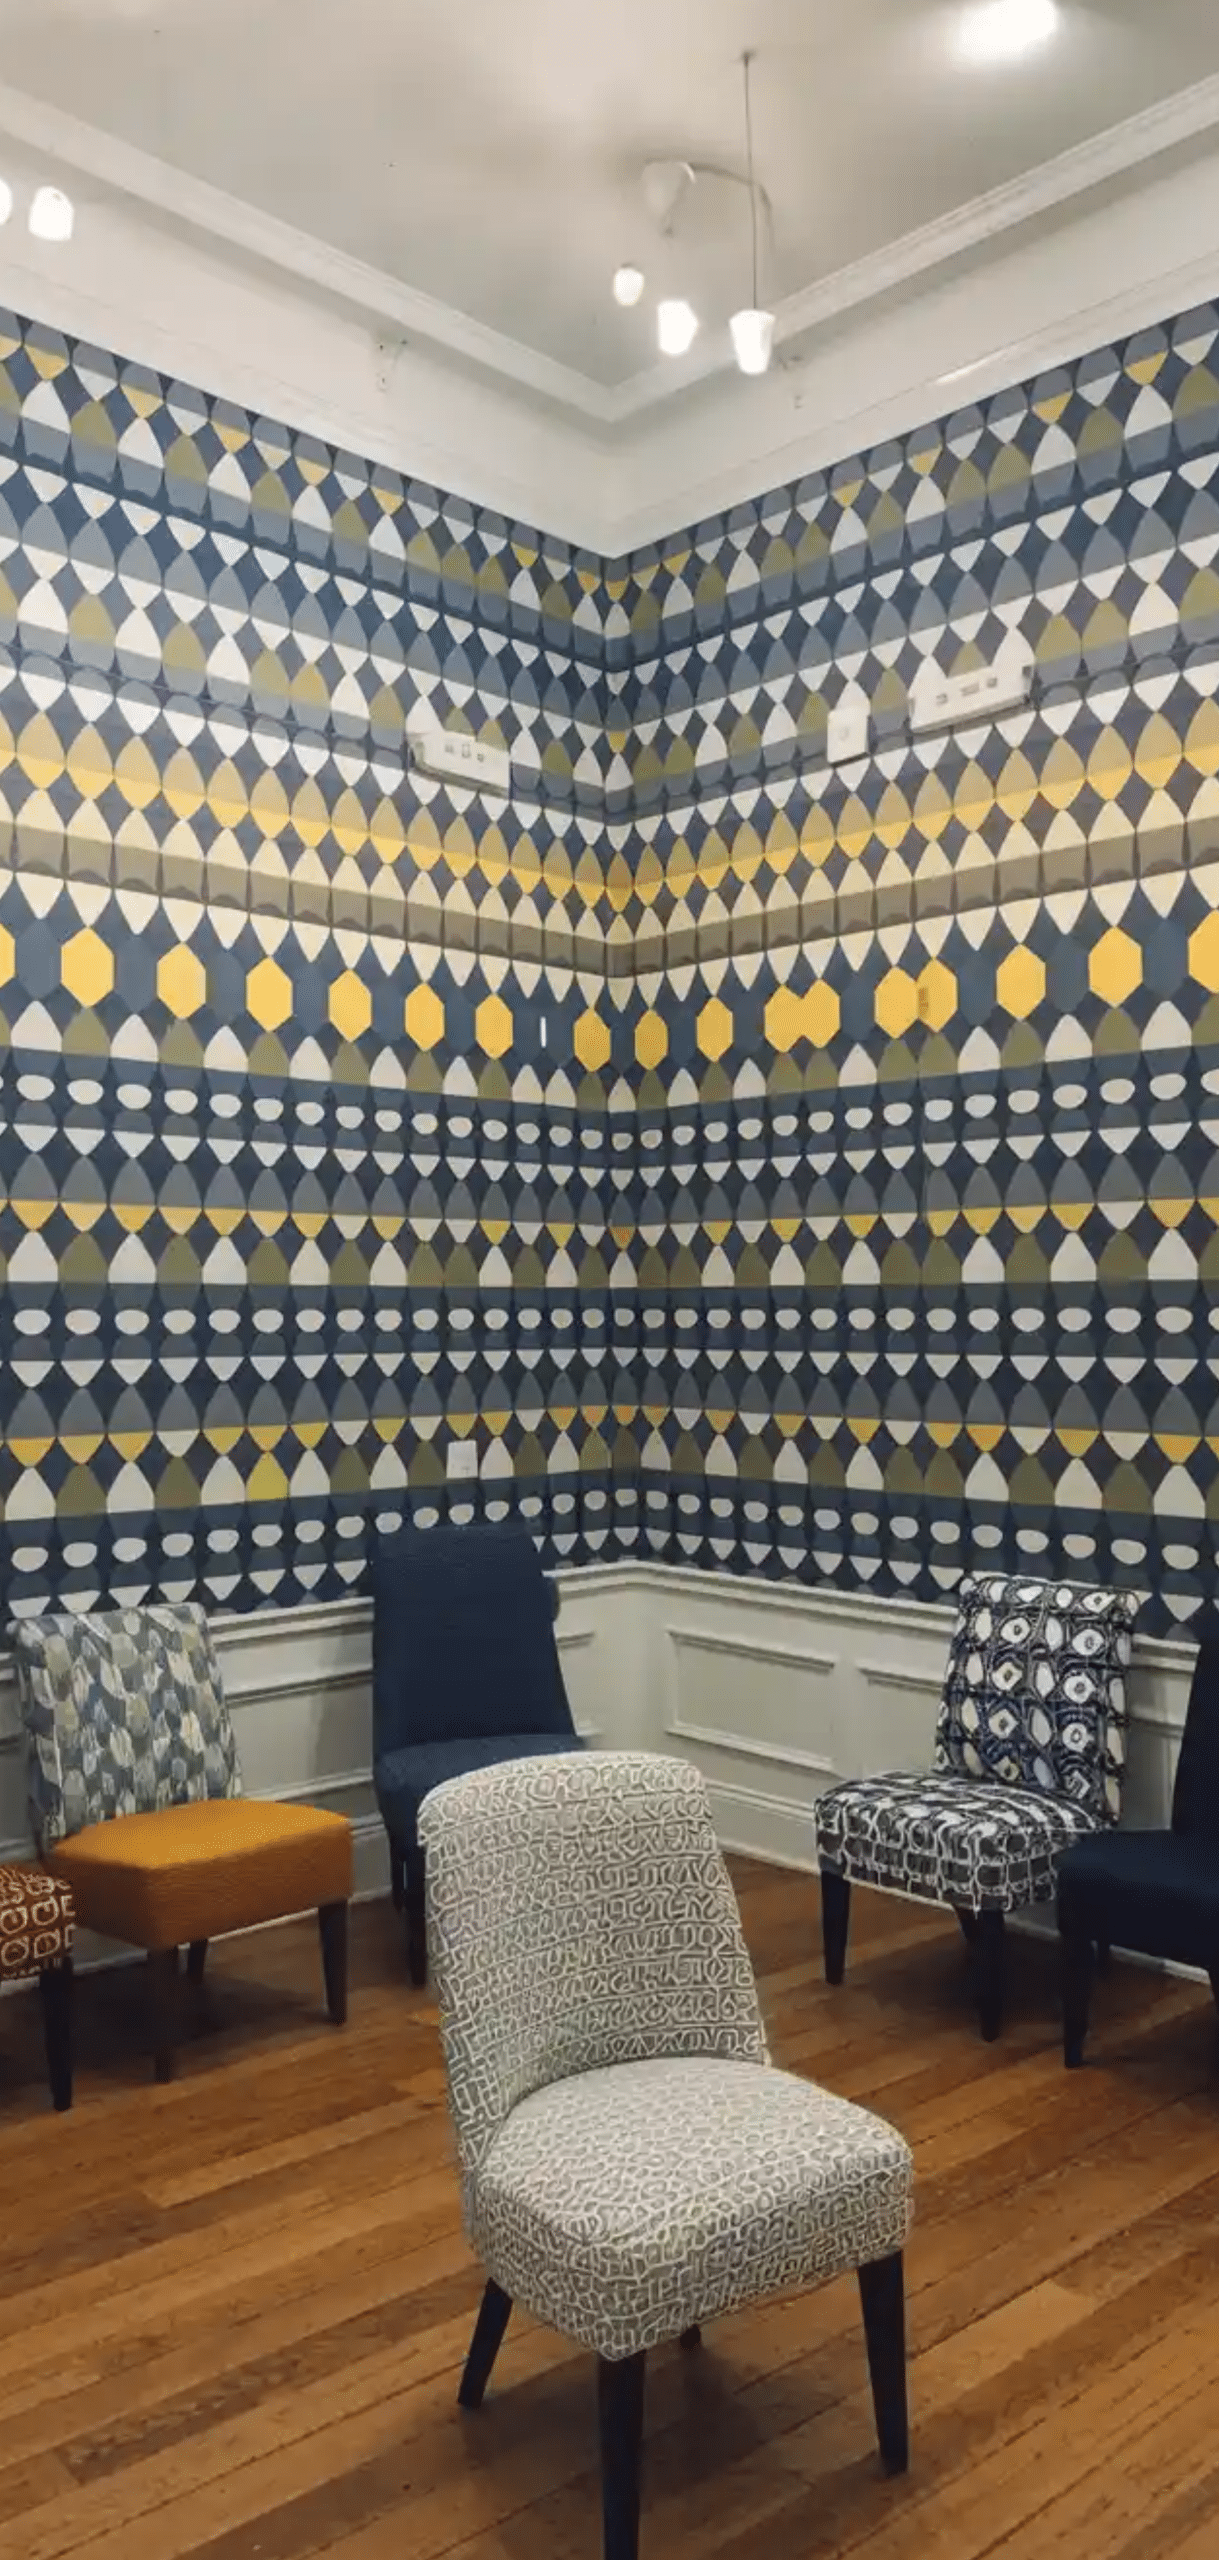
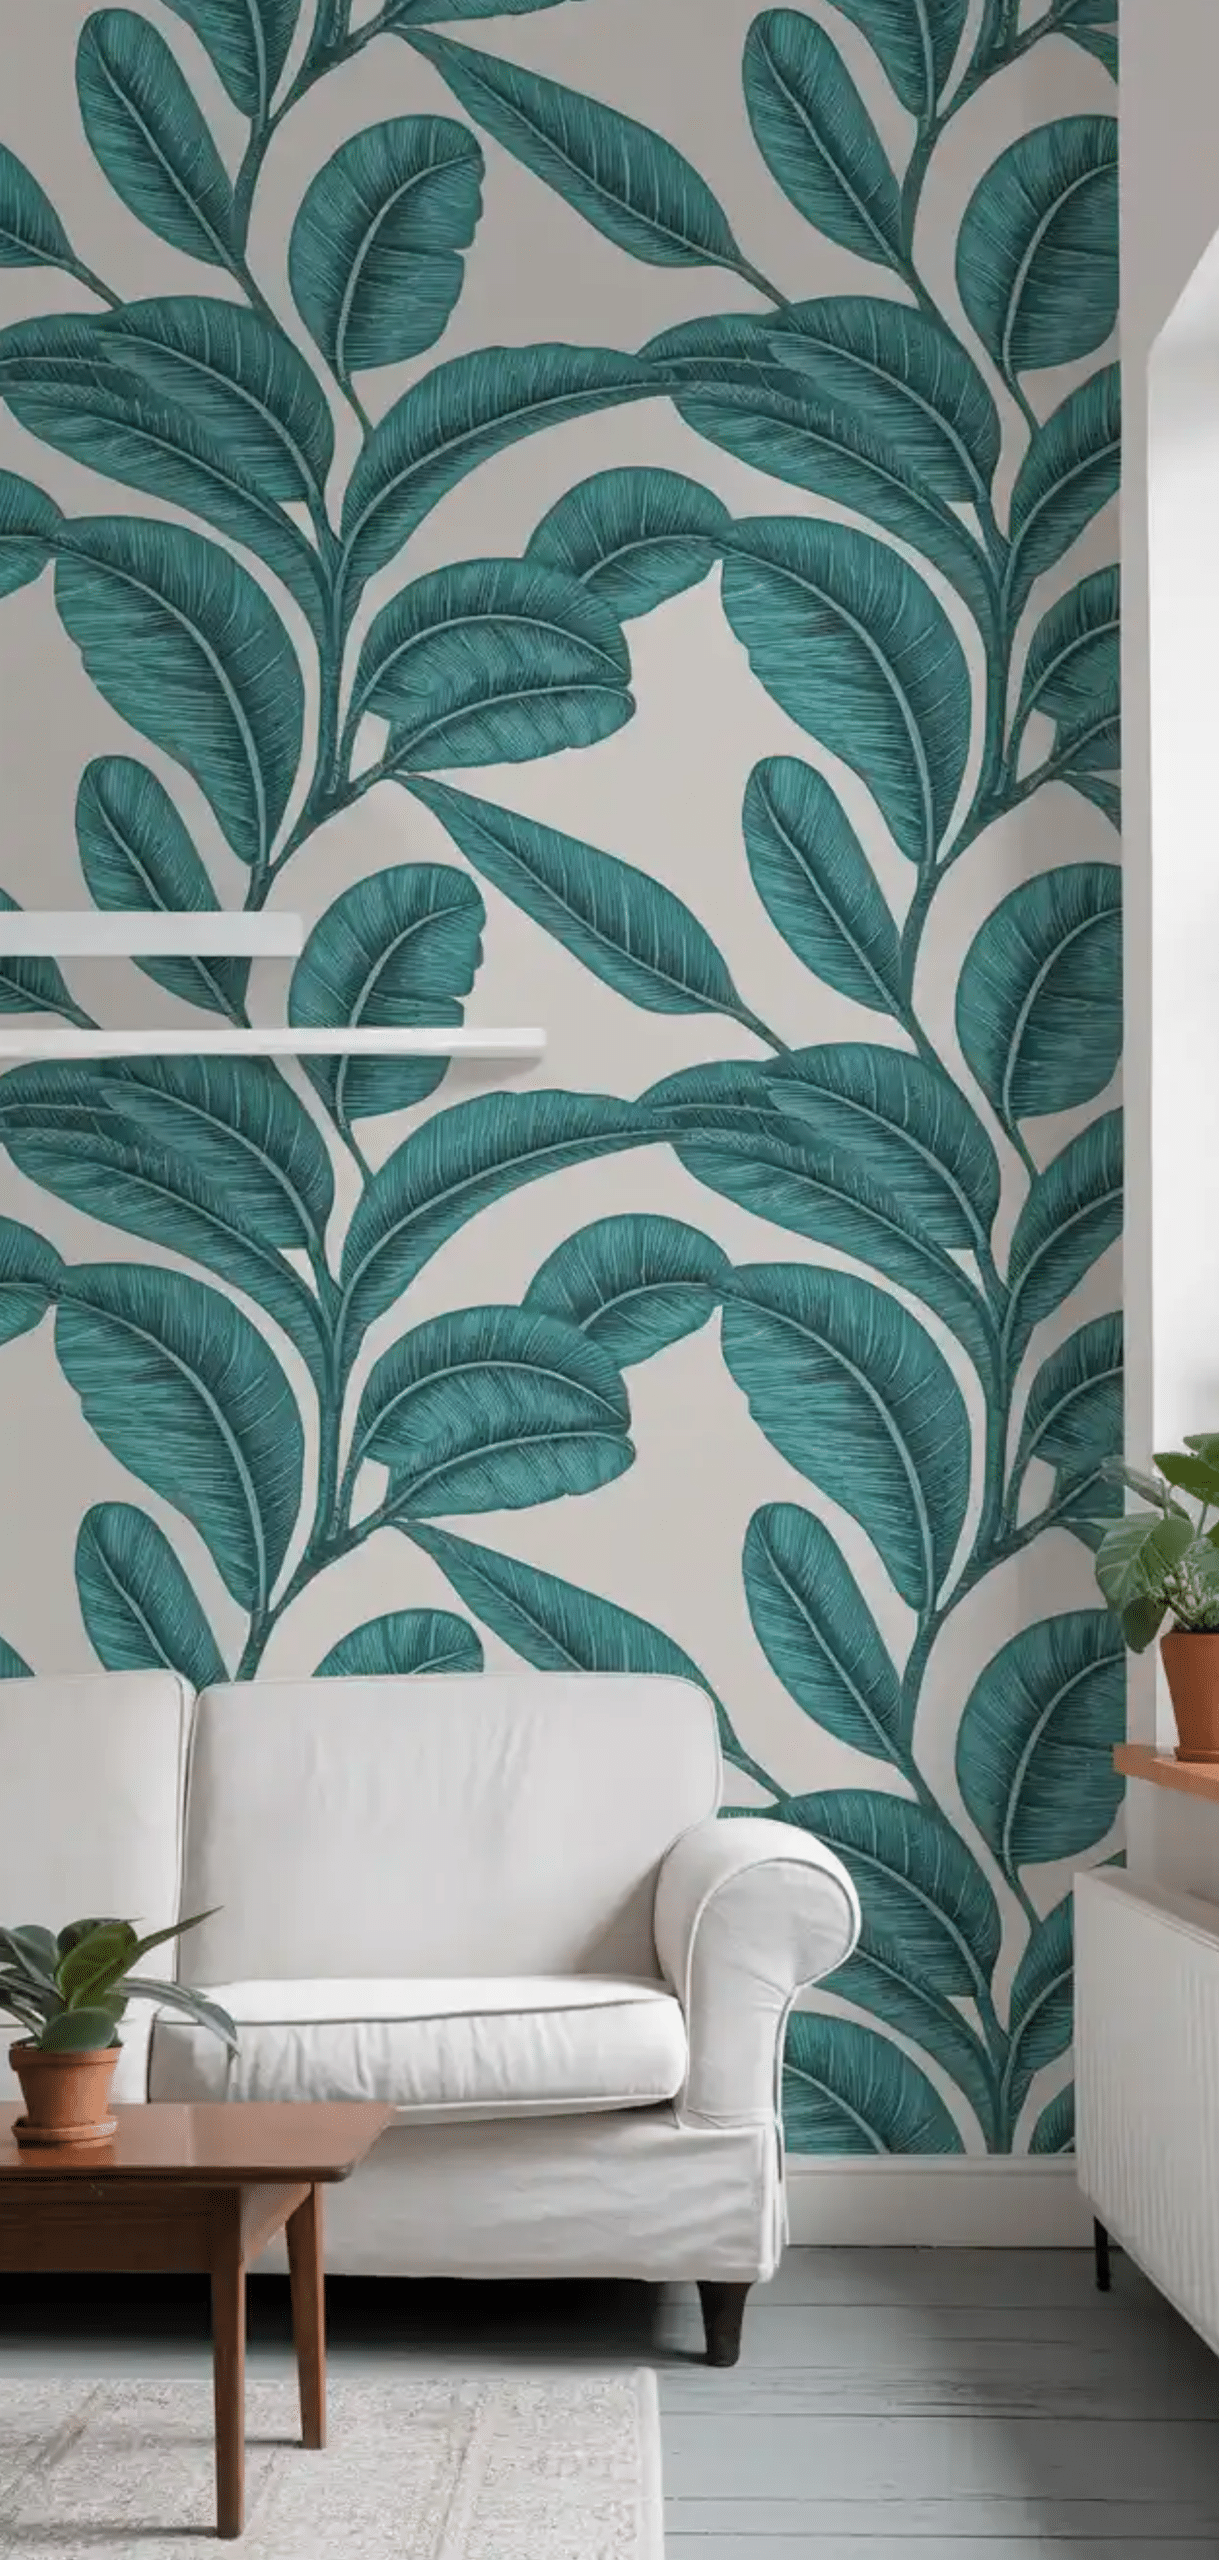
9. Choosing the Right Wallpaper for Your Space
Select the appropriate substrate and design for your specific room. Vinyl-based and moisture-resistant papers are suitable for kitchens or laundry rooms, while clay-coated, PVC-free options offer durability with elegance.
Peel and Stick Wallpaper Tip: Test samples to evaluate texture, pattern, and color in your actual lighting conditions.
8. Room Conditions & Compatibility
Peel-and-stick wallpaper thrives in low- to moderate-humidity spaces and fares particularly well in renter-friendly or frequently updated rooms such as nurseries, offices, or dorms. In high-moisture rooms.
Peel and Stick Wallpaper Tip: ensure good ventilation and avoid direct water exposure; consider sealing after installation for added protection.
7. Measure Carefully and Order Extra
Precise measuring is non-negotiable. Miscalculations can halt progress mid-install. Always purchase 10–15% extra to accommodate trimming, pattern alignment, and mistakes.
6. Room Temperature & Acclimation
Allow the wallpaper to rest at room temperature for at least 24 hours before installation.
Peel and Stick Wallpaper Tip: This stabilization helps prevent stretching, curling, or adhesion failures.
5. Gather Essential Tools
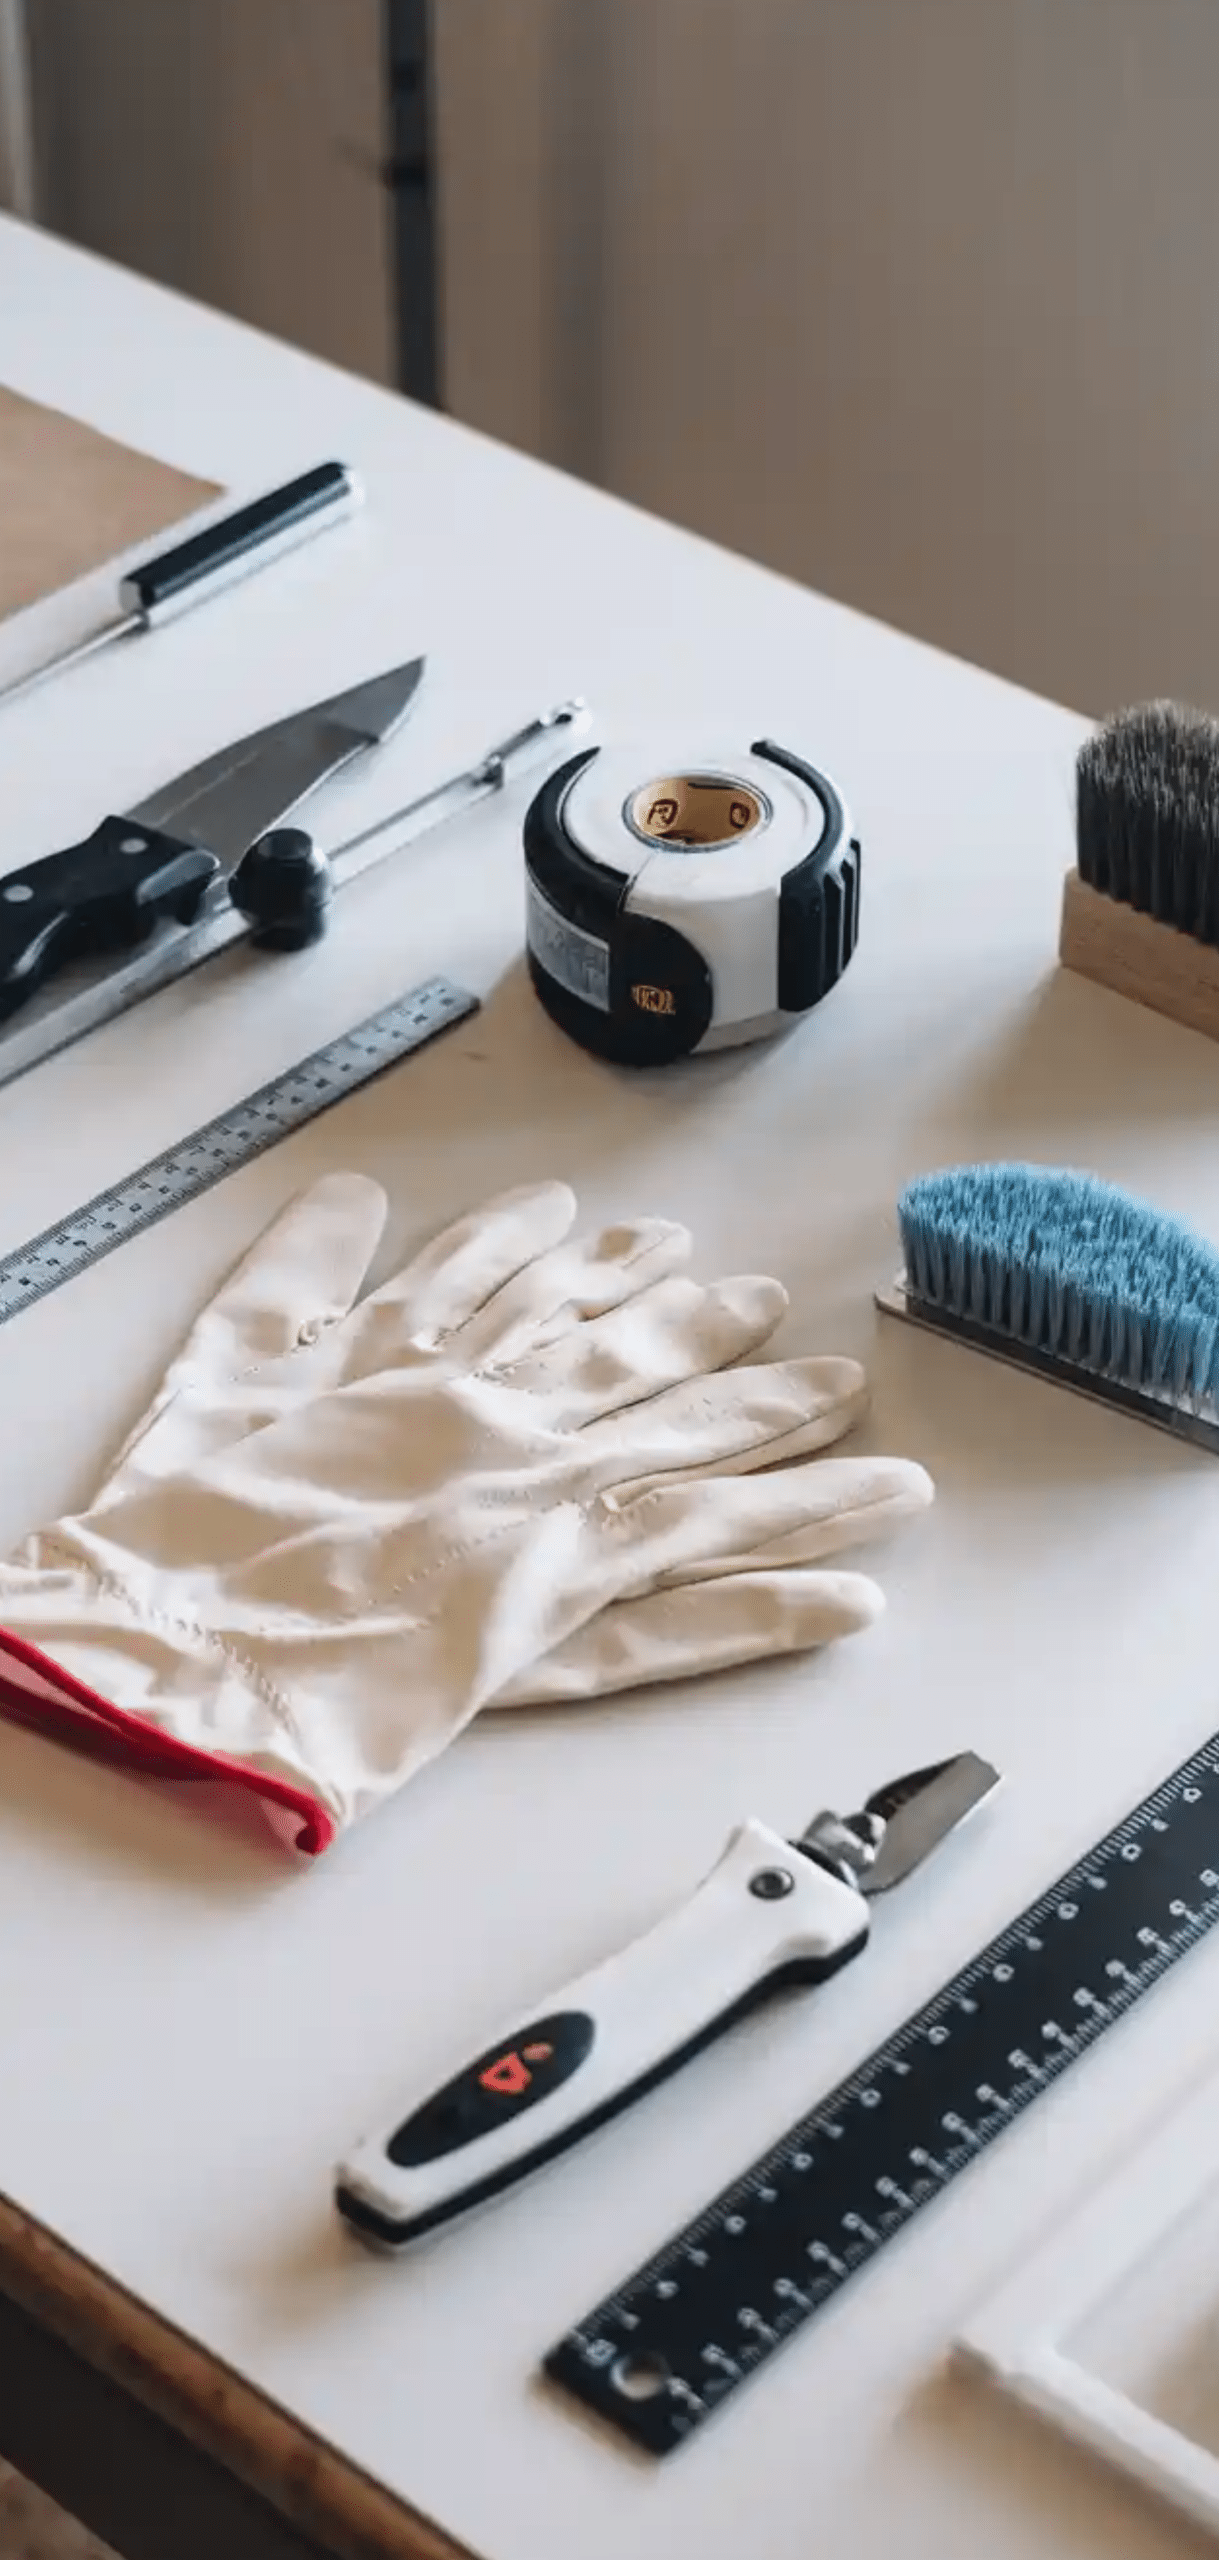
Equip yourself with:
- Measuring tape, level, or straightedge
- Utility knife with fresh blades
- Smoothing tool (plastic squeegee or soft spatula)
- Clean cloths for wall prep
These tools ensure professional-grade alignment, trimming, and smoothing.
4. Collaborative Installation & Alignment Strategy
We strongly recommend working with a partner. One person aligns and holds, while the other peels the backing and smooths. Begin installation from a preset straight edge, such as a corner or a plumb line. Peel backing incrementally, top down, while smoothing
Peel and Stick Wallpaper Tip: to avoid bubbles and misalignment. For busy or repeating patterns, allow alignment imperfections to disguise slight misfits.
3. Bubble Management & Smooth Application
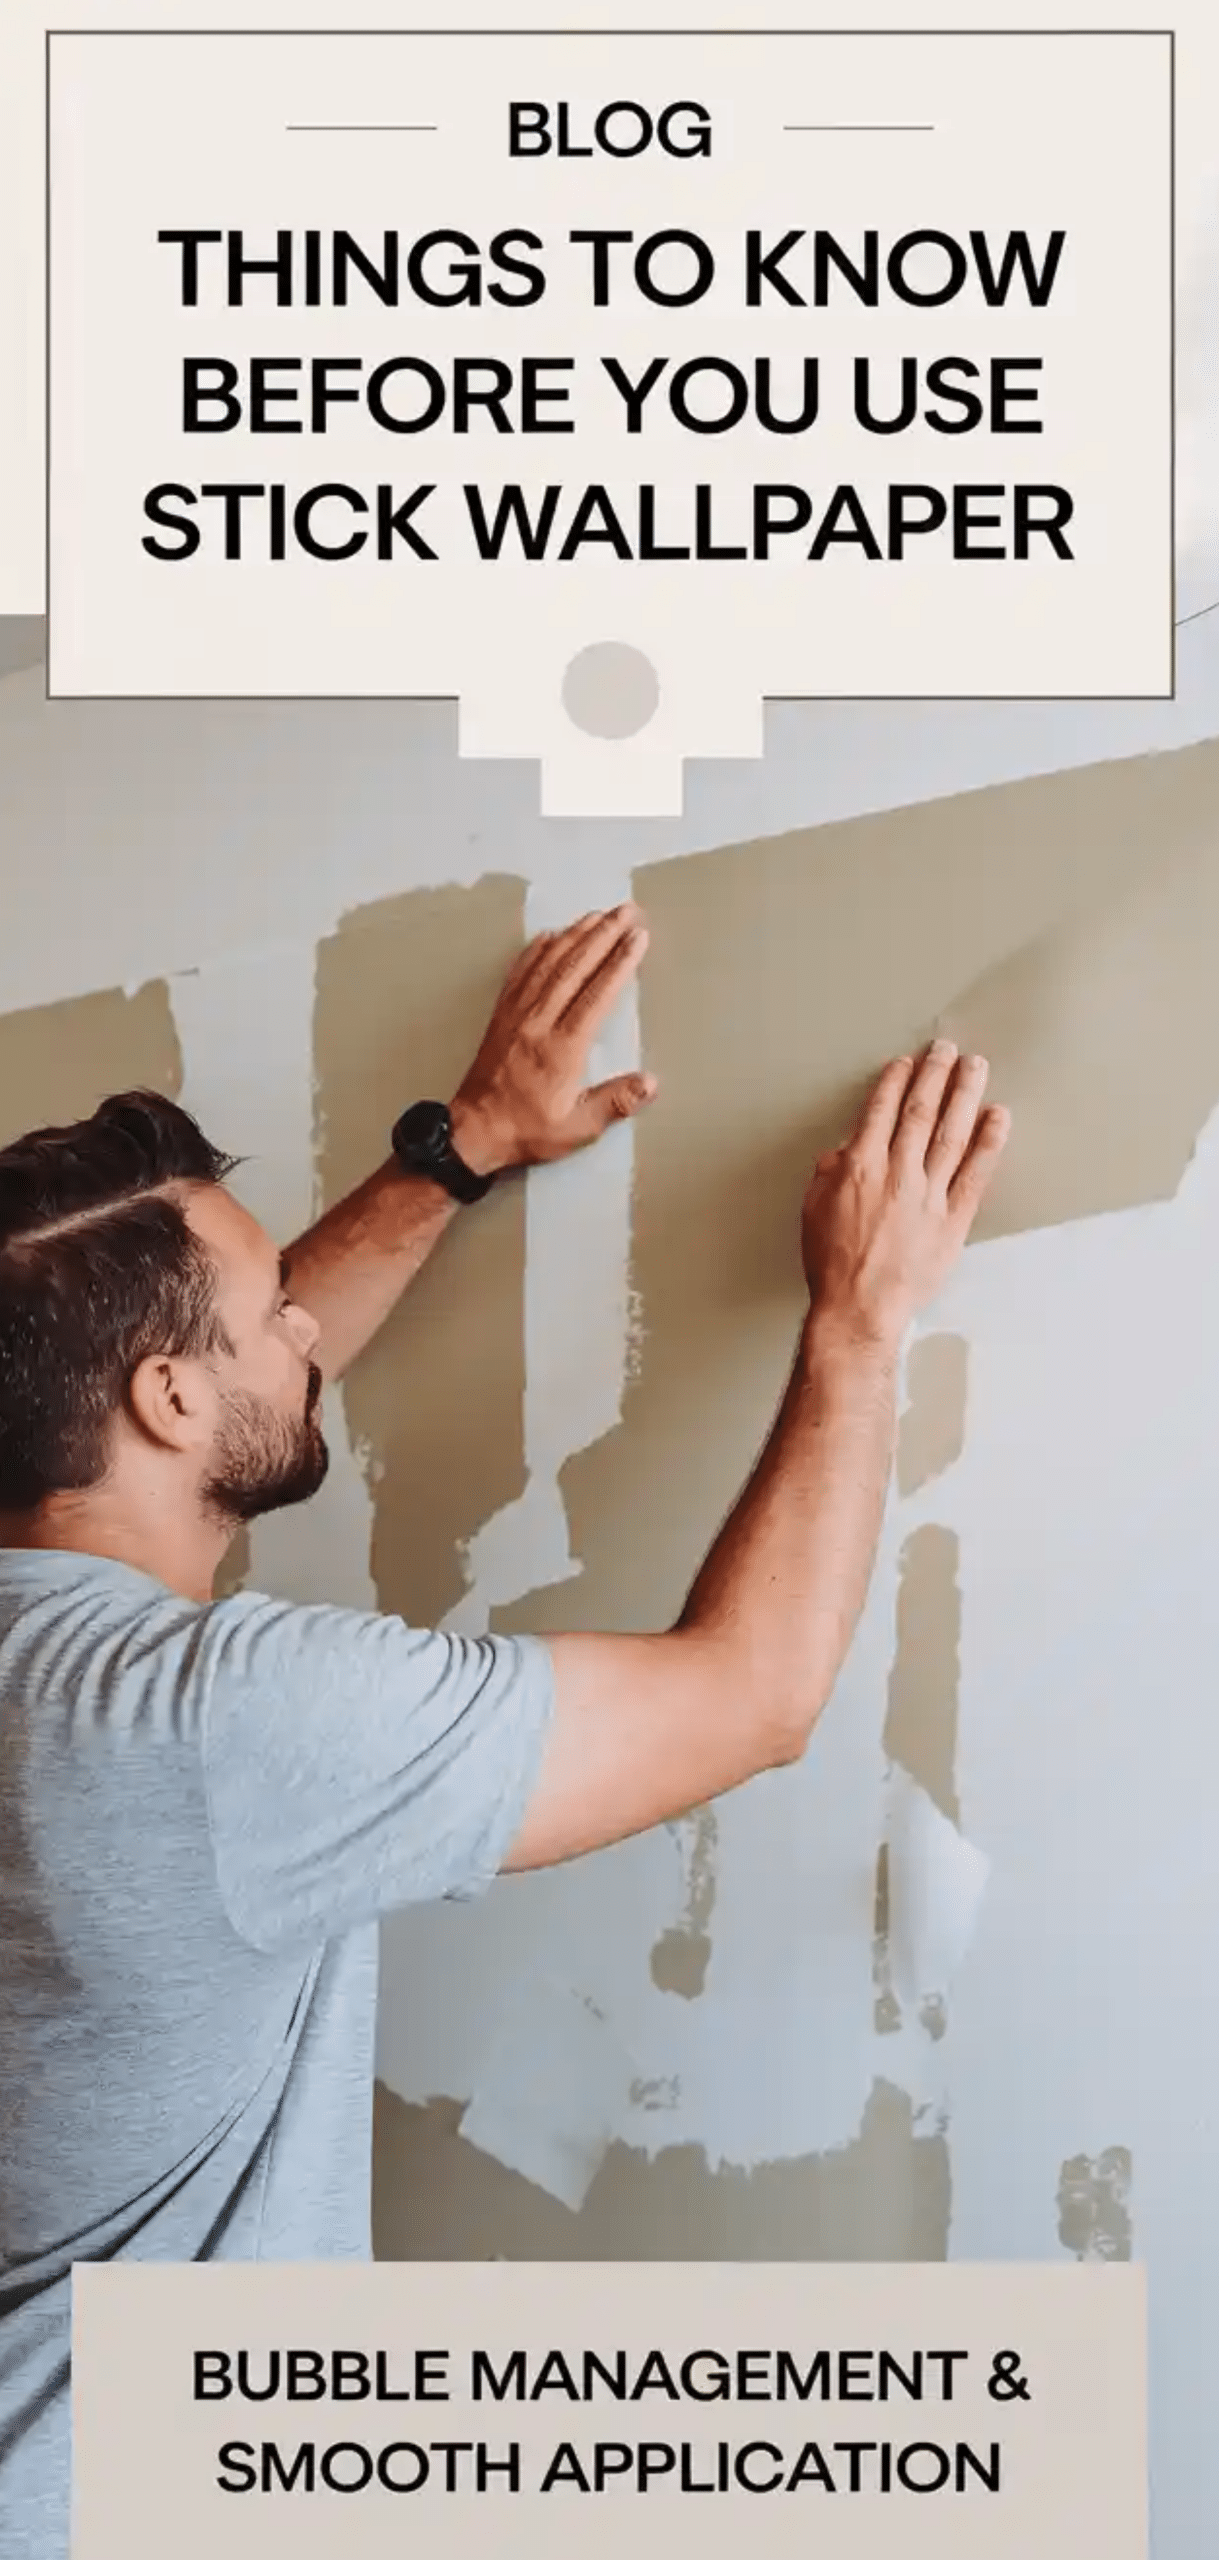
As you install your peel and stick wallpaper :
- Use a dedicated smoothing tool, preferably plastic, to flatten bubbles gently. Re-squeegee later if needed.
- Resist sharp or metal tools that can tear or imprint the paper.
- If bubbles appear, some can be lifted and smoothed; persistent ones may be pricked with a pin and pressed flat.
2. Durability & Lifespan Expectations
When properly installed on well-prepped walls, quality peel-and-stick wallpaper can endure for years, even in active areas like laundry rooms, without discoloring or losing adhesion. Removal typically leaves no damage if executed gently, at a 45° angle, easing edges with heat or a mild cleaner if needed.
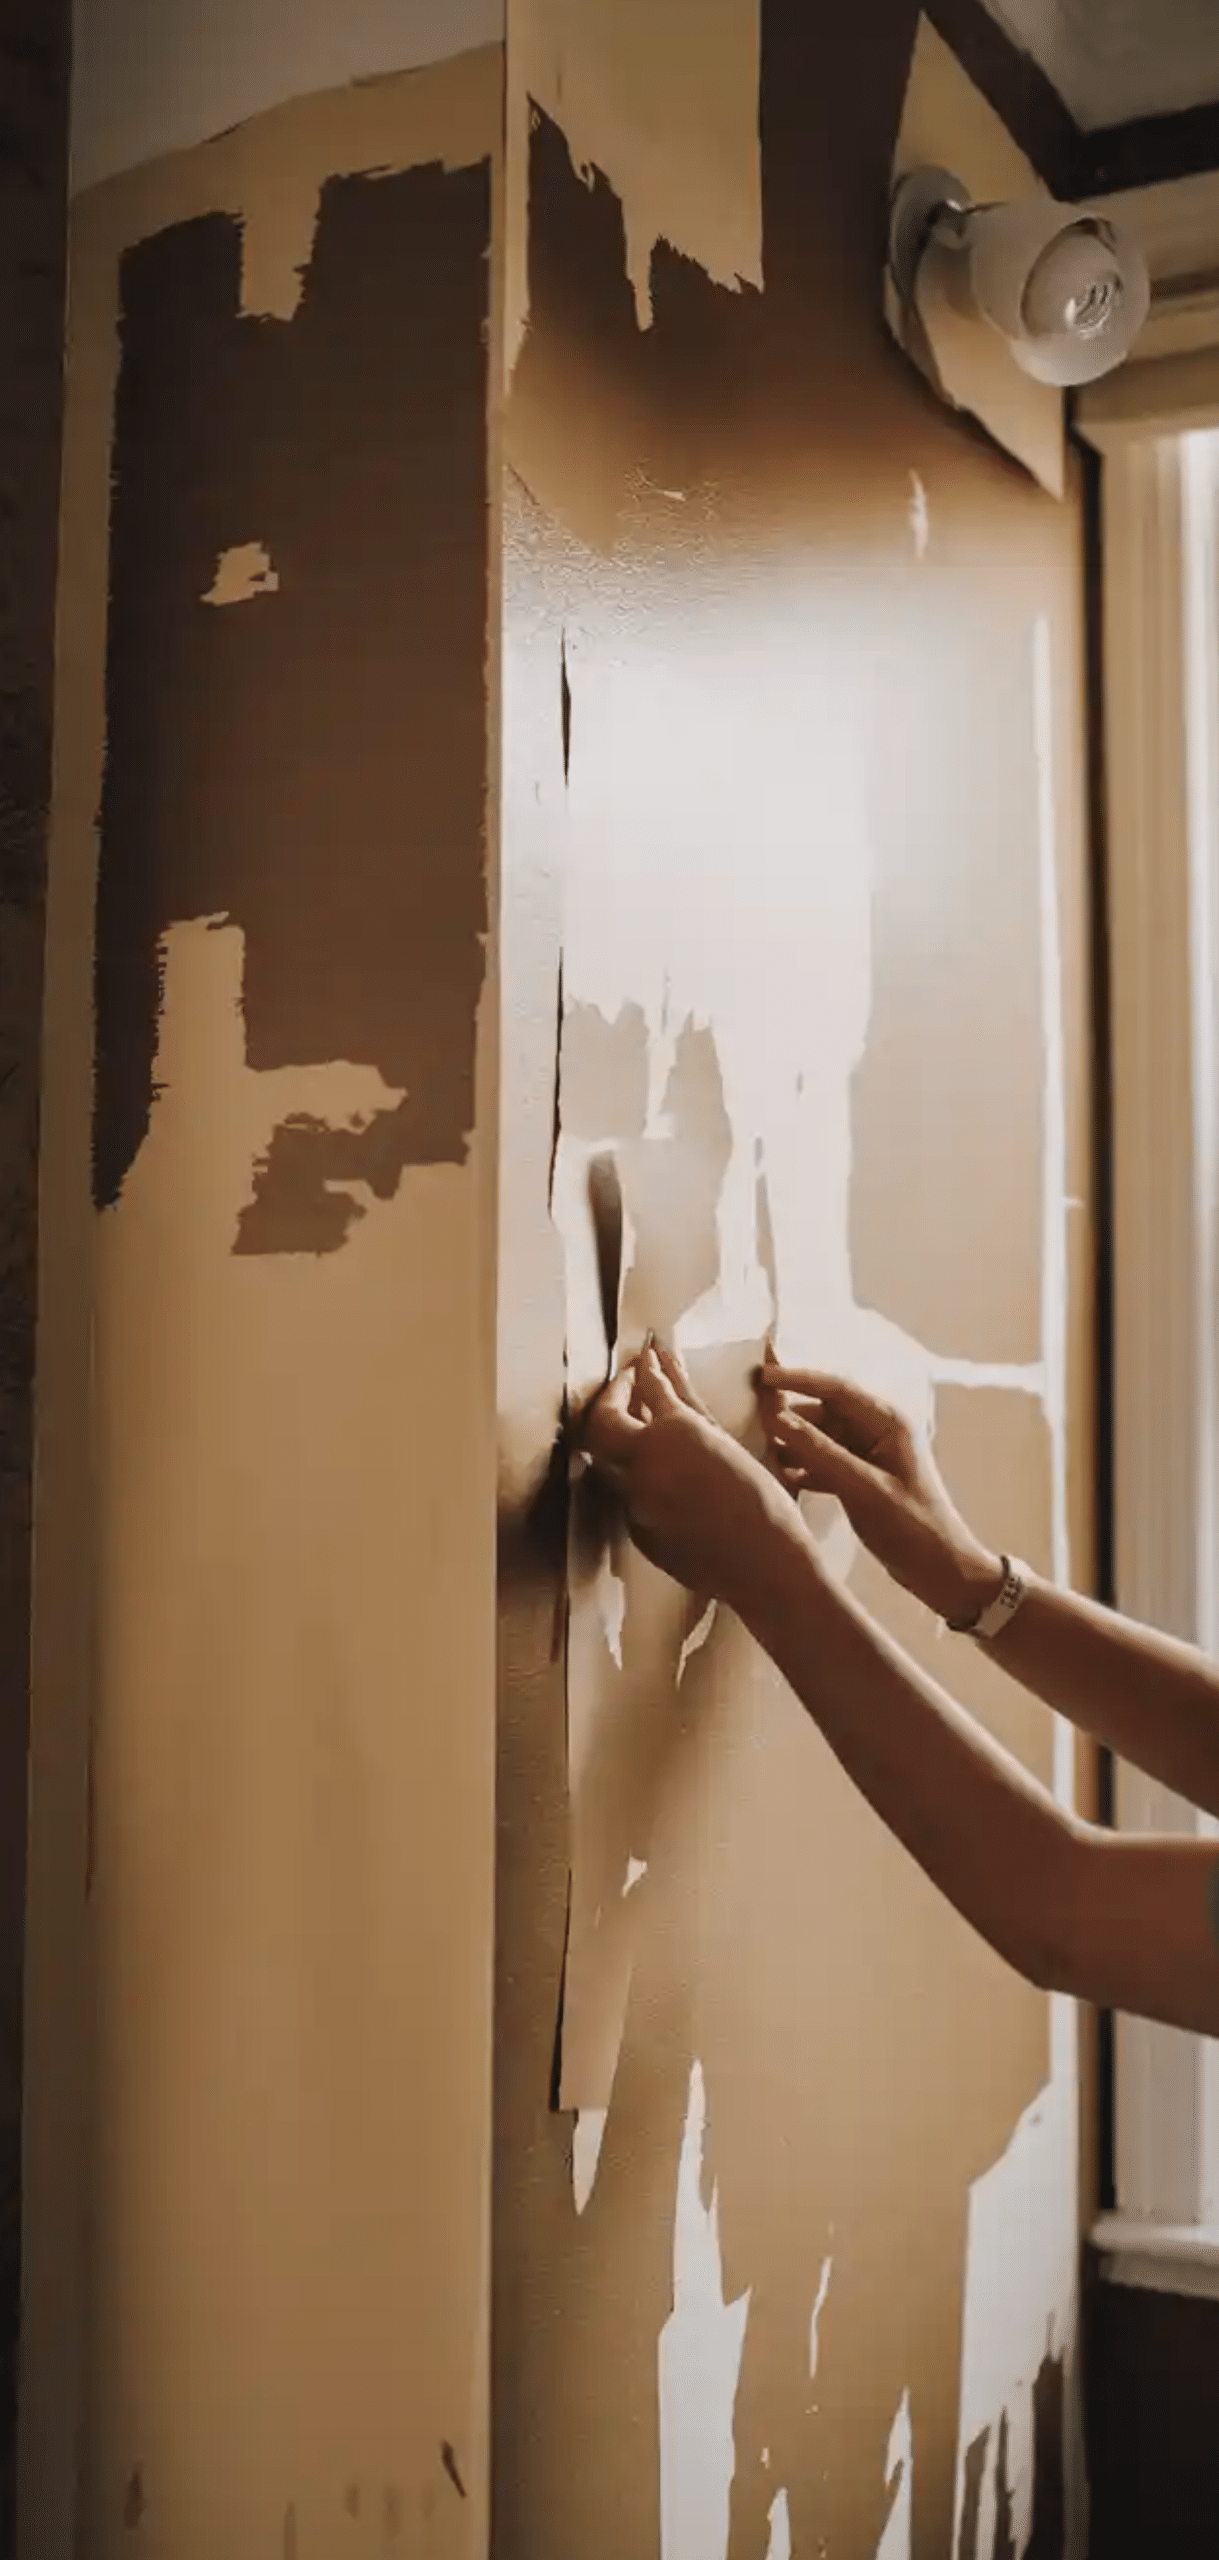
1. Removal and Future Updates
Removal should be smooth if all installation guidelines were followed. Peel gently at a low angle; warm edges with a hairdryer if needed. Clean up any adhesive residue with soapy water or mild remover. Proper removal ensures surfaces remain in excellent condition for the next design refresh.
Conclusion
By adhering to these ten expert guidelines, we ensure your peel and stick wallpaper project transitions from daunting to seamlessly transformative, achieving a polished surface, enduring finish, and confident DIY experience.
Enjoyed this post?
Share the love with another mom!
Every share helps this little blog grow — thank you so much