Make sure to join my list for Weekly Tips and Recipes to Your Inbox
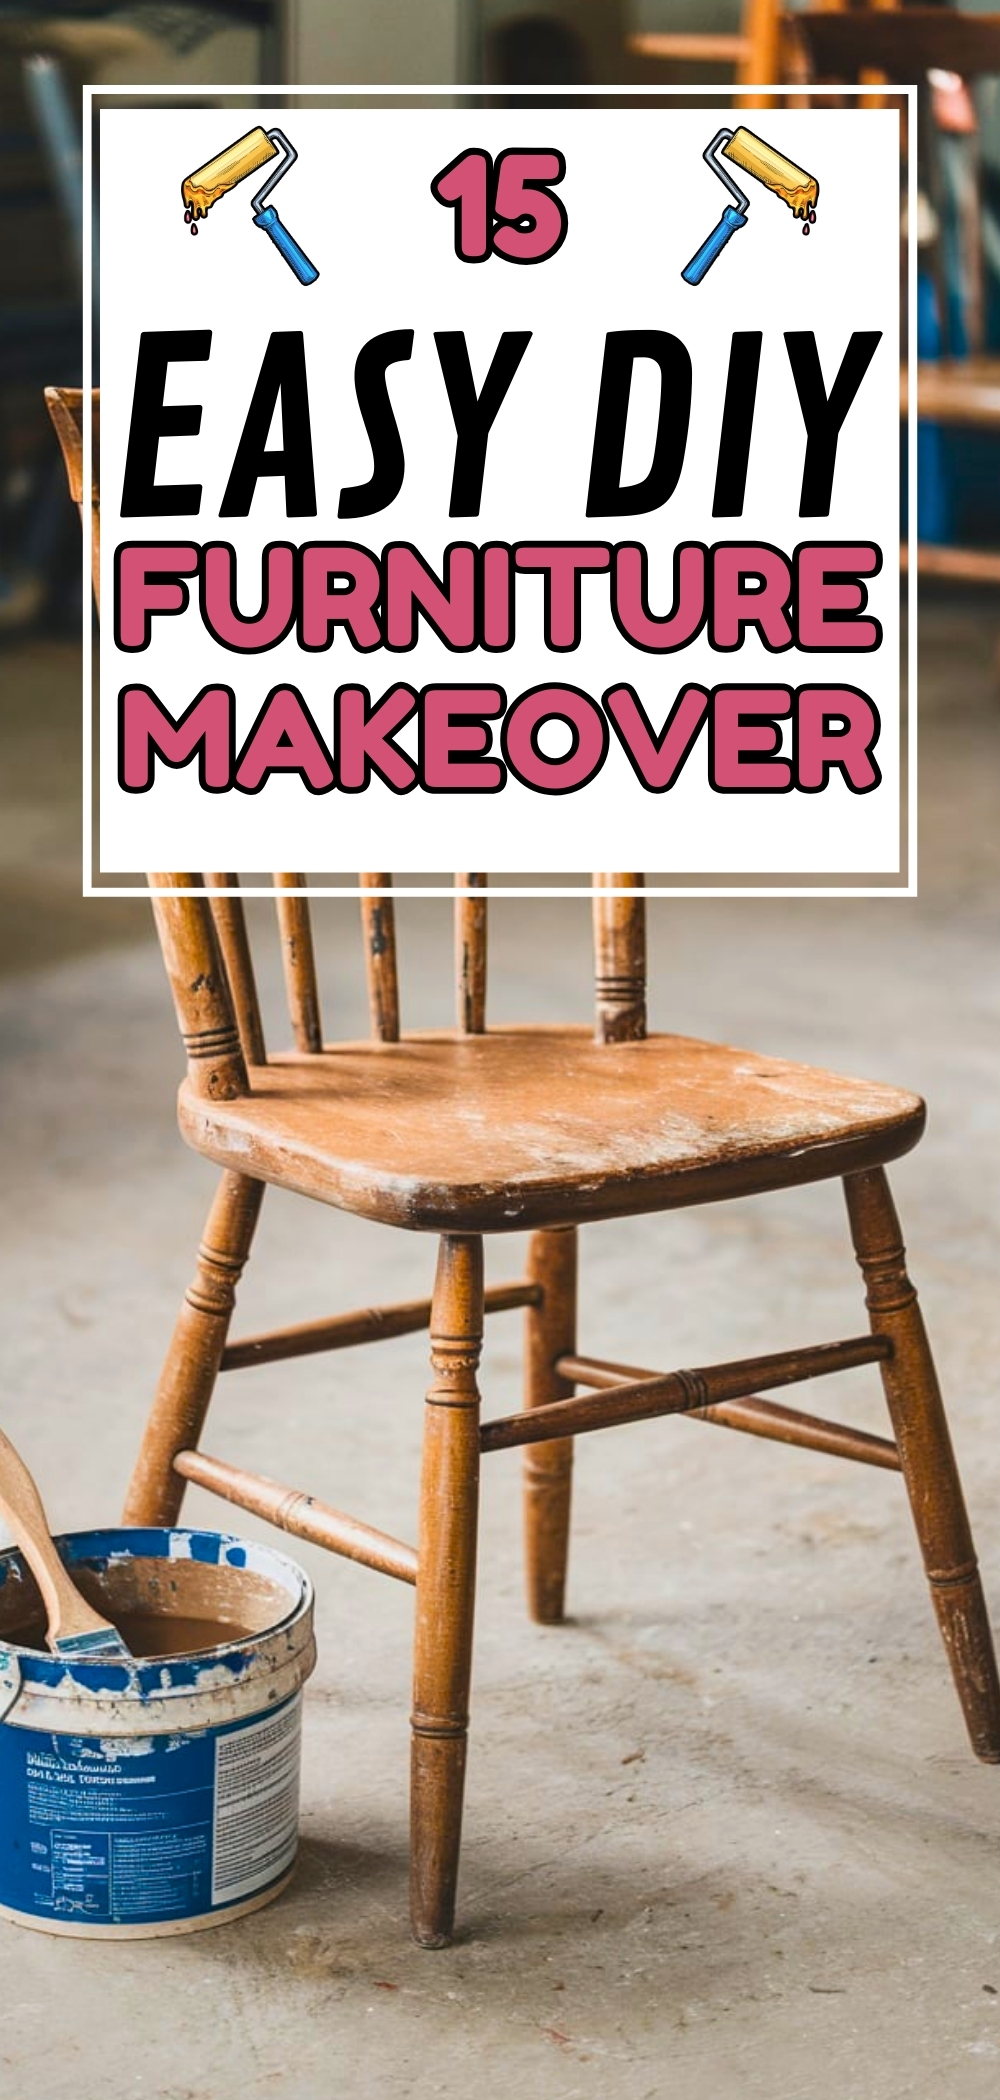
15 Easy DIY Furniture Makeover
A little note: Some images in this post may come from third-party sources and are shared purely to inspire you. All credit goes to their original creators. Visit our Image Credits Policy for more information.
This beginner’s DIY furniture makeover guide offers practical advice for newcomers feeling overwhelmed or unsure about their skills. I was like you in the past; it’s normal that with practice and doing homework, like my recent furniture makeover of the IKEA dresser when I wanted to style my bedroom, you will elevate your skills.
There are many useful old or unwanted pieces on Facebook Marketplace for a few bucks, but no one has an idea to remodel them. The steps below cover everything from choosing the perfect piece to prepping, stripping, painting, and adding final touches. I detailed the article with instructions and tips to help you choose the best supplies needed and how to handle tools like a pro.
You may add a personal touch to your home design without going over budget by renewing antique furniture, which is a fun experience. This detailed guide will show you how to DIY furniture makeover, giving you all the tools a novice needs to produce eye-catching changes.
What We're Exploring
- 01 Step 1: Choose the Right Piece for Your First Furniture Makeover
- 02 Step 2: Gather Essential Tools and Supplies For Furniture Makeover
- 03 Step 3: Clean and Prep the Furniture Makeover
- 04 Step 4: Remove Hardware and Other Components
- 05 Step 5: Assess and Repair Damages
- 06 Step 6: Sand the Surface
- 07 Step 7: Wipe Away Dust
- 08 Step 8: Apply a Primer
- 09 Step 9: Choose Your Finish
- 10 Step 10: Apply the First Coat
- 11 Step 11: Sand Between Coats
- 12 Step 12: Apply Additional Coats as Needed
- 13 Step 13: Add Protective Sealing
- 14 Step 14: Reattach Hardware and Finishing Touches
- 15 Step 15: Style and Display Your Masterpiece
- 16 Conclusion
Step 1: Choose the Right Piece for Your First Furniture Makeover
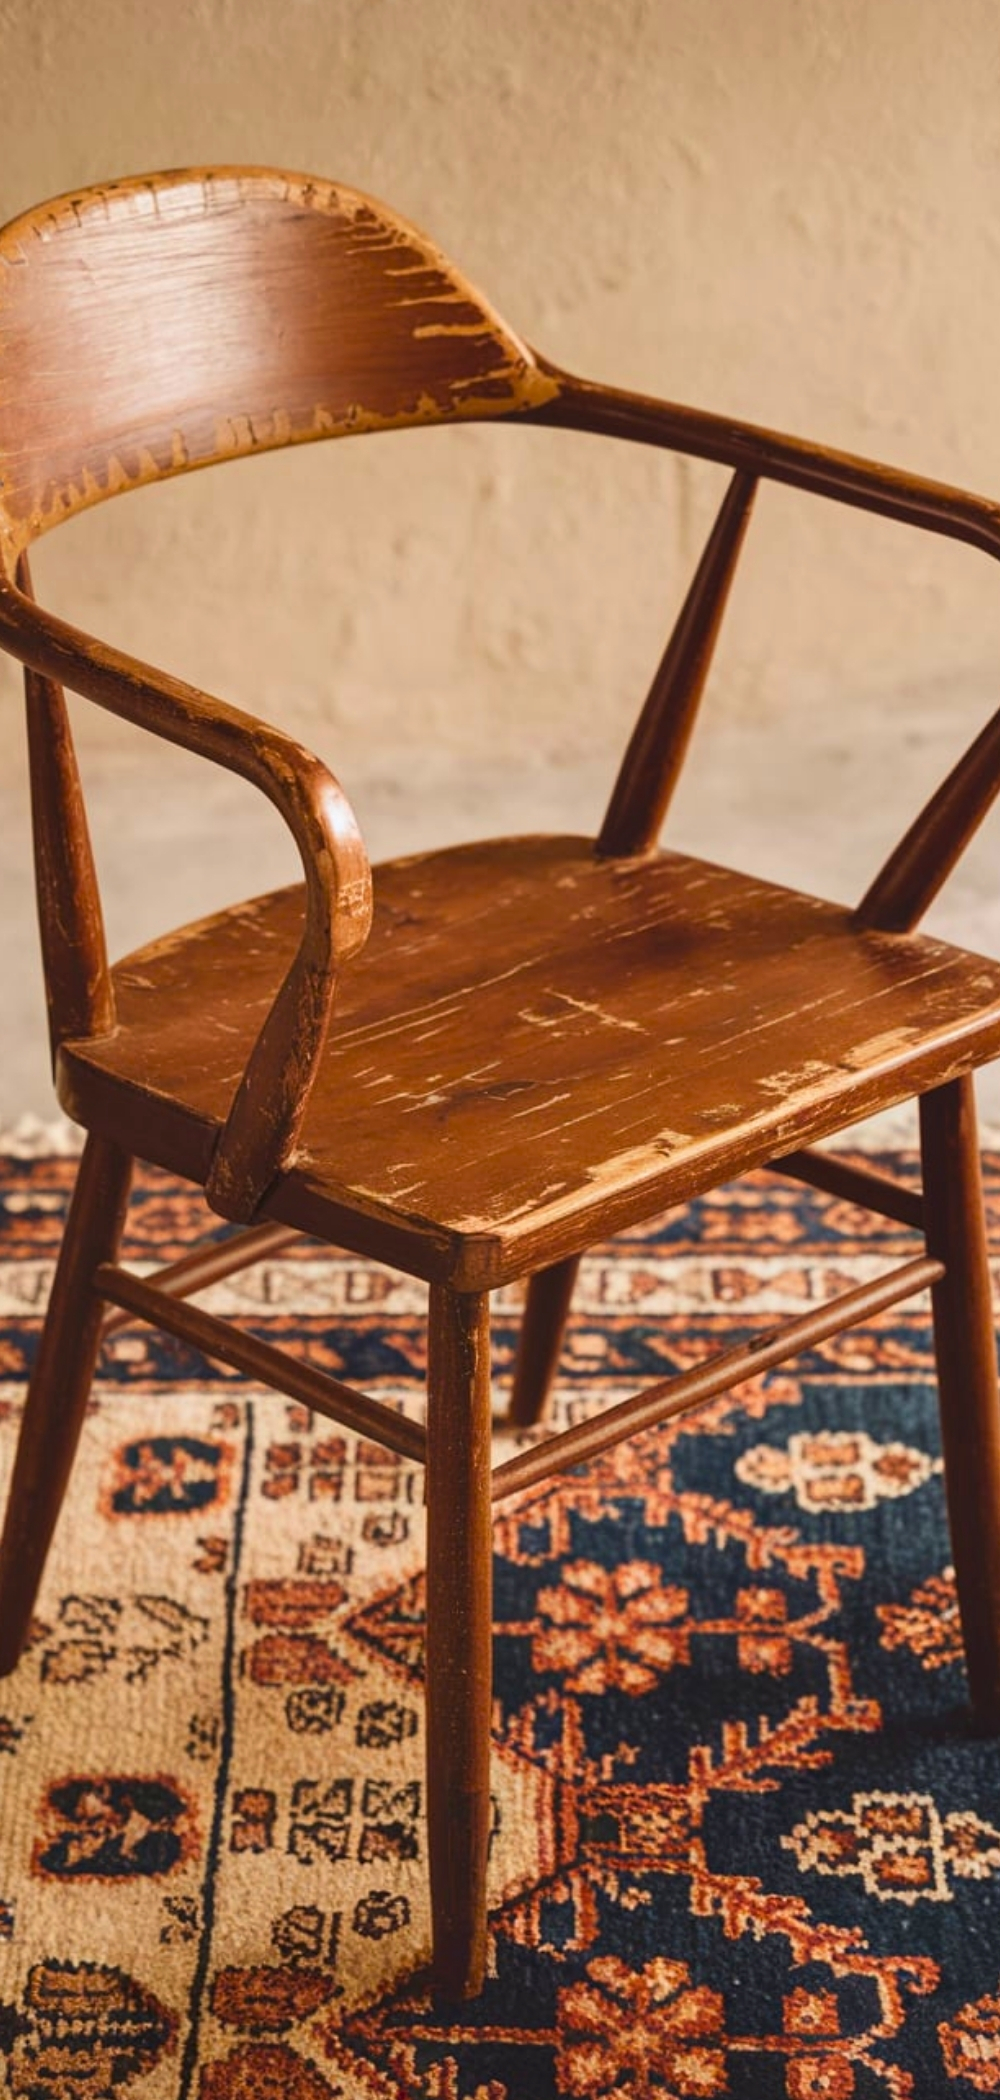
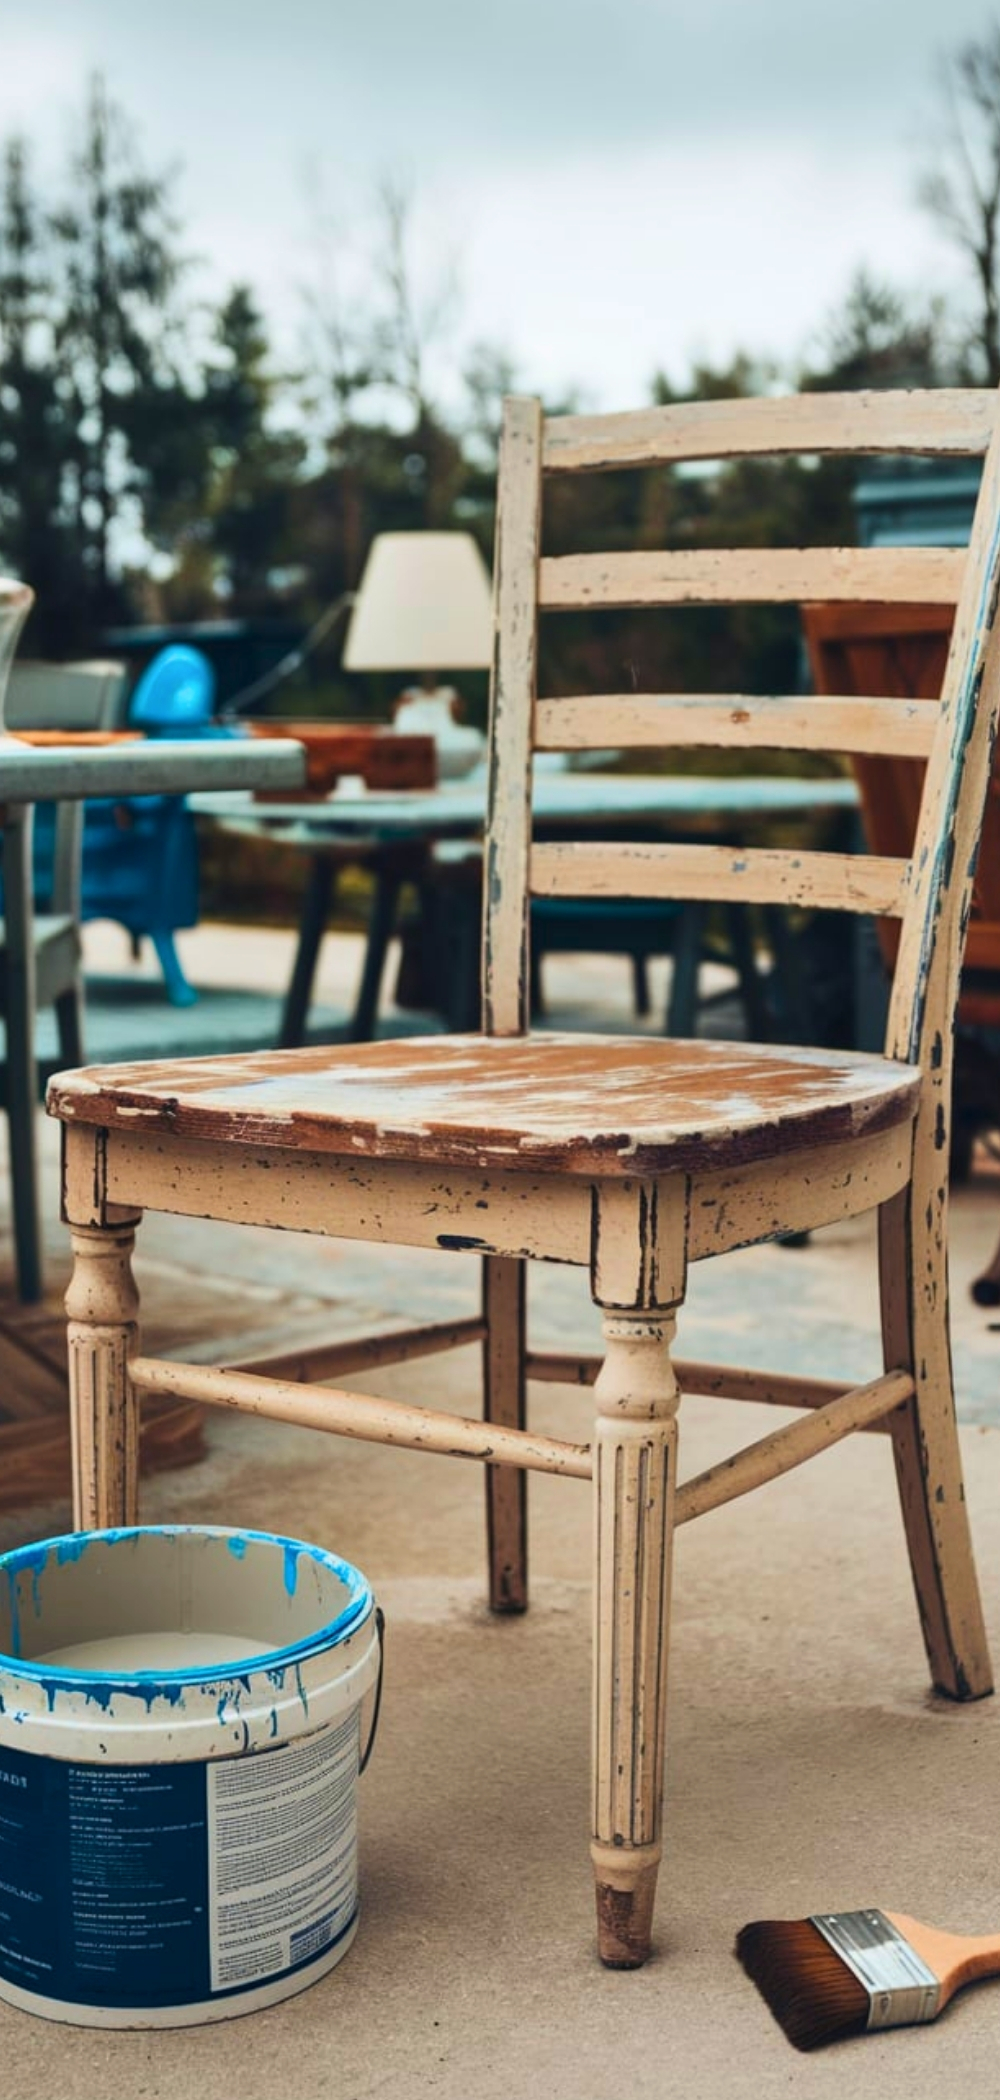
Begin by selecting a simple piece with minimal damage. Items like wooden chairs, end tables, or small dressers are perfect for beginners.
Step 2: Gather Essential Tools and Supplies For Furniture Makeover
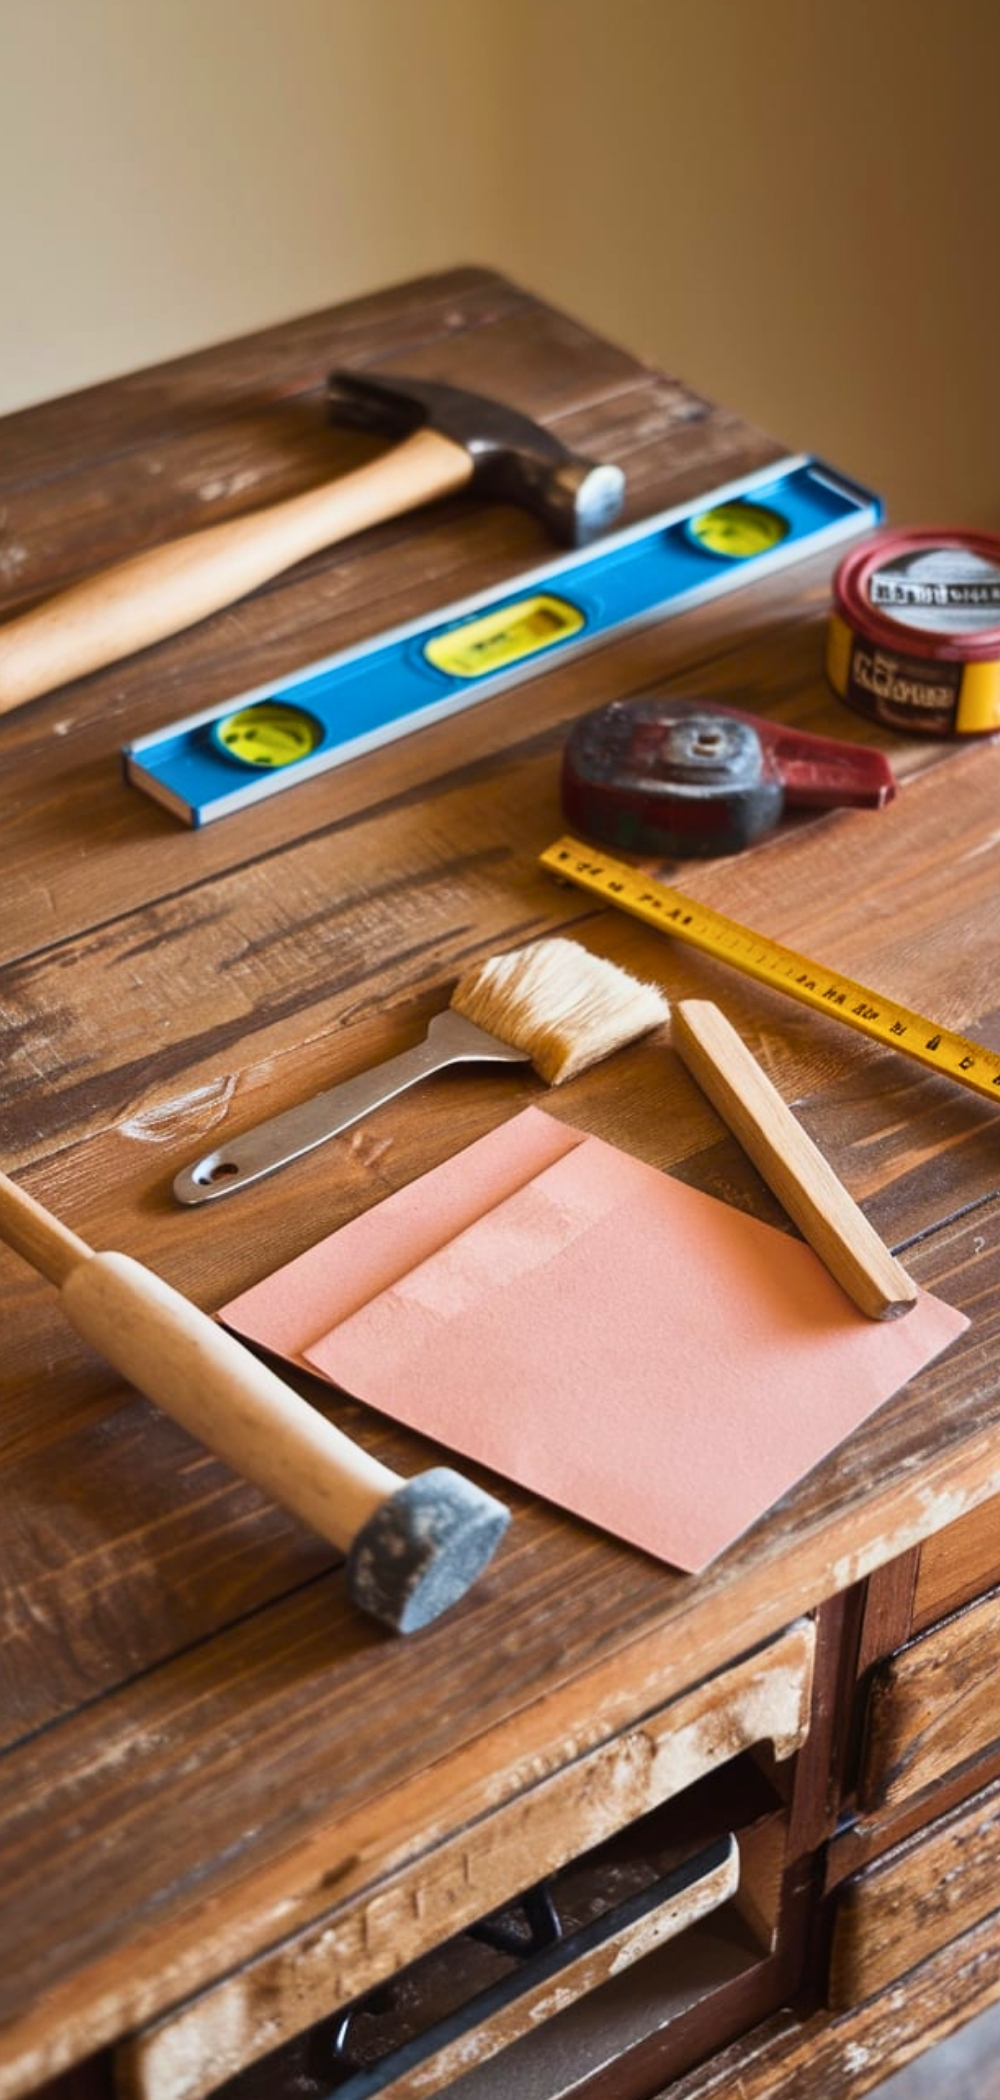
You will need the following:
- Sandpaper (various grits)
- Paintbrushes and rollers
- Paint or stain
- Primer
- Screwdrivers and a hammer
- Wood filler
- Drop cloths and painter’s tape
Step 3: Clean and Prep the Furniture Makeover

Thoroughly clean your furniture with a gentle cleaner to remove dust, grime, and oils that can affect adhesion.
Step 4: Remove Hardware and Other Components
Take off handles, knobs, and any removable parts. Store these safely to avoid losing them.
Step 5: Assess and Repair Damages
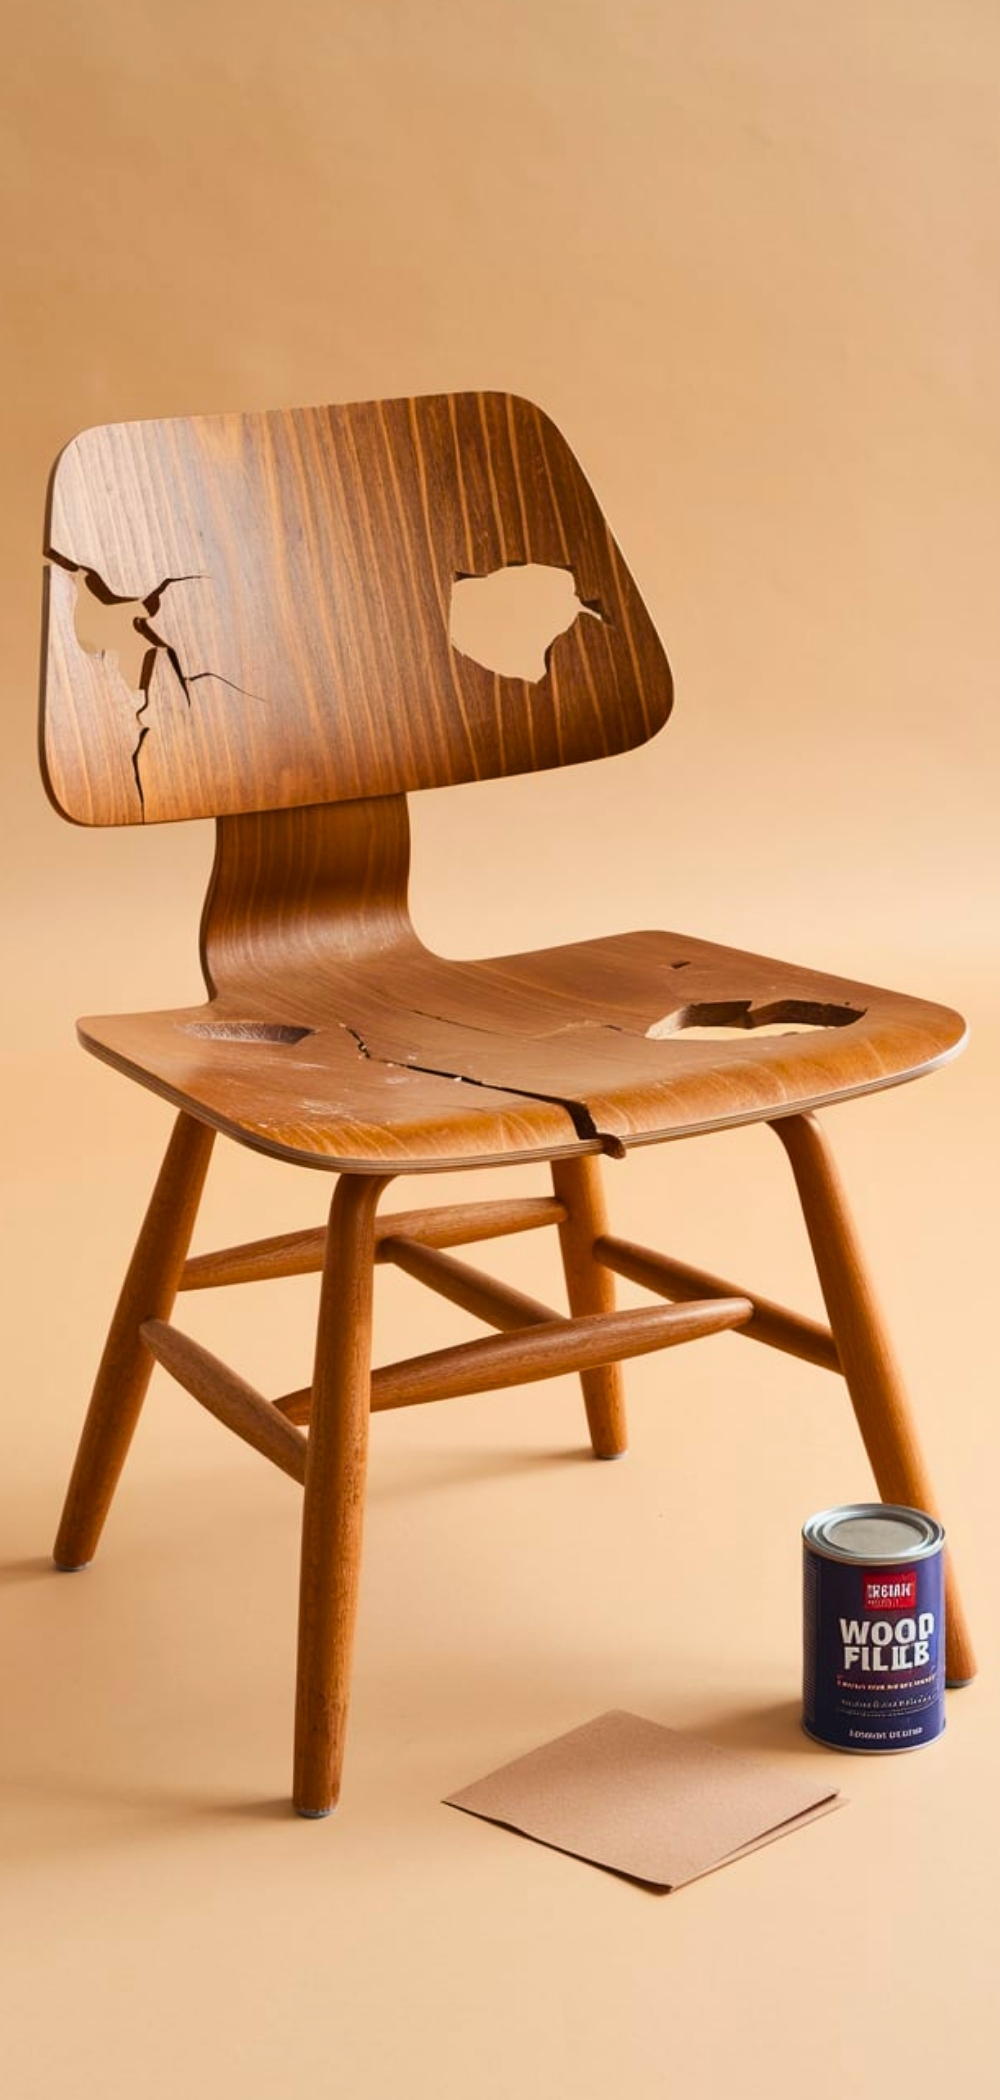
Inspect for cracks, holes, or scratches. Use wood filler to patch up imperfections, letting it dry completely before sanding.
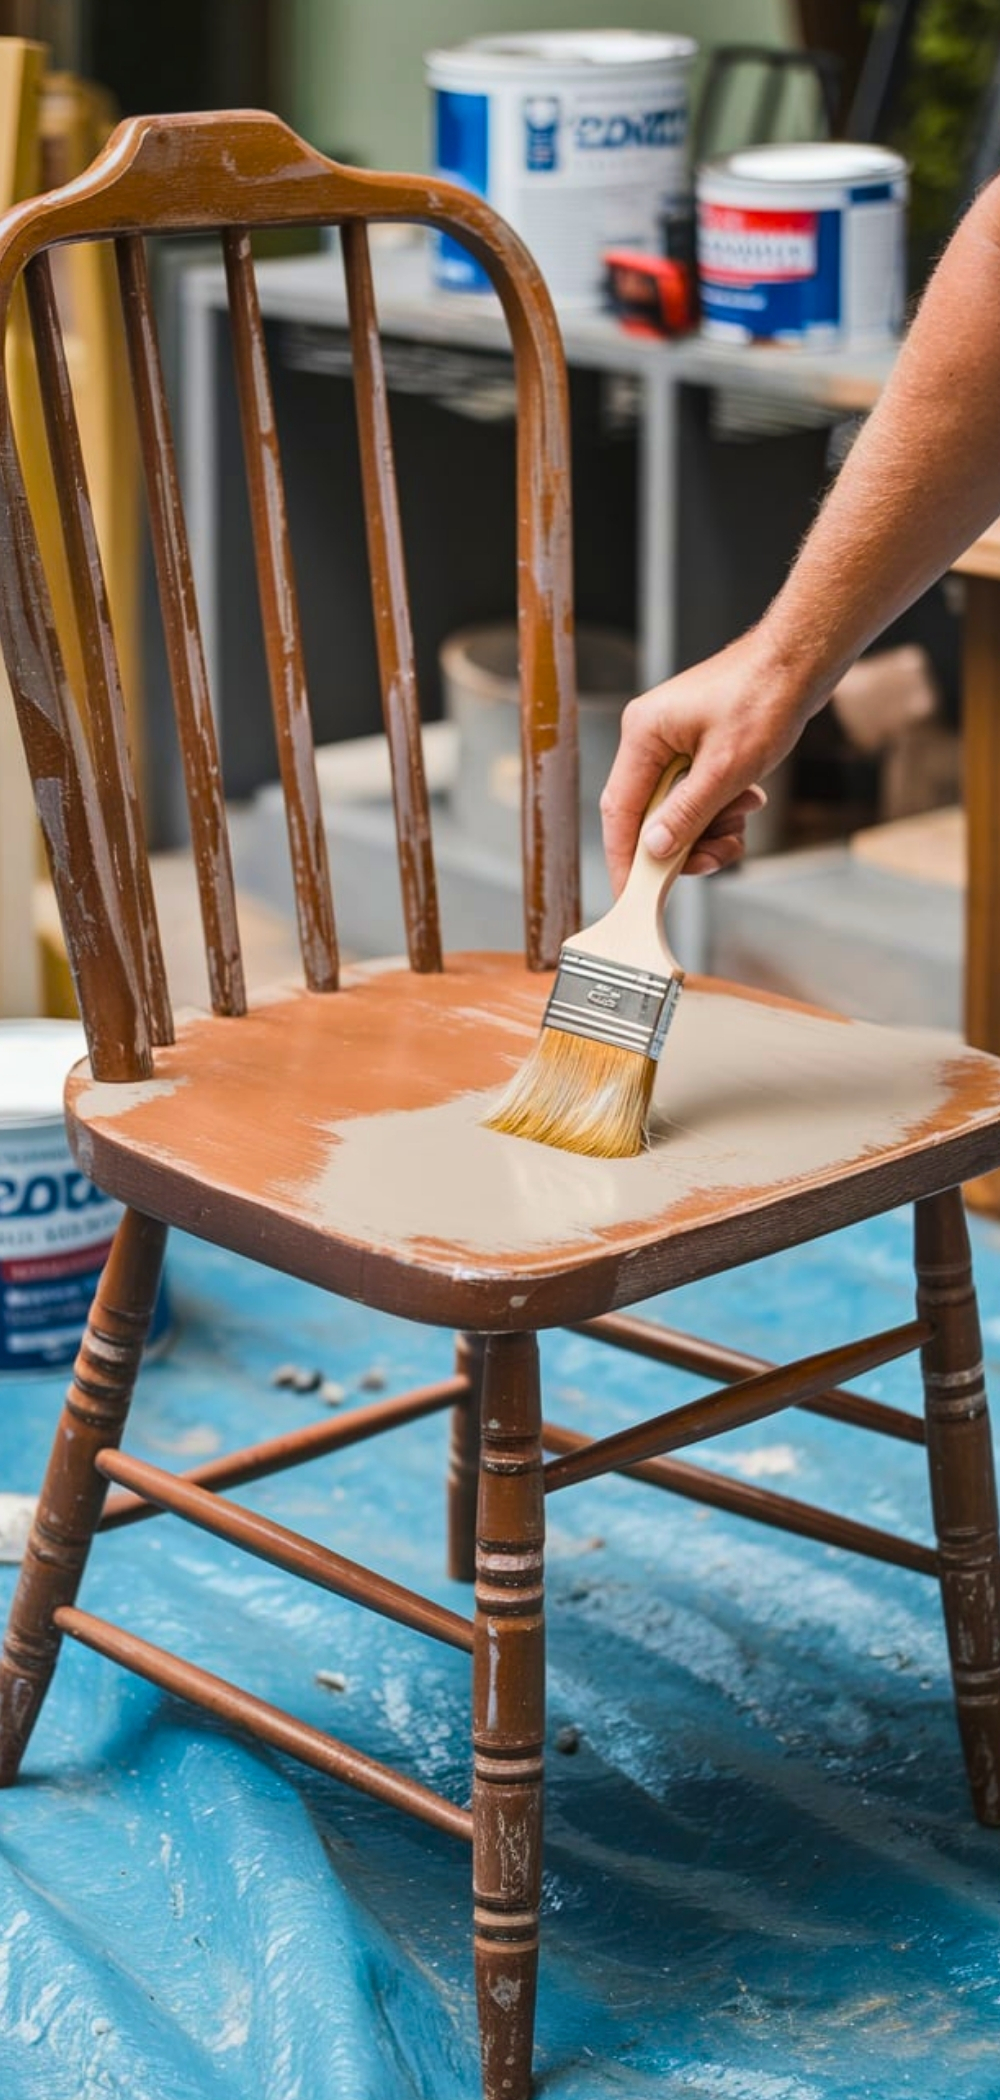
Step 6: Sand the Surface
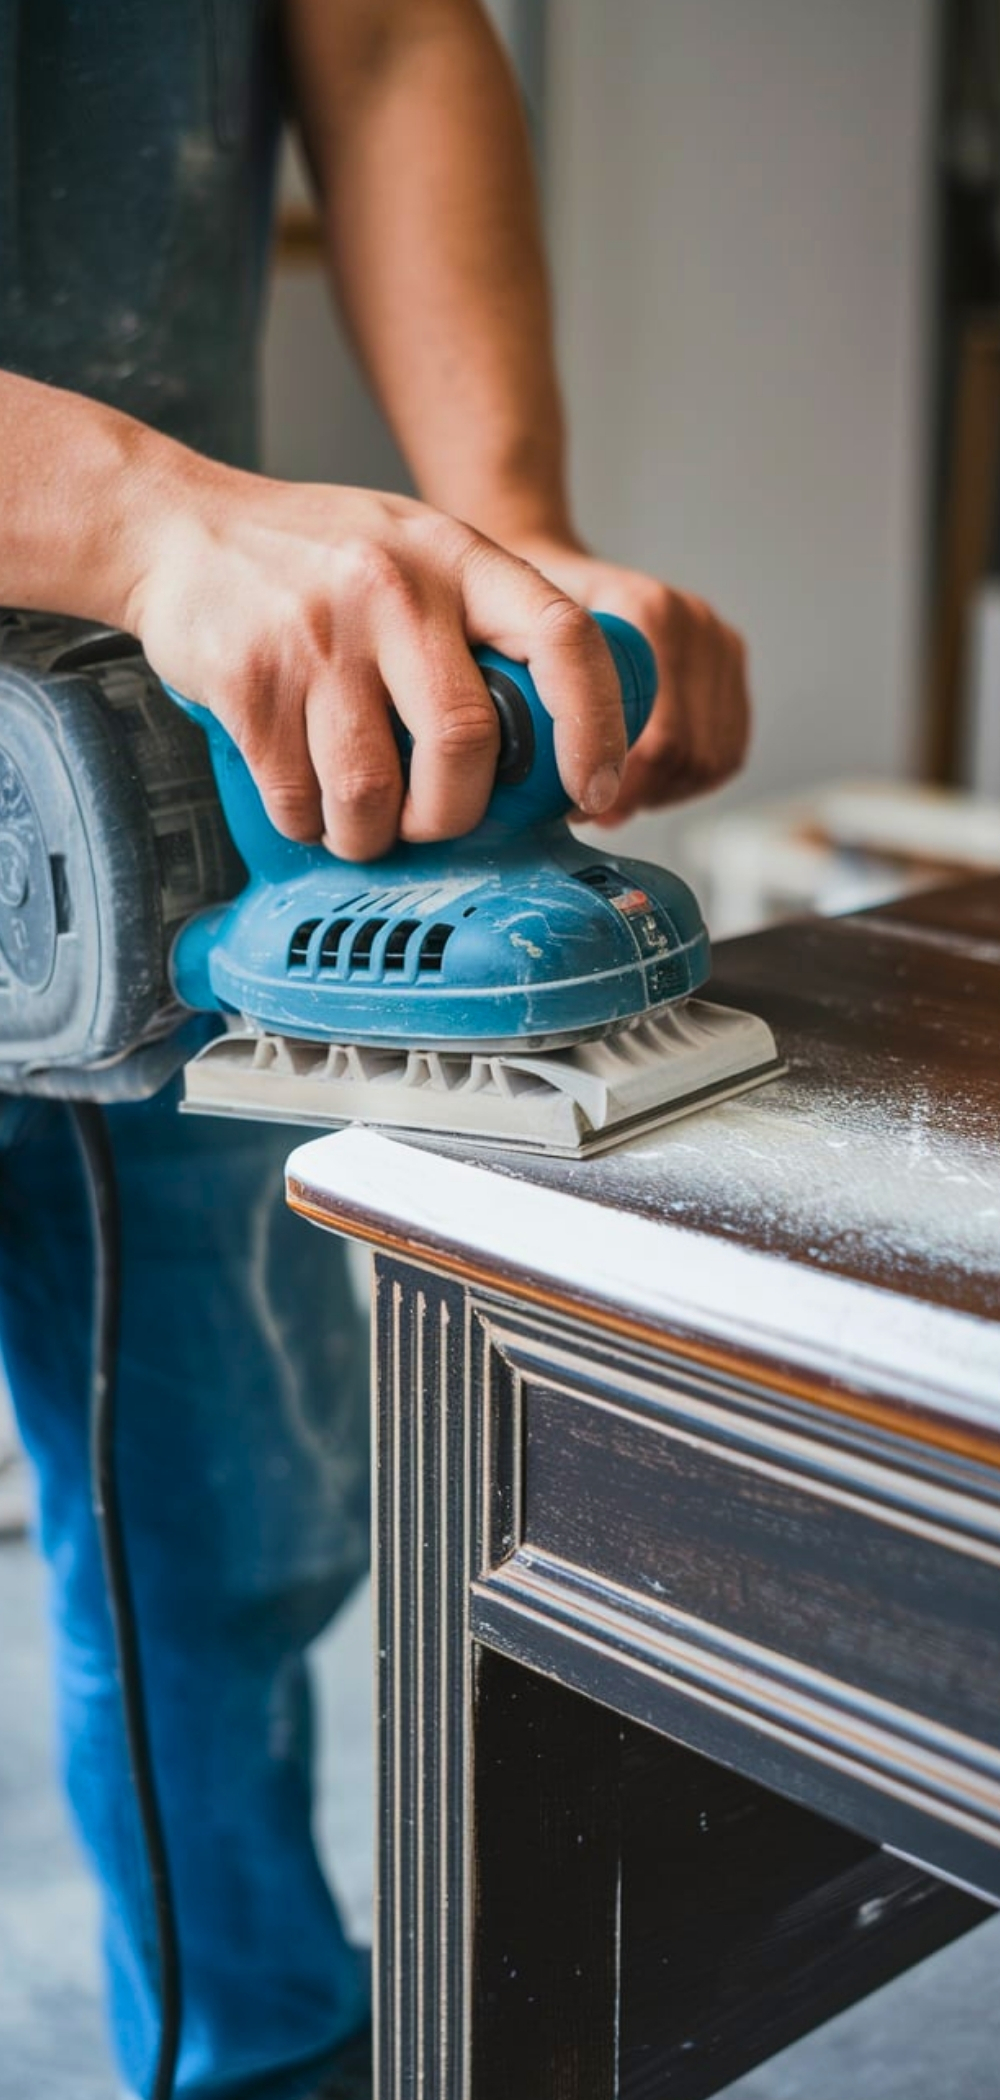
Use coarse sandpaper (80-100 grit) to remove old paint or finish. Follow up with finer sandpaper (220 grit) for a smooth surface.
Step 7: Wipe Away Dust

After sanding, use a tack cloth or a damp microfiber cloth to remove all dust particles.
Step 8: Apply a Primer
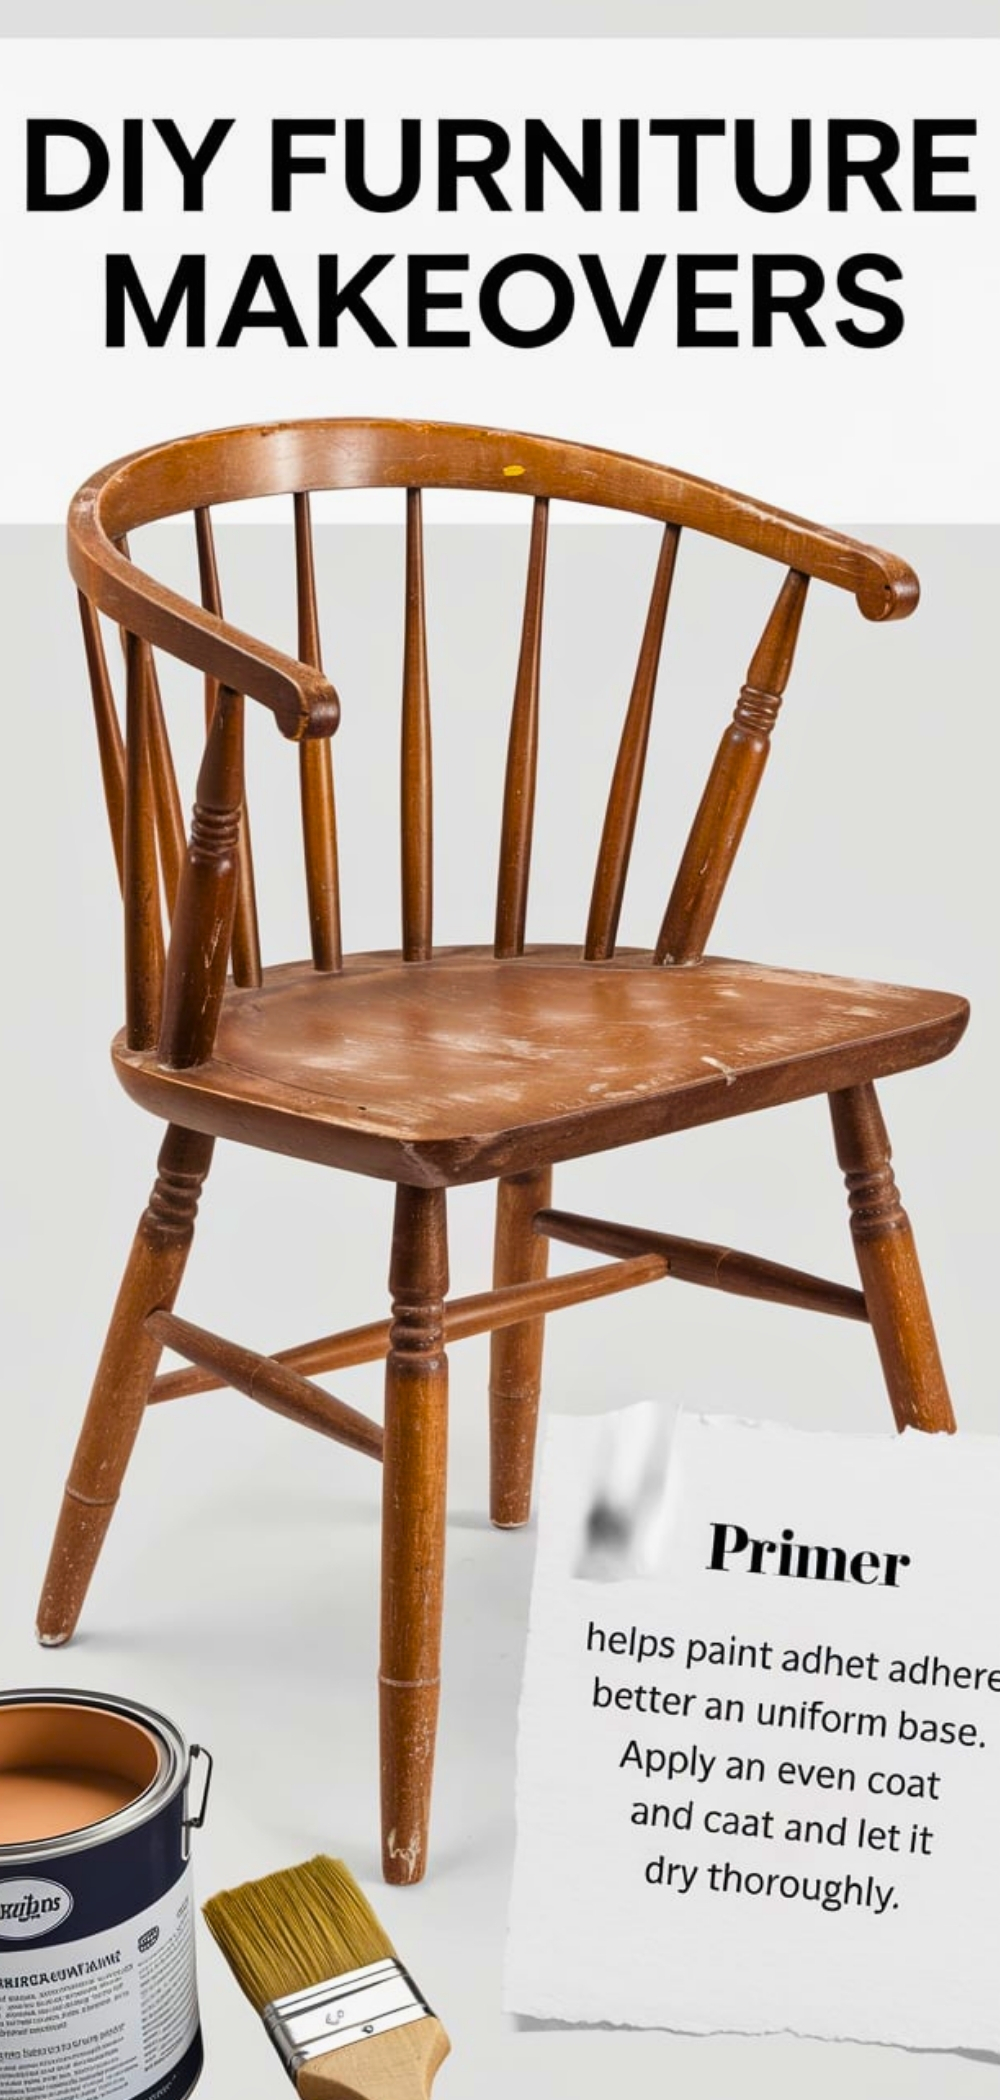
Primer helps paint adhere better and provides a uniform base. Apply an even coat and let it dry thoroughly.
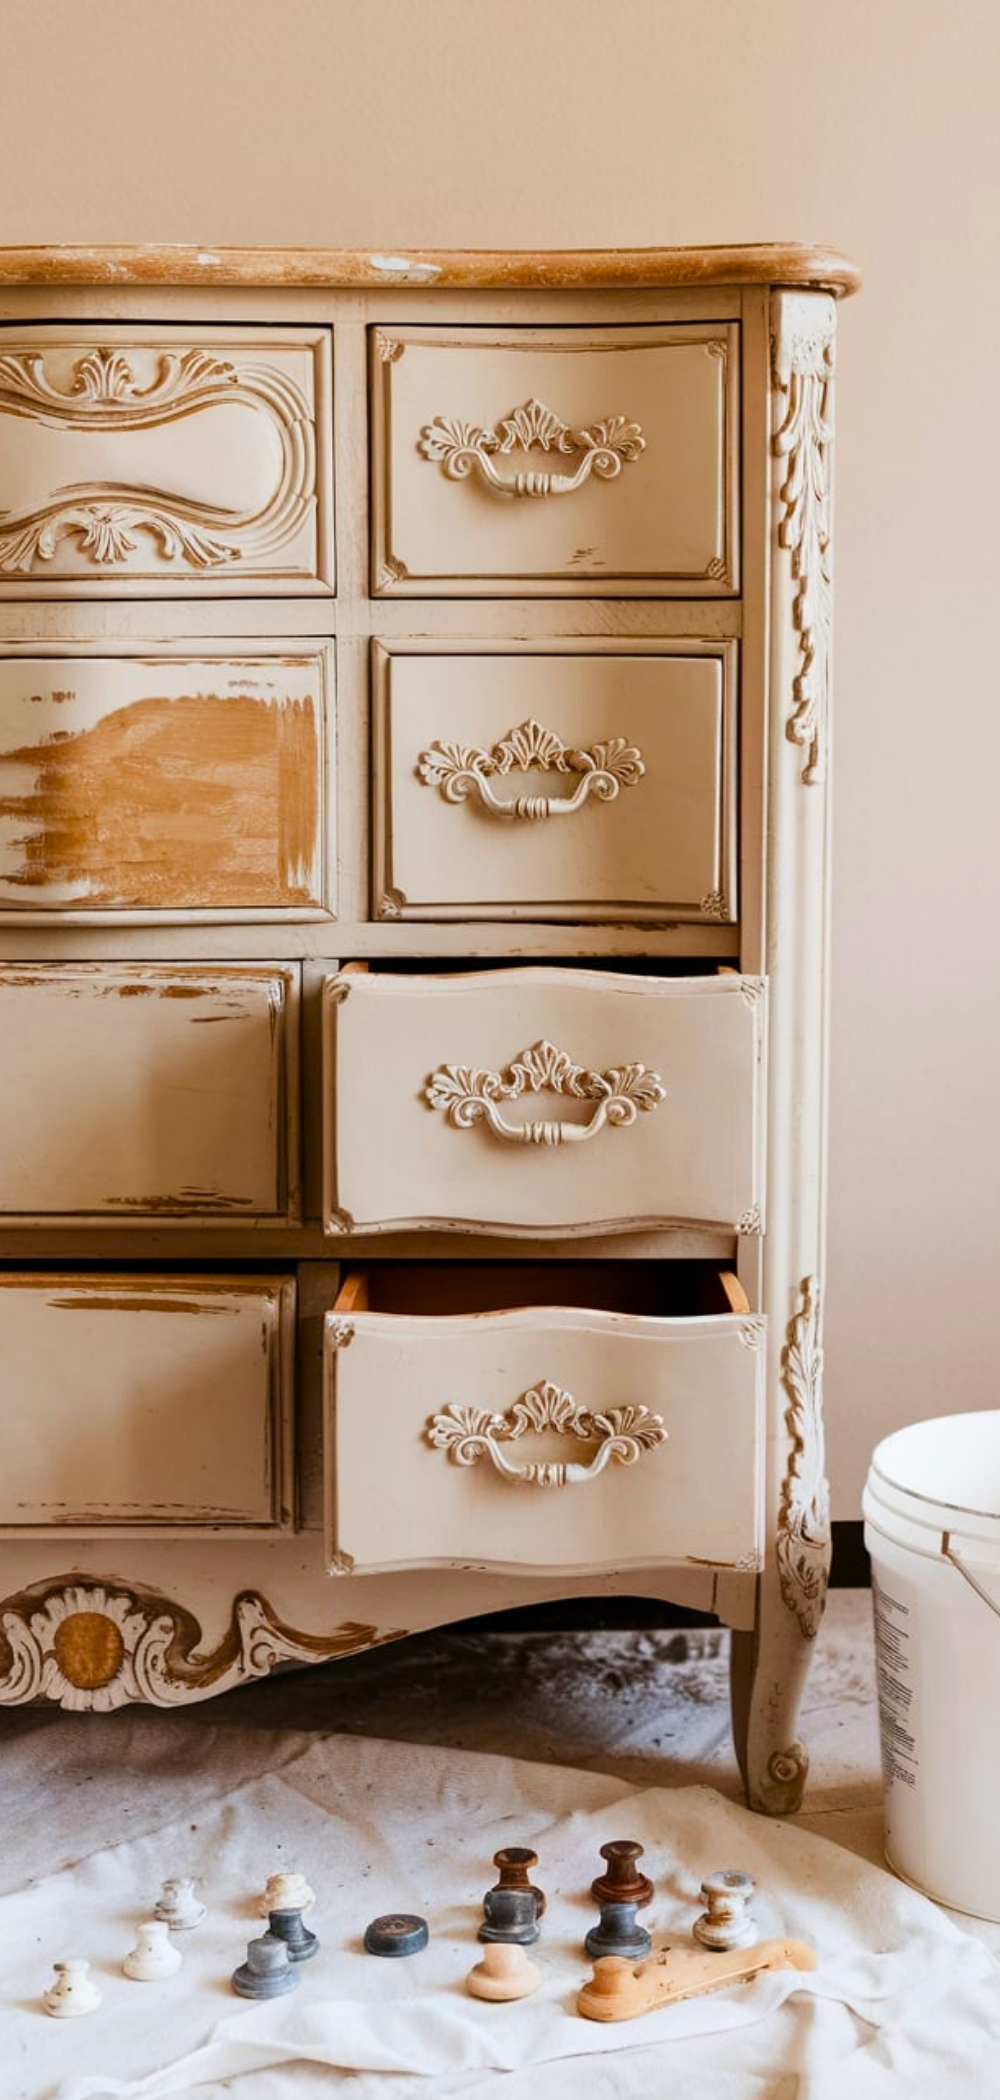
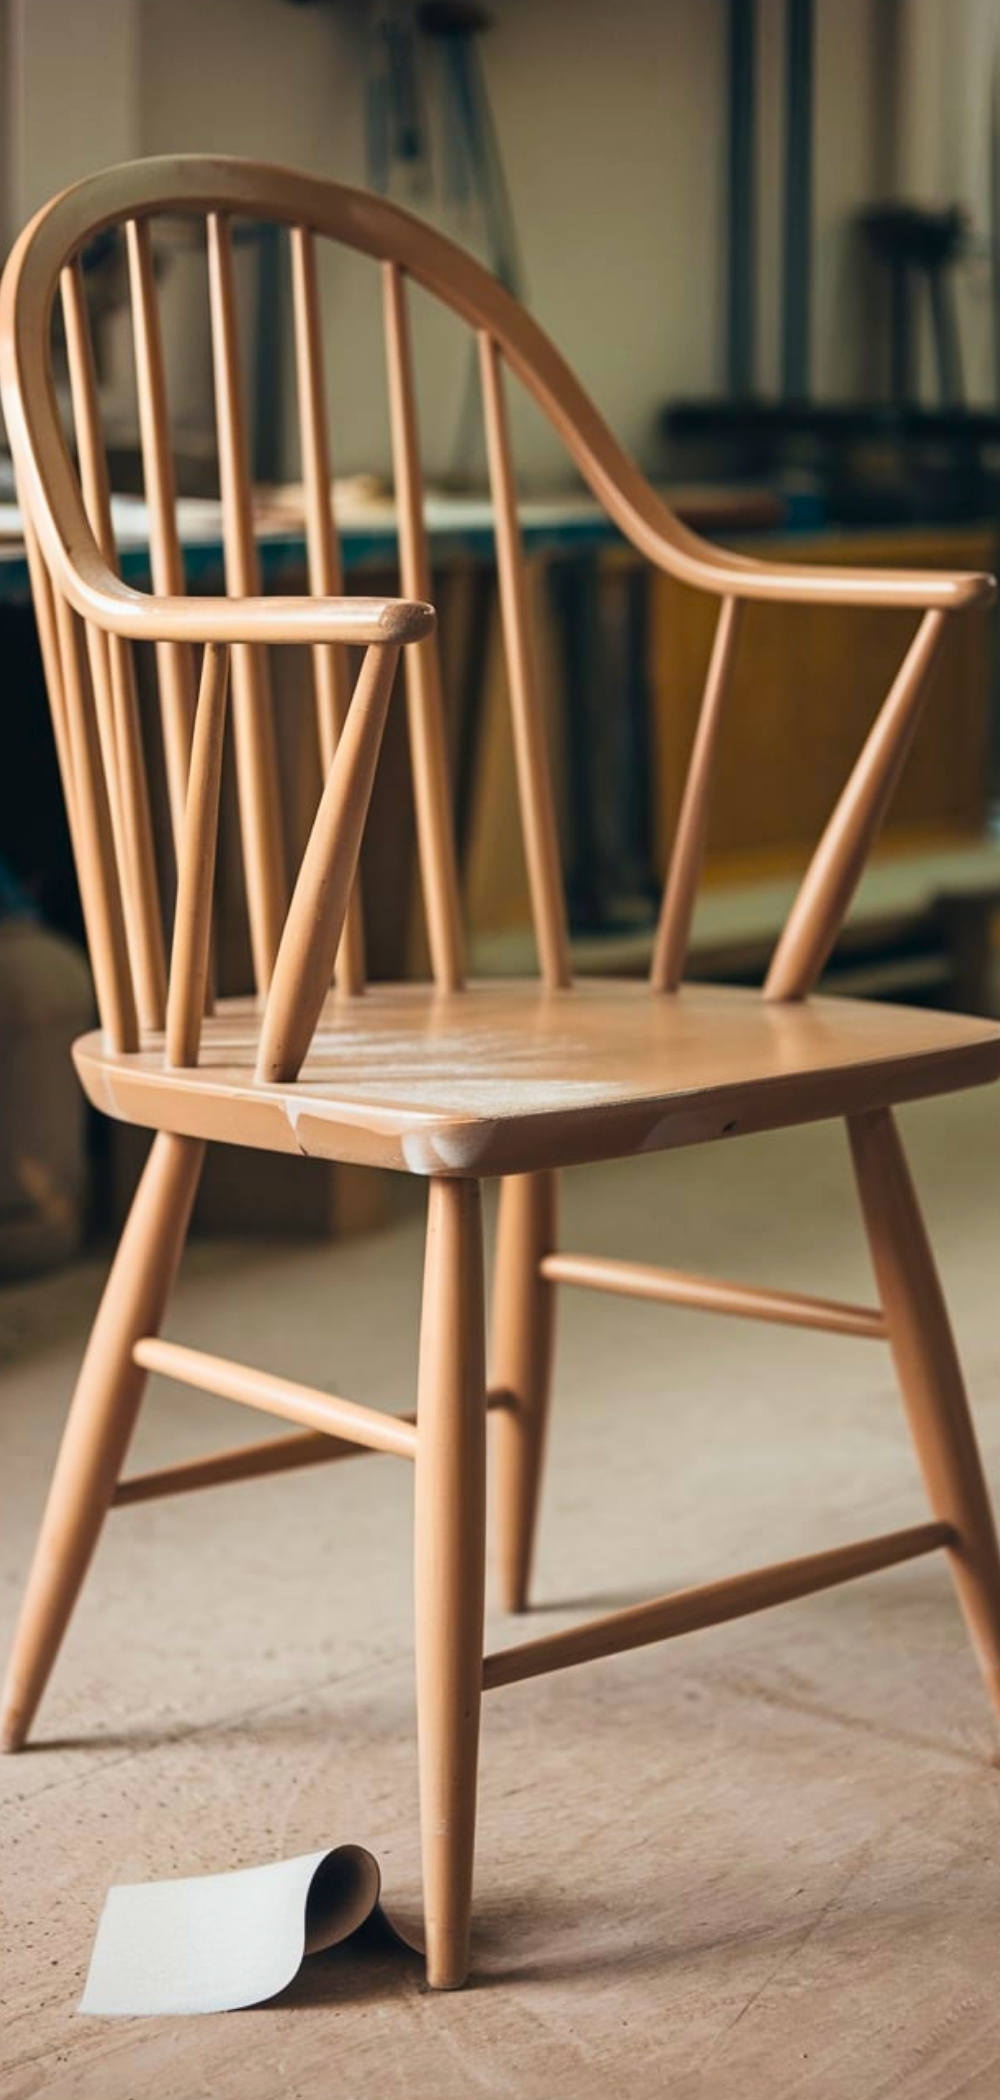
Step 9: Choose Your Finish
Decide whether to use paint, stain, or a specialty finish depending on the desired look. Light-colored paints brighten a room, while stains enhance natural wood grain.
Step 10: Apply the First Coat
Use a high-quality brush or roller to apply the first coat. Apply thin, even strokes and allow each coat to dry before adding another.
Step 11: Sand Between Coats
Lightly sand with fine-grit sandpaper (320 grit) between coats to ensure a smooth and professional finish.
Step 12: Apply Additional Coats as Needed
Most projects require two to three coats. Repeat the painting and sanding process until the desired coverage is achieved.
Step 13: Add Protective Sealing
For durability, apply a clear polyurethane or wax sealer. This step protects the finish from wear and tear.
Step 14: Reattach Hardware and Finishing Touches
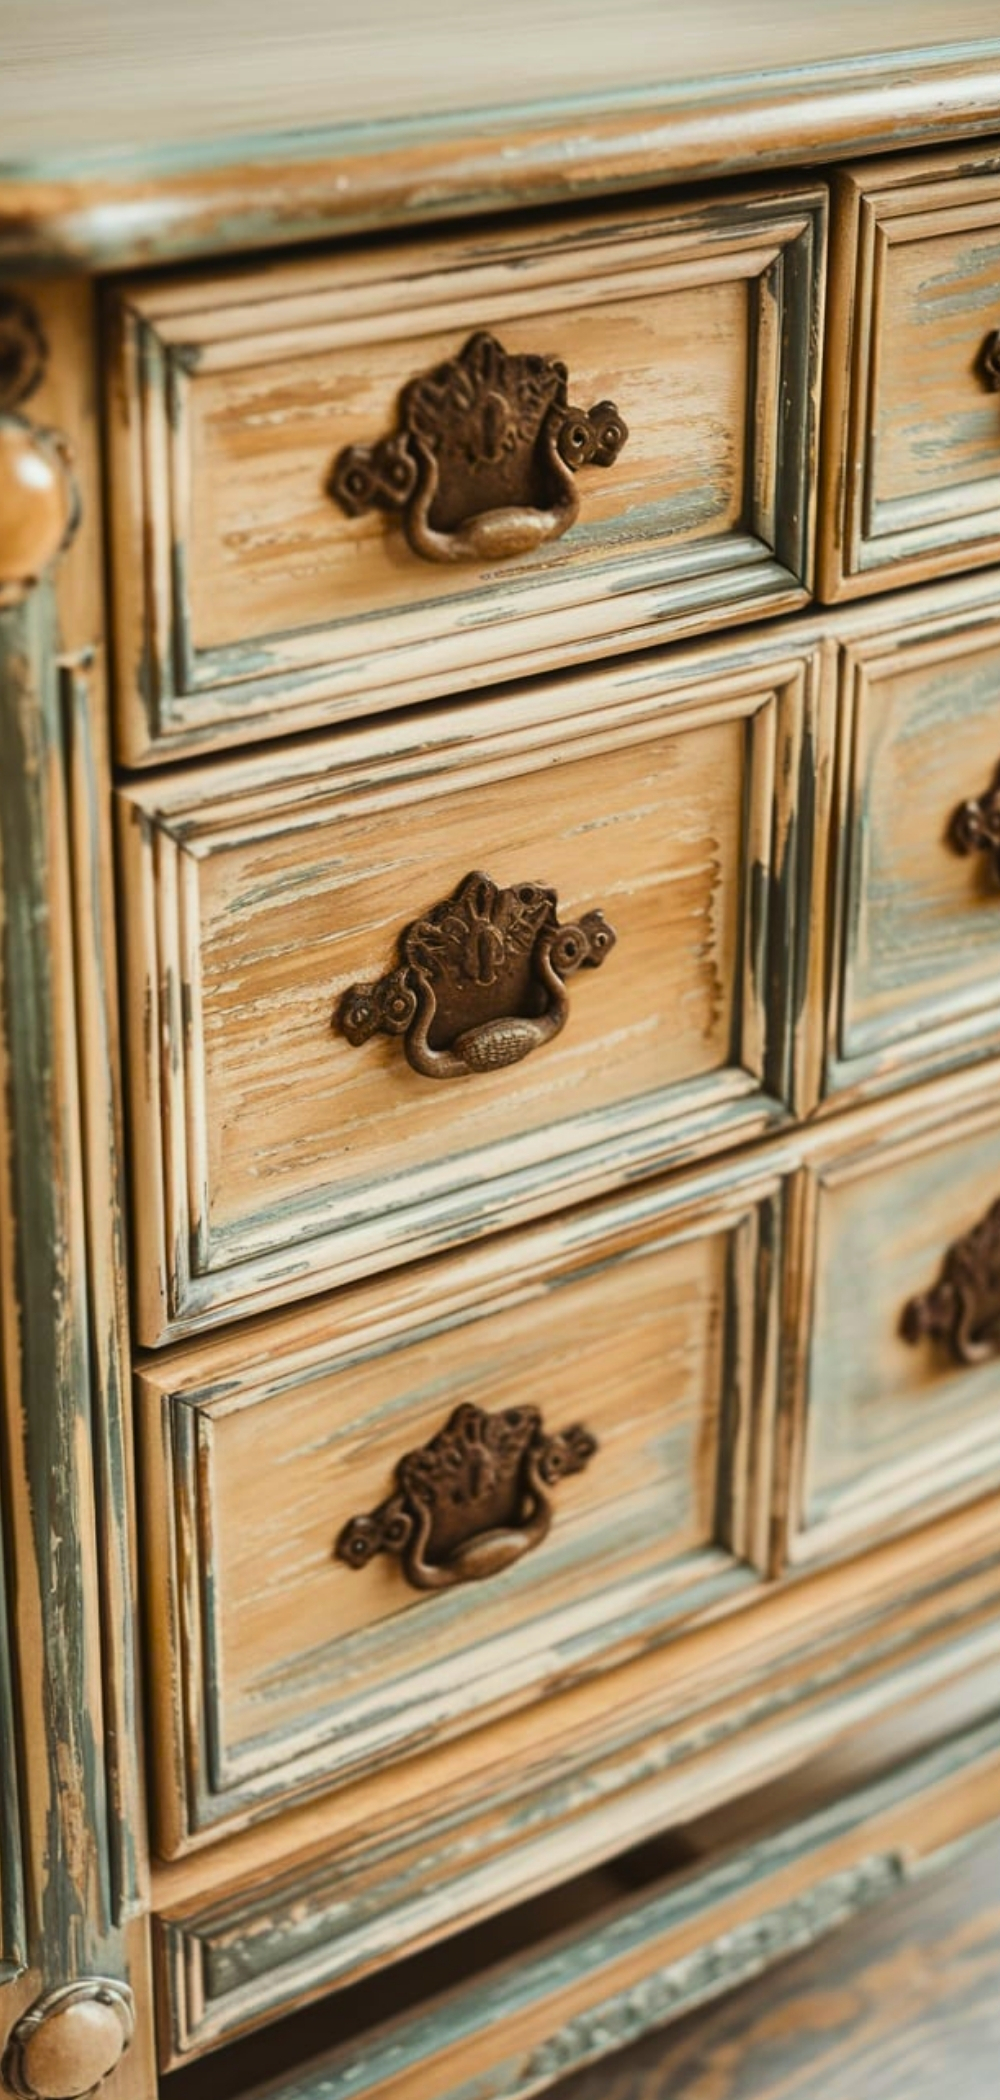
Once the sealer dries, reattach handles, knobs, and other components. Replace old hardware if desired for a fresh look.
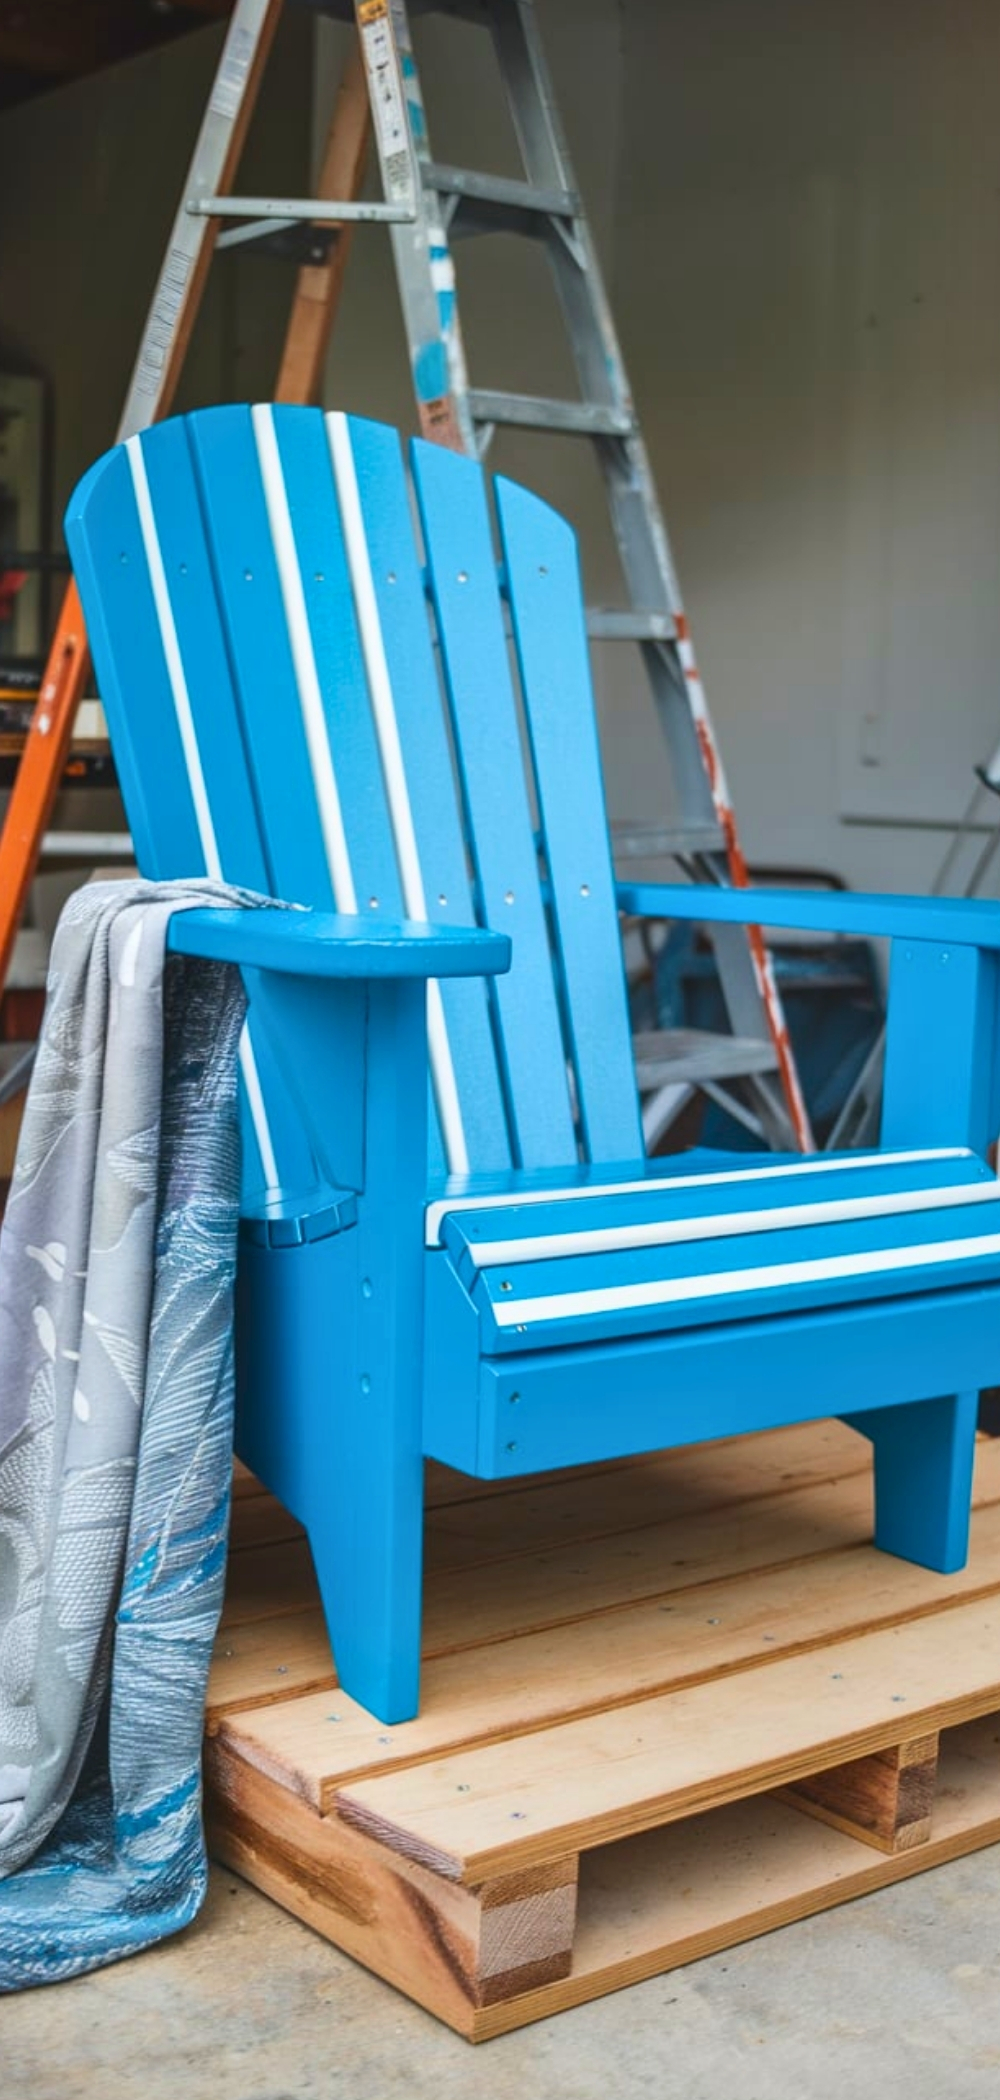
Step 15: Style and Display Your Masterpiece

Place your revamped furniture makeover piece in its new home and enjoy the fruits of your labor.
Conclusion
Transforming furniture makeover through DIY is a fulfilling journey of creativity and craftsmanship. By following these detailed steps, you’ll gain confidence and skills to breathe new life into tired pieces. With practice and patience, your furniture will not only reflect your style but also stand the test of time.
Enjoyed this post?
Share the love with another mom!
Every share helps this little blog grow — thank you so much